How to Make Cardboard Tube Zoo Animals — Easy Step-by-Step Guide
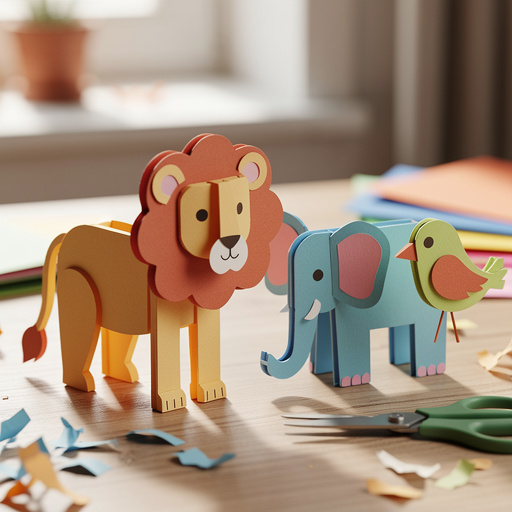
Transform empty toilet paper rolls into a vibrant menagerie of zoo animals! This easy craft is perfect for little hands and big imaginations. Learn how to create lions, elephants, monkeys, bears, and more with simple materials and clear instructions.
Quick answer
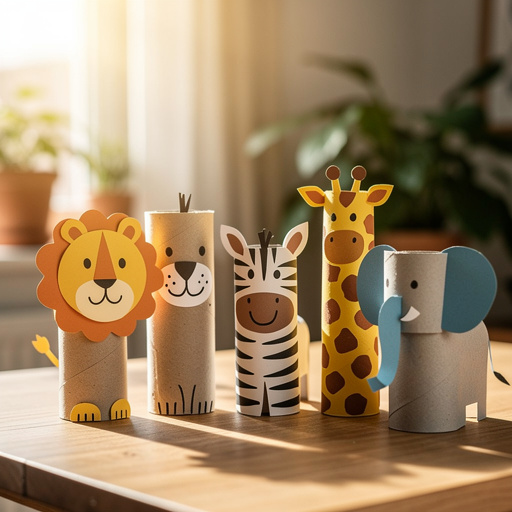
To make cardboard tube zoo animals, you need cardboard tubes, construction paper, glue, scissors, and markers, taking about 30 minutes. Start by cutting and gluing paper to cover the tube. Then, add features like ears, manes, and faces. This beginner-friendly activity has 10 steps and is perfect for kids aged 4+, with options to add embellishments like googly eyes and pipe cleaners.
What you need
Shop on Amazon · As an Amazon Associate we earn from qualifying purchases. Links above are affiliate links — we may earn a commission at no extra cost to you.
Unleash your creativity and bring the wild to your home with this delightful cardboard tube zoo animal craft! Transforming humble toilet paper rolls into a menagerie of fascinating creatures is an incredibly rewarding and engaging activity for children. It's a fantastic way to repurpose everyday recyclables into something magical, fostering both artistic expression and an appreciation for the animal kingdom. This project is perfectly suited for young crafters, offering a simple yet satisfying process that results in adorable, huggable zoo friends ready for imaginative play.
On this page
Step-by-Step Instructions
- 1
Gather all your materials: cardboard tubes, construction paper in various colors, white craft glue or a glue stick, child-safe scissors, and a black permanent marker. Having everything laid out before you start will make the crafting process smoother and more enjoyable, especially for younger children who may have shorter attention spans.
- 2
Choose an animal you want to create from your collection of cardboard tubes. Popular choices include elephants, lions, monkeys, and bears, but feel free to get creative with giraffes, zebras, tigers, or even penguins! Thinking about the animal first helps in selecting the right colors and shapes for its features.
- 3
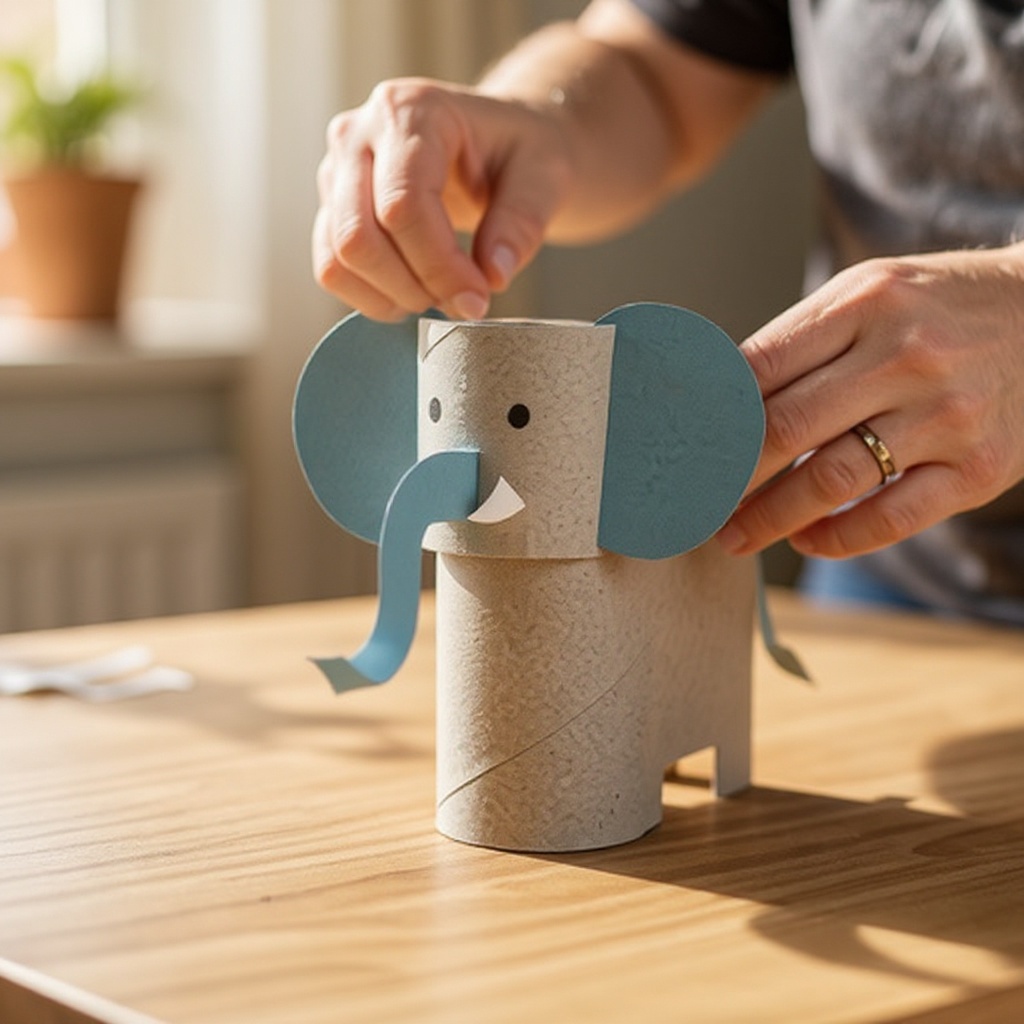
For an elephant, begin by cutting a piece of grey construction paper that will wrap around the cardboard tube. Ensure there's a slight overlap of about half an inch to allow for secure gluing. Carefully apply glue to the edge of the paper and press it firmly onto the tube, smoothing out any wrinkles for a neat finish.
- 4
For a lion, select yellow or orange construction paper to represent its majestic mane and fur. Cut a piece to cover the cardboard tube, again allowing for a small overlap. Apply glue evenly along one edge and wrap the paper around the tube, pressing down to ensure it adheres well and creates a smooth base for your lion.
- 5
To create a monkey, choose brown construction paper to form its body. Measure and cut a piece that will encase the cardboard tube, leaving a small overlap for gluing. Apply glue to the overlapping edge and wrap the paper around the tube, ensuring it's snug and secure.
- 6
For a bear, select brown construction paper for its cozy fur. Cut a rectangle that will comfortably wrap around the cardboard tube with a slight overlap. Apply glue to the overlapping edge and press it firmly onto the tube, making sure the paper is smooth and evenly distributed.
- 7
Now, it's time to bring your animals to life by creating their distinctive features. For the elephant, cut out two large, rounded ear shapes from grey paper and a long, curved trunk shape from the same color. These will be glued onto the top and front of the elephant's body.
- 8
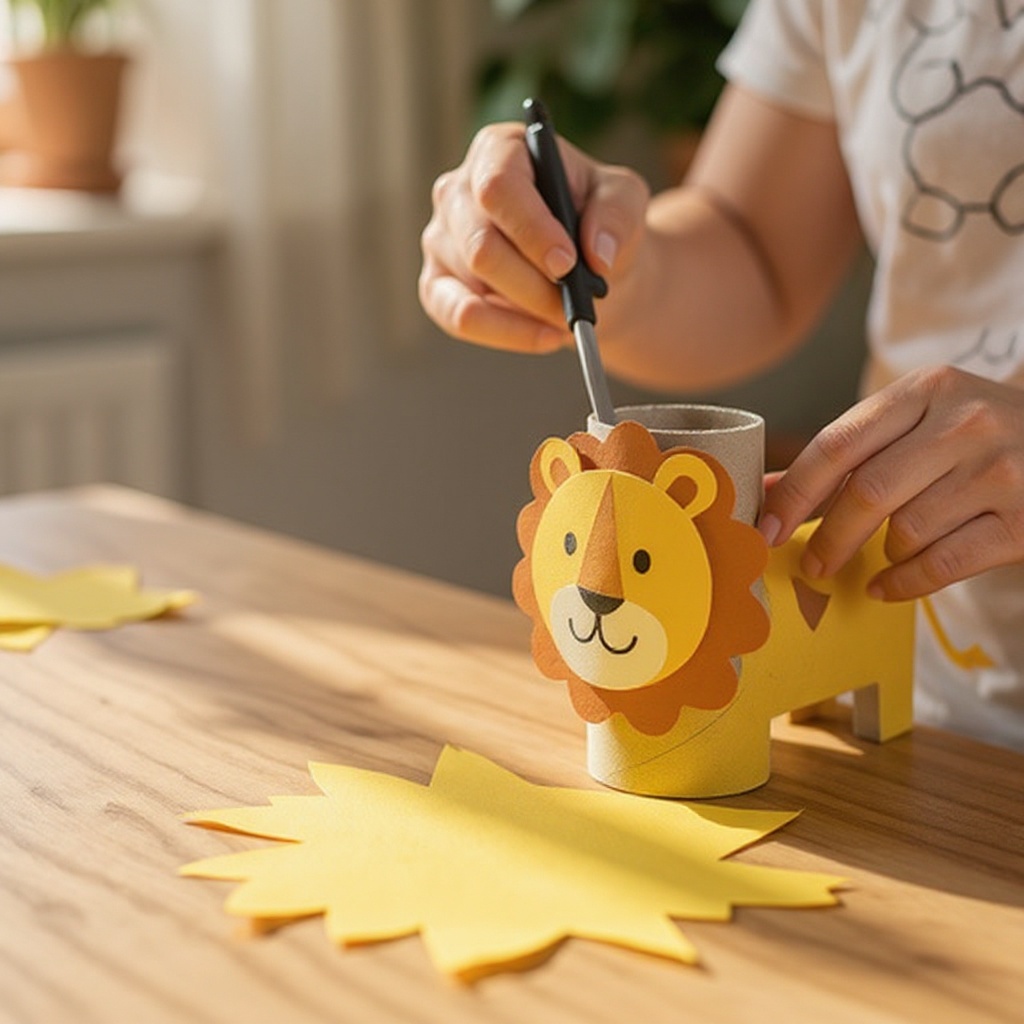
For the lion, cut out a shaggy mane from yellow or orange paper. You can do this by cutting a long strip and then making fringe cuts along one edge, or by cutting a circular shape with a jagged edge. Also, cut out two small, rounded ear shapes from the same color paper.
- 9
To craft the monkey's face, cut out a heart-shaped or oval piece from a lighter brown or tan construction paper. For its ears, cut out two large circles from the brown paper that will be glued to the sides of the monkey's head.
- 10
For the bear, cut out a lighter brown or tan oval shape for its snout, and two round ear shapes from the brown paper. These will be attached to the bear's head to give it its characteristic features.
- 11
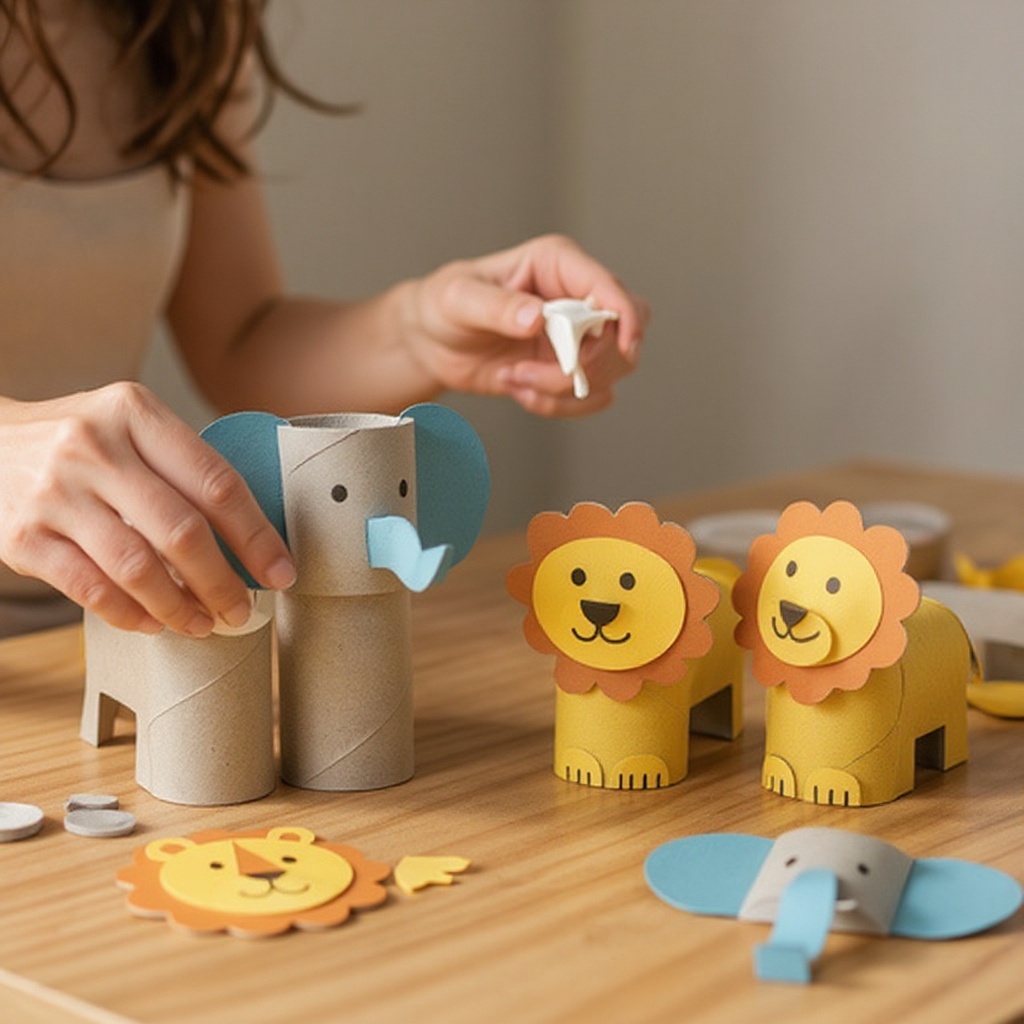
Begin attaching the features you've created onto the covered cardboard tubes. For the elephant, glue the large ears to the top sides of the tube and the trunk to the front, positioning it slightly downwards. For the lion, glue the mane around the top edge of the tube, allowing it to cascade down, and then attach the small ears to the top of the mane.
- 12
Next, attach the monkey's facial features. Glue the lighter brown face shape onto the upper portion of the brown-covered tube, and then attach the two large brown ears to the sides of the face shape.
- 13
For the bear, glue the lighter brown snout onto the front of the brown-covered tube, and then attach the two round ears to the top of the bear's head.
- 14
Use your black permanent marker to draw the eyes, noses, and mouths on your animals. For the elephant, draw two round eyes above the trunk and a small nostril at the tip. For the lion, draw eyes above the mane and a small nose and mouth. For the monkey, draw eyes and a mouth on the lighter face shape. For the bear, draw eyes above the snout and a small nose and mouth on the snout.
- 15
Add any extra details with your marker to enhance your animals. You can draw stripes on a tiger, spots on a giraffe (if you've made one!), or even add fur texture lines on the bear. This step allows for individual creativity and makes each animal unique.
- 16
Now for the fun embellishments! If you have googly eyes, glue them on for extra personality and a lively look. You can also attach pipe cleaners for tails – a curly one for a monkey, a bushy one for a lion, or a short one for a bear. Cotton balls can be glued together to create a fluffy tail for a monkey or a soft patch on a bear.
- 17
Consider adding other optional materials for more texture and detail. Felt scraps can be used for softer ears or noses, yarn can create a shaggy mane for a lion or a tail for a dog. Small buttons can serve as eyes for a more rustic look, and pom-poms are excellent for fluffy tails or noses.
- 18
Let all the glue dry completely before you start playing with your new zoo animal friends. This is a crucial step to ensure all the pieces are securely attached and your creations are durable enough for imaginative adventures. Place them in a safe, flat spot away from curious hands or pets while they dry.
Tips & Troubleshooting
- 1If your construction paper doesn't quite wrap around the tube perfectly, don't worry! You can cut it into vertical strips and glue them on side-by-side to create a unique striped or patterned effect on your animal's body. This is a great way to use up smaller scraps of paper too.
- 2Encourage children to experiment with color combinations to create truly unique zoo animals. Who says elephants have to be grey? A purple elephant or a blue lion can spark even more imagination and lead to wonderfully whimsical creations. Let their creativity run wild!
- 3For more intricate details like a giraffe's spots or a zebra's stripes, it's often easiest to draw them directly onto the colored construction paper before you cut it out and glue it onto the tube. This gives you more control over the placement and precision of the patterns.
- 4Don't limit yourself to just toilet paper tubes! Save your paper towel tubes as well. These longer tubes are perfect for creating taller zoo animals like giraffes, flamingos, or even ostriches, allowing you to expand your zoo's diversity.
- 5Consider adding texture to your animals. For a fluffy sheep, glue cotton balls all over a white-covered tube. For a scaly crocodile, cut small diamond shapes from green paper and overlap them. This adds a tactile dimension to your creations.
- 6When cutting out features like ears or snouts, it can be helpful to draw the shape lightly on the back of the construction paper first with a pencil. This provides a guide for cutting and helps ensure symmetrical shapes, especially for younger crafters who are still developing their fine motor skills.
- 7If you're making animals with distinct faces, like monkeys or bears, consider cutting out a slightly larger piece of paper for the face area and then gluing the features onto that before attaching it to the main tube body. This can make the face appear more prominent and easier to decorate.
- 8For a more durable and professional-looking finish, you can seal your finished animals with a clear craft sealant or Mod Podge once the glue is completely dry. This will protect the paper and make them more resistant to wear and tear during play.
Related Activities You Might Enjoy
Frequently Asked Questions
What are the easiest zoo animal crafts for toddlers?
Cardboard tube zoo animals are wonderfully adaptable for toddlers! For the simplest versions, focus on animals with basic shapes like lions or bears. You can pre-cut all the shapes for them, allowing them to focus on the gluing and decorating. Toddlers can also help by drawing simple features with chunky crayons or markers, or by sticking on pre-cut shapes. Encourage them to use their fingers to spread glue, which is a great sensory experience. Animals with fewer distinct parts, like a simple striped tiger or a solid-colored elephant, are also excellent choices for very young children.
How can I make zoo animal crafts more educational?
Turn craft time into a learning adventure! As you and your child make each animal, discuss its natural habitat, what it eats, and its unique characteristics. For example, when making a lion, talk about the savanna and its roar. You can also label each animal with its name and a fun fact, such as 'Elephants have excellent memories!' This transforms the activity from just crafting into an engaging lesson about wildlife, geography, and animal behavior, reinforcing learning in a fun, hands-on way.
What materials can I use for zoo animal crafts besides paper?
The possibilities are endless when it comes to embellishing your cardboard tube zoo animals! For softer textures, felt scraps are fantastic for ears, noses, or even fluffy tails. Yarn can be used to create a shaggy mane for a lion or a long, flowing tail for a horse. Small pebbles or buttons can be glued on as eyes for a different look, or you can use colorful pom-poms for fuzzy noses, ears, or tails. Even natural materials like small twigs for antlers or dried leaves for patterns can add unique touches.
How do I store these zoo animal crafts?
Once your adorable cardboard tube zoo animals are completely dry, they can be displayed proudly on a shelf, in a designated craft bin, or even used as part of imaginative play. For longer-term storage and to prevent them from getting crushed, it's best to place them gently in a sturdy cardboard box. You can line the box with tissue paper or bubble wrap to provide extra cushioning. Avoid stacking heavy items on top of them to maintain their shape and integrity.
Can I make other types of animals besides zoo animals?
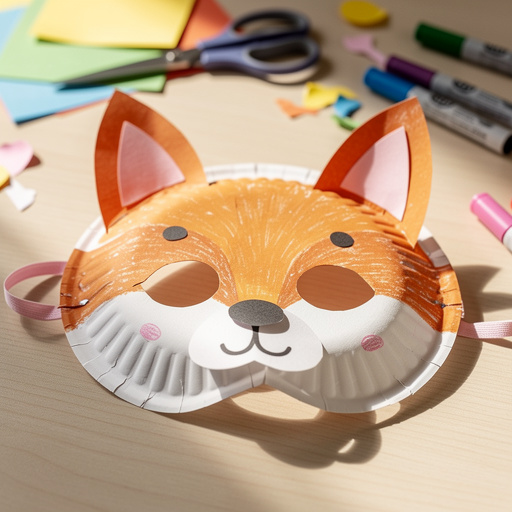
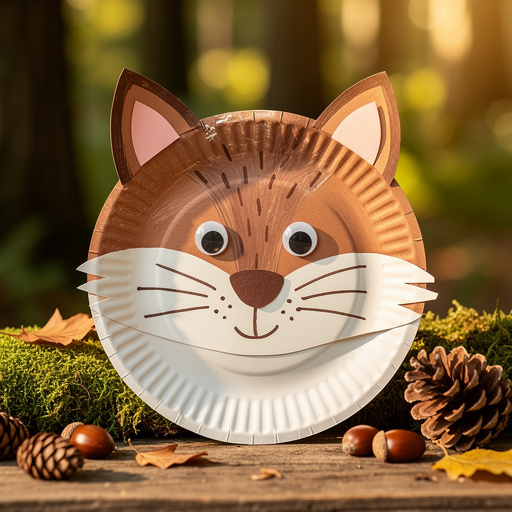
Absolutely! The cardboard tube craft is incredibly versatile and can be adapted to create a wide variety of animals. You can easily transform them into farm animals like cows, pigs, and sheep, or even woodland creatures such as foxes, owls, and squirrels. Consider making pets like cats and dogs, or even fantastical creatures like dragons or unicorns! The basic technique of covering the tube and adding features remains the same, allowing for endless creative exploration beyond just zoo animals.
What age group is this craft best suited for?
This cardboard tube zoo animal craft is wonderfully suited for a broad age range, typically starting from around 4 years old and up. Younger children (4-6) will benefit from more adult supervision and assistance with cutting and gluing, focusing on simpler animal designs. Older children (7+) can take on more complex designs, experiment with detailed features, and even come up with their own unique animal creations. The project can be scaled to match the fine motor skills and creative abilities of each child, making it a great family activity.
What Next?
Once your incredible cardboard tube zoo animals are complete and dry, they're ready for a parade of fun! Consider creating a whole habitat for them by decorating a larger cardboard box as a zoo enclosure. These charming creations also make wonderful handmade gifts or decorations for a child's room. For variations, explore making farm animals or even fantastical creatures! Don't forget to save your paper towel tubes for taller animals like giraffes or flamingos, expanding your zoo even further. Store your completed animals carefully in a box to prevent them from getting squashed, ensuring they remain a source of joy for a long time.
Free: 10 Paper Crafts Anyone Can Make in 5 Minutes
Get our beginner guide + new craft ideas weekly.
No spam. Unsubscribe anytime.
Did you complete this activity?
Related