How to Create Cardboard Tube Critter Castles — Easy Step-by-Step Guide
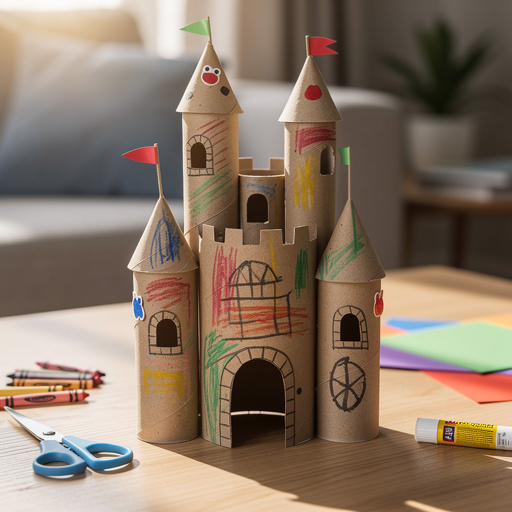
Transform everyday cardboard tubes into whimsical castles for your favorite small toys! This fun craft encourages imagination and upcycling.
Quick answer
To make Cardboard Tube Critter Castles, you need cardboard tubes, scissors, glue, and decorating supplies, taking about 45 minutes. Start by cutting crenellations into the tubes. This beginner-friendly activity has 10 steps and is perfect for kids aged 5+.
What you need
Shop on Amazon · As an Amazon Associate we earn from qualifying purchases. Links above are affiliate links — we may earn a commission at no extra cost to you.
On this page
Step-by-Step Instructions
- 1
Gather all your materials in a clear workspace.
- 2
For each cardboard tube, cut small triangular notches around the top edge to create crenellations (castle battlements).
- 3
Cut out various shapes from construction paper to decorate your castle walls, such as windows, doors, flags, or banners.

- 4
Glue the construction paper shapes onto the cardboard tubes, arranging them to look like castle features.
- 5
Use markers, crayons, or colored pencils to add extra details like bricks, vines, or shields to the tubes.
- 6
If using, add glitter, stickers, or craft gems for extra sparkle and texture.
- 7
Cut a larger piece of construction paper or cardboard to serve as the base for your castle.
- 8
Arrange the decorated cardboard tubes on the base to form your castle structure. You can stand them upright or lean them against each other.
- 9
Glue the bottom of the cardboard tubes to the base to secure them in place.
- 10
Allow all the glue to dry completely before playing with your critter castles.
Tips & Troubleshooting
- 1If the cardboard tubes are too tall, you can cut them down to your desired castle height before decorating.
- 2Experiment with different cutting techniques for the crenellations – some can be rounded, others pointed.
- 3Encourage kids to think about the type of castle they want to build – a fairy castle, a dragon's lair, or a knight's fortress.
- 4For a sturdier castle, use a hot glue gun (with adult supervision) to attach the tubes to the base.
- 5Once dry, these castles can be used as fun holders for small toys, pencils, or art supplies.
Related Activities You Might Enjoy
Frequently Asked Questions
What are the best materials for decorating cardboard tube castles?
You can use construction paper for windows and doors, markers for details, and optional items like glitter, stickers, or yarn scraps for added flair. Anything that can be glued or drawn on will work!
How do I make the cardboard tube castles more stable?
To make them more stable, ensure the base is large enough. Gluing the tubes securely to the base is key. Using a hot glue gun (with adult supervision) will provide a stronger bond than white craft glue.
Can I make different types of castles with this craft?
Absolutely! Encourage creativity by suggesting different themes. You could make a fairy castle with pastel colors and glitter, or a spooky castle with darker colors and jagged edges.
What age are cardboard tube critter castles suitable for?
This craft is best suited for children aged 5 and up. Younger children may need assistance with cutting and gluing, while older children can enjoy more independent decorating and design.
Free: 10 Paper Crafts Anyone Can Make in 5 Minutes
Get our beginner guide + new craft ideas weekly.
No spam. Unsubscribe anytime.
Did you complete this activity?
Related
You might also like
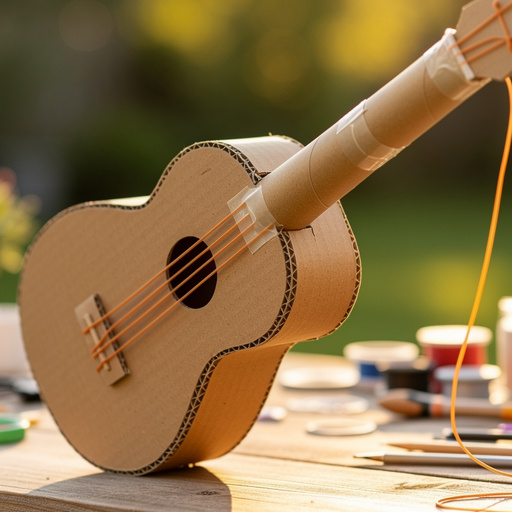
Cardboard Tube Guitar
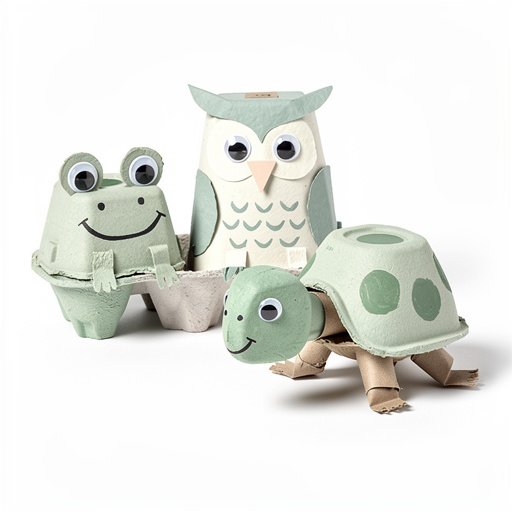
Egg Carton Critters & Creations
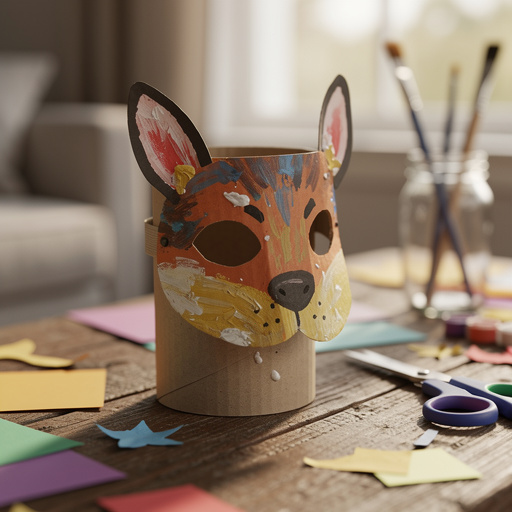
Cardboard Tube Animal Masks
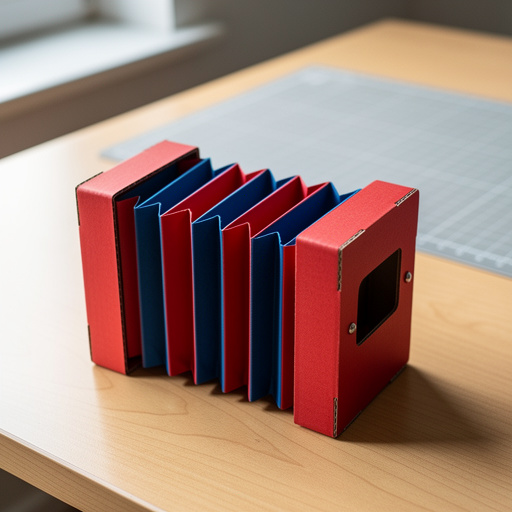
Cardboard Box Accordion
Whimsical Magazine Collage Creatures