How to Create Preschool Shape Collage Crafts — Easy Step-by-Step Guide
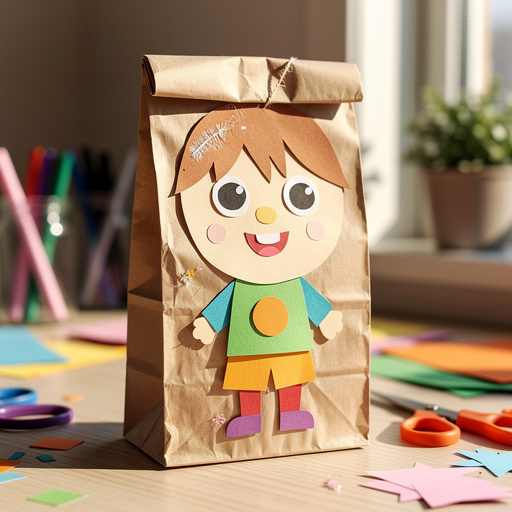
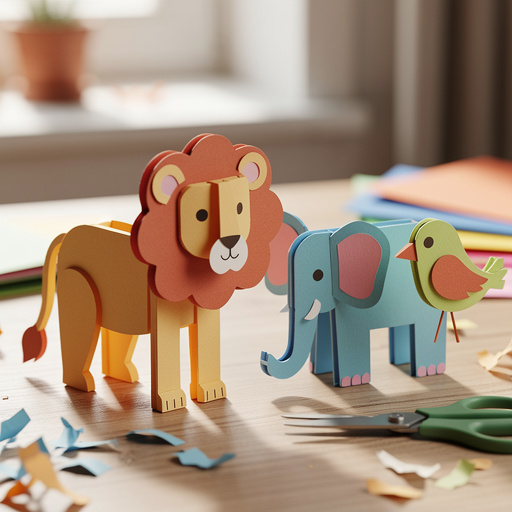
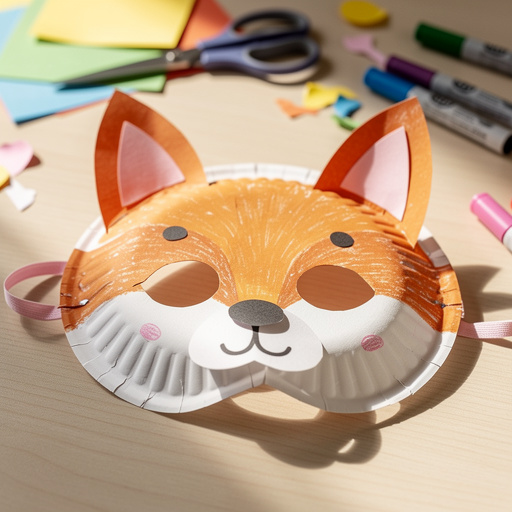
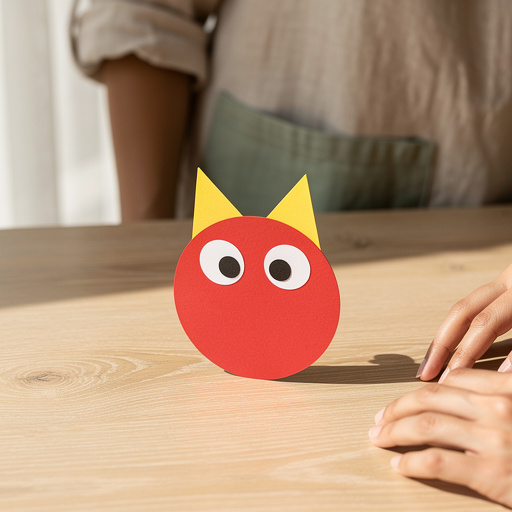
Spark creativity with these simple preschool shape collages! A fun way for little ones to explore shapes and textures while developing fine motor skills.
Quick answer
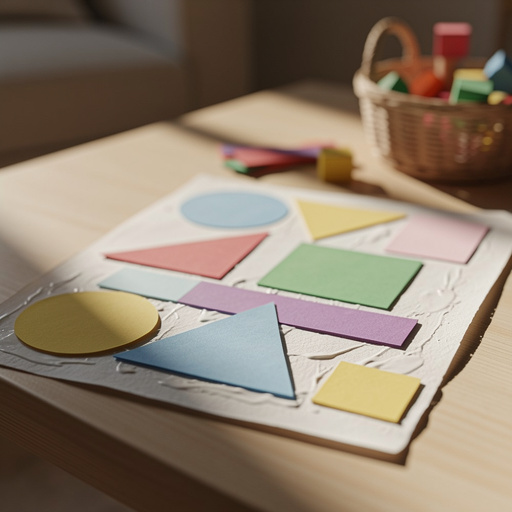
To make preschool shape collages, you need construction paper, glue sticks, and scissors, taking about 20 minutes. Start by cutting out various shapes. This beginner-friendly activity has 8 steps and is perfect for preschoolers aged 3-5.
What you need
Shop on Amazon · As an Amazon Associate we earn from qualifying purchases. Links above are affiliate links — we may earn a commission at no extra cost to you.
Embark on a delightful crafting adventure with your preschoolers by creating vibrant shape collages! This project is more than just a fun activity; it's a fantastic way to introduce young children to basic geometric forms while simultaneously honing their fine motor skills. Perfect for little hands aged 3 to 5, this engaging craft allows for boundless creativity, encouraging them to explore colors, textures, and spatial arrangements. It’s a low-pressure, high-reward experience that fosters independence and artistic expression, making it an ideal choice for home or classroom settings.
On this page
Step-by-Step Instructions
- 1
Gather your materials: Ensure you have all your construction paper, child-safe scissors, glue sticks, and a sturdy sheet of white paper or cardstock for each child ready before you begin. Having everything within reach will make the process smoother and more enjoyable for everyone involved.
- 2
Prepare the shape-cutting station: Select one color of construction paper and, using a pencil or marker, draw several simple geometric shapes such as circles, squares, triangles, and rectangles. Aim for a variety of sizes within each shape category to offer more options for the collage.
- 3
Cut out the shapes: Carefully cut along the lines of the shapes you've drawn. If your preschoolers are ready and eager to try, provide them with child-safe scissors and close supervision as they practice cutting. For younger children or those still developing their cutting skills, you can pre-cut a generous selection of shapes for them to choose from.
- 4
Expand the shape palette: Repeat steps 2 and 3 with at least two other colors of construction paper. This ensures a rich and diverse collection of shapes and colors for the collage, allowing for more creative combinations and visual interest in the final artwork.
- 5
Introduce additional textures (Optional): If you're using optional materials like cardboard scraps or fabric, cut these into similar shapes as well. This step adds a wonderful tactile dimension to the collage, encouraging sensory exploration and a more complex visual experience for the children.
- 6
Prepare the base canvas: Take your sheet of white paper or cardstock. This will serve as the foundation for your preschooler's shape collage. You can optionally let your child decorate this base paper with crayons or markers before they start gluing shapes, adding another layer of personalization.
- 7
Demonstrate the gluing technique: Show your preschooler how to pick up a shape and carefully apply glue to the entire back surface using the glue stick. Emphasize covering the edges to ensure the shape adheres well to the base paper, and advise them to avoid using too much glue, which can cause the paper to wrinkle.
- 8
Begin the collage creation: Encourage your preschooler to select a glued shape and press it firmly onto the base paper. Let them decide where they want to place each shape, fostering their decision-making skills and artistic freedom. There's no right or wrong way to start!
- 9
Encourage creative placement: Guide your child to continue selecting shapes and gluing them onto the base paper. Suggest they try overlapping shapes, placing them side-by-side to create patterns, or leaving some white space to make their design pop. This is where their unique vision truly comes to life.
- 10
Fill the canvas: Continue the process of gluing shapes until the base paper is filled to your child's satisfaction, or until they have used a good variety of the shapes and colors available. The goal is to create a vibrant and textured artwork that reflects their individual creativity.
- 11
Reinforce and secure: Once the collage is complete and all shapes are in place, gently press down on each glued shape one last time. This ensures that all edges are securely adhered to the base paper, preventing any pieces from lifting or falling off once the glue dries.
- 12
Allow for drying time: Set the finished collages aside in a safe place where they won't be disturbed. Allow the glue to dry completely, which typically takes about 15-30 minutes depending on the amount of glue used and the humidity. This drying period is crucial before handling or displaying the artwork.
Tips & Troubleshooting
- 1If your preschooler struggles with cutting, pre-cut a generous amount of shapes for them to choose from. This ensures they can still participate fully in the creative process without frustration, allowing them to focus on the gluing and design aspects.
- 2Introduce different textures by using corrugated cardboard shapes or fabric scraps in addition to paper. This adds a tactile dimension to the collage, making it more engaging for sensory exploration and encouraging a deeper appreciation for varied materials.
- 3Talk about the shapes as you cut and glue them. Ask questions like, 'What shape is this?' or 'How many sides does this square have?' This interactive approach reinforces shape recognition and basic geometry concepts in a fun, conversational way.
- 4Don't worry about perfection! The goal is exploration and fun. Let your child's imagination guide their design, even if it means shapes are placed upside down or colors are mixed in unexpected ways. The process and their enjoyment are the most important outcomes.
- 5Once dry, you can frame the collages or use them as unique greeting cards. This adds a sense of accomplishment for the child and provides a beautiful, personalized keepsake or gift that they can be proud of.
- 6Consider creating a 'shape sorting' activity before the collage. Have children sort the pre-cut shapes by color or type before they begin gluing, which can help them develop organizational skills and a better understanding of the different shapes available.
- 7For a collaborative project, have multiple children work on a single large collage, or have each child create a section that can be combined later. This encourages teamwork, sharing, and the appreciation of diverse artistic styles.
- 8Extend the learning by discussing what the collage reminds them of. Does it look like a garden, a city, or an abstract pattern? This encourages imaginative thinking and helps them connect their artwork to the world around them.
Related Activities You Might Enjoy
Frequently Asked Questions
What are the benefits of collage crafts for preschoolers?
Collage crafts for preschoolers offer a multitude of developmental benefits. Primarily, they are excellent for developing fine motor skills as children practice grasping scissors, manipulating glue sticks, and placing small pieces of paper. This activity also significantly enhances shape recognition and identification, helping children learn to distinguish between circles, squares, triangles, and other geometric forms. Furthermore, collage work nurtures creativity and imagination, allowing children to express themselves through color and composition. It also boosts hand-eye coordination, as they learn to control their movements to place shapes accurately. Finally, the tactile nature of different papers and textures provides a wonderful opportunity for sensory exploration, making learning a multi-sensory experience.
What materials are best for preschool shape collages?
For preschool shape collages, it's best to use sturdy materials that are easy for little hands to manage. Brightly colored construction paper is ideal because it's readily available, comes in a wide range of hues, and is easy to cut and glue. For cutting, child-safe scissors with rounded tips are essential to ensure safety. Easy-to-use glue sticks are preferable over liquid glue, as they are less messy and provide a consistent adhesive application. A plain white paper or cardstock base works well because it provides a neutral background that makes the colorful shapes stand out. Consider using slightly heavier cardstock for the base to prevent it from becoming too flimsy once glued.
How can I make shape collages more challenging for older preschoolers?
To make shape collages more challenging for older preschoolers, you can introduce more complex shapes, such as ovals, stars, hexagons, or even simple animal outlines. Encourage them to create a specific theme for their collage, like an animal, a vehicle, a house, or a landscape, which requires more planning and spatial reasoning. You can also have them cut their own shapes with less assistance, focusing on precision and following lines. Another way to increase the challenge is by adding other materials like yarn, buttons, sequins, or small fabric scraps, which require different gluing techniques and add a new layer of complexity. You might also introduce the concept of symmetry or pattern-making within their designs.
How long does it take to make a preschool shape collage?
A preschool shape collage typically takes about 20-30 minutes to complete from start to finish. This timeframe includes the initial setup, the process of drawing and cutting shapes (or choosing pre-cut shapes), and the actual gluing and arrangement of the collage. The exact duration can vary depending on several factors, including the child's age and developmental stage, their level of engagement and focus, and whether the shapes are pre-cut or if the child is involved in the cutting process. Some children might finish quickly, while others may prefer to take their time and meticulously place each shape, making the activity a more extended and thoughtful experience.
What are some creative ways to display or store preschool shape collages?
Once your preschooler's shape collages are complete and dry, there are many creative ways to display and store them. For immediate enjoyment, they can be proudly displayed on the refrigerator using magnets. For a more permanent display, consider framing them; simple, inexpensive frames can elevate the artwork and make it look like a professional piece. You can also punch holes in the corners of the collages and bind them together with ribbon or rings to create a personalized art book. Another wonderful idea is to use them as unique greeting cards for holidays or birthdays by folding them in half and writing a message inside. For storage, consider a portfolio or a large binder with clear plastic sleeves to protect the artwork and keep them organized for future viewing.
Can I use materials other than construction paper for shape collages?
Absolutely! Expanding beyond construction paper can make shape collages even more engaging and introduce children to a wider range of textures and visual effects. Consider using different types of paper, such as patterned scrapbook paper, tissue paper (which can be layered for interesting effects), or even newspaper and magazine clippings for a more abstract look. Sturdy materials like felt scraps, small fabric swatches, or even thin pieces of foam sheets can add a lovely tactile dimension. For a more natural touch, you could incorporate dried leaves, flower petals, or small twigs. When using these varied materials, ensure they are lightweight enough to be glued securely and that the adhesive is appropriate for the material.
What Next?
Once your little artists have finished their masterpieces, take a moment to admire their unique creations and celebrate their efforts. These shape collages can be displayed proudly on the refrigerator, framed as special gifts, or even transformed into personalized greeting cards for family and friends. For future projects, consider introducing new shapes like ovals, stars, or even simple animal outlines. You could also explore different collage techniques, such as tearing paper instead of cutting, or incorporating materials like yarn, buttons, or even natural elements like leaves for added texture and sensory engagement. This foundational shape collage activity opens the door to a world of creative possibilities!
Free: 10 Paper Crafts Anyone Can Make in 5 Minutes
Get our beginner guide + new craft ideas weekly.
No spam. Unsubscribe anytime.
Did you complete this activity?