How to Make Construction Paper Shape Critters — Tips, Tricks & Common Mistakes to Avoid
Transform simple construction paper shapes into playful critters! This easy craft is perfect for little hands, fostering creativity and fine motor skill development. Learn how to make these delightful creatures with our comprehensive guide, including tips, tricks, and common mistakes to avoid.
Quick answer
To make construction paper shape critters, you need construction paper, child-safe scissors, glue sticks, and about 30 minutes. It's a fantastic way for 3-year-olds to practice cutting and gluing, developing fine motor skills and creativity. Gather 6 sheets of assorted color construction paper (9x12 inches), 1 sheet of white construction paper (9x12 inches), child-safe scissors, 2 washable glue sticks, a black marker, a ruler, and a pencil.
What you need
Shop on Amazon · As an Amazon Associate we earn from qualifying purchases. Links above are affiliate links — we may earn a commission at no extra cost to you.
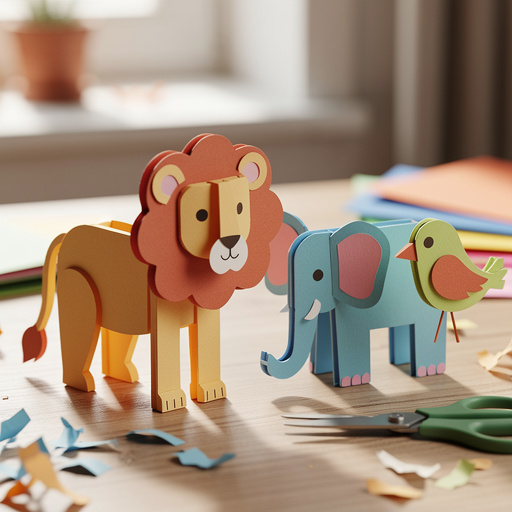
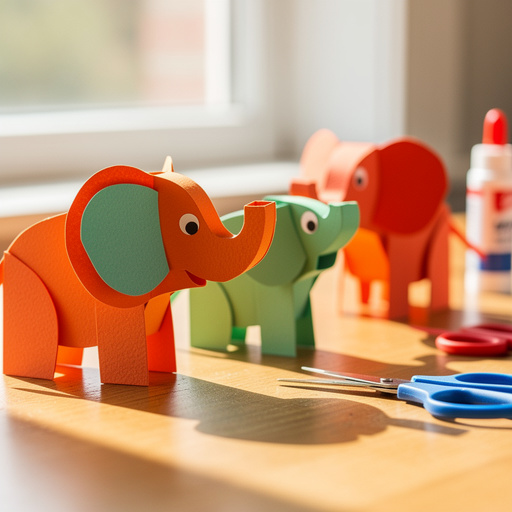
Embark on a delightful crafting adventure that transforms ordinary construction paper into whimsical creatures! The Construction Paper Shape Critters project is more than just a craft; it's a gateway to imaginative play and essential skill development for young children. Its simplicity makes it incredibly accessible, perfect for little hands eager to create. This project is especially wonderful for preschoolers and early elementary-aged children, offering a fun and engaging way to explore shapes, colors, and their own creativity, all while building crucial fine motor skills. Get ready to bring some adorable paper pals to life!
On this page
Step-by-Step Instructions
- 1
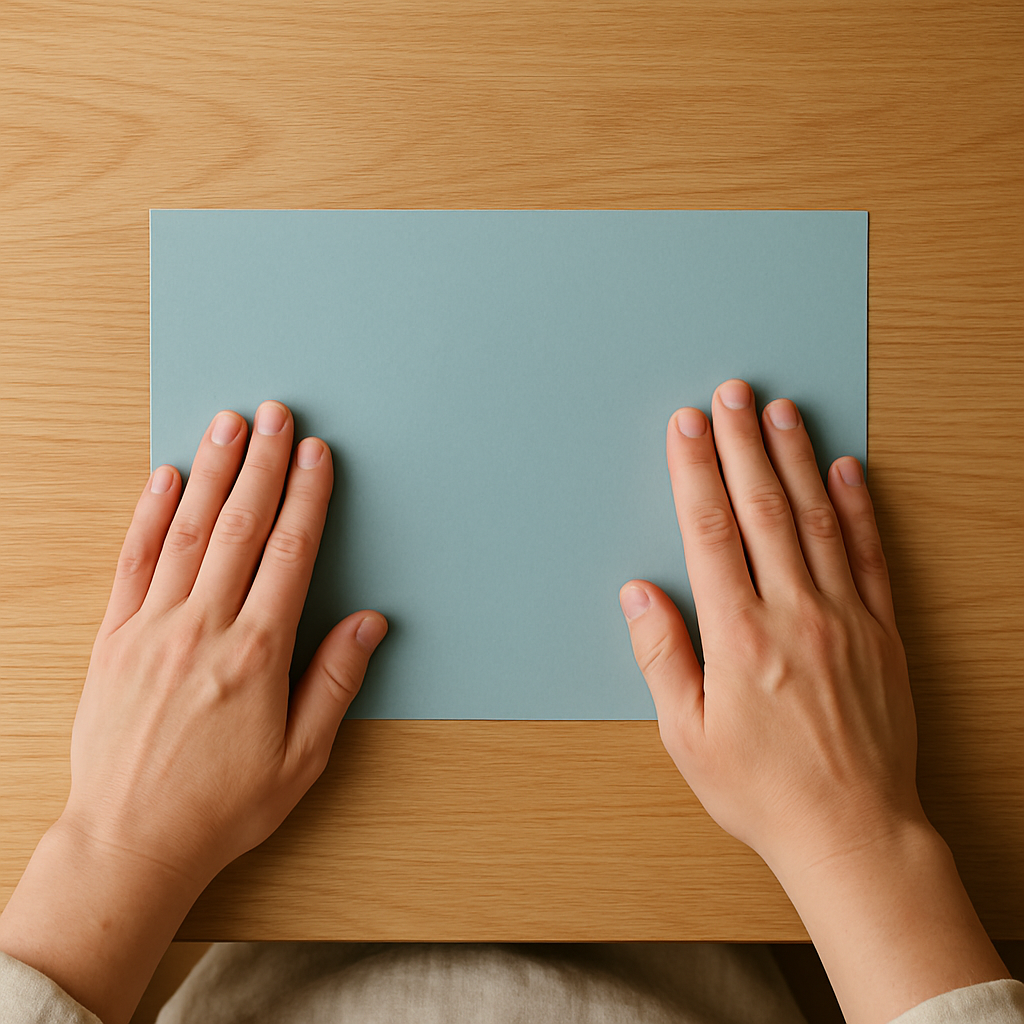
Step 1: Prepare the base. Take one sheet of construction paper (any color will do) and lay it flat horizontally on your workspace. This serves as the background canvas for your critter, providing a stable surface for all the elements you'll be adding.
- 2
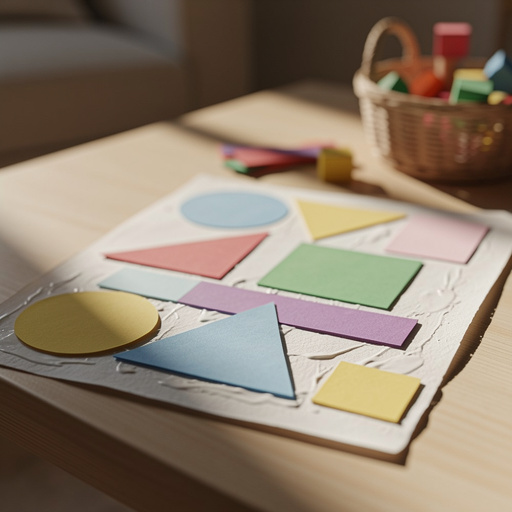
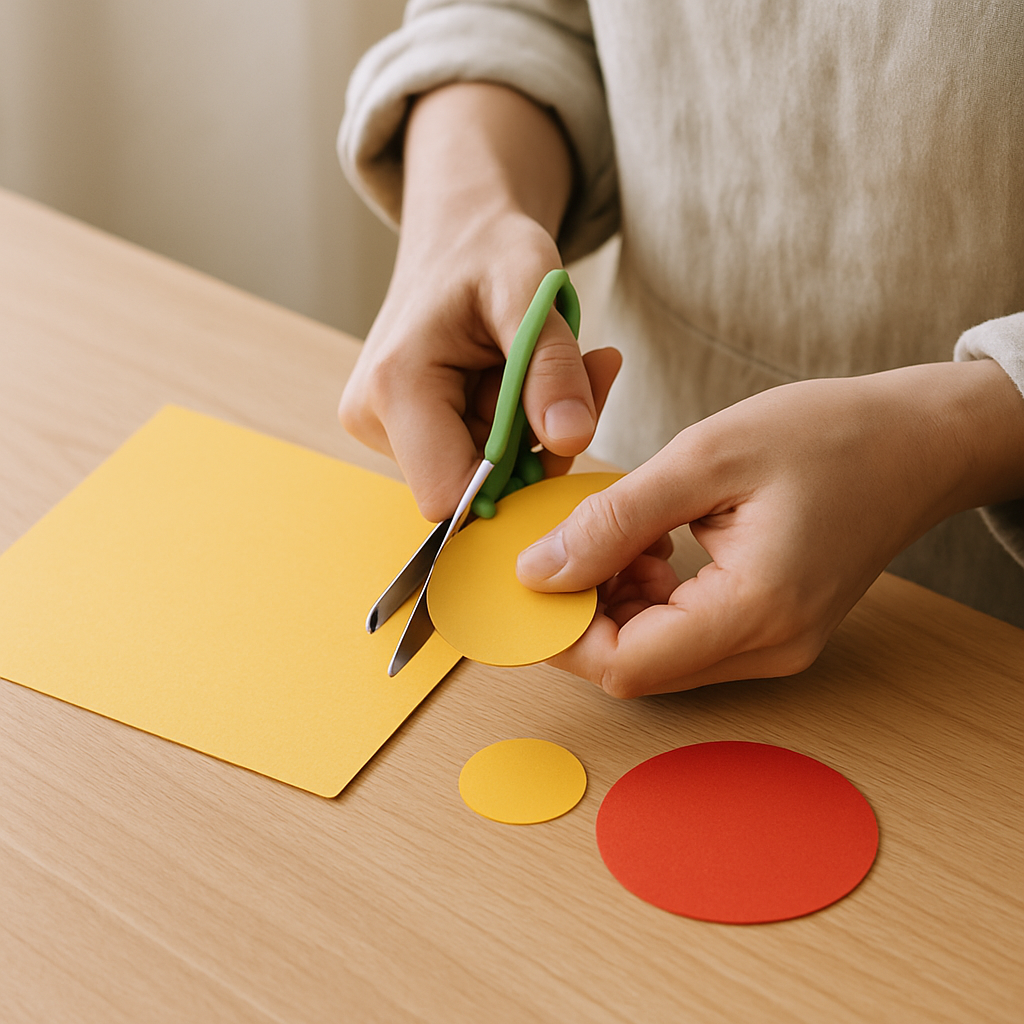
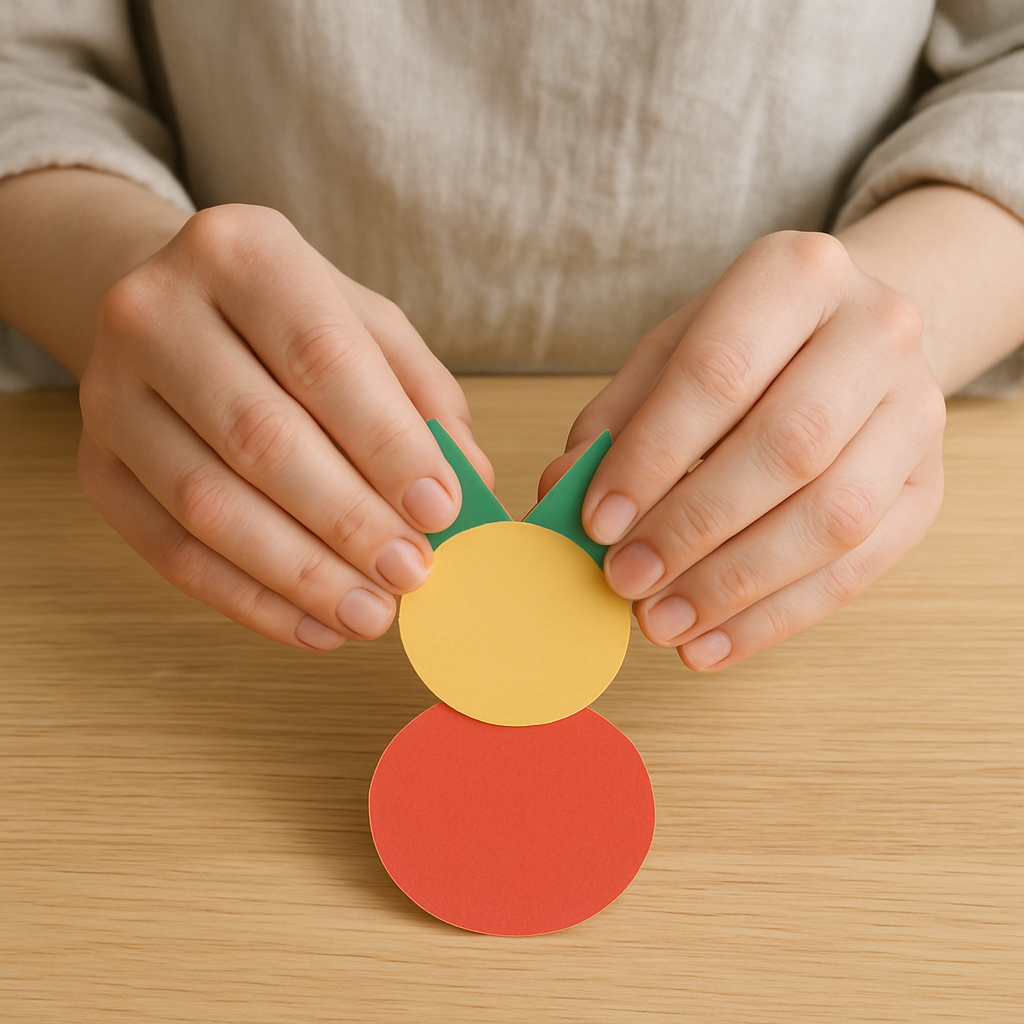
Step 2: Cut a large circle for the body. On a different colored sheet of construction paper, use your pencil and ruler to draw a circle with a diameter of approximately 10 cm. Carefully cut this out with the safety scissors, focusing on a smooth cutting motion. If the circle isn't perfectly round, don't worry; slight imperfections often add unique character and charm to your critter.

- 3
Step 3: Cut a smaller circle for the head. On another colored sheet, draw a circle with a diameter of about 6 cm. Cut this out with your scissors. For younger toddlers who are still developing their cutting skills, it's highly recommended to pre-cut these shapes beforehand to ensure a smoother crafting experience and prevent frustration.
- 4
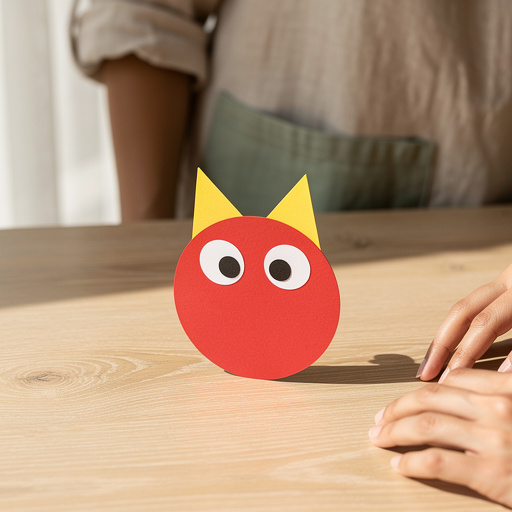
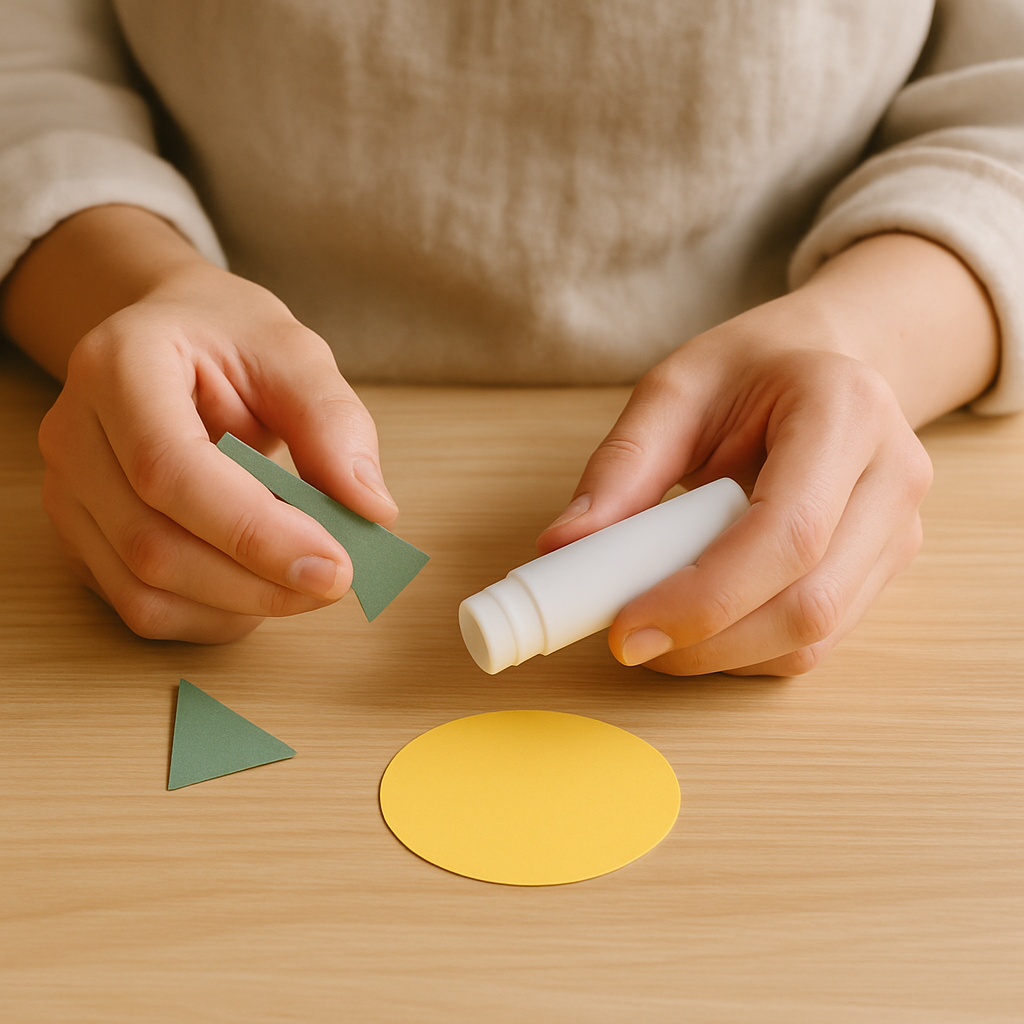
Step 4: Add ears or antennae. For ears, cut two small triangles from a contrasting color, with each side measuring about 3 cm. Alternatively, for antennae, cut two thin rectangles, approximately 2 cm wide and 8 cm long. These can be any color that complements your critter's body and head.
- 5
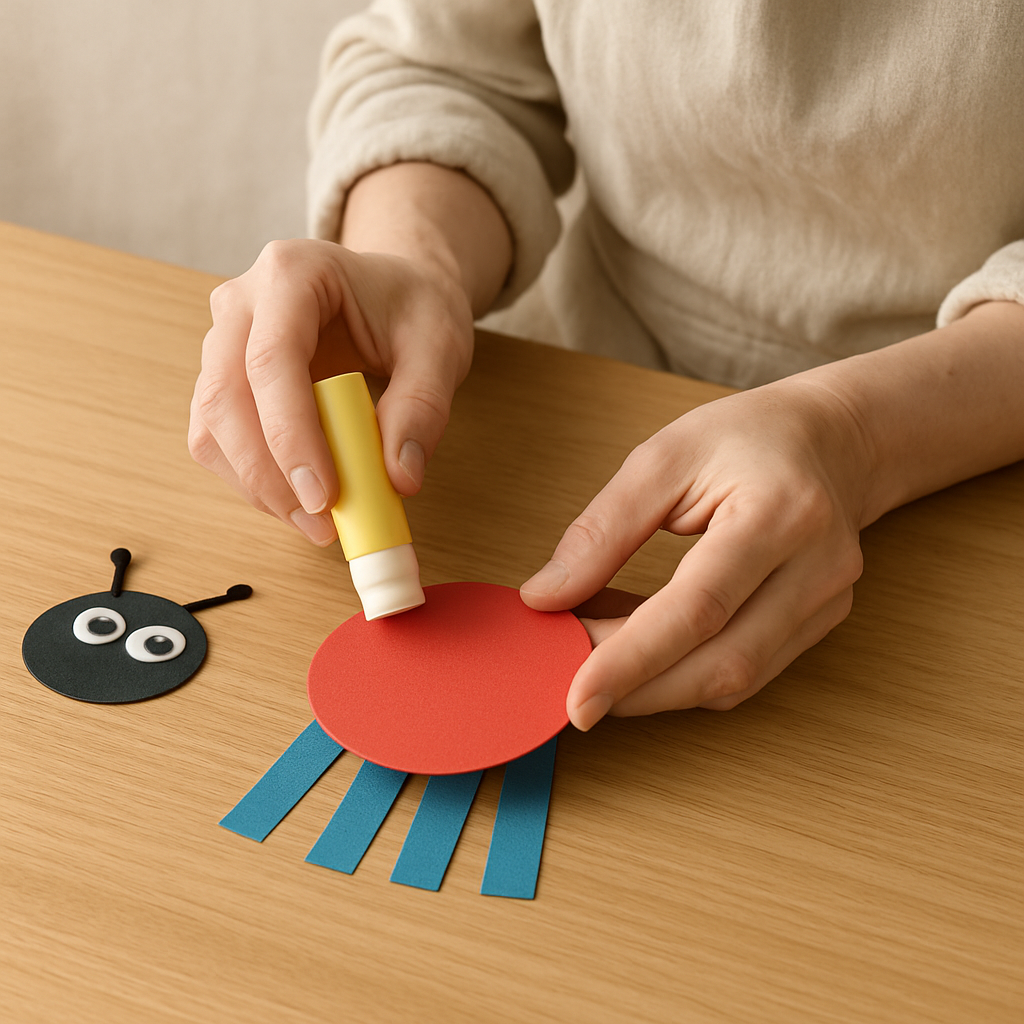
Step 5: Cut out legs or a tail. For legs, cut four small rectangles, about 2 cm wide and 4 cm long, to give your critter stability. For a tail, cut a wavy strip about 1.5 cm wide and 8 cm long, allowing it to flow dynamically. If the paper tears slightly while cutting, gently smooth it out with your fingers; a small tear can often be disguised with glue or a decorative element.

- 6
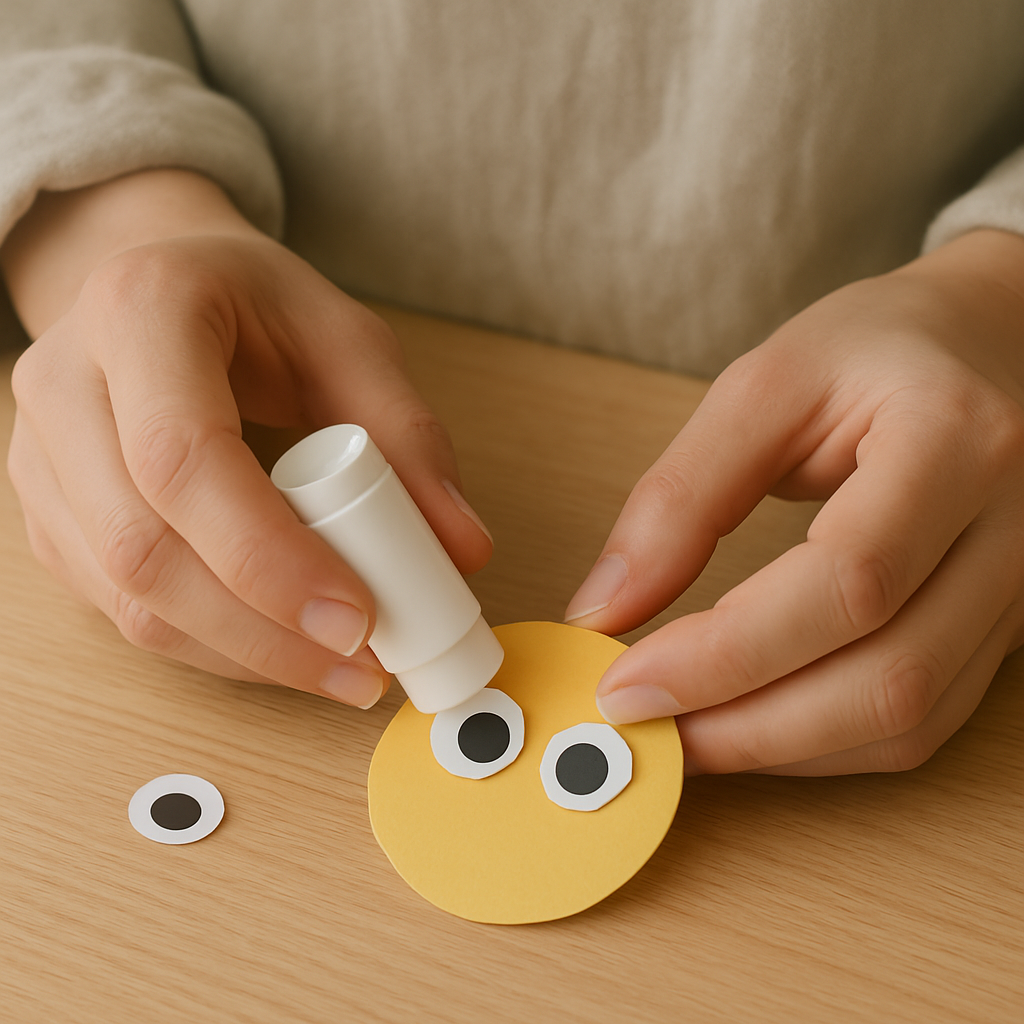
Step 6: Prepare the eyes (whites). Take the white construction paper and cut two small circles, about 1.5 cm in diameter. These will form the base of your critter's eyes, providing a bright contrast for the pupils.
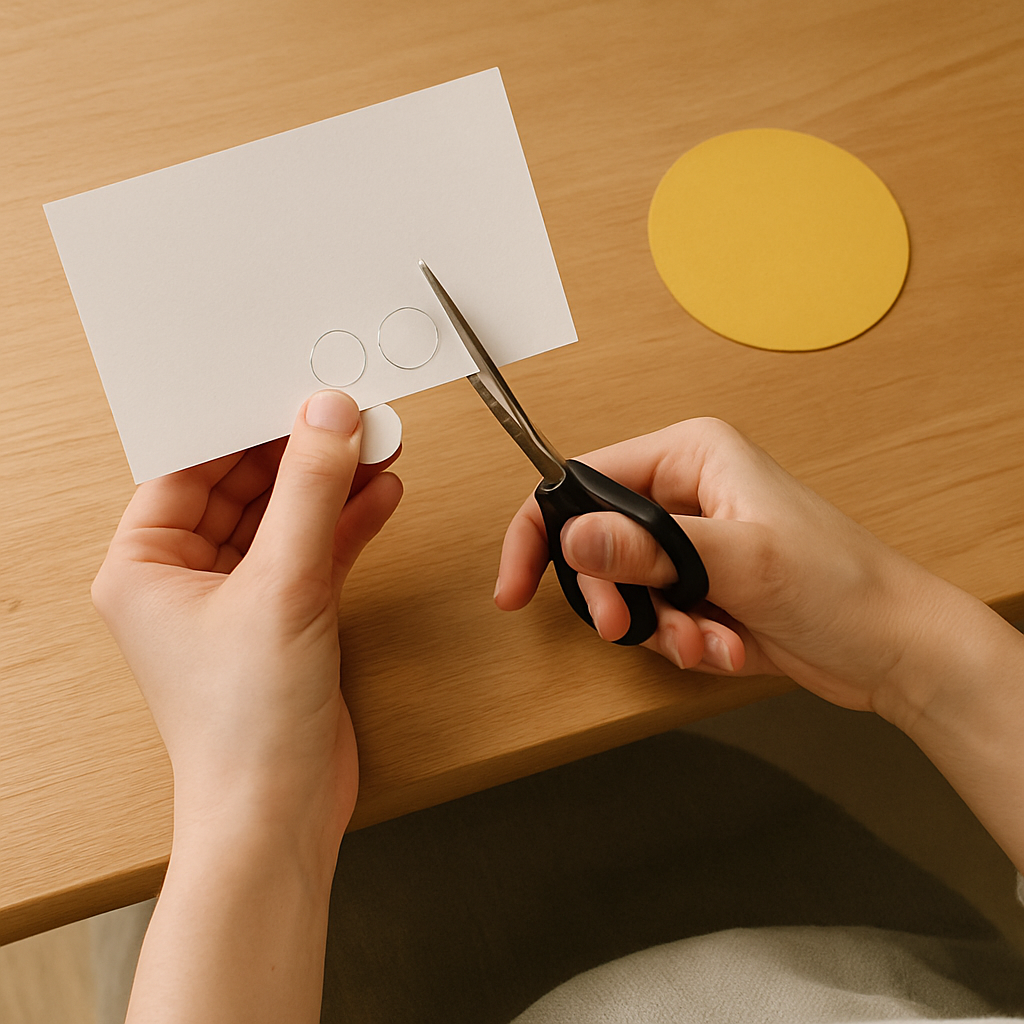
- 7
Step 7: Add pupils. On top of the white circles, use the black marker to draw smaller black circles, about 0.5 cm in diameter, to create the pupils. Alternatively, for a more defined look, you can cut tiny black circles from black construction paper and glue them onto the white circles.
- 8
Step 8: Assemble the head. Take the smaller circle (your critter's head) and apply glue stick evenly to the entire back surface. Center this head circle onto the larger body circle and press down firmly. Ensure the glue covers the edges to prevent the head from peeling off later.

- 9
Step 9: Attach the ears or antennae. Apply glue to the flat edge of the ear triangles or the bottom edge of the antennae rectangles. Carefully position them at the top of the head circle, pressing them down securely. If they don't seem to stick well, add a tiny bit more glue to the attachment point.
- 10
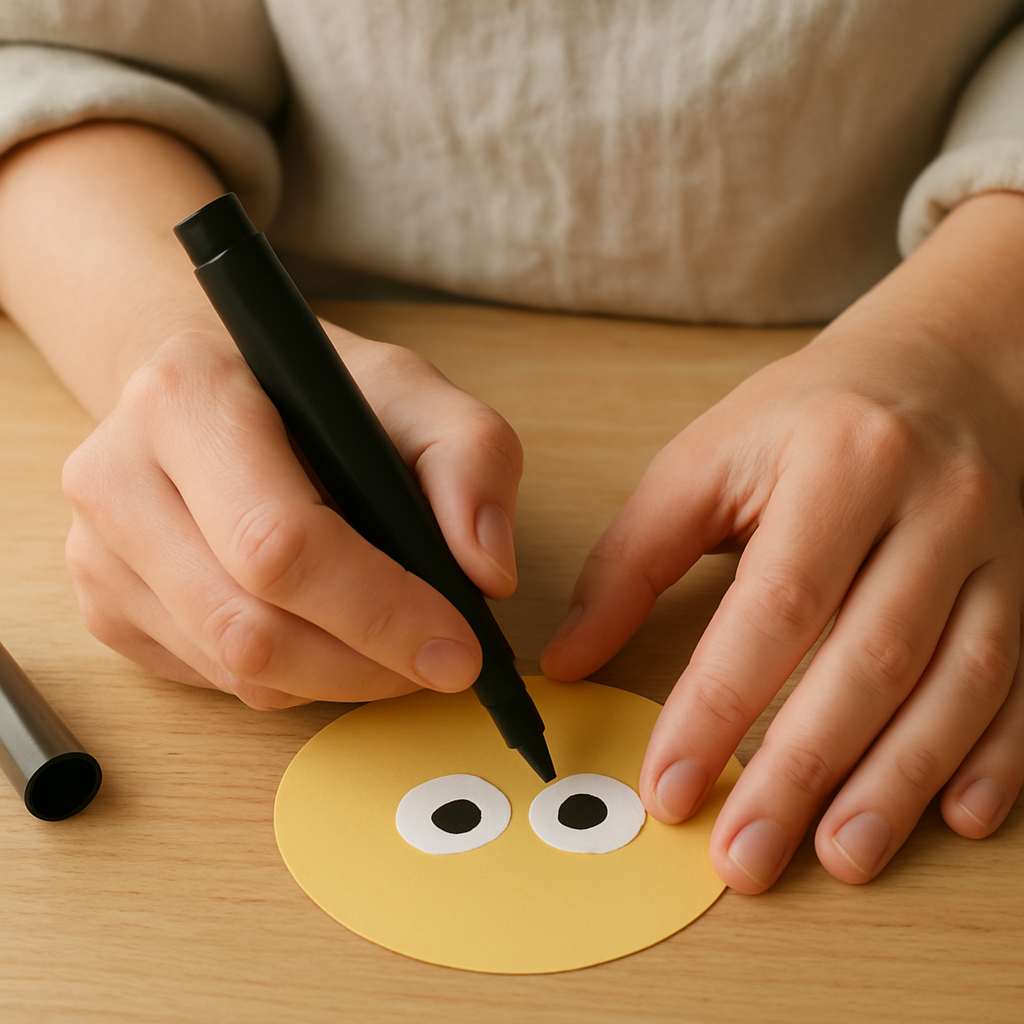
Step 10: Glue on the eyes. Apply glue to the back of the white eye circles and place them onto the head. You can position them slightly askew for a funny or surprised expression, or place them symmetrically for a more classic look.
- 11
Step 11: Add legs. Flip the body over so the back is facing up. Apply glue to one end of each leg rectangle and attach them to the bottom edge of the body circle. Space them evenly to ensure your critter can stand or appear to be walking.
- 12
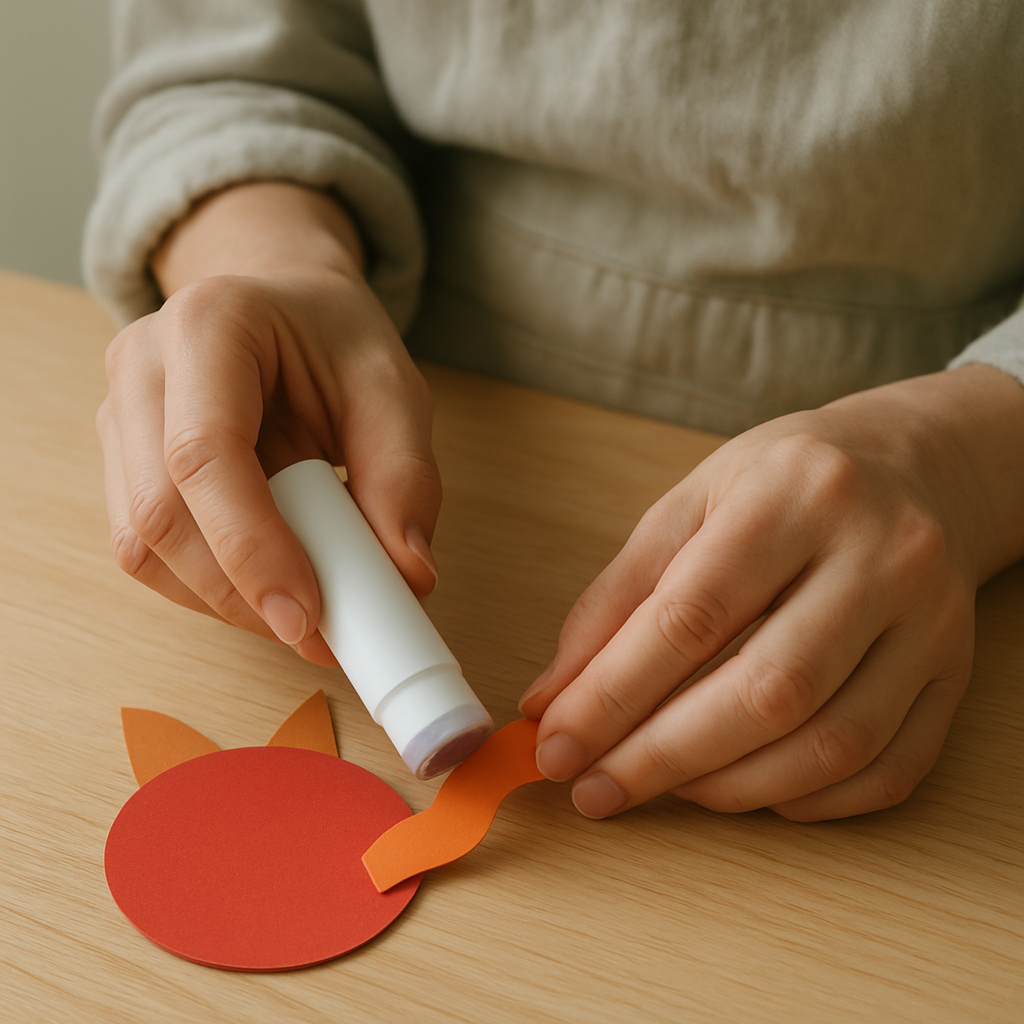
Step 12: Attach the tail (if using). Apply glue to one end of the tail and attach it to the side or back of the body circle. Let it curve outwards or upwards to give your critter a sense of movement and personality.
- 13
Step 13: Draw a mouth and details. Once the glue is mostly dry, use the black marker to draw a mouth on the head. You can draw a simple smile, a frown, or even a wide-open mouth for a surprised critter. You can also add dots for a nose or stripes on the body for extra character.

- 14
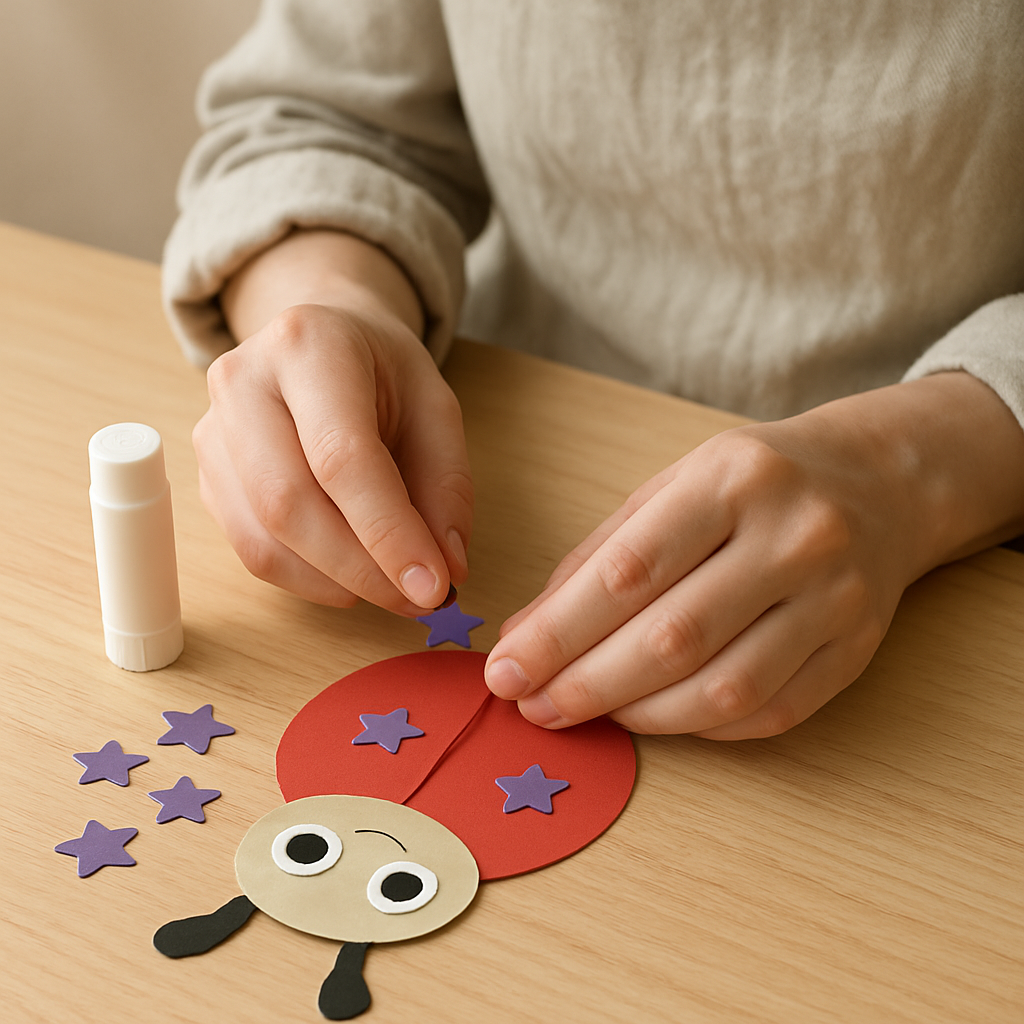
Step 14: Add extra embellishments. Cut small shapes like squares, stars, or even hearts from contrasting colors of construction paper to decorate the body or the background. Glue these on to add visual interest and further personalize your critter.
- 15
Step 15: Final Touches and Drying. Ensure all pieces are securely attached by gently pressing down on each element. If any parts feel loose, add a bit more glue and press again. Allow your construction paper critter to dry completely before handling or displaying it to prevent any accidental smudging or pieces coming unstuck.
Tips & Troubleshooting
- 1Glue stick mastery: For 3-year-olds, demonstrate how to apply the glue stick evenly across the entire surface of the shape, not just the edges. If they apply too little, the shape might peel off later, and if they apply too much, it can cause the paper to wrinkle or ooze out, creating a mess. Show them how to make overlapping strokes to ensure full coverage.
- 2Cutting practice: Encourage your child to hold the safety scissors with a 'pinch and snip' motion, keeping their thumb up. For younger children who struggle with cutting curves, pre-cut the circles and let them focus on cutting straight lines for legs or antennae. If they are cutting the main shapes, supervise closely to prevent frustration and offer gentle guidance on holding the scissors and paper.
- 3Troubleshooting ripped paper: If a shape rips, don't despair! Often, a little extra glue applied to both torn edges can mend it beautifully. Press it firmly and let it dry completely. You can also strategically place a decorative element, like a sticker or another cut-out shape, over the rip to disguise it and add a unique design feature.
- 4Adapting for younger toddlers (2-3 years): Pre-cut all the shapes for them, focusing on basic circles, squares, and rectangles. Your main goal at this age is to help them practice the gluing and sticking part. You can also use larger shapes for easier handling and gluing, making the process less fiddly and more rewarding.
- 5Adapting for older toddlers (4-5 years): Encourage them to draw their own shapes and cut them out with supervision. They can also try adding more detailed features like patterns or different textures using crayons or markers on the construction paper before cutting. This allows for more complex designs and a greater sense of ownership over their creations.
- 6Mess-free gluing: While glue sticks are generally less messy than liquid glue, it's always a good idea to have a damp cloth or baby wipe handy for sticky fingers. Encourage your child to press down firmly on the glued shape to ensure it adheres well without needing to rub excessively, which can sometimes lead to smudging or tearing.
- 7Color coordination and contrast: Discuss color choices with your child. Using contrasting colors for different parts of the critter can make it more visually appealing and help them learn about color relationships. For example, bright red ears on a blue body will really pop!
- 8Creative shape exploration: Don't limit yourself to circles and rectangles. Encourage children to cut out other basic shapes like squares, triangles, or even ovals to create different types of critters. A triangle could be a beak, a square could be a robot body, or an oval could be a fuzzy monster's head.
Related Activities You Might Enjoy
Frequently Asked Questions
What are the best types of construction paper and glue for 3-year-olds?
For 3-year-olds, opt for sturdy, brightly colored construction paper that is less likely to tear easily. Brands like construction paper from Pacon or Mead offer good quality and a wide range of vibrant colors. For glue, non-toxic, washable glue sticks are ideal. Look for brands like Elmer's or UHU, which are specifically designed for children and dry clear, minimizing visible glue marks. Avoid liquid glue initially, as it can be much messier and harder for little hands to control, often leading to paper saturation and tearing. Ensure the glue stick cap is easy for them to remove and replace with a little guidance to promote independence.
How can I help my 3-year-old with cutting skills using construction paper?
Cutting with safety scissors is a major fine motor skill for 3-year-olds, and this craft provides an excellent opportunity to practice. Start by having them practice snipping the edges of a piece of paper, focusing on the 'pinch and snip' motion. Then, progress to cutting along pre-drawn lines – straight lines first, then wavy lines. For this critter craft, you can draw the shapes and let them attempt to cut them out, or pre-cut the main shapes and let them cut smaller details like eyes or antennae. Always supervise closely, ensuring they hold the scissors correctly (thumb up) and use a controlled motion. Celebrate every successful cut, no matter how small, to build their confidence!
My 3-year-old is struggling to get the shapes to stick. What can I do?
This is a common challenge! Ensure you're using a good quality glue stick that is designed for paper crafts. Demonstrate how to apply the glue generously to the entire back surface of the shape, not just the edges. For 3-year-olds, it helps to show them how to rub the glue stick in different directions (up, down, side to side) to cover the whole area. Once they place the shape, encourage them to press down firmly with their whole hand for about 10-15 seconds, applying even pressure. If the paper is very thin or the glue isn't holding, you can try a very thin layer of white school glue applied with a brush, but be prepared for increased mess and drying time.
How do construction paper crafts benefit a 3-year-old's development?
Construction paper crafts are fantastic for a 3-year-old's holistic development! Cutting with safety scissors (with supervision) hones fine motor skills and hand-eye coordination, essential for tasks like writing and dressing. Applying glue sticks strengthens the small muscles in their hands and fingers, improving dexterity. Selecting and arranging shapes helps with color recognition, shape identification, and spatial reasoning as they learn how different pieces fit together. Furthermore, the creative process encourages imagination, self-expression, and problem-solving as they decide where to place elements and what kind of critter to create. It's also a wonderful opportunity for language development as you talk about colors, shapes, and the critter they are bringing to life.
Can I use liquid glue instead of glue sticks for this craft?
While glue sticks are generally recommended for this specific craft, especially for young children due to their ease of use and reduced mess, liquid glue can be used with some considerations. If you opt for liquid glue, use a non-toxic, washable white school glue. Apply it sparingly with a small brush or a fine-tip applicator to avoid oversaturation, which can cause the construction paper to wrinkle or tear. It's crucial to let the liquid glue dry completely, which may take longer than a glue stick, before handling the critter to prevent smudging or pieces coming apart. For very young children, glue sticks are usually the more manageable and less frustrating option.
What are some ways to make the construction paper critters more unique?
To make your construction paper critters truly unique, encourage creativity beyond the basic shapes! Consider adding googly eyes for a fun, wiggly effect. You can also use crayons or colored pencils to draw patterns, stripes, or spots directly onto the construction paper shapes before gluing them. Experiment with different textures by layering shapes or using patterned construction paper. For example, a textured paper could become fur, or a metallic paper could be used for shiny wings. Don't be afraid to mix and match colors in unexpected ways, and encourage children to invent their own critter features, like a crown made of small triangles or a scarf made of a thin strip of paper.
What Next?
Once your construction paper critters are complete and dry, they can become the stars of their own imaginative stories or a vibrant display. Consider mounting them on a larger piece of cardstock to create a scene, or even stringing them together to make a festive garland. For variations, encourage children to experiment with different shapes for bodies, limbs, and features – think squares for robot critters, ovals for fuzzy monsters, or even long, thin strips for slithering snakes. You can also introduce textures by using patterned paper or adding googly eyes for extra personality. This project is a fantastic springboard for further exploration into paper crafts, perhaps leading to creating paper houses for their critters or even simple paper puppets.
Free: 10 Paper Crafts Anyone Can Make in 5 Minutes
Get our beginner guide + new craft ideas weekly.
No spam. Unsubscribe anytime.
Did you complete this activity?