How to Create a Cardboard Tube Desk Organizer — Easy Step-by-Step Guide
Transform humble toilet paper rolls into a functional and decorative desk organizer. Perfect for tidying up pens, pencils, and small supplies. This beginner-friendly, recycled craft is a fantastic way to declutter your workspace and add a personal touch.
Quick answer
To make a desk organizer, you need 6-8 empty toilet paper rolls, scissors, craft glue or a hot glue gun (with adult supervision), decorative paper, a ruler, and a pencil, taking about 45 minutes. Start by cutting the rolls to size, then decorate and assemble them. This beginner-friendly activity has 10 steps and is perfect for adults seeking screen-free organization and a way to upcycle materials.
What you need
Shop on Amazon · As an Amazon Associate we earn from qualifying purchases. Links above are affiliate links — we may earn a commission at no extra cost to you.
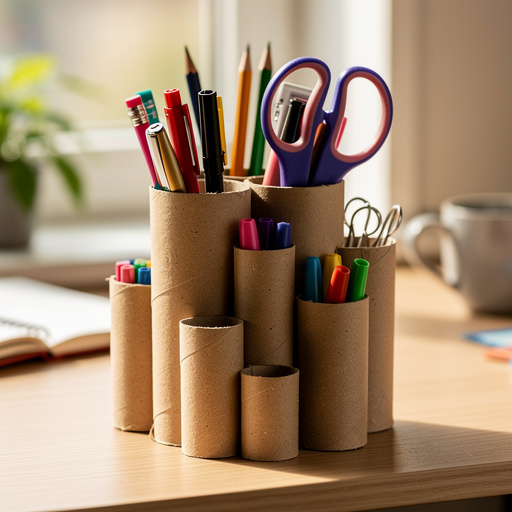
Are you looking for a simple, budget-friendly, and eco-conscious way to bring order to your desk? This cardboard tube desk organizer project is the perfect solution! It’s a fantastic way to upcycle common household items, transforming them into something both practical and aesthetically pleasing. Ideal for students, crafters, home office enthusiasts, or anyone who appreciates a tidy workspace, this project requires minimal materials and offers maximum impact. Get ready to ditch the clutter and embrace a more organized, personalized desk environment with this delightful DIY endeavor.
On this page
Step-by-Step Instructions
- 1
Gather your 6-8 empty toilet paper rolls. Ensure they are clean and free of any residual paper or debris. If you plan to make a larger organizer, collect more rolls; you can also incorporate paper towel rolls cut to size for varying heights.
- 2
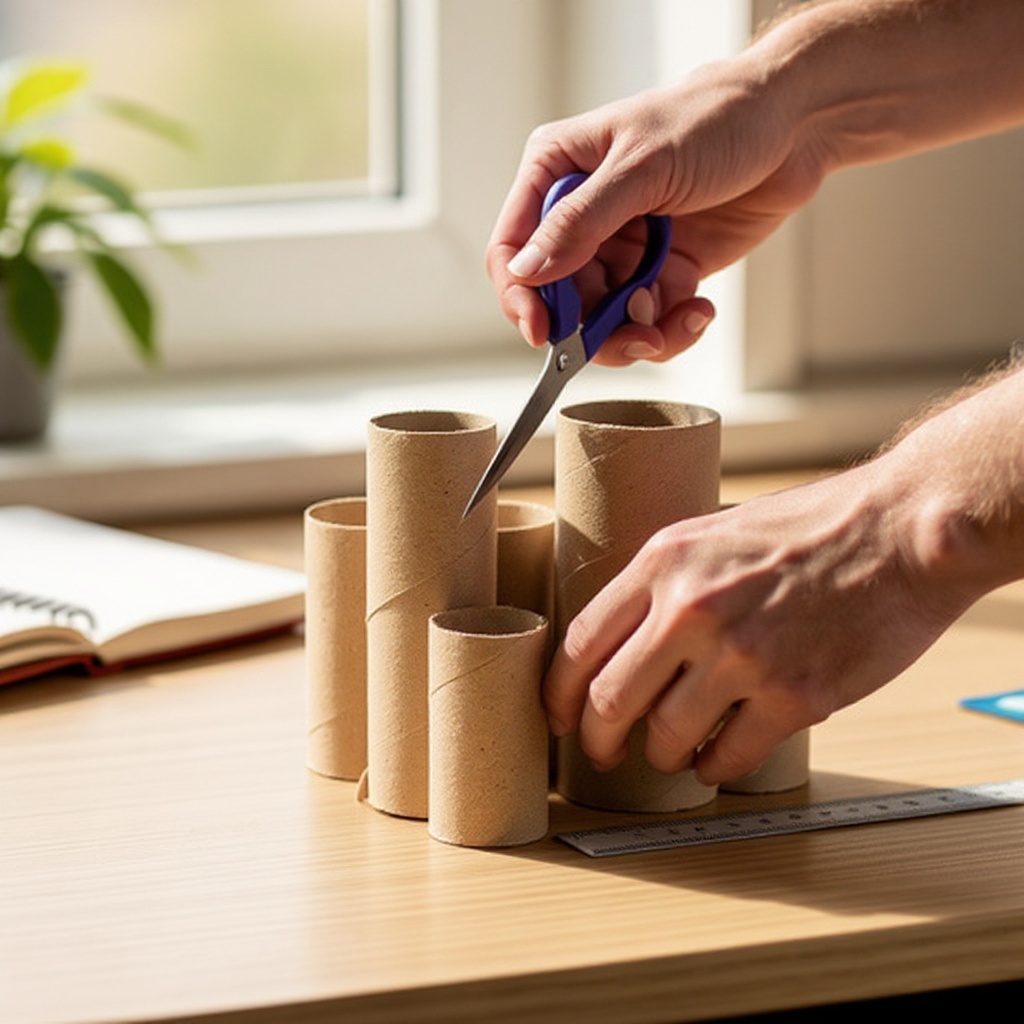
Decide on the desired height for your organizer compartments. You can opt for uniform heights for a sleek look or vary them for visual interest and to accommodate different-sized items. Use a ruler and pencil to carefully mark each roll at your chosen heights.
- 3
Carefully cut each toilet paper roll to your marked height using scissors. Aim for clean, straight cuts to ensure the rolls sit flush when assembled. If you're aiming for varying heights, make sure the differences are noticeable and intentional for a tiered effect.
- 4
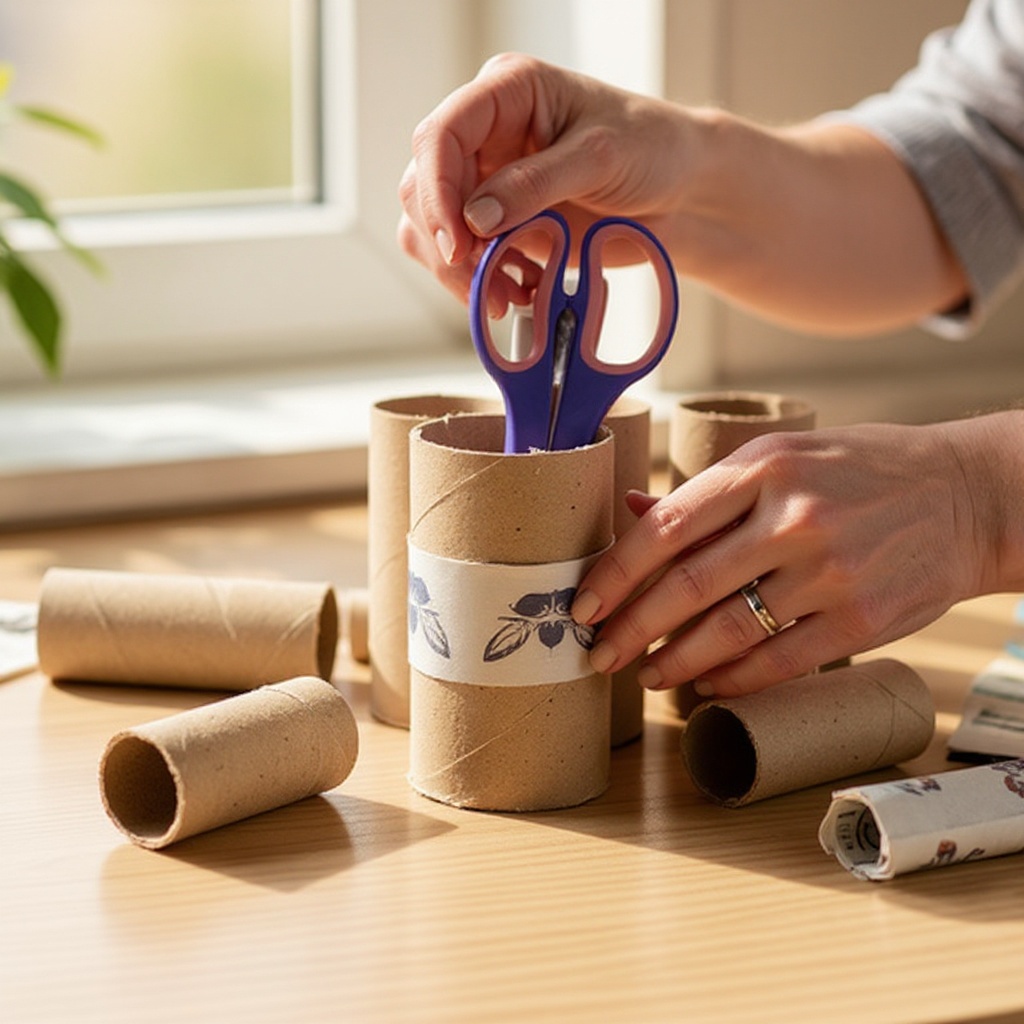
Select your decorative paper and cut pieces large enough to wrap around each cardboard tube, with a slight overlap of about 1-2 cm (about half an inch) to ensure a secure seam. Measure the circumference of each roll and add the overlap allowance.
- 5
Apply a thin, even layer of craft glue or hot glue along one edge of a paper strip. Carefully wrap the paper around a toilet paper roll, starting from the bottom edge and working your way up. Smooth out any wrinkles or air bubbles as you go to achieve a neat finish.
- 6
Continue wrapping and gluing paper around all the toilet paper rolls until they are fully covered. Ensure the overlap seam is on the back of the roll or in a less visible spot. Trim any excess paper if necessary for a clean edge.
- 7
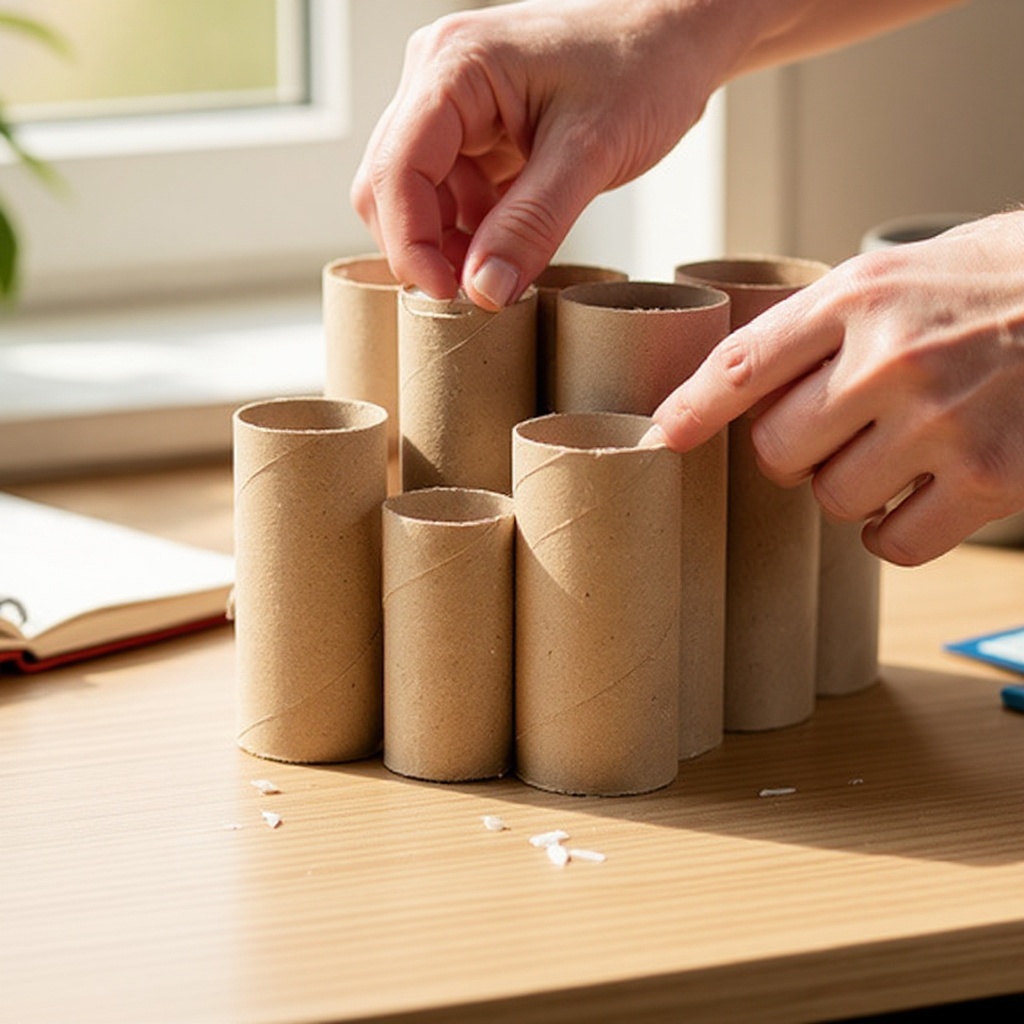
Arrange the decorated rolls in your desired configuration on a flat surface. Consider how they will fit on your desk, thinking about the layout and how you'll access your supplies. You can arrange them in a single row, a cluster, or a more complex pattern.
- 8
Once you are happy with the arrangement, apply glue to the sides of the rolls that will touch each other. This is crucial for creating a sturdy, unified organizer. Use enough glue to create a strong bond without excessive oozing.
- 9
Press the glued sides together firmly and hold for at least a minute to ensure a secure bond, especially if using craft glue. If using hot glue, the bond will be almost immediate, but holding for a few seconds still helps ensure maximum adhesion. Repeat this process for all connecting rolls, building your organizer piece by piece.
- 10
Allow the glue to dry completely. For craft glue, this might take several hours, while hot glue dries in minutes. Ensure all connections are fully set before proceeding to the next step or using the organizer.
- 11
Optional: If you want a very sturdy organizer, cut a piece of sturdy cardboard to the size of your final arrangement and glue the assembled rolls onto this base. This prevents the organizer from shifting or tipping.
- 12
Optional: For an extra pop of color, paint the inside of the rolls before decorating the outside. Use acrylic paints and allow them to dry thoroughly before proceeding with the paper wrapping.
- 13
Optional: Embellish your organizer further with stickers, ribbon, twine, or markers. You can add decorative borders, draw patterns, or tie ribbons around individual tubes for added flair.
- 14
Optional: To prevent your organizer from sliding on your desk, glue small pieces of felt or cork to the bottom of the base or the bottom-most rolls. This also protects your desk surface from scratches.
Tips & Troubleshooting
- 1For a stronger and faster bond, use a hot glue gun, but always have adult supervision when using one due to the high heat. Craft glue is a safer alternative for younger crafters, but requires more drying time and patience.
- 2Experiment with different decorative papers, like old maps for a vintage feel, comic book pages for a pop culture vibe, or even fabric scraps for a textured and unique look. The possibilities are endless and depend on your personal style.
- 3If you want a very sturdy organizer, you can glue the rolls onto a sturdy cardboard base cut to the size of your arrangement. This provides a solid foundation and prevents the organizer from sliding or tipping over on your desk.
- 4Paint the inside of the rolls before decorating the outside for an extra pop of color that is visible when you look into the compartments. This adds a professional and thoughtful touch to your handmade organizer.
- 5Consider adding felt or cork to the bottom of the organizer to prevent it from sliding on your desk and to protect your desk surface from scratches. This small addition can significantly improve the functionality and longevity of your organizer.
- 6Varying the heights of your cardboard tubes can create a visually interesting and dynamic organizer. This tiered design is not only aesthetically pleasing but also practical for storing items of different lengths.
- 7Before gluing the rolls together, lay them out and take a picture or sketch your desired arrangement. This helps ensure you're happy with the layout before committing with glue, saving you potential rework.
- 8If your decorative paper is thin, consider using a double layer or a thicker cardstock for added durability and a more polished finish. This is especially helpful if you plan to store heavier items in your organizer.
Related Activities You Might Enjoy
Frequently Asked Questions
What are some other creative ways to decorate toilet paper roll crafts?
Beyond simply covering them with decorative paper, toilet paper rolls offer a canvas for immense creativity. You can paint them with vibrant acrylics, using solid colors or intricate patterns. Fabric scraps can be glued on for a tactile, textured finish, or you can decoupage them with magazine cutouts, old book pages, or even pressed flowers for a unique artistic touch. Wrapping them with colorful yarn or twine creates a rustic and cozy aesthetic. Stickers, glitter, or even small beads can be added for extra sparkle and detail. Don't be afraid to mix and match techniques for a truly personalized look.
Can I make a larger desk organizer with more compartments?
Absolutely! The beauty of this project is its scalability. Simply gather more empty toilet paper rolls – the more you have, the larger and more elaborate your organizer can be. You can also incorporate paper towel rolls, cut to various heights, to create taller compartments for items like rulers, paintbrushes, or even small bottles. Plan your arrangement carefully, considering the available space on your desk and the types of items you need to store. A larger organizer might benefit from a sturdy cardboard base for added stability.
How do I ensure the glue holds the rolls together securely and permanently?
The key to a strong bond lies in proper application and sufficient drying time. Ensure the surfaces you are gluing are clean and dry; any dust or moisture can weaken the adhesion. For craft glue, apply a thin, even layer to the entire surface that will be joined and press the rolls together firmly, holding them for at least a minute or two until the glue begins to set. Hot glue provides a faster, stronger bond, but it's still advisable to hold the pieces together for about 30 seconds to ensure maximum adhesion before the glue fully hardens. For extra reinforcement, you can add a small bead of glue along the seam after the initial bond.
What if my toilet paper rolls are slightly different sizes or heights?
That's perfectly fine and can even be an advantage! You can embrace the variation and create a more dynamic, tiered organizer. If you prefer a uniform look, you can carefully trim the taller rolls down to match the height of the shortest ones using scissors or a craft knife (with adult supervision). However, allowing for different heights can be very practical, creating compartments perfectly suited for items of varying lengths, such as short pencils, longer pens, or even scissors. This variation adds visual interest and functional diversity to your organizer.
Can I use other types of cardboard tubes, like from paper towels or wrapping paper?
Yes, absolutely! This project is wonderfully adaptable. Paper towel rolls are excellent for creating taller compartments, ideal for storing items like rulers, paintbrushes, knitting needles, or even small bottles of craft supplies. You can also use tubes from wrapping paper, but these are often much wider and might require cutting them down to a more manageable size. When incorporating different types of tubes, ensure they are all clean and sturdy. You might need to adjust your decorative paper measurements to accommodate the varying diameters and lengths of the tubes.
How long does this project typically take to complete?
The actual crafting time for this desk organizer is relatively short, typically around 45 minutes to an hour, depending on your chosen decoration method and how quickly you work. This includes gathering materials, cutting the tubes, decorating them, and assembling the final organizer. However, if you are using standard craft glue, you will need to factor in drying time, which can range from a few hours to overnight, to ensure all the glued components are fully set and secure before you start filling it with your supplies.
What Next?
Congratulations on creating your custom cardboard tube desk organizer! This versatile creation can be further enhanced by adding a sturdy cardboard base for extra stability, or by painting the interior of the tubes before decorating for a hidden pop of color. Consider creating multiple organizers to group different types of supplies, or even building a larger, multi-tiered system. Display your finished organizer proudly on your desk, ready to hold your writing tools, art supplies, or small office essentials. This project is a gateway to many other creative upcycling ideas, so keep those cardboard tubes handy for your next crafting adventure!
Free: 10 Paper Crafts Anyone Can Make in 5 Minutes
Get our beginner guide + new craft ideas weekly.
No spam. Unsubscribe anytime.
Did you complete this activity?
Related
You might also like
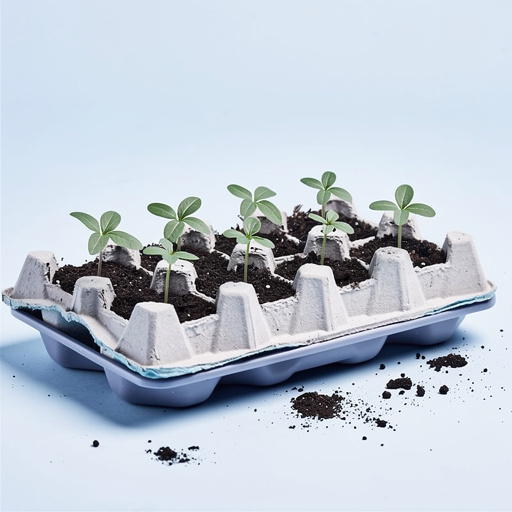
Egg Carton Succulent Planters
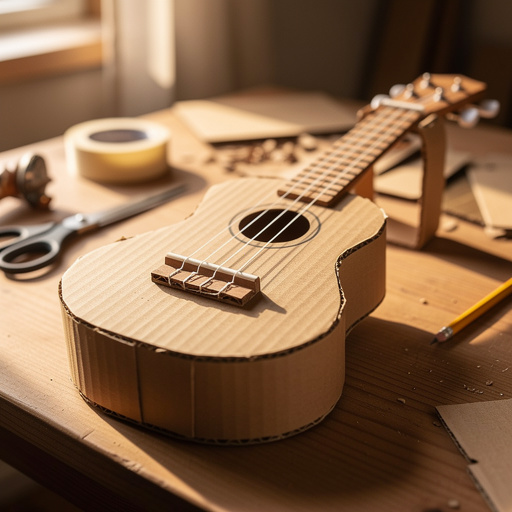
Cardboard Box Ukulele
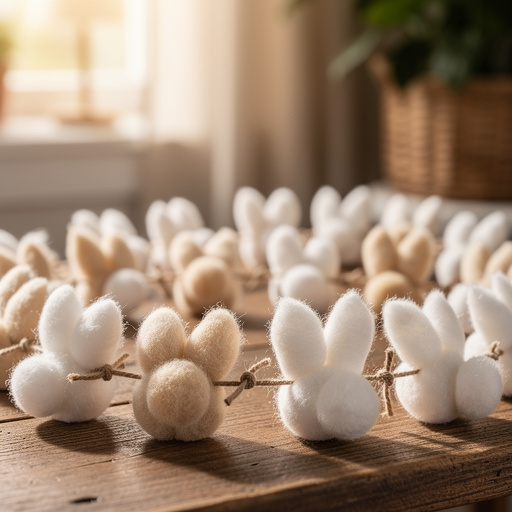
Bunny Tail Cotton Ball Garland
Cardboard Box Kitchenette
DIY Jigsaw Puzzle from Cardboard