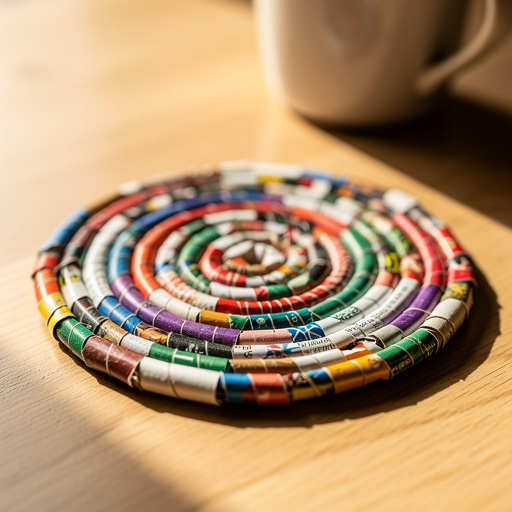
How to Create Adorable Egg Carton Succulent Planters — Easy Step-by-Step Guide
Transform humble egg cartons into charming, miniature planters perfect for succulents or small air plants. A delightful way to upcycle and add greenery to your space. This beginner-friendly craft is a fantastic way to repurpose household items into beautiful, living decor.
Quick answer
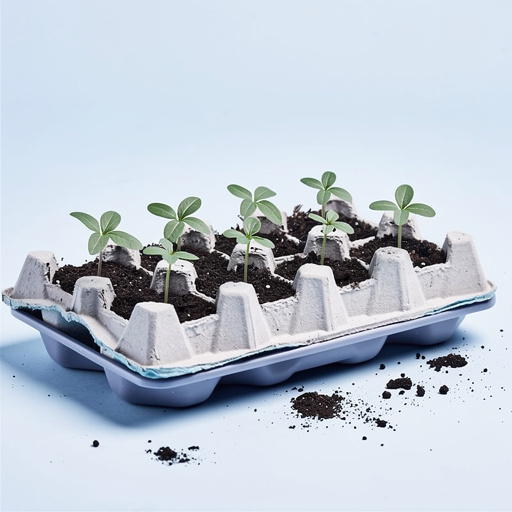
To make egg carton succulent planters, you need a 1 dozen cardboard egg carton, craft scissors, acrylic paints, paintbrushes, hot glue gun and sticks, small pebbles (optional), potting soil, and small succulents or air plants. The process involves cutting, shaping, painting, and assembling the carton sections, taking about 45 minutes to an hour. This beginner-friendly activity has 15 steps and is perfect for adults and older kids, offering a fun and eco-conscious way to create miniature plant displays.
What you need
Shop on Amazon · As an Amazon Associate we earn from qualifying purchases. Links above are affiliate links — we may earn a commission at no extra cost to you.
Looking for a creative and eco-friendly way to bring a touch of nature indoors? This project transforms ordinary cardboard egg cartons into utterly charming miniature succulent planters. It's a fantastic way to upcycle materials destined for the bin, turning them into delightful homes for tiny plants. Perfect for crafters of all ages, especially those new to DIY or looking for a quick, satisfying project, these planters add a whimsical and green touch to windowsills, desks, or as unique handmade gifts. Get ready to give your egg cartons a vibrant new life!
On this page
Step-by-Step Instructions
- 1
Begin by carefully inspecting your cardboard egg carton. Ensure it is clean, dry, and free from any food residue. This is crucial for a successful and hygienic craft project.
- 2
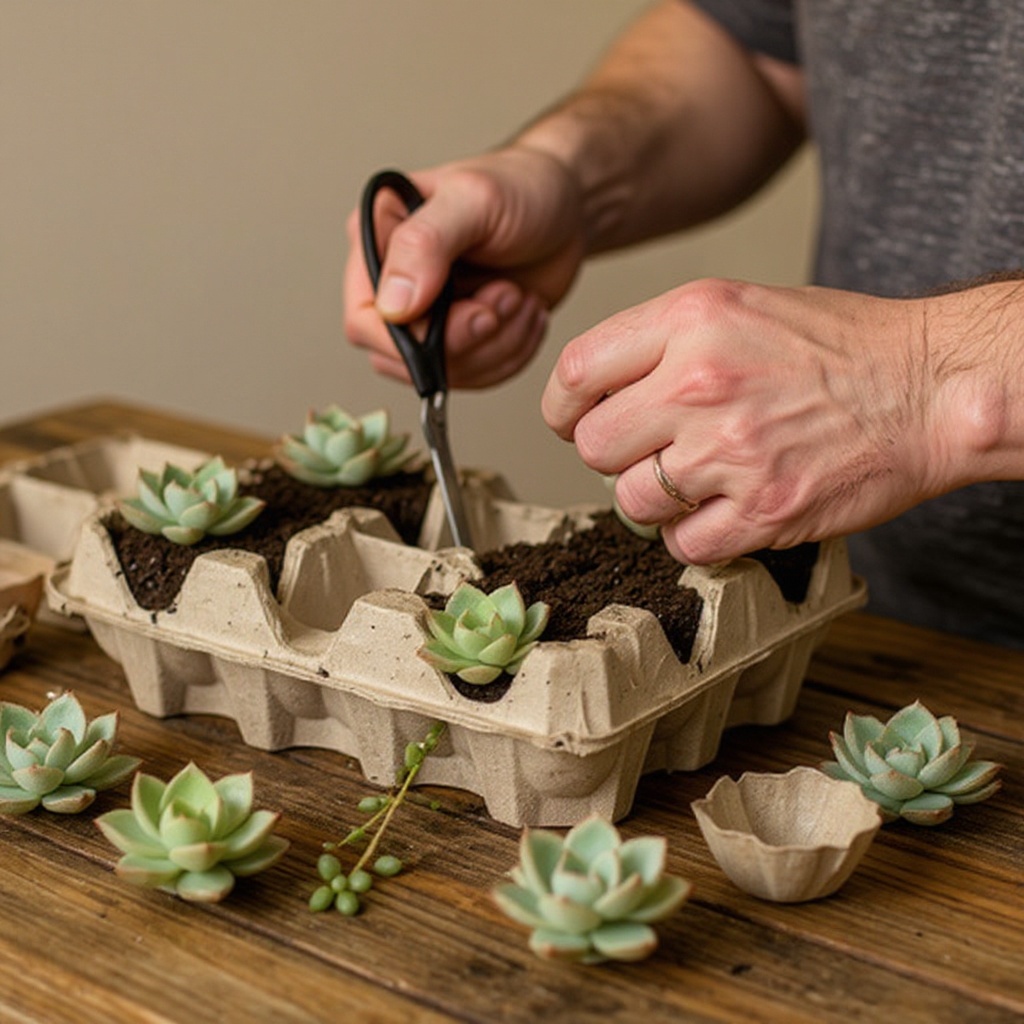
Using your craft scissors, or a craft knife for more precision, carefully cut the egg carton into individual cups or sections. Aim to create planters that are 2-3 cups wide for a more substantial cluster, or single cups for smaller arrangements. Make sure your cuts are as straight as possible to ensure a good fit when gluing.
- 3
Now, it's time to shape your individual egg carton cups. Trim the top edges of each cup to create a more rounded, pot-like shape. You can gently curve the edges inwards or outwards depending on the look you desire, removing any jagged or uneven parts.
- 4
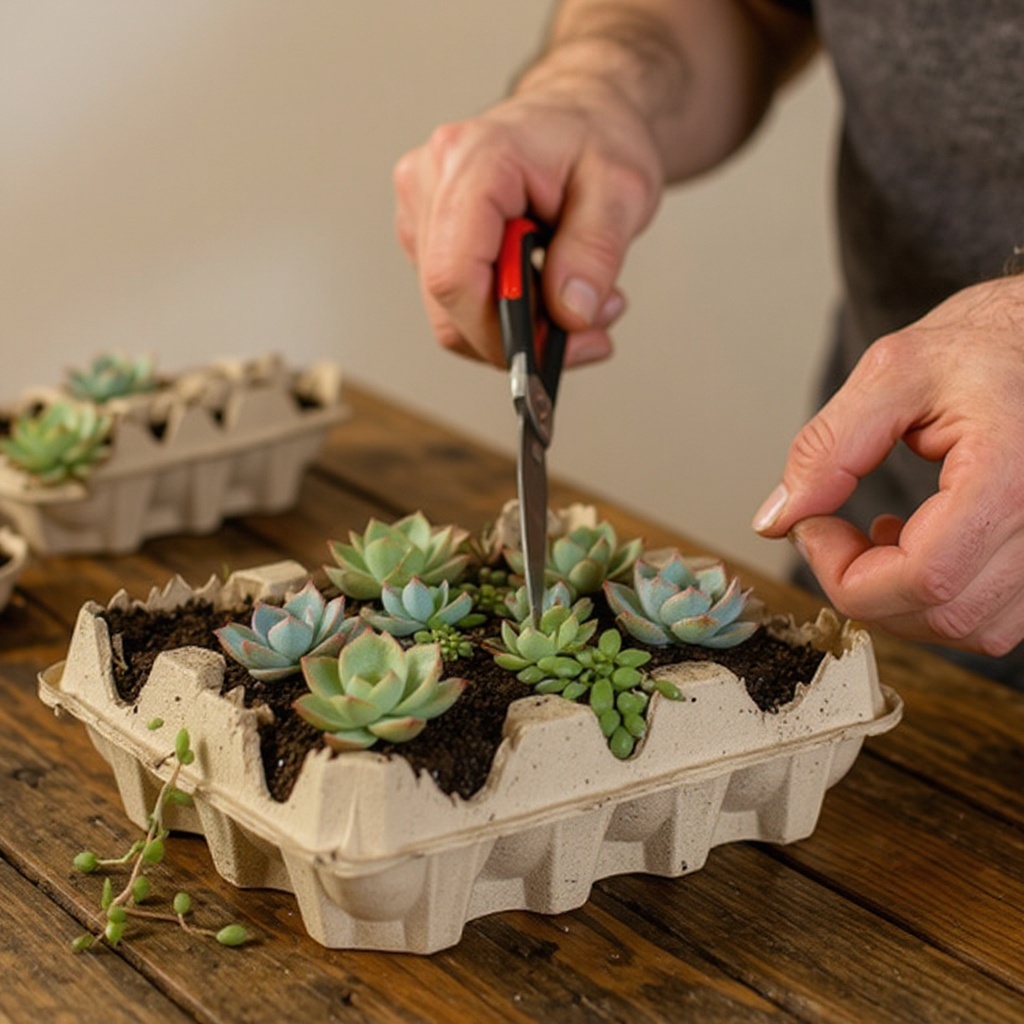
To give your planters a more natural, rustic appearance, use your craft scissors to cut small, irregular notches around the top rim of each cup. These small cuts will mimic the slightly uneven edge of a traditional terracotta pot, adding character and detail.
- 5
Prepare your workspace by laying down newspaper or a drop cloth to protect surfaces from paint. Begin painting the exterior of each egg carton cup with your chosen acrylic colors. Apply a thin, even first coat, focusing on good coverage. Allow this first coat to dry completely before proceeding.
- 6
Once the initial coat of paint is thoroughly dry, apply a second coat of paint. This second layer will provide richer color, better opacity, and ensure a more durable finish. Again, allow ample drying time for this coat.
- 7
While the paint is drying, you can prepare any additional decorative elements. If you're using a piece of the egg carton lid for a base, cut it to the desired size and shape now. You can also paint this base piece if you wish.
- 8
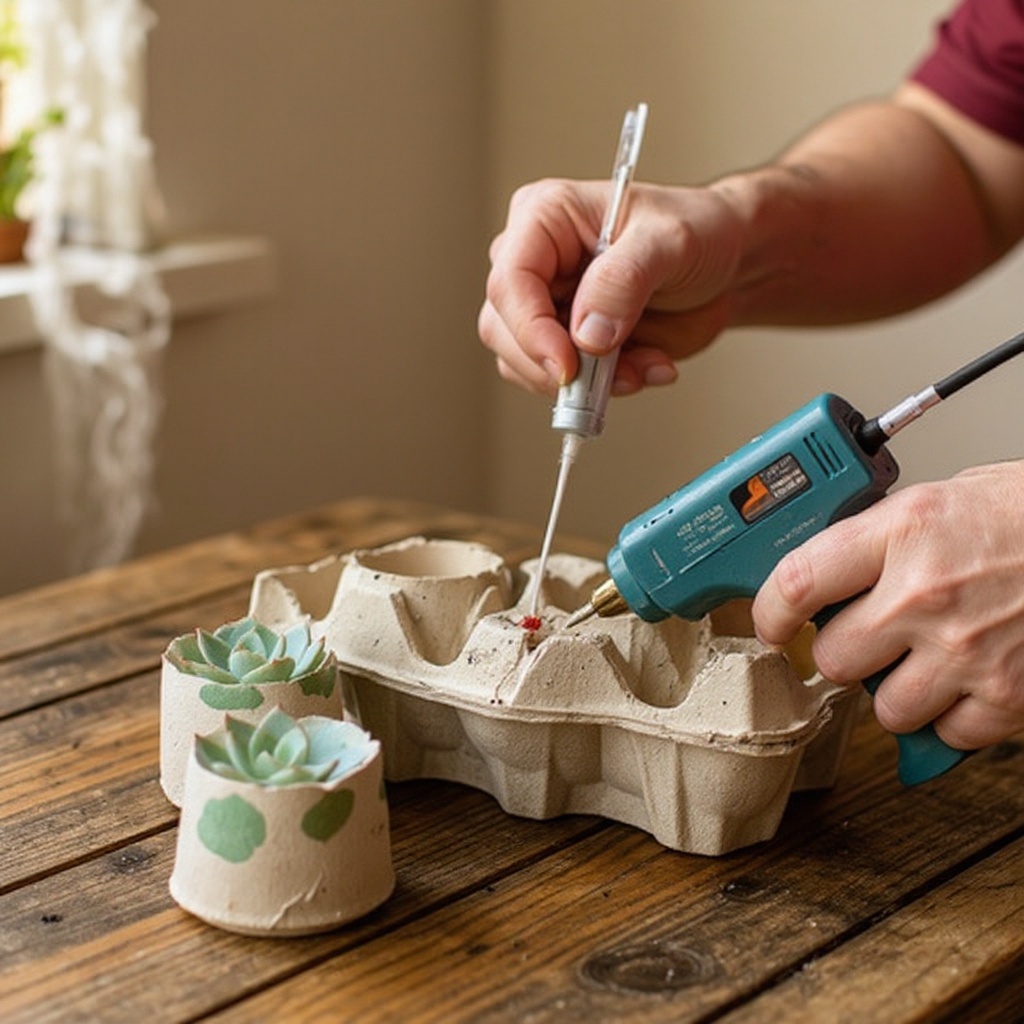
With the paint completely dry, it's time for assembly. Using a hot glue gun (with adult supervision), carefully apply a bead of glue along the side of one painted cup. Press it firmly against the side of another painted cup to create a cluster. Hold for a few seconds until the glue sets.
- 9
Continue gluing additional cups together to form your desired planter cluster. You can create rows of two or three, or even more intricate arrangements. Ensure the cups are securely attached to each other for stability.
- 10
Alternatively, for a single planter or a more stable structure, you can glue a single egg carton cup to a flat piece of cardboard cut from the egg carton lid. This provides a solid base for your miniature planter.
- 11
To improve drainage, which is vital for succulents, add a small layer of pebbles or gravel to the bottom of each planter cup. This creates a buffer between the soil and the cardboard, helping to prevent waterlogging.
- 12
Next, fill each planter cup with your potting soil. Use a succulent or cactus mix for best results. Fill each cup about two-thirds to three-quarters full, leaving enough space for your plant's root ball.
- 13
Gently remove your small succulents or air plants from their nursery pots. Carefully place the root ball into the soil within the egg carton planter. If the plant is a bit loose, add a little more soil around the base to secure it firmly.
- 14
For air plants, you can simply nestle them into the soil or use a small amount of moss to hold them in place. Ensure the plant is stable and upright within its new home.
- 15
Allow your finished planters to sit for a few hours to ensure all the glue is fully set and the soil has settled around the plants before watering or moving them extensively.
Tips & Troubleshooting
- 1For a more natural and rustic aesthetic, opt for earthy tones like muted greens, warm browns, and stony grays. These colors will help your planters blend seamlessly with natural elements and highlight the plants themselves. For a more whimsical and playful look, don't hesitate to experiment with brighter, more vibrant colors like cheerful yellows, soft blues, or even pops of pink.
- 2If you find yourself without suitable succulents, small air plants (Tillandsia) are an excellent alternative. They are incredibly low-maintenance, requiring only occasional misting and no soil, making them perfect for these miniature, potentially less durable planters. They also come in a wide variety of fascinating shapes and textures.
- 3Patience is key when it comes to drying times. Ensure that each layer of paint is completely dry before moving on to the next step, especially before applying glue. Painting on damp surfaces can lead to smudging, peeling, and a less professional finish, so resist the urge to rush this process.
- 4While hot glue provides the strongest and quickest bond for assembling the egg carton sections, it requires adult supervision due to the heat. For younger crafters or those without access to a hot glue gun, a strong craft glue or tacky glue can be used. However, be aware that craft glue will take significantly longer to dry and may result in a less sturdy final product.
- 5Consider the type of egg carton you use. While cardboard is the most common and easiest to work with for painting and gluing, plastic egg cartons can also be repurposed. However, they require different adhesives, such as super glue or a strong epoxy, and you may need to lightly score the surface with sandpaper to help paint adhere properly.
- 6To enhance the longevity of your cardboard planters, especially if you plan to water them, consider applying a waterproof sealant to the inside of the cups before adding soil. A clear acrylic sealant or even a coat of Mod Podge can create a barrier against moisture, preventing the cardboard from becoming soggy and degrading too quickly.
- 7When selecting succulents, choose varieties that naturally stay small and have shallow root systems. Plants like Echeveria, Sedum, or Sempervivum (hens and chicks) are excellent choices. Avoid larger succulents that will quickly outgrow these miniature containers.
- 8Don't be afraid to get creative with your painting techniques. You can try dry brushing for a textured effect, sponging for a mottled look, or even adding small details like faux cracks or mossy patches to enhance the realism and charm of your planters.
Related Activities You Might Enjoy
Frequently Asked Questions
Can I use plastic egg cartons for this craft?
Yes, you can certainly use plastic egg cartons for this craft, but it requires a slightly different approach. Plastic surfaces are less porous than cardboard, meaning paint may not adhere as well without some preparation. You'll need a strong adhesive like super glue or a specialized plastic glue to join the sections securely, as standard hot glue might not create a lasting bond. Before painting, consider lightly sanding the plastic surface with fine-grit sandpaper to create a better grip for the paint. Once painted, you might also want to apply a sealant to protect the finish. Plastic planters will generally be more durable and water-resistant than their cardboard counterparts.
How do I ensure my egg carton planters drain properly?
Proper drainage is crucial for the health of succulents and air plants, especially in containers made from absorbent materials like cardboard. The best way to ensure drainage is to create a distinct drainage layer at the bottom of each planter cup. Before adding soil, place a generous layer of small pebbles, gravel, or even broken terracotta pot shards at the base. This layer creates air pockets and allows excess water to collect away from the plant's roots, preventing rot. For cardboard planters, this layer also acts as a buffer, absorbing some moisture and slowing down the degradation of the cardboard itself.
What kind of plants are best for egg carton planters?
Small succulents and air plants are the absolute best choices for these miniature egg carton planters. Succulents are ideal because they have shallow root systems and thrive on infrequent watering, which suits the limited space and potential drainage challenges of cardboard. Look for compact varieties like Echeveria, Sedum, Sempervivum (hens and chicks), or Haworthia. Air plants (Tillandsia) are even simpler as they don't require soil at all; you can simply nestle them into the planter or secure them with a bit of moss. Avoid plants with extensive root systems or those that require consistently moist soil.
How long will these egg carton planters last?
The lifespan of your egg carton succulent planters will depend on several factors, including the type of egg carton used, how they are cared for, and whether any protective measures are taken. Cardboard planters are inherently biodegradable and will eventually break down, especially when exposed to moisture. For temporary decorative displays, they can last for several months. If you plan to water them regularly or want them to last longer, applying a waterproof sealant to the inside of the cups before planting is highly recommended. This barrier will significantly slow down the degradation process, potentially extending their life by a year or more, though they will still be more fragile than traditional pots.
Can I water these planters directly?
Watering these planters requires a gentle and mindful approach. Because they are made from cardboard, they are susceptible to becoming waterlogged and breaking down quickly if overwatered. It's best to water sparingly. For succulents, allow the soil to dry out completely between waterings. When you do water, use a small watering can with a narrow spout or even a dropper to direct water only to the soil, avoiding the cardboard edges as much as possible. For air plants, misting them occasionally is sufficient, and you can remove them from the planter for a good soak if needed, allowing them to dry completely before returning them.
Are these planters suitable for children to make?
Yes, egg carton succulent planters are an excellent craft project for children, with appropriate adult supervision. The cutting and gluing steps, especially using a hot glue gun, should be handled by an adult or with close supervision. Younger children can enjoy the painting and decorating aspects, which are safe and allow for a lot of creative expression. It's a wonderful way to teach children about recycling, upcycling, and basic plant care in a fun and engaging manner. Ensure you use non-toxic paints and provide a well-ventilated area for painting.
What Next?
Once your adorable egg carton succulent planters are complete, they're ready to be displayed! Place them on a sunny windowsill, a desk, or a shelf to add a pop of green wherever you need it. Remember that these are best suited for temporary displays or as a fun craft project, as cardboard will eventually degrade with moisture. For longer-term use, consider sealing the inside with a waterproof sealant before adding soil. You can also experiment with different plant types, like small herbs or even tiny fairy garden accessories, to create even more personalized displays. Happy crafting and happy planting!
Free: 10 Paper Crafts Anyone Can Make in 5 Minutes
Get our beginner guide + new craft ideas weekly.
No spam. Unsubscribe anytime.
Did you complete this activity?
Related
You might also like
Cardboard Tube Desk Organizer

Cardboard Box Ukulele
Tin Can Planter Makeover

Printable Music Note Garland
Newspaper Pot Seedling Starters