How to Create Unique Cork Tile Art Coasters — Easy Step-by-Step Guide
Transform plain cork tiles into beautiful, personalized coasters with simple art techniques. A fun and functional screen-free craft for the whole family. Easy DIY project.

Quick answer
To make cork tile art coasters, you need cork tiles, acrylic paints, brushes, and sealant, taking about 60 minutes. Start by painting your designs onto the cork. This beginner-friendly activity has 10 steps and is perfect for families with kids aged 6+.
What you need
Shop on Amazon · As an Amazon Associate we earn from qualifying purchases. Links above are affiliate links — we may earn a commission at no extra cost to you.
Looking for a delightful and practical way to add a personal touch to your home decor? Crafting your own cork tile art coasters is the perfect solution! This project transforms ordinary, inexpensive cork tiles into vibrant, custom pieces that reflect your unique style or make thoughtful handmade gifts. It's an ideal screen-free activity for families, encouraging creativity and fine motor skills in children while offering a relaxing artistic outlet for adults. Get ready to unleash your inner artist and create functional art that protects your surfaces in style!
On this page
Step-by-Step Instructions
- 1
Gather all your materials and protect your workspace with newspaper or a drop cloth. This step is crucial to prevent accidental paint spills or sealant overspray from damaging your furniture or floor.
- 2
Ensure your cork tiles are clean and dry. If your cork tiles have any dust or debris, gently wipe them with a dry cloth or a slightly damp cloth and allow them to air dry completely before proceeding.
- 3
If you desire a perfectly smooth surface for painting or want to ensure maximum paint adhesion, you can lightly sand the surface of each cork tile with fine-grit sandpaper. This will create a slightly rougher texture for the paint to grip onto. Wipe away any dust with a dry cloth afterwards.
- 4
Prepare your paints by squeezing small amounts onto a palette or disposable plate. If you plan to mix colors, do so now to achieve your desired shades. Having your colors ready will streamline the painting process.
- 5
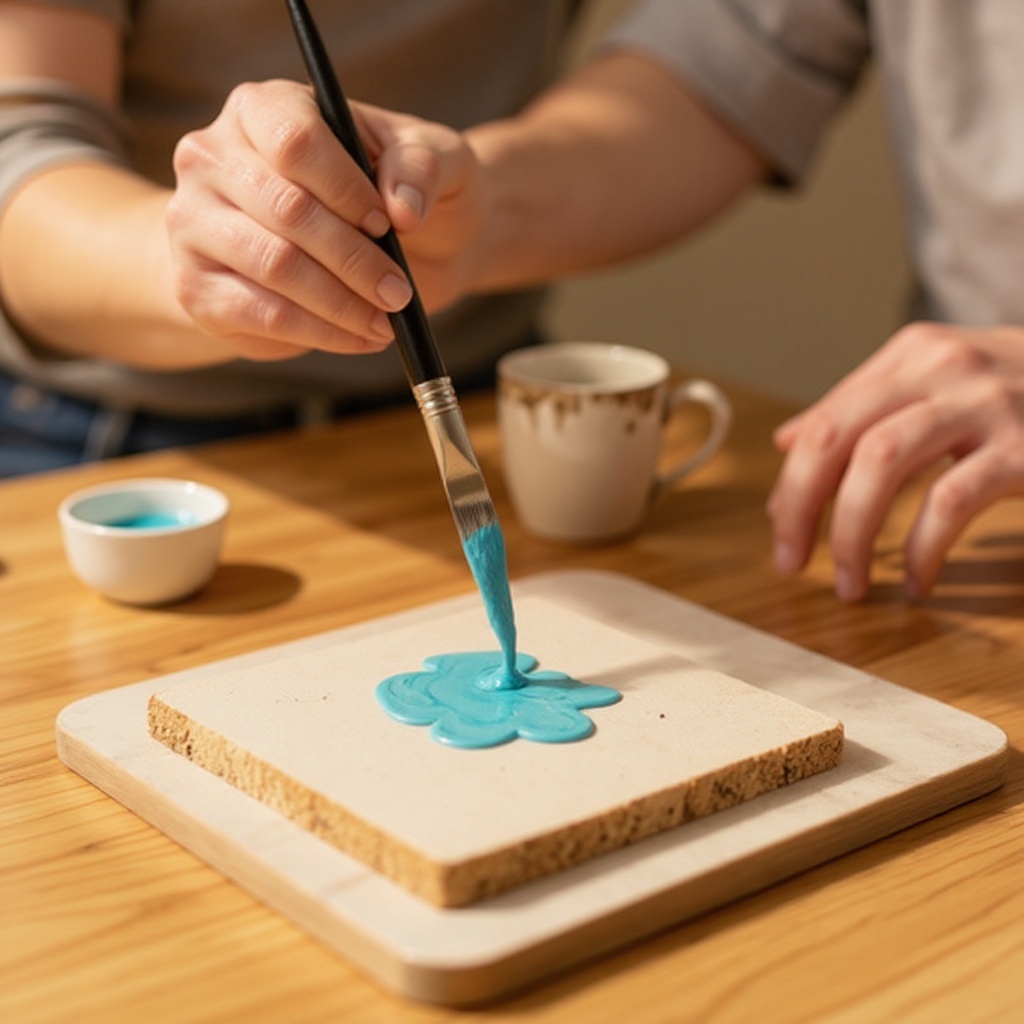
Dip a fine-tipped paintbrush into your chosen acrylic paint color. Ensure you don't overload the brush; a moderate amount of paint will give you better control.
- 6
Apply the paint to the surface of a cork tile, creating your desired design. You can paint patterns, simple shapes, abstract art, or even attempt a small landscape or floral motif. Experiment with different brush strokes and paint application techniques.
- 7
If you are using painter's tape to create geometric designs, carefully apply the tape to the cork tile, pressing down the edges firmly to prevent paint bleed. Once the tape is in place, paint over the exposed areas.
- 8
Rinse your paintbrush thoroughly in the water cup, swirling it to remove all paint residue. Gently squeeze out excess water with a paper towel or rag before switching to a new color or design. Using two water cups, one for the initial rinse and a second for a cleaner rinse, will keep your colors vibrant and prevent muddying.
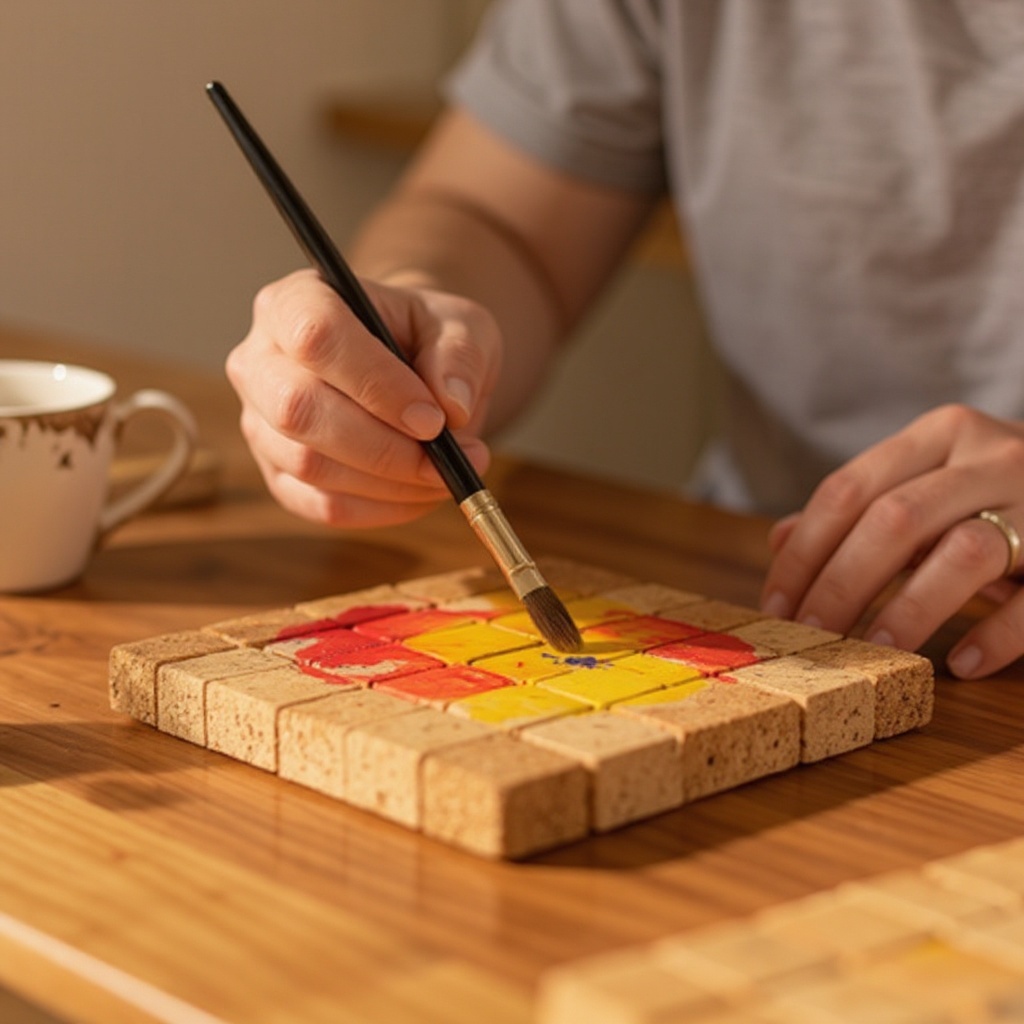
- 9
Continue painting on the same tile or move to the next, experimenting with different colors, brush sizes, and techniques. For example, try stippling with the tip of your brush for a dotted effect, or use a dry brush technique to create textured lines.
- 10
If you've used painter's tape, carefully and slowly peel it away while the paint is still slightly wet but not fully dried. Peeling too soon can cause smudging, while waiting too long can result in the paint cracking or peeling with the tape.
- 11
Allow the painted cork tiles to dry completely. This may take 30-60 minutes depending on paint thickness, humidity, and the type of acrylic paint used. Ensure each layer of paint is dry before adding another, especially if you are layering colors or adding details.
- 12
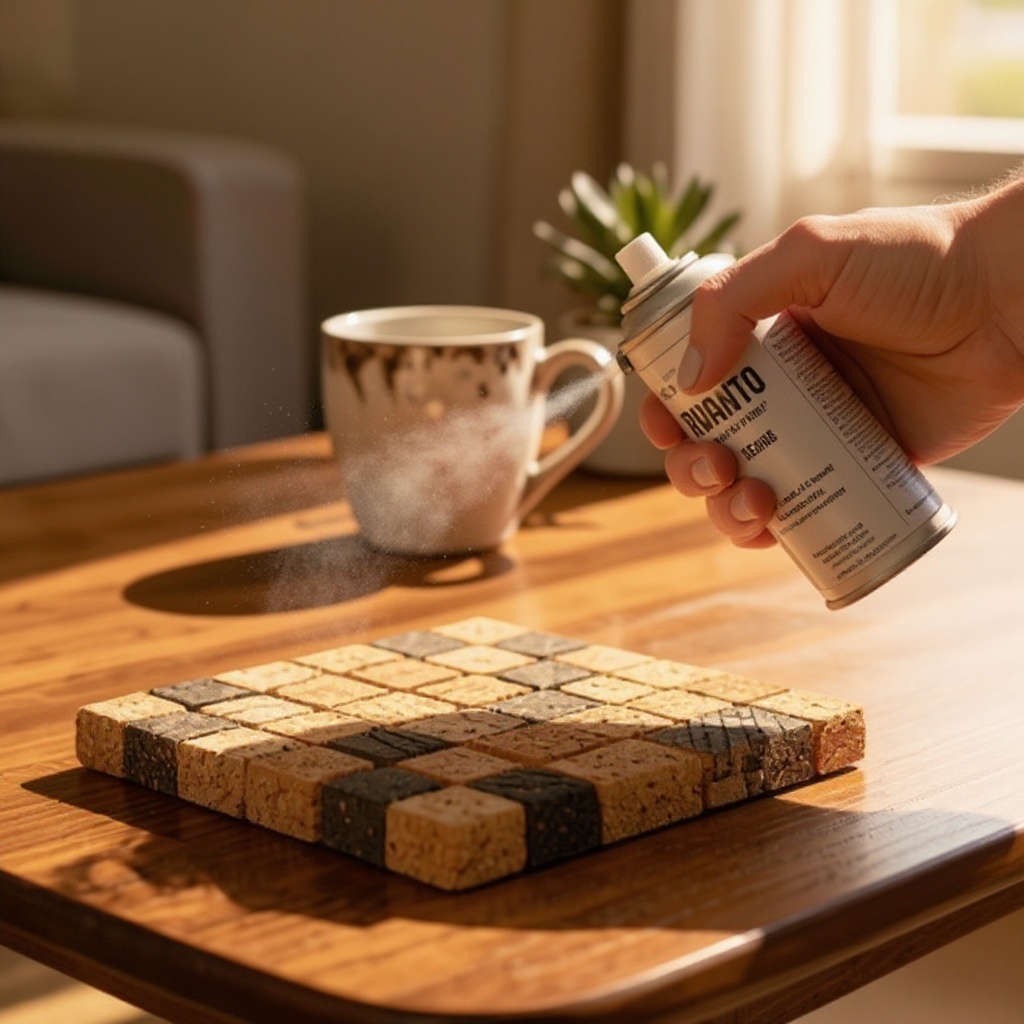
Once your painted designs are thoroughly dry, it's time to seal them. Take your tiles to a well-ventilated area, preferably outdoors or in a garage with the door open, to avoid inhaling the sealant fumes.
- 13
Hold the can of clear acrylic spray sealant about 8-10 inches away from the tiles. It's important to maintain a consistent distance to avoid drips or uneven coverage.
- 14
Apply a thin, even coat of sealant over the entire surface of each painted tile. Move the can in a steady, sweeping motion to ensure complete and uniform coverage. Avoid spraying too heavily, as this can cause the sealant to pool or become sticky.
- 15
Let the first coat of sealant dry for at least 10 minutes. This allows the initial layer to set before applying the second coat, which will enhance durability and protection.
- 16
Apply a second thin, even coat of sealant, following the same technique as the first. Two coats are generally sufficient for good protection against moisture and everyday wear and tear.
- 17
Allow the sealant to cure completely. This is a critical step; the sealant needs at least 24 hours, and sometimes up to 48 hours, to fully harden and achieve its protective properties before you can safely use the coasters for drinks.
- 18
Once the sealant has fully cured, your unique cork tile art coasters are ready to be used and admired! Place them on your coffee table, side tables, or anywhere you need to protect your surfaces from condensation and heat.
Tips & Troubleshooting
- 1For a more defined look and crisp geometric patterns, use high-quality painter's tape. Ensure the edges are pressed down firmly onto the cork surface to prevent any paint from seeping underneath.
- 2Experiment with different painting techniques like stippling (dabbing with the brush tip), sponging (using a damp sponge for texture), or dry brushing (using a brush with very little paint for a wispy effect) to create unique and interesting textures on your coasters.
- 3If you make a mistake with wet acrylic paint, don't panic! You can often wipe away the wet paint with a damp cloth or paper towel before it dries completely. For dried mistakes, you might be able to carefully scrape it off or paint over it once dry.
- 4Consider using metallic or glitter acrylic paints for a touch of glamour and sparkle. These can be used for accents, outlines, or even as a full design element to make your coasters truly stand out.
- 5Ensure the sealant is completely dry and cured before placing drinks on the coasters. Placing a cold glass on a newly sealed coaster can cause condensation to stick to the sealant, potentially damaging the artwork or the coaster itself.
- 6For added durability and a more professional finish, consider applying a third thin coat of sealant after the second coat has dried for 10 minutes. This is especially recommended if your coasters will see heavy use.
- 7Before painting, you can lightly sketch your design onto the cork with a pencil. This is especially helpful for more intricate patterns or if you're not confident with freehand drawing, and the pencil marks can usually be painted over easily.
- 8When working with multiple colors, try to plan your painting order. Generally, it's best to apply lighter colors first and then layer darker colors over them, or to paint background elements before foreground details.
Related Activities You Might Enjoy
Frequently Asked Questions
What kind of paint should I use for cork coasters?
Acrylic paints are the best choice for cork coasters due to their versatility and adhesion. They dry quickly, are water-based for easy cleanup, and come in an extensive array of vibrant colors, including metallic and glitter finishes. Acrylics create a durable layer on the porous surface of cork, making them ideal for decorative projects like coasters. While other paints might work, acrylics offer the best balance of ease of use, color selection, and longevity for this type of craft. Ensure you use good quality acrylics for the best results and consider a primer if you want exceptionally bright colors on darker cork.
How do I protect my painted cork coasters from moisture and wear?
To effectively protect your painted cork coasters from moisture, condensation, and everyday wear and tear, applying a clear acrylic spray sealant is essential. Two thin, even coats provide excellent durability and a barrier against spills. Ensure the sealant is specifically designed for crafts or general use and offers a matte or gloss finish, depending on your aesthetic preference. Allow each coat to dry for at least 10 minutes before applying the next, and crucially, let the final coat cure for a full 24-48 hours before using the coasters. This curing process ensures the sealant hardens completely, preventing sticking and maximizing its protective qualities.
Can I use markers on cork coasters?
Yes, you can certainly use permanent markers on cork coasters for detailed designs, lettering, or intricate patterns. Markers like Sharpies or other permanent art markers adhere well to the cork surface and offer a fine tip for precision. However, it's crucial to remember that even permanent marker ink can smudge or fade over time, especially when exposed to moisture. Therefore, after using markers, you will still need to seal the cork coasters with a clear acrylic spray sealant. This will protect the marker artwork from moisture, prevent smudging, and significantly extend the life and appearance of your designs.
How long do cork coasters last?
With proper sealing and reasonable care, your handmade cork coasters can last for several years. The key to their longevity lies in the quality of the sealant application and how they are used and maintained. Avoid prolonged exposure to excessive moisture, such as leaving them submerged in water or in very humid environments, as this can eventually degrade the cork and the sealant. Similarly, extreme heat can also affect their durability. For cleaning, gently wipe them with a damp cloth rather than scrubbing or immersing them. By following these guidelines, your unique cork coasters will remain functional and beautiful for a long time.
What are some alternative sealing methods besides spray sealant?
While spray sealant is convenient and provides an even finish, there are alternative methods for sealing your cork coasters. You can use a brush-on clear acrylic sealer, such as a water-based varnish or polycrylic. These offer excellent durability and can be applied with a paintbrush for precise coverage. Another option is decoupage medium, like Mod Podge, which can seal and adhere decorative elements simultaneously if you choose to add paper or fabric to your coasters. For a more natural finish, some crafters opt for beeswax or tung oil, though these may offer less protection against heavy moisture compared to acrylic sealants and might require reapplication.
Can I paint on both sides of the cork tile?
Yes, you can absolutely paint on both sides of the cork tile if you wish. However, it's important to consider the process and the outcome. If you paint one side, allow it to dry completely before flipping and painting the other side. When sealing, ensure you apply sealant to both painted sides for maximum protection. Painting both sides can be a great way to double your design potential or create a reversible coaster. Just be mindful that painting and sealing both sides might slightly increase the overall drying and curing time required for the project.
What Next?
Congratulations on creating your beautiful, custom cork tile art coasters! These handmade treasures are not only functional but also a testament to your creativity. Consider gifting them to friends and family for housewarmings, birthdays, or holidays – they're always appreciated. For variations, try using stencils for intricate patterns, decoupage with decorative paper, or even wood-burning for a rustic look. Once sealed, store them neatly stacked on your coffee table or in a decorative box. This project is a fantastic starting point for exploring more DIY home decor, perhaps leading you to create matching placemats or decorative trays!
Free: 10 Paper Crafts Anyone Can Make in 5 Minutes
Get our beginner guide + new craft ideas weekly.
No spam. Unsubscribe anytime.
Did you complete this activity?
Related