How to Make a Cardboard Box Ukulele — Easy Step-by-Step Guide
Create your own strumming instrument with this fun and easy cardboard box ukulele tutorial. Perfect for little musicians!
Quick answer
To make a cardboard box ukulele, you need a cardboard box, rubber bands, and a paper towel tube, taking about 60 minutes. Start by cutting a soundhole. This beginner-friendly activity has 10 steps and is perfect for families with kids aged 6+.
What you need
Shop on Amazon · As an Amazon Associate we earn from qualifying purchases. Links above are affiliate links — we may earn a commission at no extra cost to you.
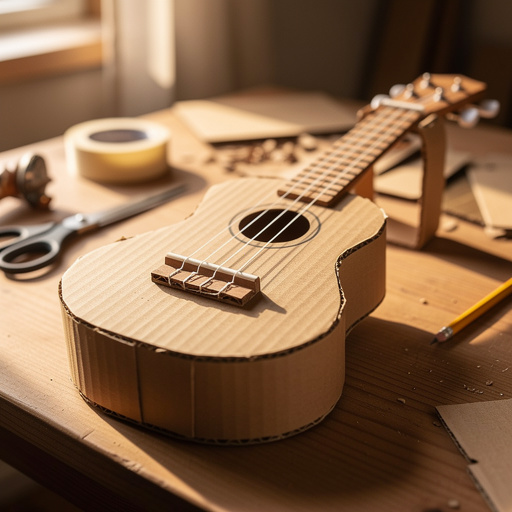
Unleash your inner musician and embark on a delightful DIY adventure with this easy cardboard box ukulele tutorial! This project is more than just a craft; it's a gateway to understanding basic musical principles and a fantastic way to foster creativity in young minds. Imagine the joy of strumming a tune on an instrument you built with your own hands. It’s a rewarding experience that encourages imagination, fine motor skills, and a love for music, making it an ideal activity for family bonding or a fun afternoon project for aspiring young artists and musicians.
On this page
Step-by-Step Instructions
- 1
Gather all your materials and find a clean, well-lit workspace. Ensure your cardboard box is empty and clean, and that the paper towel tube is intact. Having everything ready before you begin will make the crafting process smoother and more enjoyable.
- 2
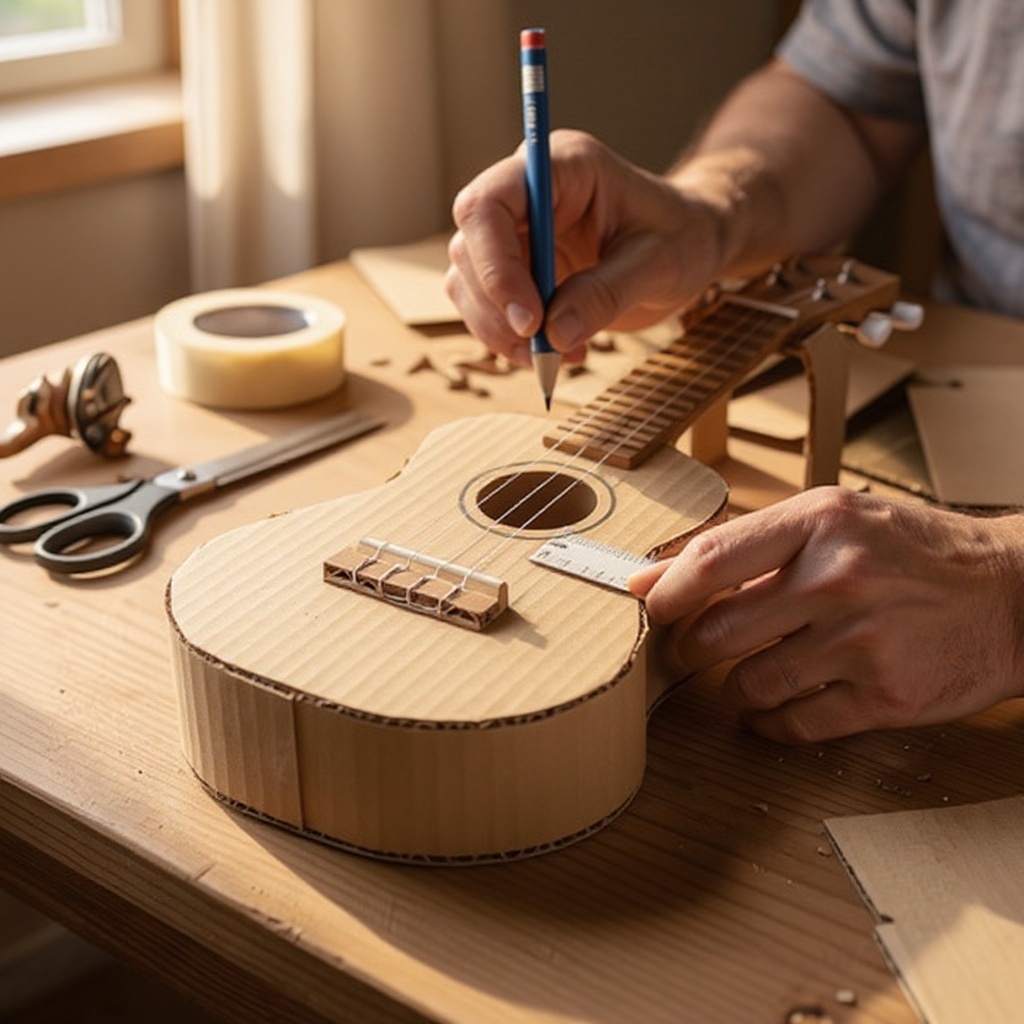
Using a pencil and ruler, carefully draw a circle approximately 4 inches in diameter in the center of the top of the cardboard box. This will serve as the soundhole, allowing the sound produced by the vibrating rubber bands to resonate and project outwards.
- 3
With adult supervision, carefully cut out the soundhole using scissors or a craft knife. If using a craft knife, make slow, deliberate cuts, following the drawn line precisely. Be sure to discard the cut-out circle responsibly.
- 4
Take your paper towel tube and cut it in half using scissors. These two halves will form the neck and the bridge of your ukulele, providing the anchor points for your rubber band strings.
- 5
Securely tape one half of the paper towel tube to the top of the cardboard box, near one of the shorter edges. Ensure it extends slightly over the edge of the box, creating a stable 'neck' for your instrument. Use plenty of strong tape to make sure it doesn't budge.
- 6
Now, take the other half of the paper towel tube and tape it to the bottom of the cardboard box, near the opposite shorter edge. This piece will act as the 'bridge,' supporting the rubber bands on the other side. Again, use ample tape for a secure attachment.
- 7
If you want to reinforce the bridge area, cut a small strip of scrap cardboard that is slightly wider than your paper towel tube bridge piece. Tape this strip onto the top of the paper towel tube bridge to create a slightly raised surface for the rubber bands to rest on, which can help prevent them from slipping.
- 8
Begin wrapping the rubber bands around the cardboard box, stretching them from the neck (the paper towel tube at the top) to the bridge (the paper towel tube at the bottom). Space them out evenly across the width of the box, mimicking the strings of a real ukulele.
- 9
Ensure the rubber bands are taut but not so tight that they cut into the cardboard or cause the box to buckle. A gentle tension is key to producing clear notes without damaging your instrument. You should be able to pluck them without them feeling excessively loose or overly strained.
- 10
Test the tension of each rubber band by gently plucking it with your finger. Listen to the sound each band produces. You can adjust their positions slightly on the neck and bridge to fine-tune the tension and experiment with creating different pitches.
- 11
Before or after adding the rubber bands, it's time for the fun part: decoration! Let your creativity shine by painting your ukulele with vibrant colors, drawing designs with markers, or adorning it with stickers and glitter. You can even use a hole punch to add decorative patterns to the box.
- 12
Once your ukulele is decorated to your liking and the rubber bands are securely in place, your cardboard box ukulele is ready to be strummed! Gently pluck the rubber bands to create your own unique melodies and enjoy the fruits of your crafting labor.
- 13
To further enhance the tuning experience, you can create small notches on the paper towel tube neck where the rubber bands will sit. These notches will help keep the rubber bands in place and prevent them from sliding around, making it easier to achieve consistent pitches.
- 14
For a slightly louder and more resonant sound, consider using a cardboard box with slightly thicker cardboard. You can also experiment with different sizes and shapes of boxes to discover how they affect the ukulele's acoustics.
- 15
Varying the thickness and tension of the rubber bands is crucial for producing different musical notes. Thicker bands generally produce lower, deeper notes, while thinner bands will create higher, brighter sounds. Experimentation is key to unlocking a range of pitches.
- 16
If you find that the rubber bands are slipping off the neck or bridge, a simple solution is to add a small piece of tape on the paper towel tubes where the bands rest. This creates a slightly grippier surface to hold the rubber bands more securely.
- 17
Consider adding a decorative element to the soundhole, such as a small piece of patterned paper or fabric glued around the edge. This can add a touch of flair and personalize your instrument even further.
- 18
If you're feeling adventurous, you can try adding more rubber bands to create a wider range of notes, or even experiment with different types of elastic materials to see how they affect the sound quality.
Tips & Troubleshooting
- 1For a louder sound, use a box with a slightly thicker cardboard. You can also experiment with different sizes of boxes. Thicker cardboard provides a more rigid structure, which can amplify the vibrations of the rubber bands and produce a clearer, louder sound.
- 2Varying the thickness and tension of the rubber bands will produce different notes. Thicker bands generally produce lower notes, and tighter bands produce higher notes. Experimenting with a variety of rubber bands is the best way to discover the full range of sounds your ukulele can make.
- 3If the rubber bands are slipping, you can add a small piece of tape on the neck and bridge where the bands rest to create more grip. This is especially helpful if your paper towel tubes are very smooth. Packing tape or duct tape works well for this purpose.
- 4To make tuning easier, you can create small notches on the paper towel tube neck where the rubber bands will sit. These notches act as guides, helping to keep the rubber bands in place and making it simpler to adjust their tension for different pitches.
- 5Don't be afraid to get creative with the decoration! Use a variety of craft supplies like paint, markers, stickers, glitter, or even fabric scraps to personalize your ukulele. A beautifully decorated instrument is more inspiring to play.
- 6When attaching the paper towel tubes, ensure they are firmly secured with plenty of tape. A wobbly neck or bridge will affect the sound quality and the stability of the rubber bands, so take your time to make sure they are attached securely.
- 7For a more authentic look, you can cut out a small piece of decorative paper or fabric and glue it around the edge of the soundhole. This adds a nice finishing touch and makes your ukulele look even more like a real instrument.
- 8If you want to experiment with different sounds, try using different materials for the 'strings' besides rubber bands, such as fishing line or thin elastic cords. Be sure to secure them well, and always supervise children when using any new materials.
Related Activities You Might Enjoy
Frequently Asked Questions
Can I make a real sounding ukulele with cardboard?
While this cardboard box ukulele won't sound like a professional instrument crafted from wood, it produces a delightful, strumming sound that is perfect for creative play and introducing young children to the concept of stringed instruments. The sound is more of a percussive, resonant plink, which is fantastic for imaginative music-making. It's an excellent tool for learning about how vibrations create sound and how different tensions affect pitch, offering a fun and accessible way to explore musical concepts without the complexity of a traditional instrument.
What kind of rubber bands should I use for my ukulele?
It's best to use a variety of rubber band thicknesses and lengths for your cardboard ukulele. Experimenting with different bands will help you discover a range of sounds and pitches. Generally, thicker rubber bands will produce lower, deeper notes, while thinner bands will create higher, brighter sounds. Using bands of varying tensions, even if they are the same thickness, will also contribute to a more diverse sound palette. Don't be afraid to raid your office supply drawer for a good selection!
How do I make different notes on my cardboard ukulele?
You can create different notes on your cardboard ukulele primarily by adjusting the tension of the rubber bands. Tighter bands produce higher pitches, while looser bands produce lower pitches. You can also achieve different notes by using rubber bands of varying thicknesses; thicker bands tend to produce lower notes, and thinner bands produce higher notes. Experimenting with both tension and thickness will allow you to explore a range of sounds and create simple melodies.
Is this a difficult craft to make?
This is a beginner-friendly craft that is designed to be accessible for most skill levels, especially with adult assistance. The most challenging part is cutting the soundhole, which requires adult supervision if using a craft knife. Otherwise, it's a straightforward assembly process involving cutting, taping, and stretching rubber bands. The steps are simple and easy to follow, making it an ideal project for families with children aged 6 and up, fostering a sense of accomplishment and creativity.
How long does it take to make a cardboard box ukulele?
The estimated time to make a cardboard box ukulele is approximately 60 minutes, not including drying time if you choose to paint it. This timeframe allows for gathering materials, cutting out the soundhole, attaching the neck and bridge, and stringing the rubber bands. If you decide to add extensive decorations, you might want to allocate a bit more time, perhaps an extra 30-60 minutes, especially if you're waiting for paint or glue to dry between steps. It's a project that can easily be completed in a single afternoon.
What age is this project suitable for?
This cardboard box ukulele project is perfect for children aged 6 and up. Younger children can participate with adult supervision, especially during the cutting steps. The assembly process involves simple tasks like taping and stretching, which are manageable for this age group. It's an excellent way to introduce them to music, crafting, and the satisfaction of creating something functional and fun with their own hands, promoting fine motor skills and creativity.
Can I use a different type of box for my ukulele?
Absolutely! While a medium-sized cardboard box (around 12x10x4 inches) is recommended for a good balance of size and sound, you can certainly experiment with different types of boxes. Smaller boxes might produce a quieter, higher-pitched sound, while larger or deeper boxes could result in a fuller, more resonant tone. Shoe boxes, cereal boxes (though they might be a bit flimsy), or even small shipping boxes can be used. The key is to ensure the box is sturdy enough to hold the tension of the rubber bands.
What Next?
Congratulations on creating your very own cardboard box ukulele! This handmade instrument is a testament to your creativity and ingenuity. Feel free to experiment further by adding more rubber bands for a wider range of notes, or even try different types of boxes to see how the sound changes. You can hang your ukulele on the wall as a unique piece of art or store it safely in a dry place to preserve its musical magic. For your next musical adventure, consider exploring other DIY instruments like shakers or kazoos to build a complete homemade band!
Free: 10 Paper Crafts Anyone Can Make in 5 Minutes
Get our beginner guide + new craft ideas weekly.
No spam. Unsubscribe anytime.
Did you complete this activity?
Related
You might also like
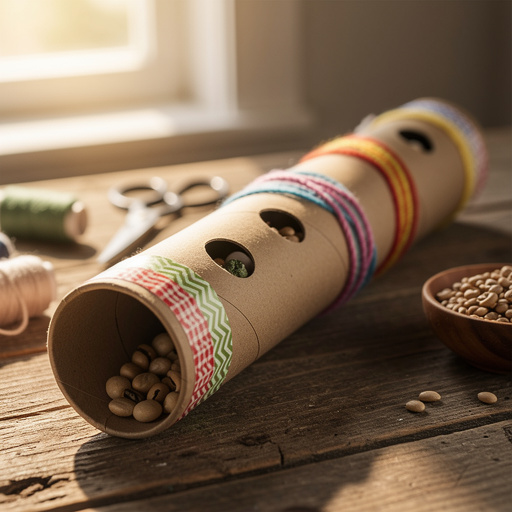
DIY Sound Tube Rain Stick
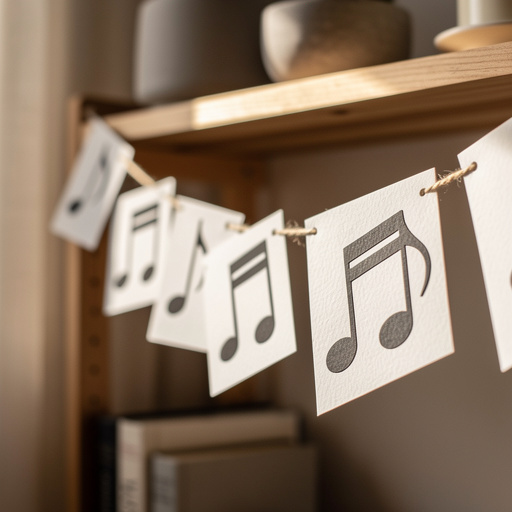
Printable Music Note Garland
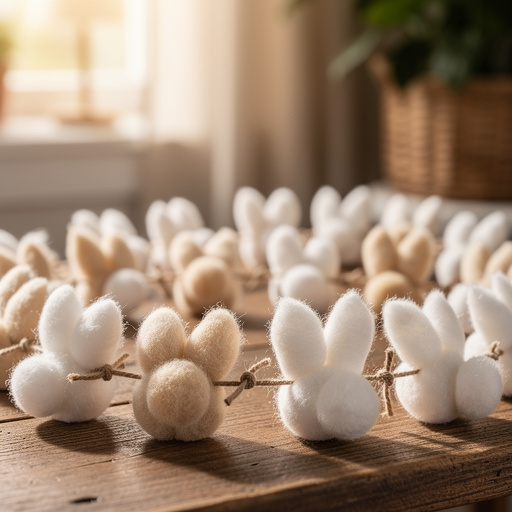
Bunny Tail Cotton Ball Garland
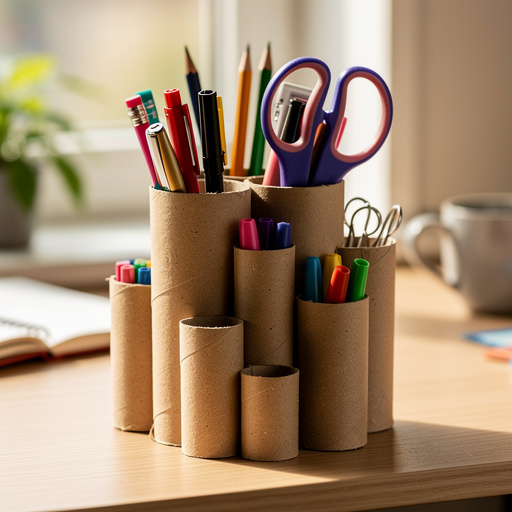
Cardboard Tube Desk Organizer
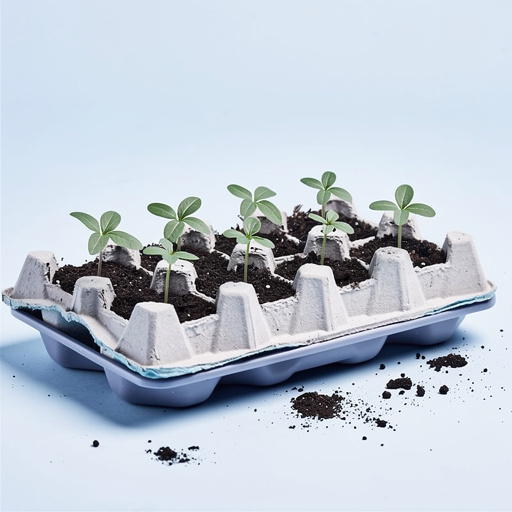
Egg Carton Succulent Planters