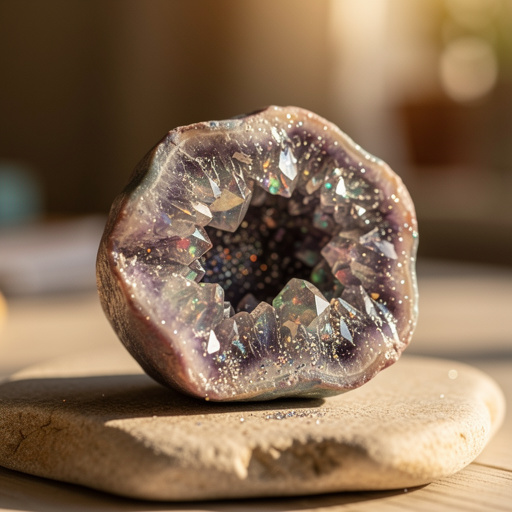
How to Grow a Crystal Garden with National Geographic — Easy Step-by-Step Guide
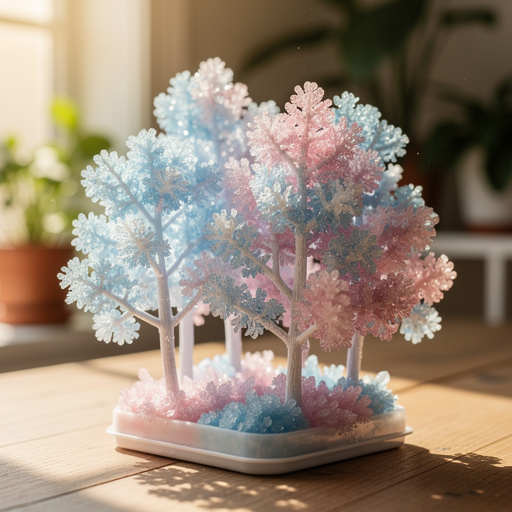
Transform your home into a sparkling wonderland by growing your own vibrant crystal garden using a National Geographic kit. This engaging science experiment is fun for the whole family.
Quick answer
To make a National Geographic crystal garden, you need the kit's contents and about 24 hours for initial growth. Start by dissolving the growth solution in warm water. Carefully add the seed crystals and allow them to grow undisturbed in a stable location. This beginner-friendly activity has 10 main steps and is perfect for kids aged 8+.
What you need
Shop on Amazon · As an Amazon Associate we earn from qualifying purchases. Links above are affiliate links — we may earn a commission at no extra cost to you.
Embark on a dazzling scientific adventure right in your own home with the National Geographic Crystal Growing Kit! This captivating project transforms ordinary household items into a breathtaking display of shimmering crystals, offering a hands-on learning experience that's both educational and visually stunning. Perfect for curious minds of all ages, especially children aged 8 and up, this kit demystifies the science behind crystal formation in a fun, accessible, and incredibly rewarding way. Get ready to witness nature's artistry unfold before your eyes as you cultivate your very own sparkling wonderland.
On this page
Step-by-Step Instructions
- 1
Prepare your workspace by covering it with newspaper or a tray to catch any spills. This step is crucial for easy cleanup and protecting your surfaces from potential stains or residue from the growth solution, ensuring a tidy and stress-free crafting experience.
- 2
Carefully open one of the growing containers from your National Geographic Crystal Growing Kit. Ensure you have a clean, dry surface to work on and that the container is free from any dust or debris that could interfere with crystal formation.
- 3
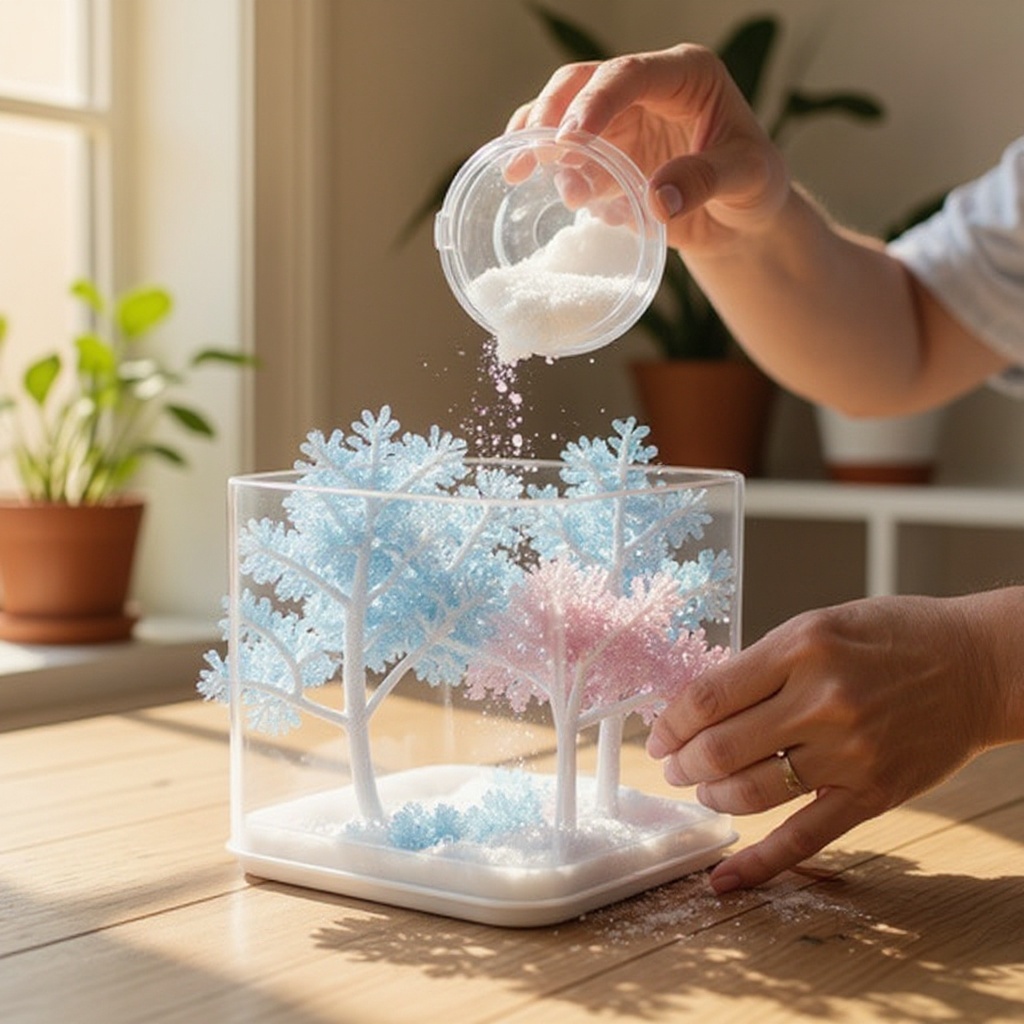
Pour the contents of one growth solution packet into the growing container. These packets contain the essential chemicals that will react with water to create the supersaturated solution needed for crystal growth; handling them carefully prevents accidental spills.
- 4
Measure and add 1 cup of warm water to the container with the growth solution. It's important to use warm, not boiling, water as this helps the chemicals dissolve effectively and initiates the crystallization process more readily, ensuring a smooth start.
- 5
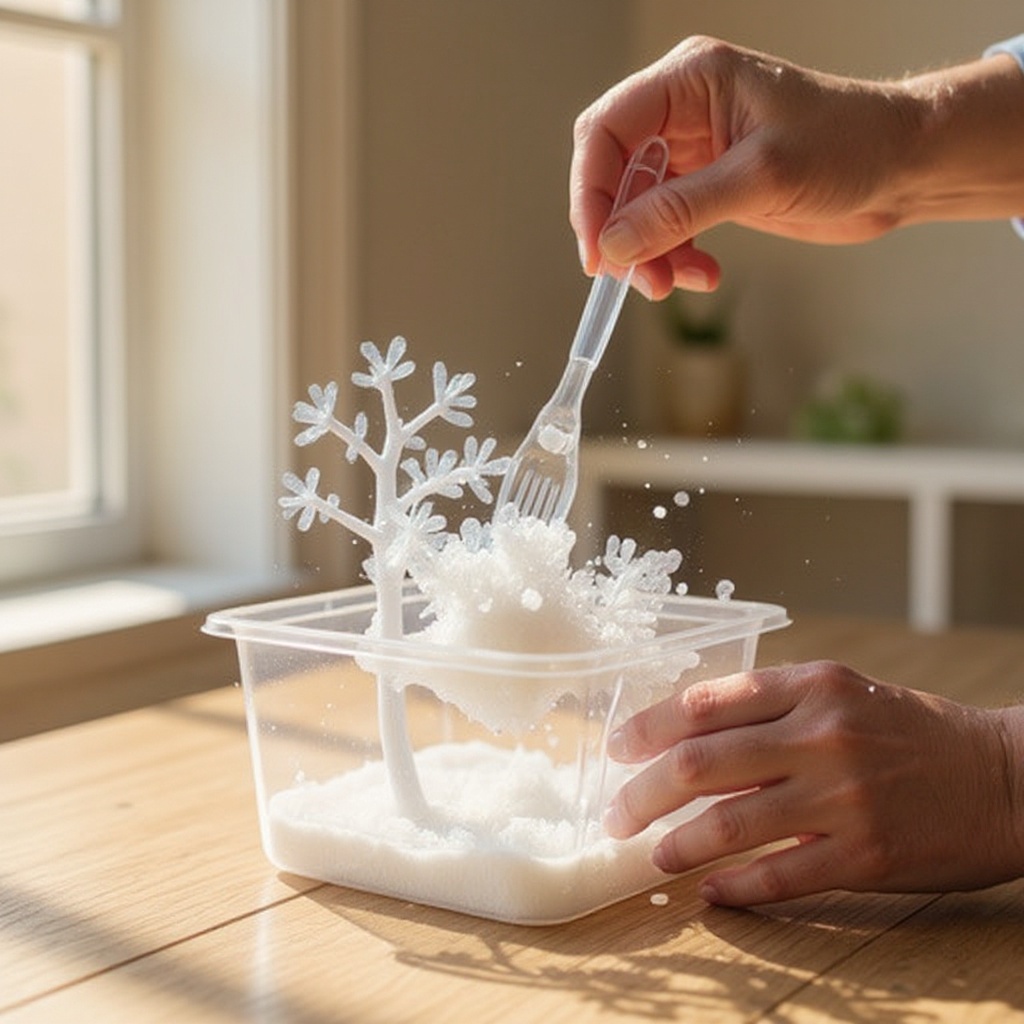
Stir the mixture thoroughly with the provided utensil or a spoon until all the powder is completely dissolved. Continue stirring until the liquid is clear and no gritty residue remains at the bottom of the container; this ensures a uniform solution for optimal crystal formation.
- 6
Allow the solution to cool slightly for a few minutes. While warm water is needed for dissolving, letting it cool slightly prevents the seed crystals from dissolving too quickly or unevenly when added, promoting a more controlled growth.
- 7
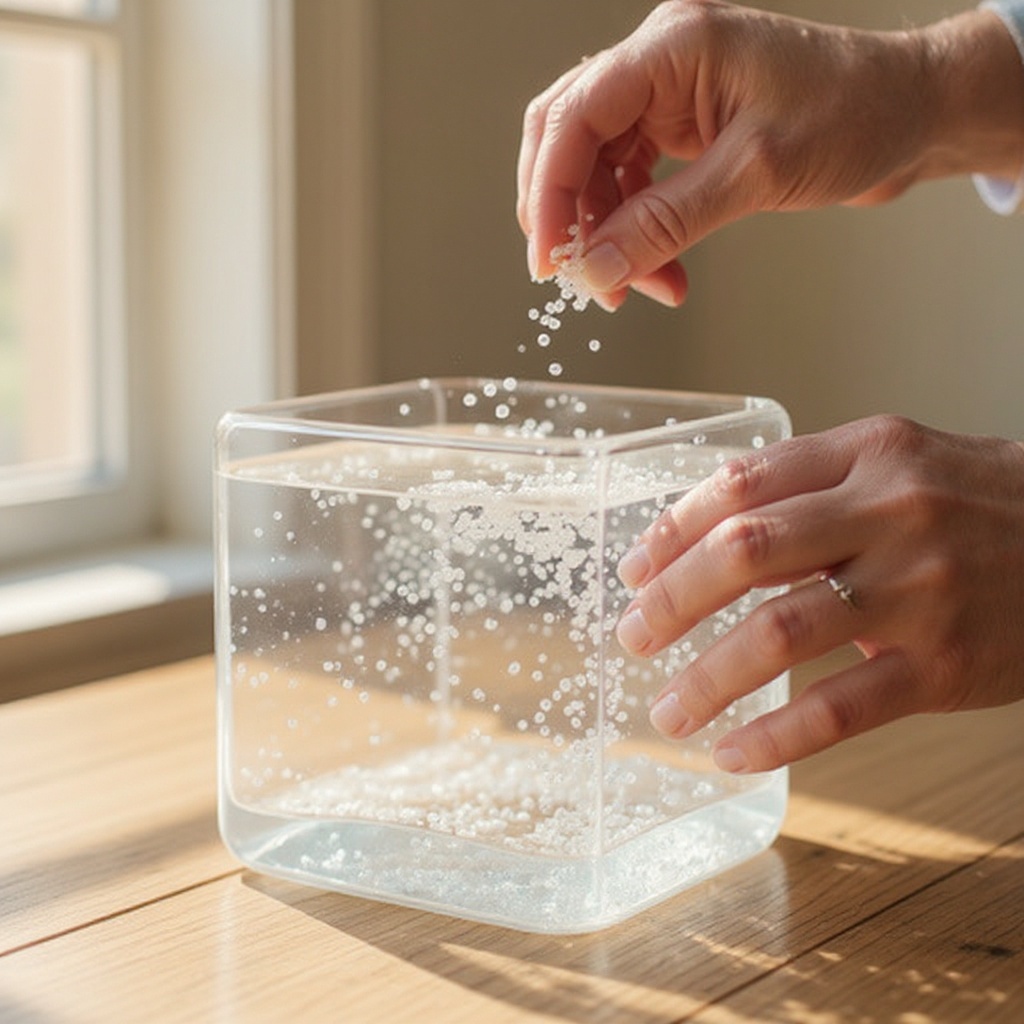
Gently add the seed crystals to the solution. These tiny crystals act as nucleation sites, providing a surface for the dissolved chemicals to attach to and grow upon. Do not stir after adding the seed crystals, as this can break them apart or disrupt the initial formation.
- 8
Carefully place the growing container in a location where it will not be disturbed and has a stable temperature. Avoid areas with drafts, direct sunlight, or vibrations, as these can interfere with the delicate process of crystal growth and lead to uneven formations.
- 9
Observe the crystals begin to form and grow over the next 12-24 hours. You should start to see small crystalline structures appearing on the seed crystals and the sides of the container, marking the beginning of your crystal garden's transformation.
- 10
Continue to monitor the growth over the next 24-48 hours. The crystals will gradually increase in size and complexity as more material precipitates out of the solution, creating a beautiful and intricate display.
- 11
Once the crystals have reached your desired size, carefully remove the container from the solution. Use a spoon or tweezers to gently lift out the crystal formation, being mindful not to break off any delicate parts that have formed.
- 12
Allow the crystal garden to dry completely on the protective surface before displaying. This drying process is essential to prevent the crystals from dissolving or becoming damaged when handled, ensuring your creation remains intact.
- 13
Optional: If you wish to accelerate the evaporation process and potentially encourage larger crystal growth, you can carefully place the container in a slightly warmer, but still stable, environment. Ensure it remains undisturbed.
- 14
Optional: For a more intricate display, consider using tweezers to carefully position the seed crystals before adding the solution, guiding where the main crystal formations will begin.
- 15
Optional: Once the initial growth is complete, you can carefully decant some of the solution to encourage further growth on the existing crystals, or even introduce new seed crystals into the remaining solution for a multi-layered effect.
Tips & Troubleshooting
- 1For best results, ensure the water is warm but not boiling when dissolving the growth solution. Water that is too hot can cause the chemicals to break down, while water that is too cool will not dissolve them completely, leading to poor crystal formation.
- 2Avoid moving or shaking the container once the seed crystals are added, as this can disrupt crystal formation. Any disturbance can cause the growing crystals to break or lead to the formation of smaller, less defined structures.
- 3If crystals aren't forming as expected, try a slightly warmer location or ensure the growth solution was fully dissolved. Sometimes, a slight increase in ambient temperature can encourage faster growth, and a fully dissolved solution is paramount for success.
- 4Experiment with different colors if your kit offers multiple options for a vibrant display. By using different colored growth solutions, you can create a collection of uniquely colored crystal gardens, each with its own distinct aesthetic appeal.
- 5Keep the finished crystal garden away from direct sunlight and excessive moisture to preserve its appearance. Direct sunlight can cause fading or degradation of the crystals over time, while moisture can lead to them dissolving or becoming cloudy.
- 6For larger and more intricate crystals, consider using a slightly larger container and more warm water, ensuring you maintain the correct ratio of growth solution to water as per the kit's instructions. This provides more space and solution for the crystals to develop.
- 7If you notice a cloudy residue in the solution after stirring, it might indicate that the growth solution wasn't fully dissolved. Try gently reheating the water slightly and stirring again until the solution is completely clear before proceeding, as this is crucial for proper supersaturation.
- 8Handle the seed crystals with care; they are the foundation of your crystal garden. Using tweezers can help you place them precisely where you want them to grow, potentially influencing the overall shape and structure of your final display and ensuring they are well-positioned for optimal growth.
Related Activities You Might Enjoy
Frequently Asked Questions
How long does it take for National Geographic crystals to grow?
National Geographic crystals typically begin to form within 12-24 hours after adding the seed crystals. You'll start to see small crystalline structures appearing on the seed crystals and the sides of the container. Full growth, where the crystals reach a significant size and complexity, can take up to 48 hours, depending on the environmental conditions such as temperature and humidity, and the specific kit used. Patience is key; avoid disturbing the container during this critical growth period to allow for the most impressive results.
Can I reuse the National Geographic crystal growing kit?
No, the National Geographic Crystal Growing Kit is designed for a single use. The growth solution is a chemical mixture that is consumed during the crystallization process as the dissolved chemicals precipitate out of the solution to form crystals. The seed crystals are also used up as they serve as the foundation for the larger crystals to grow upon. Once the experiment is complete, the solution is depleted, and the crystals have formed, the kit's components cannot be effectively reused for another growth cycle.
What causes the crystals to grow in the National Geographic kit?
The crystals grow through a fascinating process called supersaturation and precipitation. The growth solution, when dissolved in warm water, creates a supersaturated mixture – meaning it holds more dissolved chemical than it normally could at that temperature. As the water in the container slowly evaporates or cools, the solution becomes unstable, and the excess dissolved chemicals are forced out of the solution. These chemicals then attach themselves to the seed crystals, which act as nucleation sites, and build upon them, layer by layer, forming visible crystals.
Why aren't my National Geographic crystals growing?
Several factors can affect crystal growth. Ensure the growth solution was fully dissolved in warm water; any undissolved powder will prevent proper supersaturation. The water temperature is also critical – too cold and the solution won't dissolve properly, too hot and it might damage the seed crystals. Furthermore, the container must be in a stable, undisturbed location. Temperature fluctuations, drafts, or vibrations can hinder the delicate crystallization process. If growth is slow, try moving the container to a slightly warmer spot, but avoid direct heat sources.
What are the safety precautions for using the National Geographic Crystal Growing Kit?
The National Geographic Crystal Growing Kit is generally safe for children aged 8 and up when supervised. However, it's important to follow the instructions carefully. Avoid ingesting the growth solution or crystals, and wash hands thoroughly after handling the materials. It's recommended to wear gloves when mixing the growth solution, especially if you have sensitive skin. Ensure the workspace is protected to avoid spills, and keep the kit and its contents out of reach of very young children or pets. Adult supervision is always advised for younger experimenters.
Can I grow crystals on objects other than the provided seed crystals?
While the kit is designed to grow crystals on the provided seed crystals, you can experiment with growing crystals on other small, non-porous objects. Clean, inert items like small pebbles, marbles, or even certain types of string can potentially serve as nucleation sites. However, success may vary, and the resulting crystal formations might be less predictable or defined compared to using the dedicated seed crystals. Ensure any object you use is thoroughly cleaned and dried before placing it in the growth solution.
What is the role of the seed crystals in the National Geographic kit?
The seed crystals are fundamental to the crystal growing process. They act as nucleation sites, which are tiny imperfections or surfaces where the dissolved chemical molecules can begin to attach and arrange themselves in an orderly fashion. Without these seed crystals, the dissolved chemicals would have no specific starting point to build upon, and the formation of large, visible crystals would be significantly hindered or might not occur at all. They provide the initial structure for the larger crystal formations to develop.
What Next?
Once your crystal garden has reached its full, magnificent glory, carefully remove it from the solution and allow it to dry completely. Display your unique creation proudly on a shelf or windowsill, where it can catch the light and showcase its intricate beauty. For a different twist, consider experimenting with different colored kits or even attempting to grow crystals on small, clean, non-porous objects for varied results. You can also explore advanced crystal growing techniques or research the science behind different types of crystal structures. Remember to store your finished garden away from direct sunlight and moisture to preserve its delicate charm for as long as possible.
Free: 10 Paper Crafts Anyone Can Make in 5 Minutes
Get our beginner guide + new craft ideas weekly.
No spam. Unsubscribe anytime.
Did you complete this activity?
Related
You might also like
Sparkling Crystal Garden
Balloon Inflating Science Fun
Grape to Raisin Density Change
DIY Rainbow Walking Water Experiment
Density Bottle with Oil & Water