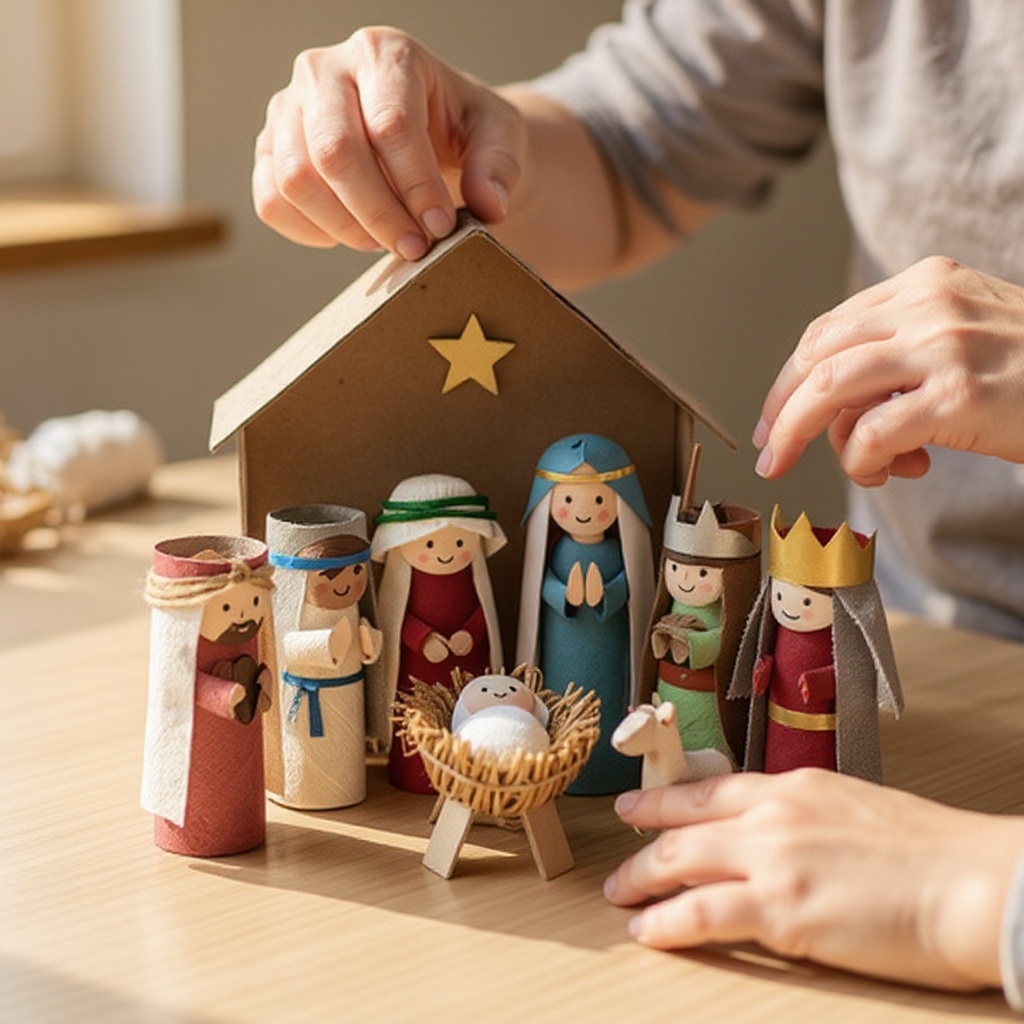
How to Make a Toilet Paper Roll Nativity Scene — Easy Step-by-Step Guide
Craft a beautiful and meaningful Nativity scene using simple toilet paper rolls. A wonderful family activity for the holidays.
Quick answer
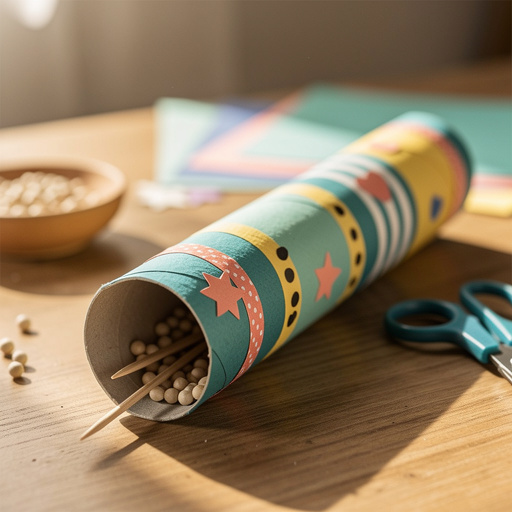
To make a Toilet Paper Roll Nativity Scene, you need approximately 15 empty toilet paper rolls, acrylic paints in various colors (brown, white, yellow, blue, red, black), paintbrushes, scissors, white craft glue or a hot glue gun (with adult supervision), and a black permanent marker. Optional embellishments include glitter, small fabric scraps, and yarn. The project takes about 90 minutes to 2 hours, depending on drying time and the number of figures created. This beginner-friendly activity has 12 core steps and is perfect for families with children aged 6 and up, fostering creativity and holiday spirit.
What you need
Shop on Amazon · As an Amazon Associate we earn from qualifying purchases. Links above are affiliate links — we may earn a commission at no extra cost to you.
This holiday season, gather your family for a heartwarming and eco-friendly craft project: a Toilet Paper Roll Nativity Scene. More than just a decoration, this handmade creation allows you to tell the timeless story of Christmas in a tangible way. It’s a fantastic opportunity to engage children in a meaningful activity that sparks creativity, develops fine motor skills, and fosters an appreciation for the holiday's origins. Perfect for beginners and young crafters, this project transforms everyday recyclables into a cherished centerpiece.
On this page
Step-by-Step Instructions
- 1
Gather all your materials, ensuring you have at least 15 clean, empty toilet paper rolls ready. It's a good idea to have a few extra rolls on hand in case of any crafting mishaps or if you decide to create additional figures.
- 2
Begin by preparing the rolls for the stable structure. Paint the majority of your toilet paper rolls (around 8-10) in various shades of brown. This will form the walls, roof supports, and base of your Nativity scene, giving it a rustic, stable-like appearance. Allow them to dry completely before proceeding to the next step.
- 3
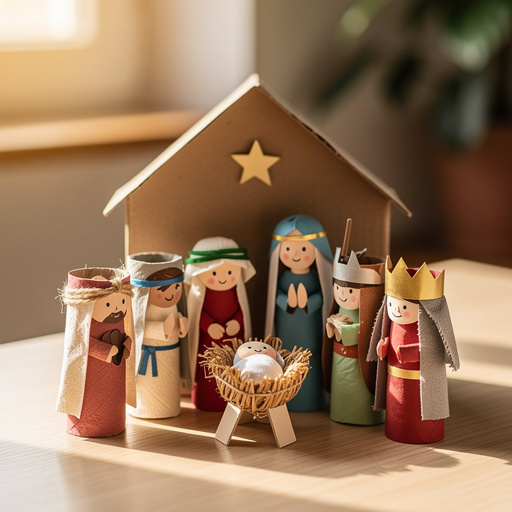
Next, prepare the main figures. Paint 3 rolls white for Mary, Joseph, and the baby Jesus. Paint 1 roll a bright yellow for the angel, and 2 rolls a calming blue for the shepherds. Finally, paint 2 rolls a rich red for the wise men, and 1 roll black for the donkey. Having a designated color for each character helps in identification and adds visual appeal.
- 4
Paint 1 additional roll white to represent the sheep. This figure can be added to the stable for extra detail. Ensure all painted surfaces are thoroughly dry before attempting to draw on them or assemble the figures, as wet paint can smudge easily.
- 5
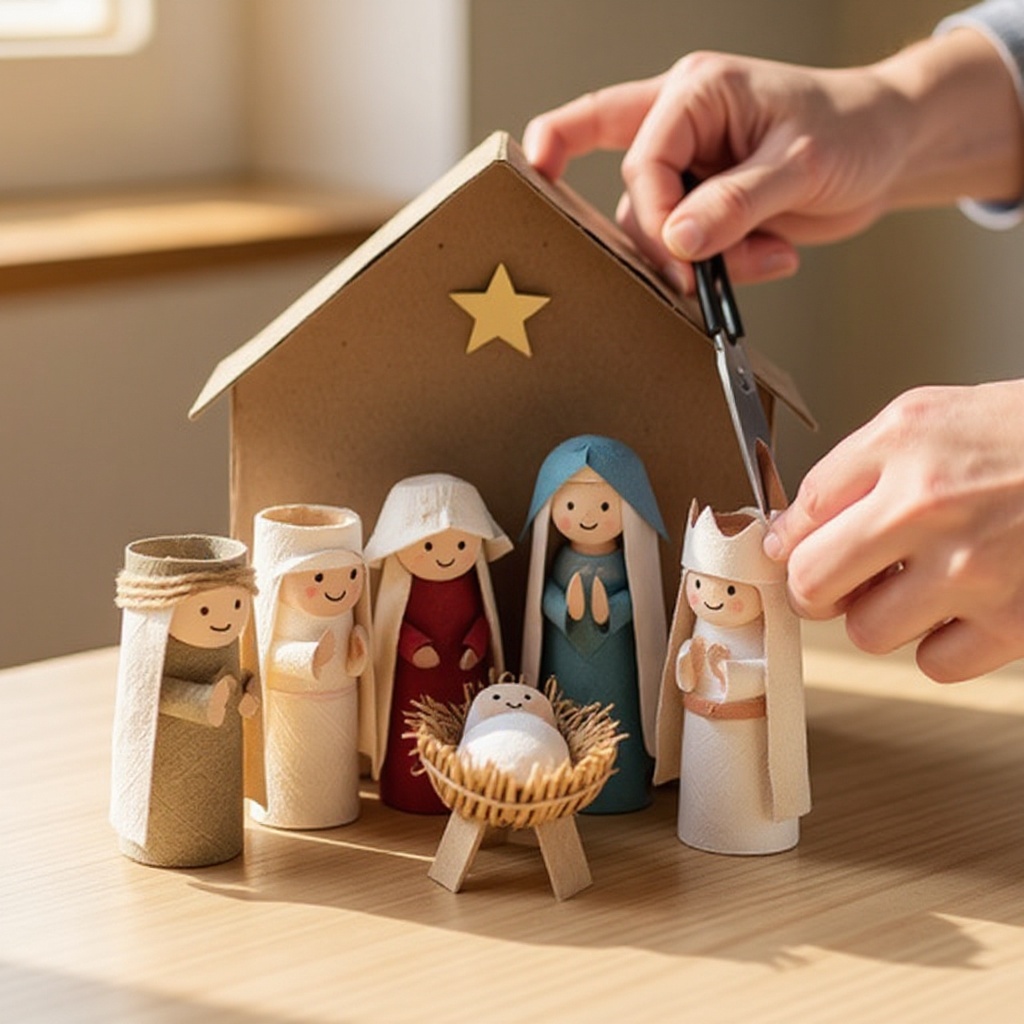
Once the paint is completely dry, it's time to shape the figures. For Mary and Joseph, use scissors to carefully cut a small slit at the top of their respective white rolls. Gently fold the top edge inward on each side of the slit to create a subtle head shape, giving them a more distinct form.
- 6
For the baby Jesus, take a small piece of white fabric, felt, or even a tightly rolled piece of white paper. Wrap this around a small, unpainted or lightly painted toilet paper roll scrap to resemble swaddling clothes, and secure it with a dab of glue. This creates a delicate and tender representation of the infant.
- 7
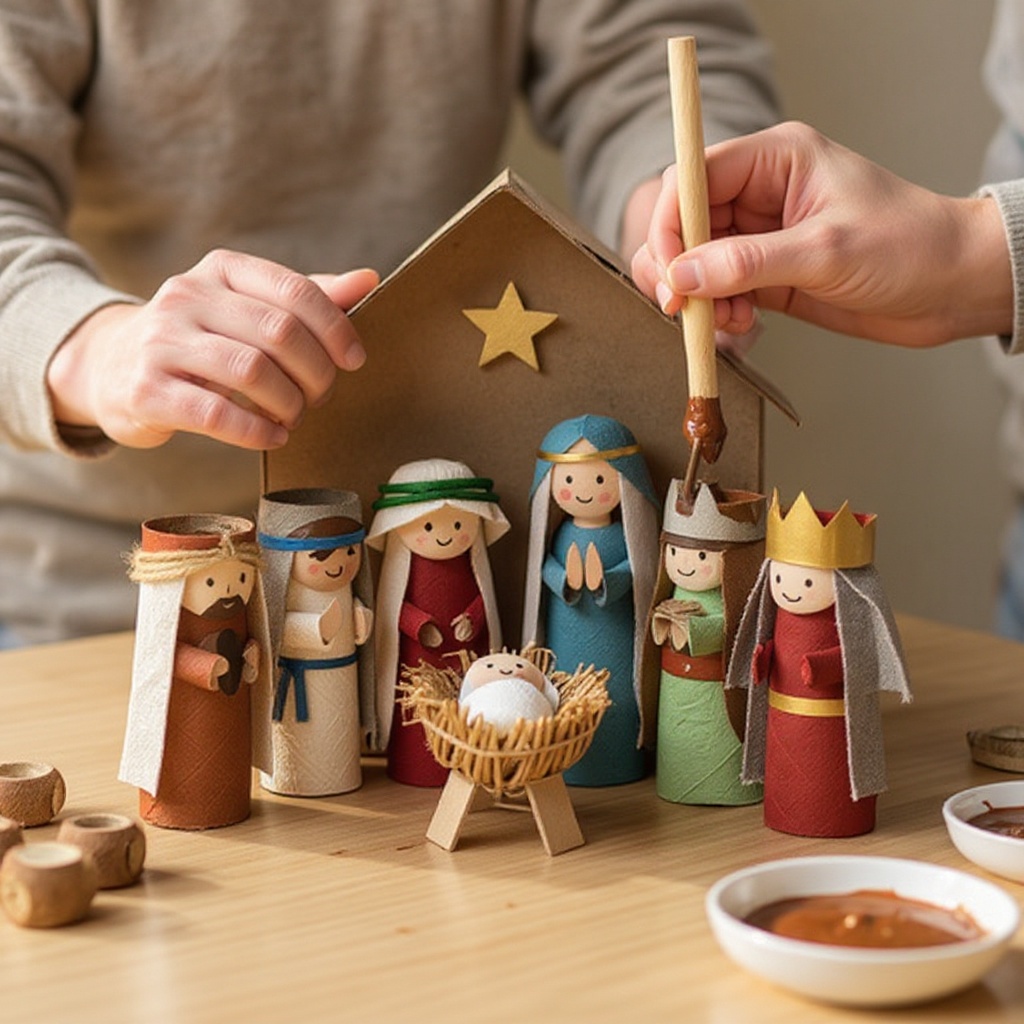
Now, bring your characters to life by drawing their faces. Using a fine-tip black permanent marker, carefully draw simple, expressive features on Mary, Joseph, the shepherds, and the wise men. Focus on creating clear eyes, noses, and mouths; you can add small smiles or thoughtful expressions to enhance their personalities.
- 8
Create the angel's distinctive feature by cutting small, delicate wings from white paper or felt. Glue these wings securely to the sides of the yellow-painted roll, ensuring they are positioned symmetrically to give the angel a graceful appearance.
- 9
Assemble the stable structure. You can glue the brown-painted rolls together to form walls and a roof, or simply arrange them in a way that suggests a stable. For a more robust structure, consider gluing the rolls onto a piece of cardboard or a shallow box lid to create a stable base.
- 10
Add the donkey. If you painted a roll black for the donkey, you can simply stand it in the stable. For added detail, you could cut out small ears from black paper and glue them to the top of the roll.
- 11
Place the figures into the stable. Position Mary and Joseph near the baby Jesus. You can create a simple manger for the baby by folding a small piece of cardboard or a toilet paper roll scrap into a trough shape and gluing it into place.
- 12
Add the sheep. If you painted a roll white for the sheep, you can glue it inside or near the stable. For a more realistic woolly texture, you can glue strands of white yarn onto the painted roll.
- 13
Enhance the scene with optional embellishments. Sprinkle glitter onto the stable roof or a piece of dark blue paper placed behind the scene to create a starry night sky. Use small fabric scraps to add details to the figures' clothing, like a sash or a trim.
- 14
Consider adding a star to your Nativity scene. Cut a star shape from yellow paper or cardstock and attach it above the stable, perhaps using a piece of string or a glued-on support.
- 15
If you wish to create more figures, such as additional shepherds or wise men, simply repeat the painting and decorating steps with more toilet paper rolls, using different color combinations for their robes.
- 16
For the stable, you can also add a roof by cutting and folding a larger piece of cardboard or by gluing more brown-painted toilet paper rolls together at an angle.
- 17
Ensure all glue is completely dry before handling the completed Nativity scene to prevent any figures or parts from detaching.
- 18
Once the glue is dry and all embellishments are in place, your Toilet Paper Roll Nativity Scene is ready to be displayed and enjoyed throughout the holiday season.
Tips & Troubleshooting
- 1If you don't have brown paint readily available, don't worry! You can easily cover the toilet paper rolls with brown construction paper or even strips of brown paper bags, securing them with glue for a similar rustic effect.
- 2For a sturdier and more stable Nativity scene, consider gluing the assembled toilet paper rolls directly onto a piece of sturdy cardboard or the lid of a shallow box. This will provide a solid base that prevents the structure from tipping over.
- 3Encourage children to get creative with the facial features and clothing details. Different colors, patterns, and even small fabric scraps can make each figure unique and reflect their own artistic interpretation of the characters.
- 4While white craft glue is a safe and effective option, it does require patience as it takes longer to dry. If you're looking for a faster assembly, a hot glue gun can be used, but it's crucial to have adult supervision to prevent burns.
- 5To add extra texture to the sheep, you can apply a thin layer of white glue to the painted roll and then press strands of white yarn into the glue. This creates a wonderfully fluffy, woolly appearance.
- 6Consider painting the inside of the stable rolls with a lighter color or even a simple pattern to add depth and visual interest to the interior of your scene.
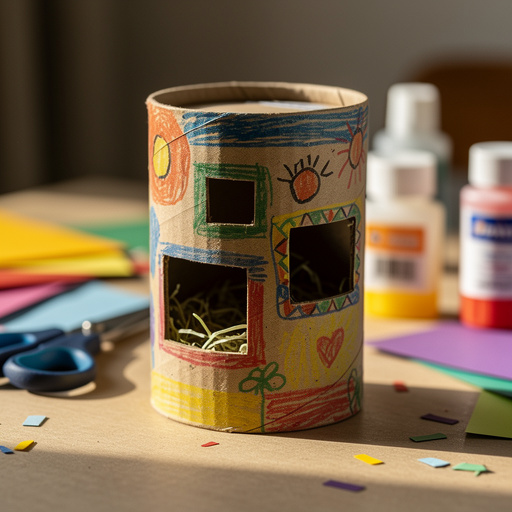
- 7If you want to create a more elaborate stable, you can cut small windows or an arched doorway into some of the brown rolls before painting them. This adds a charming architectural detail.
- 8Don't be afraid to experiment with different paint techniques. You could try dry brushing for a weathered look on the stable or adding a wash of a darker color to create shadows and dimension on the figures.
Related Activities You Might Enjoy
Frequently Asked Questions
What are the easiest Christmas crafts using toilet paper rolls?
Toilet paper roll crafts are wonderfully versatile and generally very easy, making them perfect for all skill levels. Simple characters like reindeer (add googly eyes and pipe cleaner antlers), snowmen (paint white, add button details), or basic animal figures are incredibly straightforward. The Nativity scene, as outlined here, is also beginner-friendly, primarily involving basic painting, cutting, and gluing skills. These projects are excellent for developing fine motor skills and encouraging imaginative play in young children, transforming everyday recyclables into festive decorations.
How can I make toilet paper roll Christmas decorations more festive?
To elevate your toilet paper roll Christmas decorations, embrace sparkle and festive colors! Add glitter to painted surfaces, especially for stars or snowy effects. Incorporate small sequins, beads, or even tiny jingle bells for added shimmer and sound. Using festive ribbons or colorful yarn for bows, accents, or even hair can instantly boost their holiday appeal. Painting the rolls in traditional Christmas colors like deep reds, forest greens, and rich golds, or even adding metallic paints, will also enhance their festive charm and make them stand out as delightful holiday adornments.
Are toilet paper roll crafts good for young children?
Absolutely! Toilet paper roll crafts are exceptionally good for young children, offering a wealth of developmental benefits. The act of painting, cutting (with supervision), and gluing helps to develop crucial fine motor skills, hand-eye coordination, and dexterity. These crafts also serve as a fantastic platform for fostering creativity and imaginative play, allowing children to bring their own ideas to life. Furthermore, engaging in these projects together can strengthen family bonds and create cherished holiday memories, making them a valuable and enjoyable activity for preschoolers and early elementary-aged children.
Can I make a toilet paper roll Christmas village?
Yes, you can absolutely create a charming Christmas village using toilet paper rolls! Adapt the basic techniques to construct miniature houses, churches, shops, and other buildings. Paint the rolls in various colors and add details like small windows cut from paper or drawn with markers, tiny doors, and even little roofs made from folded cardstock. You can arrange these buildings together to form a delightful village scene, perhaps with a central church or a bustling marketplace. This is a fantastic way to expand on the Nativity scene or create a standalone holiday display.
How many toilet paper rolls do I need for a Nativity scene?
For a basic Toilet Paper Roll Nativity Scene featuring the core figures like Mary, Joseph, baby Jesus, the angel, shepherds, wise men, and the donkey, you will need approximately 10-12 toilet paper rolls. However, it's highly recommended to have a few extra rolls on hand, bringing the total to around 15-20. This buffer is useful for creating additional elements like sheep, a more elaborate stable structure, or simply accounting for any potential mistakes or creative expansions you might decide to make during the crafting process. Having extras ensures you can complete your vision without interruption.
What kind of paint is best for toilet paper rolls?
Acrylic paints are the best choice for decorating toilet paper rolls for this Nativity scene. They adhere well to the cardboard surface, dry relatively quickly, and offer vibrant, opaque coverage. You can achieve a wide range of colors by mixing them, and they are water-based, making cleanup easy with soap and water. While tempera paints can also work, they tend to be less durable and can be more prone to chipping or smudging once dry. Avoid oil-based paints as they are more difficult to clean up and may not adhere as effectively to the cardboard.
What Next?
Once your Toilet Paper Roll Nativity Scene is complete, find a special place to display it – perhaps on a mantelpiece, a bookshelf, or as part of your holiday table setting. Consider adding a small battery-operated LED light behind the stable for a magical glow. For future years, store the figures and stable carefully in a box to prevent damage. You can expand your scene by creating more figures like shepherds, animals, or even a star! This project is a wonderful springboard for other recycled Christmas crafts, such as toilet paper roll angels or reindeer.
Free: 10 Paper Crafts Anyone Can Make in 5 Minutes
Get our beginner guide + new craft ideas weekly.
No spam. Unsubscribe anytime.
Did you complete this activity?
Related
You might also like
Cardboard Tube Critter Cages
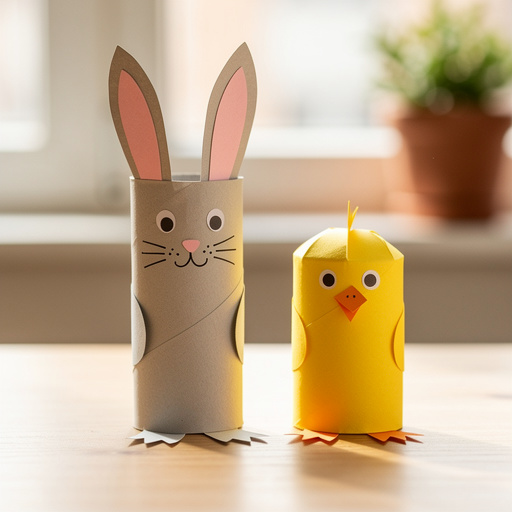
Paper Roll Bunny & Chick Friends
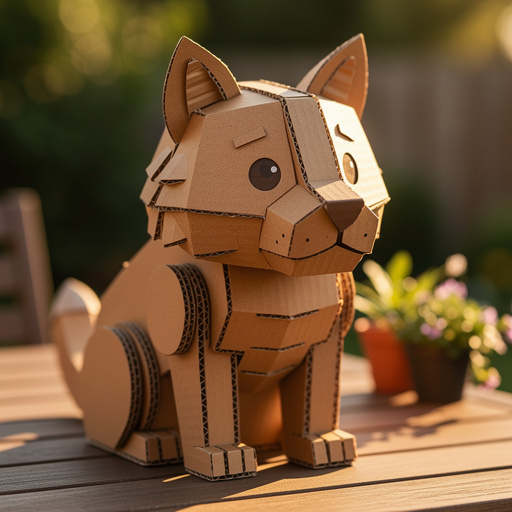
Cardboard Animal Sculptures
Paper Jamz Guitar Craft

Paper Roll Bunny Buddies