How to Decorate Rocks with Permanent Markers — Easy Step-by-Step Guide
Transform ordinary rocks into vibrant works of art using just permanent markers and a few simple supplies. A fun and screen-free activity for all ages!
Quick answer
To decorate rocks with permanent markers, you need smooth rocks, permanent markers, and a clear sealant, taking about 30 minutes. Start by cleaning your rocks. This beginner-friendly activity has 7 steps and is perfect for families and kids aged 6+.
What you need
Shop on Amazon · As an Amazon Associate we earn from qualifying purchases. Links above are affiliate links — we may earn a commission at no extra cost to you.
Unleash your inner artist and transform ordinary stones into captivating masterpieces with this incredibly simple permanent marker rock decorating project. It's a wonderfully screen-free activity that fosters creativity and provides a tangible sense of accomplishment for artists of all ages, from curious youngsters to seasoned crafters. The beauty of this craft lies in its accessibility; all you need are a few basic supplies and a desire to create. Whether you're looking for a calming solo pursuit or a joyful group activity, decorating rocks with permanent markers offers endless possibilities for personal expression and a touch of handmade magic.
On this page
Step-by-Step Instructions
- 1
Gather your smooth, clean rocks. Ensure they are dry and free of dirt or debris. For best results, select rocks with a relatively flat surface, as this will make drawing much easier and allow your designs to be more visible.
- 2
Inspect your rocks for any loose dirt or grit. If necessary, give them a gentle scrub with a stiff brush and water, then rinse thoroughly. Allow them to air dry completely, which might take a few hours depending on humidity.
- 3
If your rocks have any slightly rough patches, you can gently sand them down with fine-grit sandpaper. This step is optional but can create a smoother surface for the markers to glide on, leading to cleaner lines and better ink adhesion.
- 4
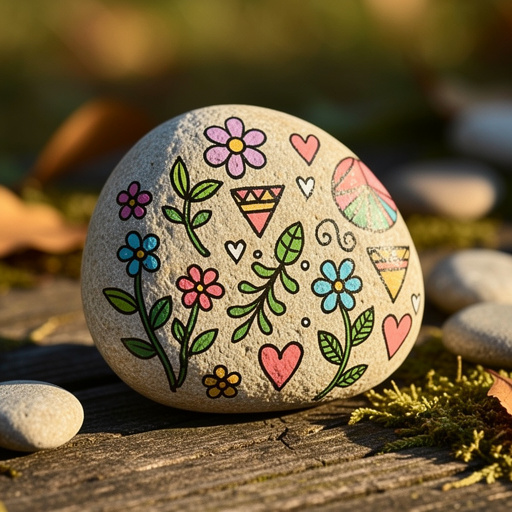
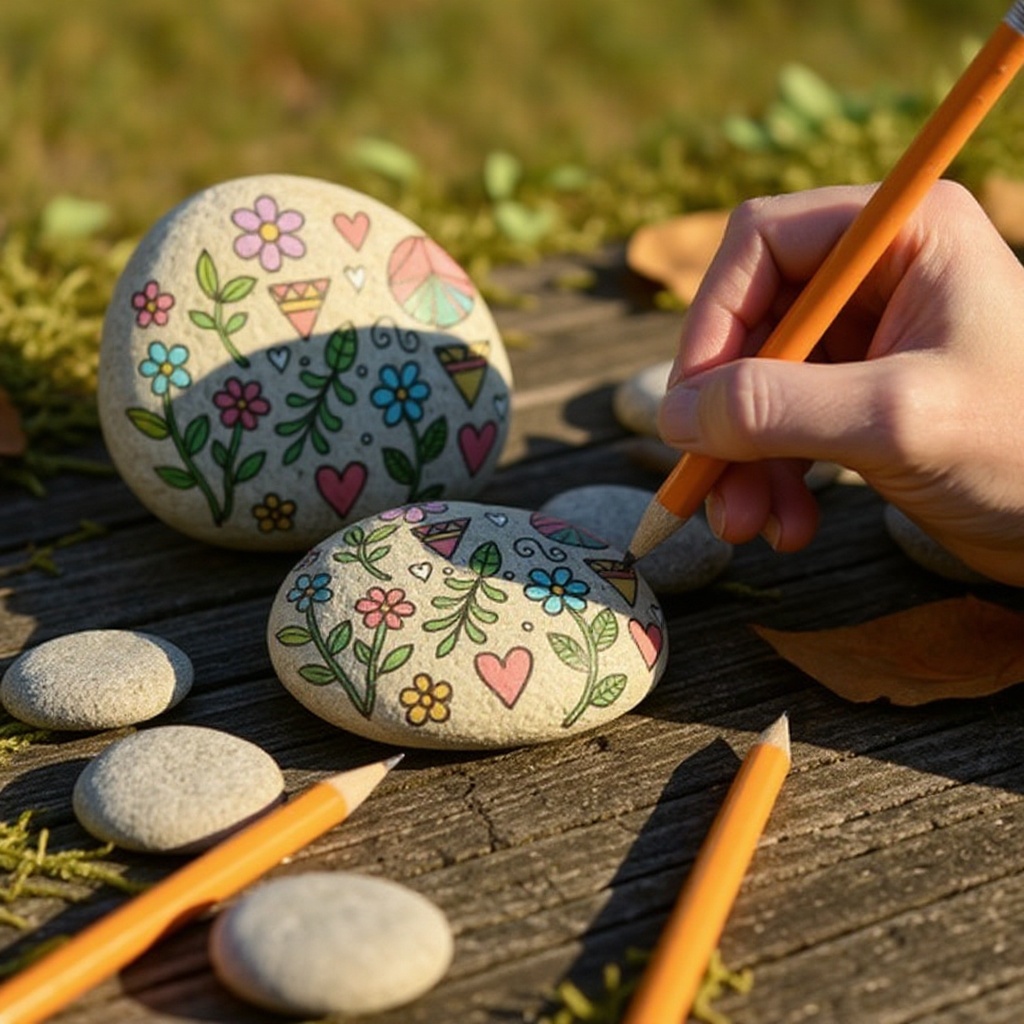
Plan your design. You can sketch it lightly with a pencil if you prefer, or go freehand. Consider the shape of the rock and how your design will complement its natural form; sometimes a simple outline or a repeating pattern works best.
- 5
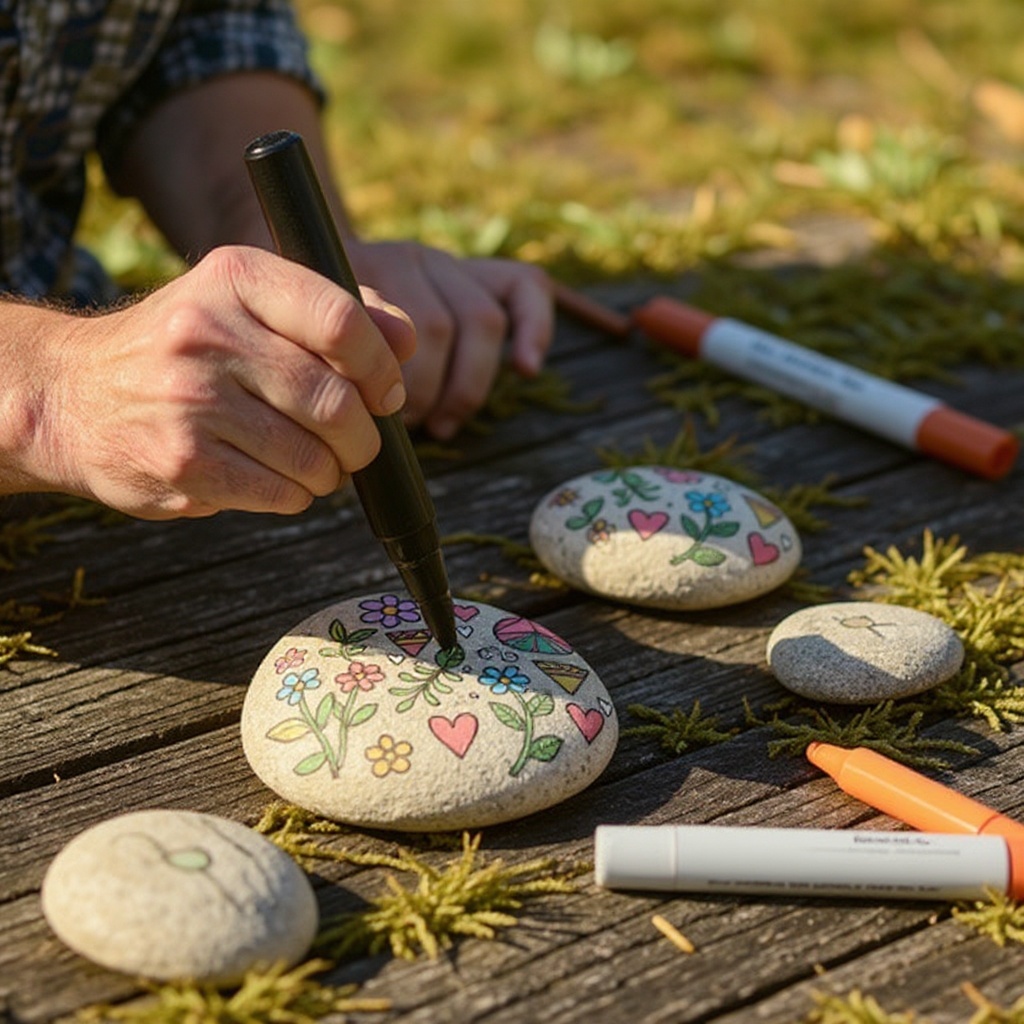
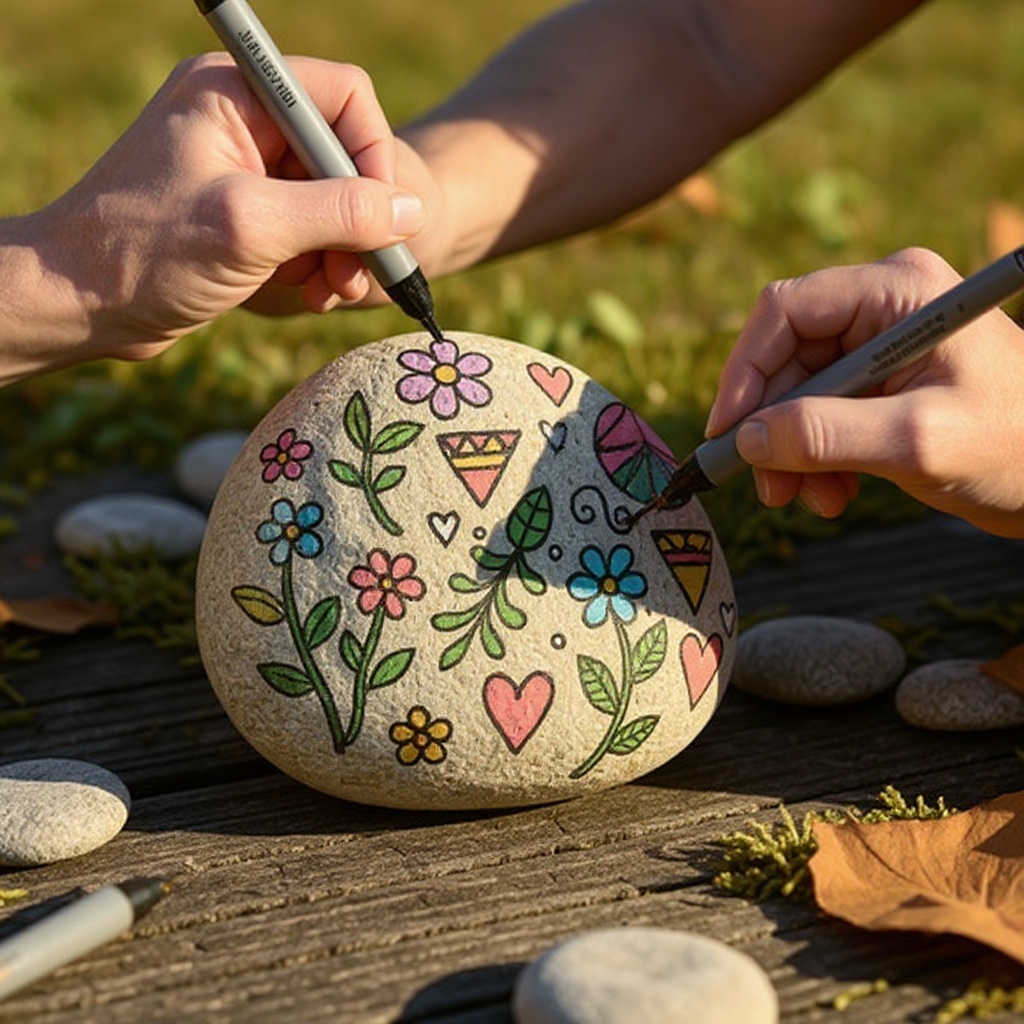
Begin drawing your design directly onto the rock with the permanent markers. Use different colors and tip sizes for variety. Start with larger shapes or background colors, working your way towards finer details.
- 6
For larger areas of color, use the chisel tip or a broader marker tip to fill in the space efficiently. Be mindful of applying even pressure to avoid streaking, and allow each color to dry slightly before adding another adjacent color to prevent bleeding.
- 7
Add details and outlines with finer tips. Ultra-fine tip markers are perfect for intricate patterns, small dots, lettering, or defining the edges of your design. This is where you can really bring your artwork to life with precision.
- 8
If you're creating a layered design, allow each layer of marker ink to dry completely before adding the next. This prevents colors from smudging into each other and ensures crisp, defined lines.
- 9
Allow the marker ink to dry completely. This usually takes about 10-15 minutes, but it's best to err on the side of caution and let it dry for at least 30 minutes to an hour, especially if you've used a lot of ink.
- 10
Once the marker ink is thoroughly dry, take your rocks to a well-ventilated outdoor area or a space with good airflow, like an open garage or a balcony. This is crucial for safely using the spray sealant.
- 11
Protect your surrounding area with newspaper or a drop cloth to catch any overspray from the sealant. Wear gloves if you wish to keep your hands clean during this step.
- 12
Apply a light, even coat of clear acrylic spray sealant over the entire rock. Hold the can about 8-12 inches away from the rock and use a steady, sweeping motion to ensure uniform coverage. Avoid applying too much sealant at once, as this can cause drips or a cloudy finish.
- 13
Let the first coat of sealant dry completely according to the product instructions, which typically takes about 15-20 minutes. You should be able to touch the rock lightly without any ink transferring to your finger.
- 14
Apply a second coat of sealant if desired for extra durability and a more robust finish. This second layer will further protect your design from moisture and abrasion, making your rock art even more long-lasting.
- 15
Allow the final coat of sealant to cure completely. This can take anywhere from a few hours to 24 hours, depending on the product and environmental conditions. Once fully cured, your permanent marker painted rocks are ready to be displayed or shared!
Tips & Troubleshooting
- 1If you make a mistake with the permanent marker, you can sometimes wipe it away immediately with rubbing alcohol on a cotton swab before it dries. Test on a small area first to ensure the alcohol doesn't damage the rock's surface or the surrounding marker ink.
- 2Experiment with different types of permanent markers, like metallic or paint markers, for unique effects. Metallic markers can add a touch of shimmer and sophistication, while paint markers offer opaque coverage and vibrant hues that can stand out.
- 3Consider creating themed rock collections, such as kindness rocks to leave for others to find, or garden markers for plants. Kindness rocks are a wonderful way to spread positivity, and garden markers add a personalized touch to your outdoor space.
- 4Store your finished rocks indoors or outdoors, but be aware that prolonged direct sunlight might cause the colors to fade over time, even with sealant. If displaying them outdoors, choose a shaded spot to maximize their lifespan and vibrancy.
- 5For a more professional look, consider using a clear sealant with UV protection. This will further safeguard your artwork from the damaging effects of the sun's rays, ensuring your colors remain bright for longer.
- 6Don't be afraid to layer colors or use blending techniques with your permanent markers. Some markers can be blended by layering them while still wet, or by using a colorless blender marker to create smooth transitions and gradients.
- 7If you find your rocks are too porous and the marker ink is bleeding, you can try applying a thin layer of clear nail polish or a primer specifically designed for porous surfaces before you start decorating. Allow this primer to dry completely before proceeding with the markers.
- 8When planning your designs, think about the scale of the rock. Smaller rocks are better suited for simpler designs or single motifs, while larger rocks can accommodate more intricate scenes or detailed patterns.
Related Activities You Might Enjoy
Frequently Asked Questions
How do I make permanent marker designs stay on rocks?
To ensure your permanent marker designs endure on rocks, the key lies in proper preparation and sealing. Begin by selecting smooth, clean, and thoroughly dry rocks; any dirt or moisture will prevent the marker ink from adhering properly. After you've completed your artwork, it's crucial to apply a clear acrylic spray sealant. This sealant acts as a protective barrier, locking the marker ink onto the rock's surface and shielding it from smudging, water damage, and fading. Apply the sealant in thin, even coats in a well-ventilated area, allowing each layer to dry completely before applying the next for maximum durability.
Can I use any kind of marker on rocks?
While you can technically draw on rocks with any marker, for permanent and lasting designs, it's essential to use permanent markers specifically designed for various surfaces. Standard washable markers will likely smudge, fade, or wash off easily, especially when exposed to moisture or handling. Permanent markers, such as Sharpies or similar brands, are formulated with pigments that adhere best to non-porous surfaces like smooth rocks. For even greater permanence and vibrancy, consider using paint markers, which offer opaque coverage and a more robust finish that is less prone to scratching or fading.
How do I clean rocks for decorating?
Cleaning your rocks is a vital first step to ensure your permanent marker art adheres well and lasts. Start by rinsing the rocks under running water to remove loose dirt and debris. For more stubborn grime, use a stiff brush (like an old toothbrush or a scrub brush) along with mild soap and water to gently scrub away any embedded dirt or algae. After scrubbing, rinse the rocks thoroughly to remove all soap residue. It's absolutely critical that the rocks are completely dry before you begin decorating with permanent markers; this might take several hours or even overnight, depending on the weather and the rock's porosity.
What kind of rocks work best for permanent marker art?
The ideal rocks for decorating with permanent markers are those with smooth, relatively flat surfaces. River rocks or beach stones that have been naturally tumbled and smoothed by water are excellent choices because their texture allows markers to glide easily and ink to adhere without bleeding or soaking in too much. Avoid rocks that are very rough, porous, or have a chalky texture, as the marker ink may not adhere well and could easily smudge or wear off. If you can't find naturally smooth rocks, you can use a fine-grit sandpaper to gently smooth out any rough patches before you start your artistic endeavors.
How long does the marker ink take to dry on rocks?
The drying time for permanent marker ink on rocks can vary depending on several factors, including the type of marker used, the amount of ink applied, the humidity of the environment, and the porosity of the rock's surface. Generally, a light application of ink on a smooth, non-porous rock will dry within 10 to 15 minutes. However, for more intricate designs with multiple layers of color or heavier ink application, it's advisable to let the ink dry for at least 30 minutes to an hour to ensure it is completely set before proceeding with further design elements or applying sealant. It's always better to wait a little longer to prevent smudging and ensure a clean finish.
Can I use these decorated rocks outdoors?
Yes, you can absolutely use your permanent marker decorated rocks outdoors, but with a few considerations to ensure their longevity. The clear acrylic spray sealant is designed to offer some protection against the elements, including light moisture and minor abrasion. However, prolonged exposure to direct sunlight can cause the vibrant colors of the permanent markers to fade over time, even with sealant. To maximize their lifespan outdoors, it's best to place them in shaded areas, such as under trees, on covered porches, or within garden beds that receive partial shade. Avoid areas with constant direct sun exposure or heavy foot traffic where they might get scuffed.
What Next?
Once your permanent marker masterpieces are dry and sealed, the fun doesn't have to stop! Consider creating themed collections, such as 'kindness rocks' to leave in public places for others to discover and enjoy, or personalized garden markers to identify your plants. These decorated rocks also make charming paperweights, unique decorative accents for shelves or windowsills, or even components in larger art installations. For storage, keep them in a cool, dry place away from prolonged direct sunlight to preserve their vibrant colors, ensuring your artistic endeavors bring joy for years to come. Next, why not explore rock painting with acrylics for even more texture and depth, or try decoupage for intricate patterns?
Free: 10 Paper Crafts Anyone Can Make in 5 Minutes
Get our beginner guide + new craft ideas weekly.
No spam. Unsubscribe anytime.
Did you complete this activity?
Related
You might also like
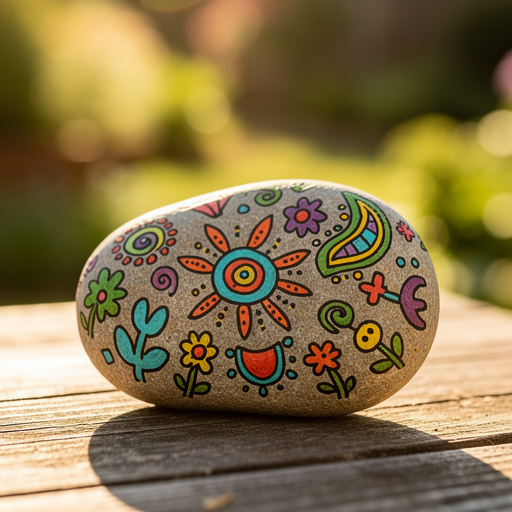
Permanent Marker Art Stones
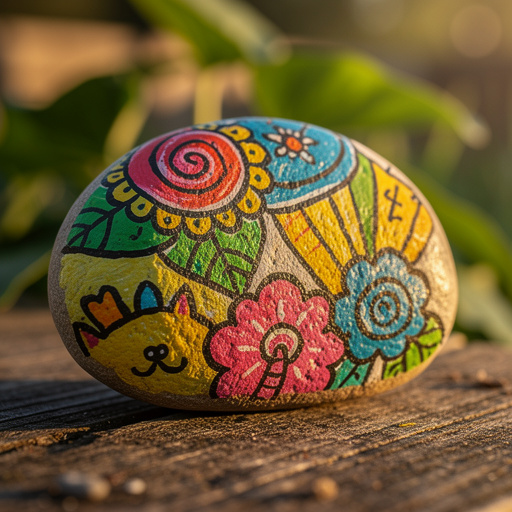
Sharpie Painted Rocks
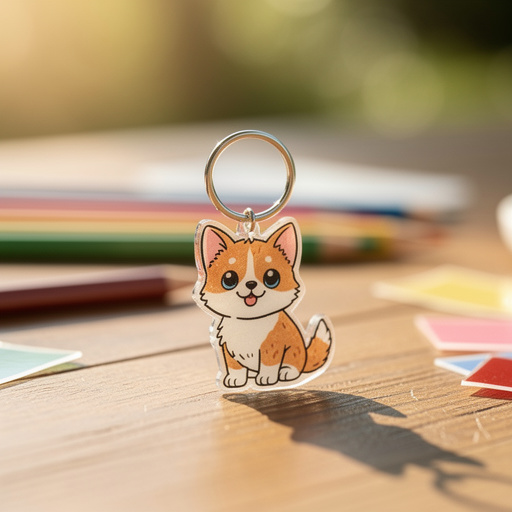
Shrink Plastic Pet Charms

Shrink Plastic Pet Portraits
Painted Kindness Rocks