How to Make Cardboard Tube Critter Cages — Easy Step-by-Step Guide
Transform humble toilet paper rolls into adorable critter cages for small toys or imaginary creatures. A fun and easy recycled craft for kids!
Quick answer
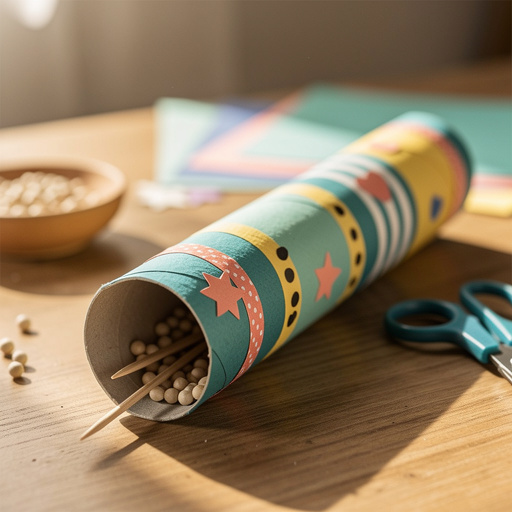
To make critter cages, you need 4-6 empty toilet paper rolls, child-safe scissors, white craft glue or glue stick, construction paper, and decorating supplies like crayons, markers, googly eyes, yarn, and glitter glue. This beginner-friendly activity takes about 30 minutes to complete and involves cutting openings, decorating, and adding embellishments. It's perfect for kids aged 4+ and has 10 core steps, expandable for more detail.
What you need
Shop on Amazon · As an Amazon Associate we earn from qualifying purchases. Links above are affiliate links — we may earn a commission at no extra cost to you.
Unleash your child's imagination with this delightful Cardboard Tube Critter Cage project! It's a fantastic way to give new life to everyday household items, transforming simple toilet paper rolls into charming abodes for tiny toys or fantastical creatures. This craft is not only incredibly easy and budget-friendly but also a wonderful opportunity to foster creativity, develop fine motor skills, and encourage imaginative storytelling. Perfect for a rainy afternoon, a classroom activity, or a fun weekend project, these critter cages are sure to be a hit with young crafters aged 4 and up.
On this page
Step-by-Step Instructions
- 1
Gather all your materials: toilet paper rolls, scissors, glue, and decorating supplies. Ensure you have a clear workspace, perhaps covered with newspaper or a craft mat, to protect surfaces from glue and markers.
- 2
Decide on the size and shape of your critter cage openings. You can make simple rectangles, arches, or even circles, considering what kind of creature might inhabit the cage. For example, a small, round opening might suit a tiny bug, while a larger arch could be for a small toy animal.
- 3
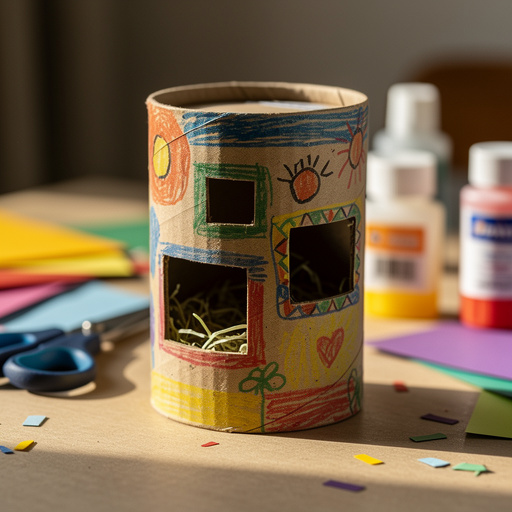
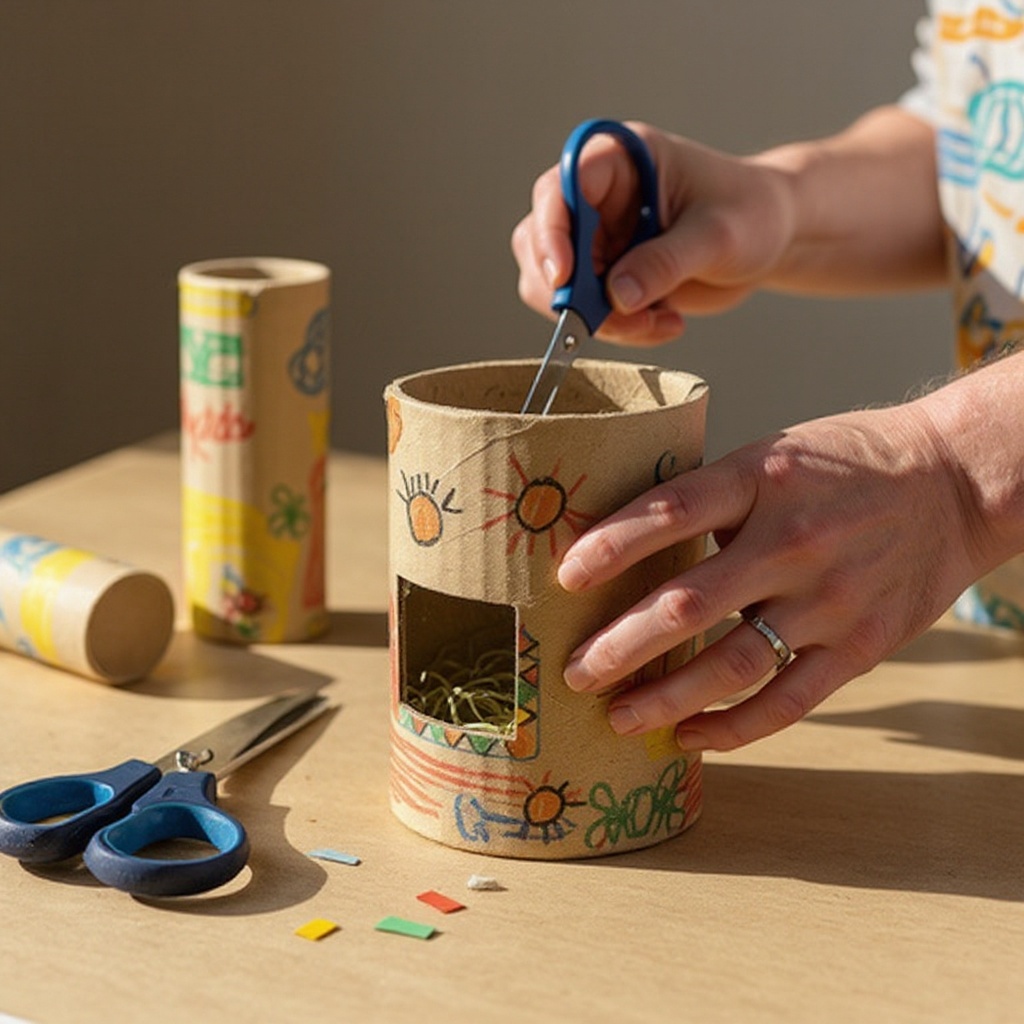
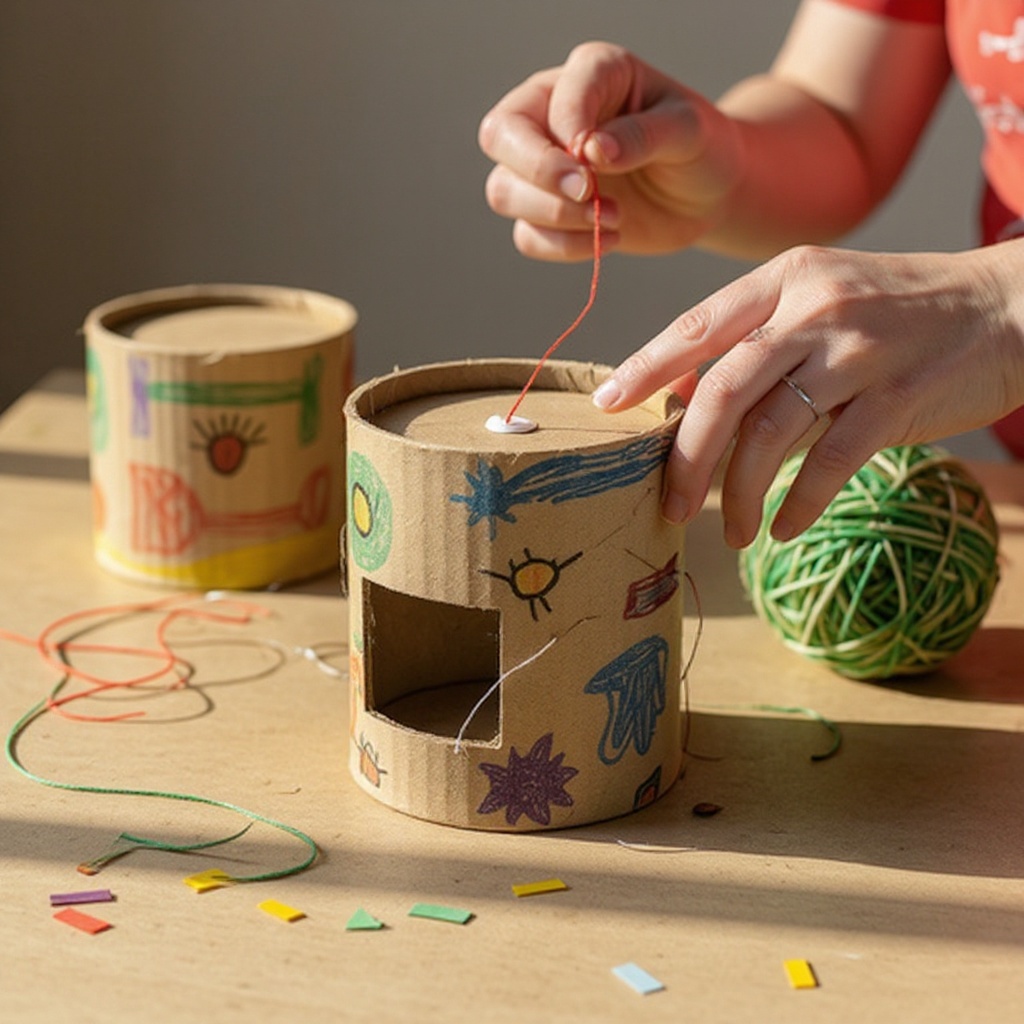
Carefully cut out the openings on one side of each toilet paper roll using your child-safe scissors. Aim for openings large enough to fit small toys or imaginary creatures, but not so large that the structural integrity of the roll is compromised. Ensure the edges are relatively smooth.
- 4
Prepare to add a base or floor to your critter cage. Cut a circle or square from construction paper that is slightly larger than the opening of your toilet paper roll. This will provide a stable surface for your imaginary inhabitants.
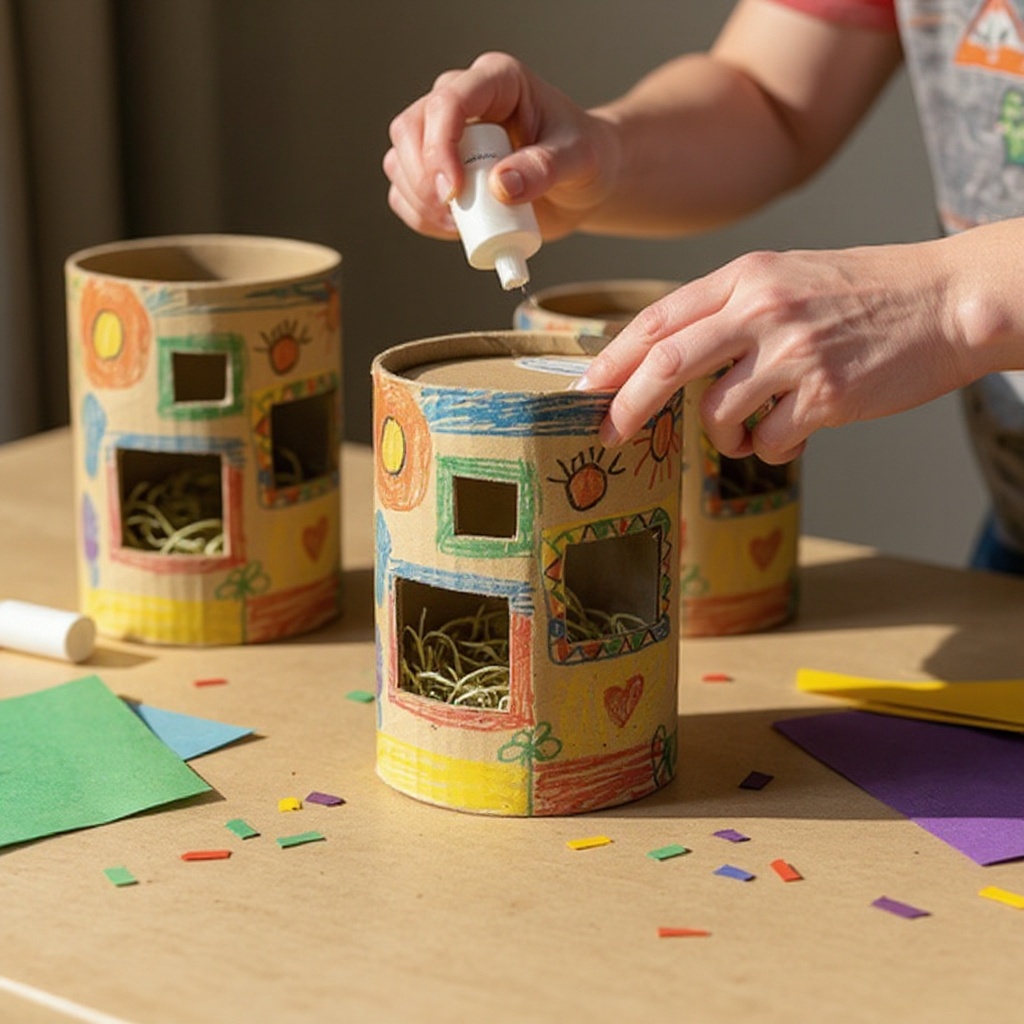
- 5
Glue the construction paper base to the bottom of the toilet paper roll, ensuring it is centered and securely attached. This step adds a finished look and prevents small toys from falling through the bottom.
- 6
Cut out small decorative shapes from construction paper, such as leaves, flowers, geometric patterns, or even tiny windows and doors, to adorn your critter cages. Think about the environment your critter might live in – a forest critter might need leaves, while a desert critter might need sun shapes.
- 7
Glue the construction paper shapes onto the outside of the toilet paper rolls, layering them for a more interesting and dimensional design. Overlapping pieces can create a more natural or whimsical look, making each cage unique.
- 8
Use crayons, markers, or colored pencils to add extra details and color to the cages. Draw vines, bricks, wood grain, or any other desired patterns to enhance the theme of your critter's home. This is where you can really bring the cage to life with intricate designs.
- 9
If using googly eyes, glue a few onto the 'roof' or 'walls' of the cages to give them a whimsical look and a sense of personality. You can place them above the opening like windows or along the sides to represent decorative elements.
- 10
Wrap yarn scraps around sections of the cages for a textured effect, securing them with glue. Different colors and thicknesses of yarn can mimic natural elements like vines or ropes, adding tactile interest.
- 11
Add glitter glue for a touch of sparkle, if desired, to make your critter cages truly magical. Apply it sparingly to avoid excessive mess and allow it to dry completely before proceeding.
- 12
Consider adding a roof or canopy to some of your critter cages. Cut a larger piece of construction paper, fold it in half, and glue the edges to the top of the toilet paper roll to create a simple pitched roof.
- 13
Allow any glue or paint to dry completely before handling the critter cages further. This is a crucial step to ensure all decorations are firmly attached and the cages are durable for play.
- 14
Your toilet paper roll critter cages are now ready for imaginative play! Place small toys inside or let your child create stories for their new homes, populating them with their favorite small figures or handmade creatures.
- 15
Test the stability of your critter cages by gently placing a small toy inside. If any parts feel loose, add a bit more glue and allow it to dry thoroughly before extensive play.
- 16
Encourage your child to name their critter cages and the creatures that live within them, further enhancing the storytelling aspect of this craft.
- 17
If you have paper towel rolls, cut them into smaller sections to create larger or multi-room critter habitats. This allows for more complex and varied cage designs.
- 18
Explore different cutting techniques for the openings. You could create a series of small holes to form a window, or a jagged edge to mimic a natural opening in a tree trunk.
Tips & Troubleshooting
- 1For cleaner cuts, have an adult help with the initial cutting of the openings, especially for younger children who may struggle with precision. This ensures the openings are safe and well-formed.
- 2Experiment with different opening shapes and sizes to create a variety of critter homes. You can even cut multiple openings on one roll to create a multi-entrance dwelling or a more complex structure.
- 3Encourage children to think about what kind of creatures might live in their cages and decorate accordingly. A fairy might like floral decorations and pastel colors, while a robot might prefer metallic colors and geometric shapes.
- 4If using glitter glue, apply it sparingly to avoid excessive mess and ensure it dries properly. It's also a good idea to place a tray or newspaper underneath the crafting area to catch any stray glitter.
- 5These critter cages can be used as part of a larger play scene, like a miniature zoo, a fairy village, or a magical forest. Combine them with other recycled materials or craft supplies to build a complete world.
- 6For added durability, consider reinforcing the edges of the openings with a thin layer of glue or a strip of tape before decorating. This can help prevent the cardboard from tearing during play.
- 7Don't be afraid to mix and match materials! Combine construction paper with fabric scraps, yarn, and even natural elements like small twigs or leaves for a truly unique critter habitat.
- 8Before gluing on decorations, lay them out on the toilet paper roll to get a feel for the placement and design. This allows for adjustments before the glue is applied, making the decorating process smoother.
Related Activities You Might Enjoy
Frequently Asked Questions
What are toilet paper roll crafts?
Toilet paper roll crafts are creative projects made using empty cardboard tubes from toilet paper or paper towel rolls. They're a fantastic way to upcycle household items into fun toys, decorations, or art for screen-free family activities. This project, making critter cages, is a prime example of how these simple tubes can be transformed into engaging playthings. The process often involves cutting, gluing, painting, and decorating, making it a versatile medium for various craft ideas. It's an excellent way to teach children about recycling and resourcefulness while fostering their artistic expression and imagination.
Are toilet paper roll crafts good for kids?
Yes, toilet paper roll crafts are excellent for kids! They promote creativity, fine motor skills, and imaginative play. Using recycled materials also teaches children about sustainability in a fun, hands-on way. The simple act of cutting, gluing, and decorating helps develop hand-eye coordination and dexterity, crucial for early childhood development. Furthermore, the open-ended nature of these crafts allows children to express themselves freely, building confidence and problem-solving skills as they bring their unique ideas to life. It's a rewarding activity that offers both educational benefits and pure enjoyment.
What other toilet paper roll crafts can I make?
Besides critter cages, you can make a vast array of other toilet paper roll crafts! The possibilities are endless, limited only by your imagination and the materials you have on hand. Popular ideas include making animals like owls, cats, or bunnies by adding ears and tails; creating binoculars for pretend adventures; constructing rockets or castles for imaginative play; crafting decorative flowers or wreaths; or even making simple musical instruments like shakers. You can also use them as building blocks for larger structures or as characters for puppet shows, making them a truly versatile crafting material.
How do I make toilet paper roll crafts safe for young children?
Always supervise young children during craft time, especially when scissors are involved. Use child-safe scissors that are designed for little hands and have blunt tips. Opt for non-toxic glue and paints to ensure safety if they happen to ingest any. Ensure any small decorative pieces, such as googly eyes or beads, are securely attached with strong glue to avoid choking hazards. For very young children, consider pre-cutting some elements or using larger, easier-to-handle embellishments. Regularly check finished crafts for any loose parts that could become a safety concern.
How long does it typically take to make one critter cage?
The time it takes to make one critter cage can vary depending on the complexity of the design and the age of the crafter. For a basic critter cage with simple openings and a few decorations, a child aged 4-6 might take around 20-30 minutes, including drying time for basic glue. Older children or adults who want to add more intricate details, multiple layers of decoration, or elaborate roofs might spend 45 minutes to an hour on a single cage. The drying time for stronger glues or paints can also add to the overall project duration, so it's often best to spread the activity over a couple of sessions if detailed work is involved.
Can I use paper towel rolls instead of toilet paper rolls?
Absolutely! Paper towel rolls are a fantastic substitute for toilet paper rolls and can even offer more creative possibilities. Since they are longer, you can cut them in half to create two standard-sized critter cages, or use the full length to make taller, more elaborate habitats. You can also cut them into different lengths to create multi-level cages or unique structures. The decorating and construction techniques remain the same, making paper towel rolls a versatile and readily available material for this project. Just ensure you have a sturdy pair of scissors or a craft knife (with adult supervision) to cut through the thicker cardboard.
What kind of small toys are best suited for these critter cages?
The best small toys for these critter cages are typically those that are lightweight and not too large, fitting comfortably within the opening you've created. Think along the lines of small plastic animals, miniature figurines (like fairies, gnomes, or action figures), small toy insects, or even tiny dolls. You can also use small craft items like pom-poms or felt balls as 'critters.' The key is to ensure the toy can be easily placed inside and removed without damaging the cage. Avoid heavy or sharp-edged toys that could compromise the cardboard structure or pose a safety risk.
What Next?
Once your critter cages are complete and thoroughly dry, they're ready for hours of imaginative play! Encourage your child to create stories about the creatures that inhabit these unique homes, perhaps a tiny fairy garden or a bustling insect metropolis. For a more elaborate display, consider creating a whole village of critter cages and arranging them on a shelf or in a play area. You can also extend this project by creating a miniature landscape to accompany the cages, using cardboard boxes or felt. Store finished cages in a designated craft bin or display them proudly as decorative pieces.
Free: 10 Paper Crafts Anyone Can Make in 5 Minutes
Get our beginner guide + new craft ideas weekly.
No spam. Unsubscribe anytime.
Did you complete this activity?
Related
You might also like

Paper Roll Bunny Buddies

Toilet Paper Roll Rocket Ships
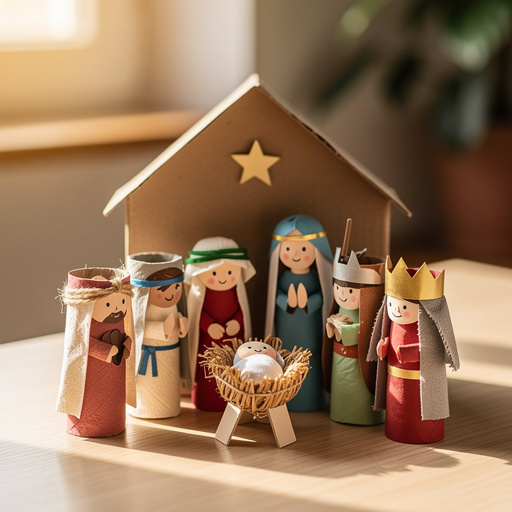
Toilet Paper Roll Nativity Scene
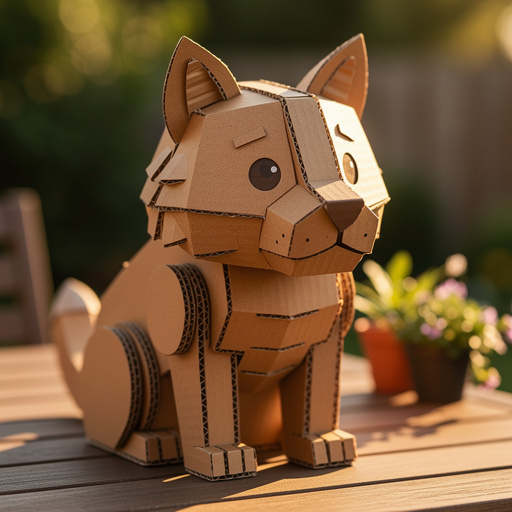
Cardboard Animal Sculptures
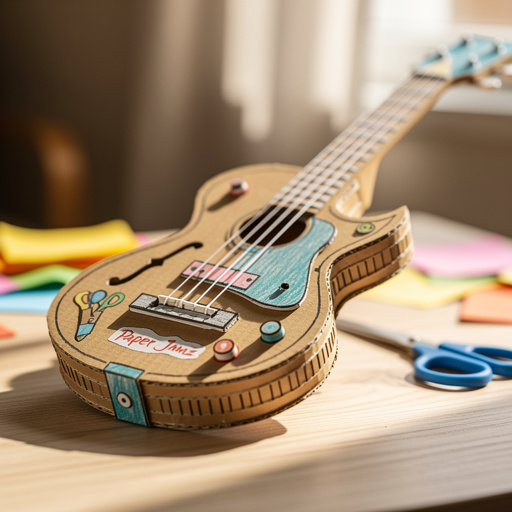
Paper Jamz Guitar Craft