How to Make 3D Cardboard Animals: Easy Step-by-Step Guide
Transform recycled cardboard into charming 3D animal sculptures with this easy-to-follow tutorial. A fantastic screen-free activity for the whole family.

Quick answer
To make 3D cardboard animals, you need cardboard scraps (various types), scissors, craft glue or hot glue gun, a pencil, and decorating supplies like markers. This project takes approximately 60-90 minutes. Start by sketching and cutting out basic body and feature shapes, then create tabs for assembly. This beginner-friendly activity has 15 steps and is perfect for kids aged 6+ and families looking for a creative, eco-conscious craft.
What you need
Shop on Amazon · As an Amazon Associate we earn from qualifying purchases. Links above are affiliate links — we may earn a commission at no extra cost to you.
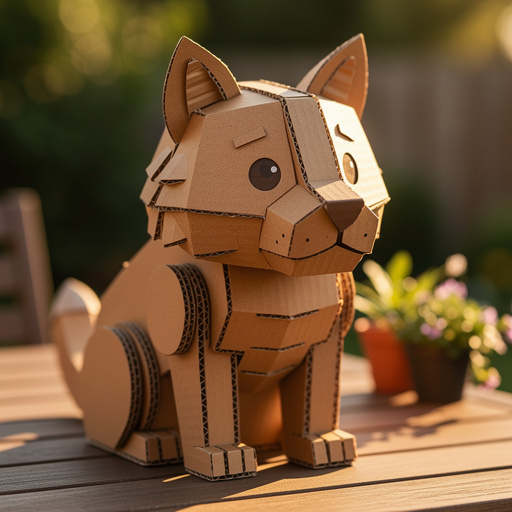
Unleash your inner sculptor and give discarded cardboard a vibrant new life with this delightful 3D animal creation project! It’s a wonderfully tactile and imaginative activity that transforms everyday recycling into charming, three-dimensional creatures. Perfect for sparking creativity in children and adults alike, this project offers a fantastic screen-free alternative that encourages problem-solving and fine motor skills. Whether you're looking for a rainy-day activity, a classroom craft, or a way to upcycle materials, these cardboard animals are sure to bring smiles and a touch of whimsical decor to any space.
On this page
Step-by-Step Instructions
- 1
Gather your cardboard scraps. Look for a variety of thicknesses and textures; corrugated cardboard from shipping boxes provides excellent structural integrity for the main body, while thinner cereal boxes or cardstock are ideal for smaller details and easier bending.
- 2
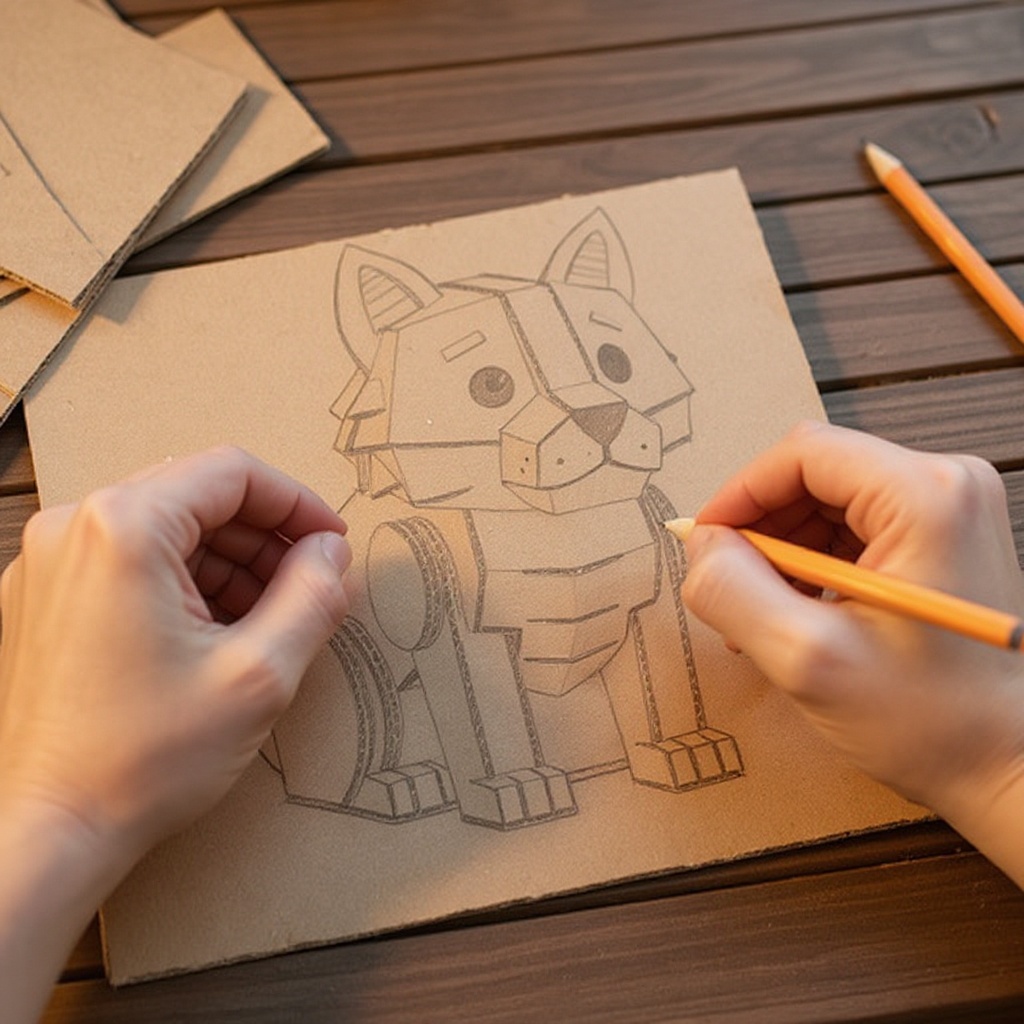
Lightly sketch the basic body shape of your chosen animal onto a piece of cardboard with a pencil. Think in terms of simple geometric forms that can be easily cut and assembled, such as ovals for bodies, circles for heads, and rectangles or cylinders for legs.
- 3
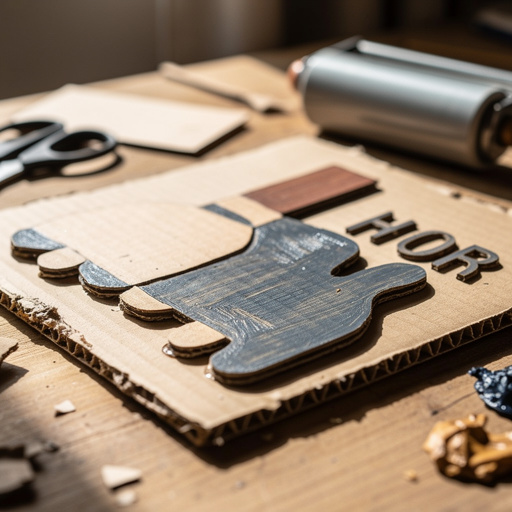
Carefully cut out the main body shape of your animal using sturdy scissors or a craft knife (with adult supervision). Aim for clean, smooth edges to ensure good adhesion in later steps.
- 4
Cut out additional shapes for the head, legs, tail, ears, and any other distinct features of your animal. Consider the proportions of these parts relative to the main body to create a balanced and recognizable creature.
- 5
To prepare for creating a 3D effect and attaching pieces, carefully cut small, shallow slits along the edges where you intend to join parts. For example, cut slits along the bottom edge of the body where the legs will attach, and corresponding slits on the top of the leg pieces.
- 6
Gently bend the cardboard along the cut slits to create small tabs or flaps. These tabs will act as the surfaces for applying glue, allowing you to connect the different components of your animal securely.
- 7
Apply a generous amount of craft glue or hot glue (with adult supervision) to the tabs you've created on the features, such as the head, legs, and tail. Carefully position and attach these parts to the corresponding areas on the main body, holding them firmly in place until the glue begins to set.
- 8
For added stability and to reinforce the joins, cut small strips of cardboard (about 1-2 cm wide and the length of the join). Glue these strips along the inside of the connections, effectively creating internal bracing for a more robust sculpture.
- 9
Allow the glue to dry completely before proceeding to the next steps. This is crucial for ensuring that your animal's structure is stable and that pieces don't shift or detach during the decorating phase.
- 10
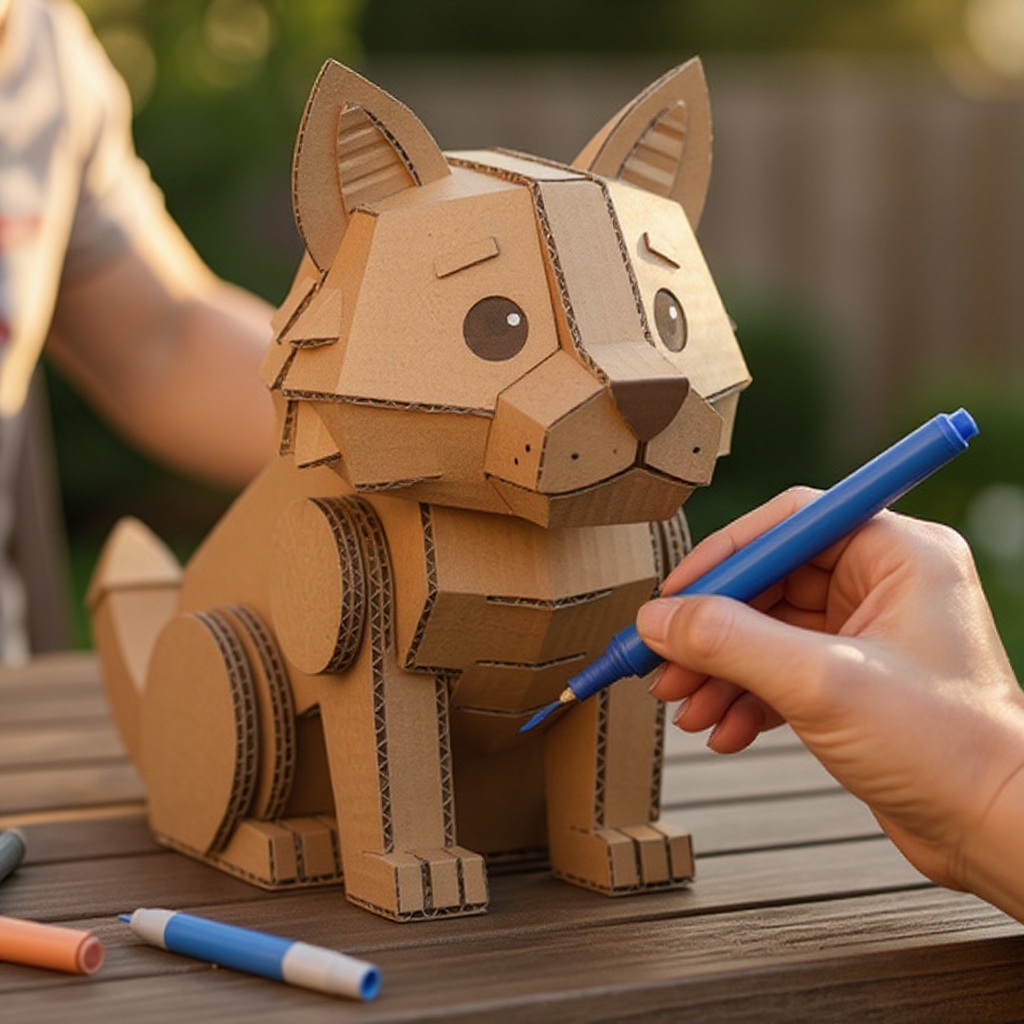
Once the glue is thoroughly dry, it's time to bring your animal to life with color and detail! Use markers, crayons, or acrylic paints to decorate your animal. Think about the natural markings of your chosen creature, such as fur patterns, stripes, spots, or scales.
- 11
Add essential facial features like eyes, noses, and mouths using your decorating tools. You can also add texture by drawing or painting fur, feathers, or scales, depending on the animal you are creating.
- 12
For a more realistic or whimsical touch, consider adding optional embellishments. Googly eyes can instantly give your animal personality, while pipe cleaners can be bent into whiskers or antennae.
- 13
If you're creating an animal with a mane or tail, yarn can be a fantastic material to glue on for a textured effect. Felt scraps can be used for ears or patches of fur.
- 14
To help your animal stand independently, ensure the legs are cut to an appropriate length and glued securely to the body. You can also cut a flat, stable base piece of cardboard and glue the animal's feet to it for extra support.
- 15
Review your sculpture for any loose parts or areas that could be strengthened. Add extra glue or small cardboard reinforcements where needed, and allow any additional glue to dry completely before final display.
Tips & Troubleshooting
- 1If your cardboard is very thick and difficult to bend cleanly, scoring it with a craft knife (adults only) along the intended fold lines can make it much easier to create crisp, neat tabs for assembly. Apply gentle pressure with the craft knife, just enough to break the surface of the cardboard without cutting all the way through.
- 2Don't be afraid to experiment with different cardboard textures and colors for unique animal appearances. The natural brown of corrugated cardboard can be perfect for a bear or a lion, while colorful cereal boxes can be used for more vibrant creatures like birds or fish.
- 3For a more robust and durable animal sculpture, consider layering two pieces of cardboard for the main body. Cut out two identical body shapes and glue them together, ensuring they are perfectly aligned for maximum strength.
- 4If using a hot glue gun, ensure an adult is always present and supervises its use to prevent burns. Hot glue sets very quickly, which is beneficial for this project, but it also requires careful handling.
- 5Allow ample drying time for the glue before decorating to prevent pieces from shifting or the cardboard from becoming soggy. Rushing this step can lead to a less stable and less polished final product.
- 6When cutting slits for tabs, make them shallow and consistent. Overly deep slits can weaken the cardboard, and inconsistent cuts can make it difficult to achieve a flush and secure join.
- 7Consider the weight distribution of your animal. If an animal has a large head or tail, you might need to add extra support to the legs or body to prevent it from tipping over.
- 8Before gluing, dry-fit your pieces to ensure they align correctly. This will save you time and frustration, and help you achieve a more accurate and aesthetically pleasing animal.
Related Activities You Might Enjoy
Frequently Asked Questions
What kind of cardboard is best for 3D animals?
The best cardboard for 3D animals is a combination of types. Thicker, corrugated cardboard from shipping boxes provides excellent stability and structure for the main body of your animal, making it sturdy and less likely to collapse. For smaller details, like ears, tails, or intricate facial features, thinner cardboard such as cereal boxes, food packaging, or cardstock is much easier to cut, bend, and shape. Using a variety of cardboard types will give you the best results, offering both strength and flexibility for your creative designs.
How do I make the cardboard animals stand up?
Ensuring your cardboard animals can stand independently is key to their display. First, make sure the legs are cut to an appropriate length and are securely glued to the body, with enough surface area for contact. For added stability, you can cut a flat base piece of cardboard and glue the animal's feet to it, creating a solid foundation. Another technique is to slightly widen the base of the legs or add small 'feet' extensions that provide a broader contact point with the surface. Ensure the overall weight distribution is balanced; if your animal has a large head or tail, you might need to adjust leg placement or add internal bracing.
Can I make complex animals with this method?
While this method is excellent for simpler animal shapes and beginner crafters, more complex animals can certainly be achieved with patience and advanced techniques. To create intricate creatures, you'll need to break them down into many smaller, interconnected cardboard pieces. This involves more detailed sketching, precise cutting, and potentially using more advanced folding and tab-joining methods. You might also explore techniques like creating layered cardboard sections for rounded shapes or using wire armatures for more dynamic poses. It requires a greater understanding of 3D form and construction, but the results can be incredibly rewarding.
What if my cardboard pieces don't stick together well?
If your cardboard pieces are not sticking together well, several factors could be at play. Firstly, ensure the surfaces you are gluing are clean and free of dust, grease, or any residual packaging material, as this can prevent a strong bond. For a stronger bond, consider using a hot glue gun (with adult supervision), as it sets quickly and creates a very durable adhesion. Alternatively, reinforcing the joins with small cardboard strips glued along the inside of the connection can provide extra support and prevent pieces from pulling apart. Applying enough glue and holding the pieces together firmly until the glue begins to set is also crucial.
How can I make the cardboard animals more durable?
To make your cardboard animals more durable, start with sturdier cardboard for the main structure, such as corrugated cardboard from shipping boxes. Layering two pieces of cardboard for the body can significantly increase strength. When assembling, use ample glue and reinforce all major joins with small cardboard strips glued along the inside. Allowing ample drying time for the glue is also critical; rushing this process can lead to weak bonds. For added protection and a smoother finish, you can also consider sealing the finished sculpture with a clear acrylic sealant or varnish once all the paint and glue are completely dry.
What age is this project suitable for?
This 3D cardboard animal sculpture project is wonderfully adaptable and suitable for a wide range of ages, with appropriate supervision. Children as young as 6 can participate with adult guidance, especially when it comes to cutting with scissors or using a hot glue gun. Younger children can focus on sketching, coloring, and gluing simpler shapes, while older children and adults can tackle more complex designs and intricate details. It's an excellent family activity where everyone can contribute at their own skill level, fostering creativity and teamwork.
What Next?
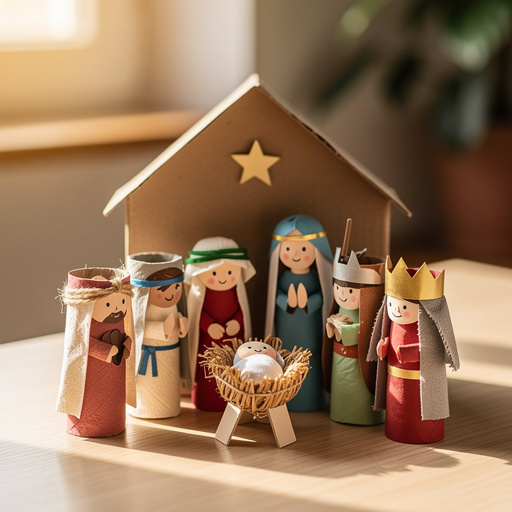
Once your magnificent cardboard menagerie is complete, proudly display your creations on shelves, windowsills, or even create a whole jungle scene! These sculptures also make unique handmade gifts. For variations, consider using different types of cardboard for varied textures, or explore adding more complex joints for articulated limbs. Future projects could involve building entire cardboard dioramas or even larger-scale animal installations. Store your finished animals carefully to prevent damage, and enjoy the satisfaction of turning trash into treasure!
Free: 10 Paper Crafts Anyone Can Make in 5 Minutes
Get our beginner guide + new craft ideas weekly.
No spam. Unsubscribe anytime.
Did you complete this activity?
Related