How to Make Adorable Paper Roll Bunny Buddies — Easy Step-by-Step Guide
Transform empty toilet paper rolls into charming bunny friends! This simple craft is perfect for little hands and sparks imaginative play. Learn how to make these adorable paper roll bunnies with our easy step-by-step guide, ideal for Easter crafting or any time of year.


Quick answer
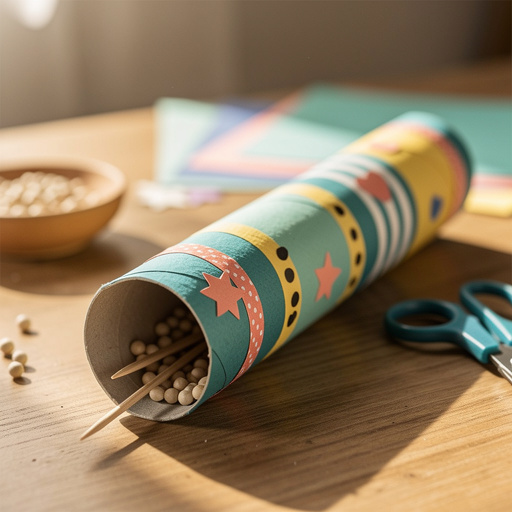
To make paper roll bunny buddies, you need 3 empty toilet paper rolls, construction paper (pink, white, light brown), child-safe scissors, white craft glue or glue stick, and a black marker or crayon. This beginner-friendly activity has 15 steps and takes about 30-45 minutes to complete. It's perfect for kids aged 4 and up, offering a fun way to recycle and create. Start by preparing your rolls and cutting out bunny ear shapes.
What you need
Shop on Amazon · As an Amazon Associate we earn from qualifying purchases. Links above are affiliate links — we may earn a commission at no extra cost to you.
Get ready to hop into some crafting fun with these absolutely adorable Paper Roll Bunny Buddies! This project is a fantastic way to upcycle common household items into charming characters that are perfect for Easter decorations, spring-themed play, or just a delightful afternoon activity. What makes this craft so special is its simplicity and the endless creative possibilities it offers. It's incredibly beginner-friendly, making it an ideal choice for young children to tackle with a little adult supervision, fostering fine motor skills and creativity while producing a tangible, huggable result.
On this page
Step-by-Step Instructions
- 1
Gently flatten each toilet paper roll slightly to make it easier to work with. This prevents the roll from being too round and wobbly, ensuring a stable base for your bunny's ears and face. Be careful not to crease the cardboard too sharply, as this can weaken the structure.
- 2
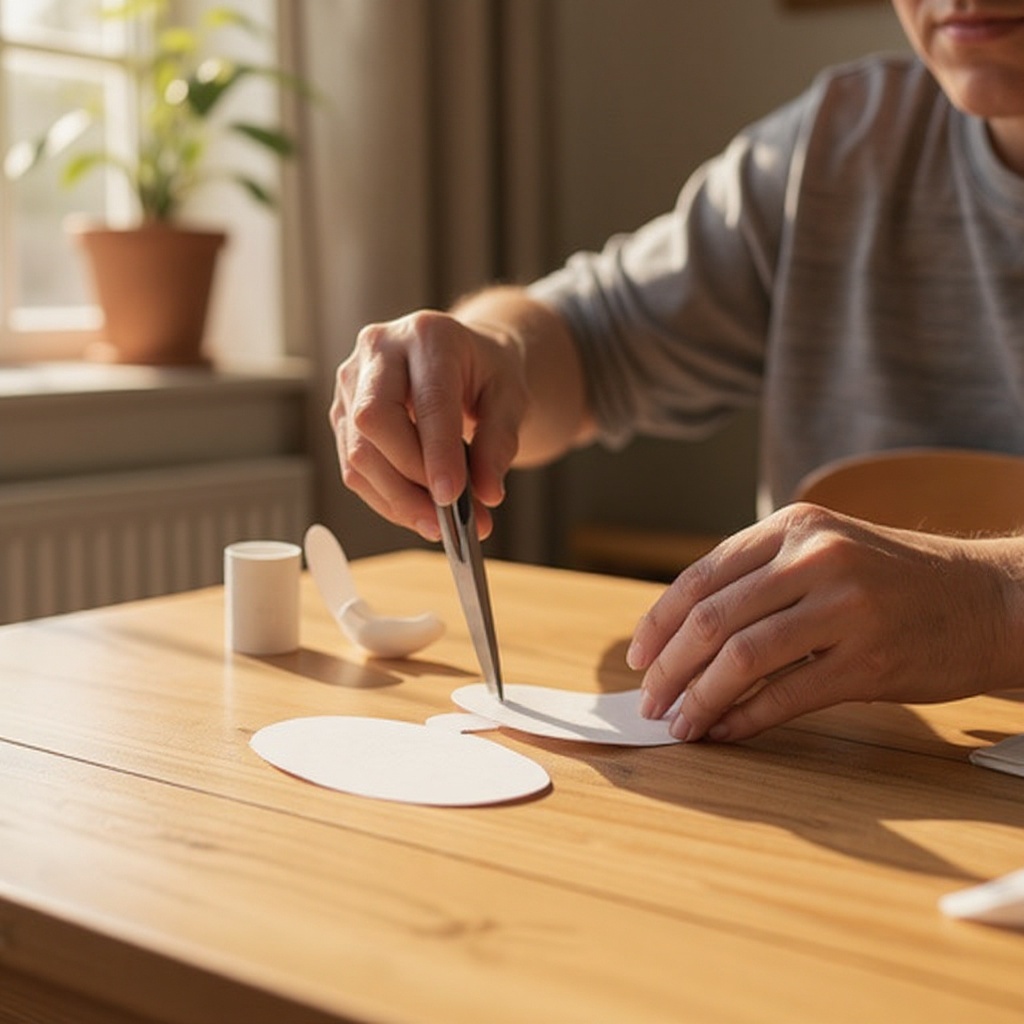
On the white construction paper, draw two large oval shapes for the bunny ears. Aim for each ear to be approximately 3 inches tall and about 1.5 inches wide at its widest point. Ensure the shapes are symmetrical for a balanced look.
- 3
Carefully cut out the two white oval ear shapes using your child-safe scissors. Take your time to ensure clean edges, which will make the gluing process smoother and the final appearance neater.
- 4
On the pink construction paper, draw two smaller oval shapes that will fit neatly inside the white ears. These should be slightly narrower and shorter than the white ovals, creating a distinct inner ear detail. A good size would be around 2.5 inches tall.
- 5
Cut out the two smaller pink oval ear shapes. Again, precision here will contribute to the overall aesthetic of your bunny's ears.
- 6
Glue the pink ovals onto the center of the white ovals to create the inner ear detail. Apply a thin, even layer of glue to the back of the pink oval and press it firmly onto the white oval, ensuring it's centered and aligned.
- 7
Once the inner ears are glued, you can gently bend the bottom edge of the white ear shapes slightly inwards. This creates a small tab that will be easier to glue to the toilet paper roll, helping the ears stand upright.
- 8
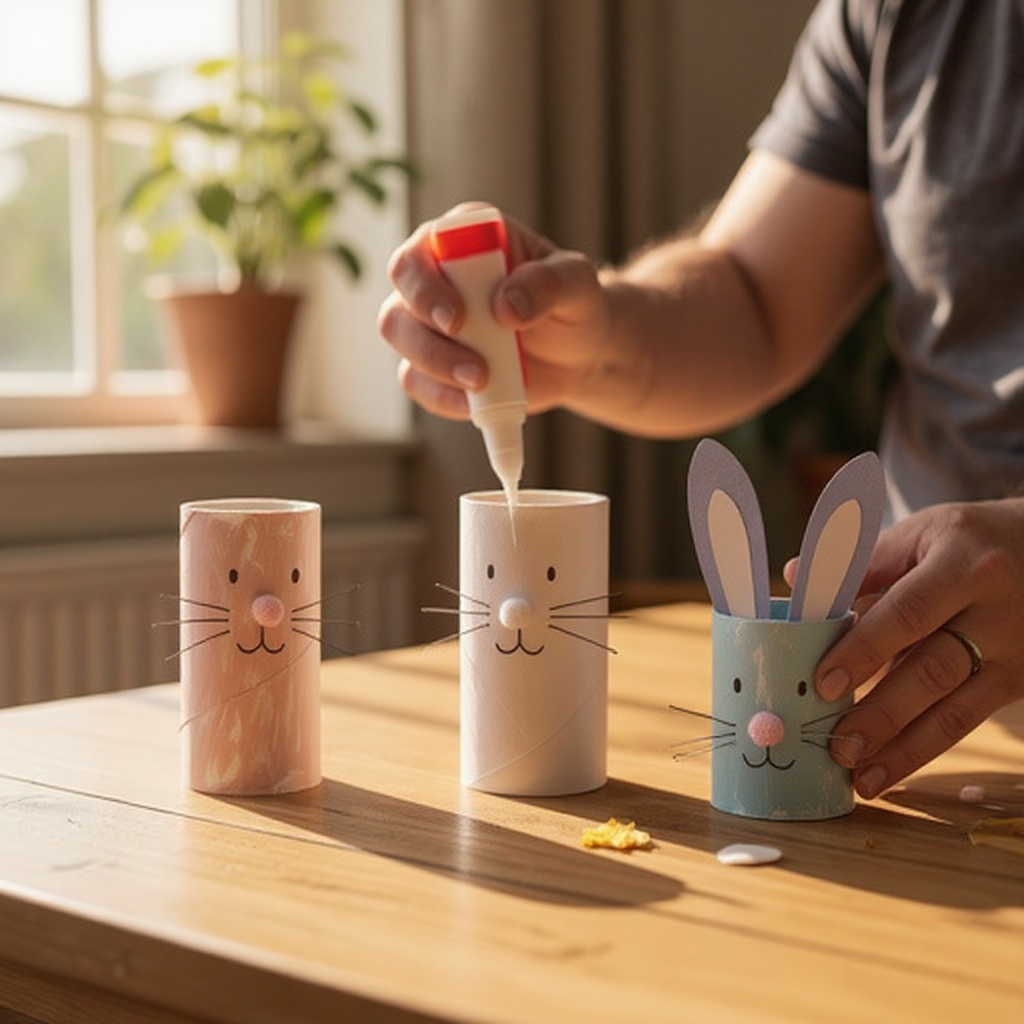
Apply a generous amount of glue to the bottom edge of one toilet paper roll. You can also apply glue to the tab you created on the bottom of the white ear shapes.
- 9
Attach the glued bottom edge of the white bunny ears to the top edge of the toilet paper roll, positioning them centrally so the ears stand upright and face forward. Hold them in place for a few moments to allow the glue to set.
- 10
Repeat steps 7, 8, and 9 for the other two toilet paper rolls, creating three bunny ear bases. Ensure each set of ears is attached securely and positioned similarly for a cohesive collection of bunny buddies.
- 11
On the light brown construction paper, draw two small circles for bunny cheeks. These should be about the size of a dime or slightly larger. Also, draw two tiny triangle shapes for the bunny's nose; these should be small and neat.
- 12
Carefully cut out the two brown circles for cheeks and the two tiny brown triangles for noses. Ensure the triangles have a pointed tip for a classic bunny nose shape.
- 13
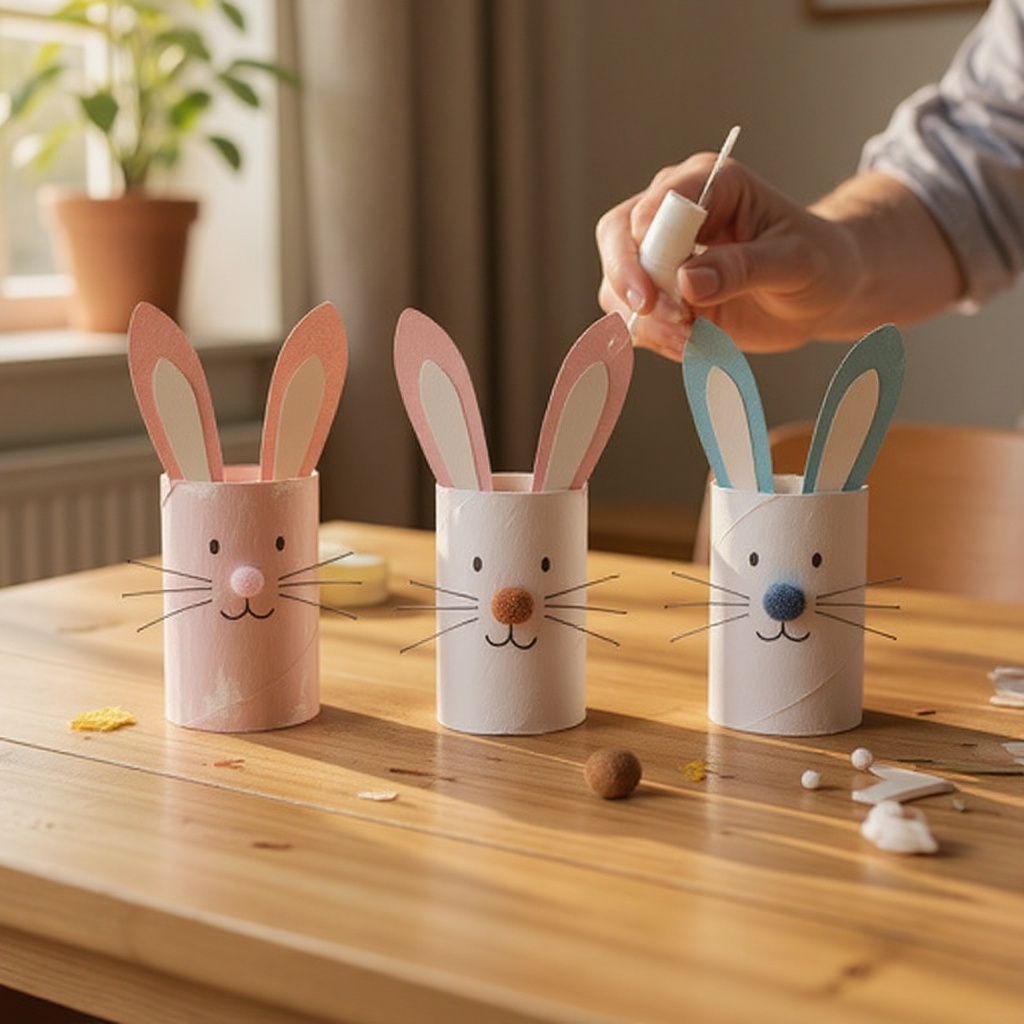
Glue the completed white and pink ear sets onto the top of each of your toilet paper roll bases. Make sure the ears are firmly attached and stand up straight, giving your bunnies their characteristic look.
- 14
Now, it's time to add the facial features! Glue the small brown circles onto the front of each toilet paper roll, positioning them slightly below the center to create adorable bunny cheeks. Press them down firmly to ensure they adhere well.
- 15
Glue the tiny brown triangle nose below the cheeks on each bunny. Place it centrally between the two cheek circles, completing the basic facial structure.
- 16
Finally, use the black marker or crayon to draw two eyes above the cheeks and a small mouth below the nose on each bunny. You can draw simple dots for eyes or get creative with slightly larger circles. A small 'w' shape or a simple line can create a sweet bunny mouth.
Tips & Troubleshooting
- 1If the ears don't stand up well after gluing, try adding a small strip of tape to the inside seam of the toilet paper roll before attaching the ears. This provides extra support and helps the ears maintain their upright position, especially if the glue bond isn't as strong as you'd like.
- 2Get creative with different colored construction paper for the inner ears, or use patterned scrapbook paper for a unique touch. You can also use googly eyes for a fun, expressive alternative to drawing them, adding a lot of personality to your bunnies.
- 3Instead of drawing faces, try cutting out small shapes from felt or fabric scraps for eyes, noses, and whiskers. This adds a different texture and dimension to your bunnies, making them even more unique and tactile.
- 4These bunnies can be used as charming decorations for Easter baskets, table centerpieces, or mantel displays. They also serve as fantastic characters for imaginative play, encouraging storytelling and creative adventures for children.
- 5For an extra fluffy touch, glue a small cotton ball to the back of each toilet paper roll to create a cute bunny tail. This simple addition adds a delightful detail that completes the look of your bunny.
- 6Consider using different sizes of toilet paper rolls or even paper towel rolls cut down to size to create a family of bunnies with varying heights. This adds visual interest and makes your collection more dynamic.
- 7Encourage children to personalize their bunnies by drawing unique expressions, adding small bows made from ribbon, or even giving them tiny accessories like paper hats or scarves.
- 8To ensure the glue adheres well, especially on the cardboard rolls, make sure the surfaces are clean and dry before applying. For a stronger bond, you can use a hot glue gun with adult supervision, but craft glue is perfectly adequate and safer for younger crafters.
Related Activities You Might Enjoy
Frequently Asked Questions
What age is this bunny craft suitable for?
This bunny craft is ideal for children aged 4 to 10 years old. Younger children, typically aged 4-6, will benefit from adult assistance with cutting out the paper shapes and potentially with gluing, as their fine motor skills are still developing. Older children, from 7 to 10, can usually complete this project with minimal supervision, enjoying the independence of creating their own bunny buddies. The simplicity of the steps and the forgiving nature of the materials make it accessible for a wide range of young crafters, fostering creativity and fine motor development across different age groups.
Can I use paper towel rolls instead of toilet paper rolls?
Yes, you can absolutely use paper towel rolls instead of toilet paper rolls for this bunny craft! Paper towel rolls are essentially larger versions of toilet paper rolls. To achieve the best results and proportions for your bunny buddies, you will need to cut the paper towel rolls down to a similar size as toilet paper rolls. A good starting point is to cut them into thirds or quarters, depending on how tall you want your bunnies to be. This ensures they are manageable for little hands and maintain a cute, compact appearance, making them perfect for decorating or playing with.
What other materials can I use for the bunny's face?
There are many fun alternatives to markers and crayons for creating your bunny's face! Googly eyes are a fantastic option, adding a lively and whimsical touch to your bunnies; they come in various sizes and colors. You can also cut out small shapes from felt or fabric scraps for eyes and noses, which adds a lovely texture and dimension. Small buttons can also be used for eyes, though ensure they are securely glued. For whiskers, thin strips of black yarn or even pipe cleaners can be carefully attached to give your bunnies a more detailed and charming appearance.
How can I make the bunny ears more stable?
To make the bunny ears more stable and ensure they stand up well, there are a few effective techniques. First, ensure you use a good amount of glue where the ears attach to the roll; applying glue to both the ear tab and the top edge of the roll can create a stronger bond. You can also reinforce the connection by adding a small piece of tape on the inside of the toilet paper roll, securing the base of the ear tab to the cardboard. Gently bending the bottom edge of the ear shapes to create a small tab before gluing also provides a larger surface area for adhesion, significantly improving stability.
How long does this craft typically take to complete?
This delightful Paper Roll Bunny Buddy craft typically takes about 30 to 45 minutes to complete from start to finish. This timeframe includes gathering your materials, cutting out all the necessary shapes, gluing the pieces together, and drawing the facial features. The actual drying time for the glue is minimal, especially if using a glue stick or quick-drying craft glue. Younger children might take a bit longer as they focus on precision with cutting and gluing, while older children or adults can often complete it more swiftly. It's a perfect project for a single afternoon crafting session.
Can I make these bunnies without construction paper?
While construction paper is ideal for its vibrant colors and ease of use, you can certainly adapt this craft if you don't have it on hand. For the ears, you could use plain white printer paper and then color them in with markers or crayons to achieve the desired pink inner ear effect. Alternatively, if you have scrapbooking paper or cardstock in various colors, those would work beautifully. For the facial features, you could use felt scraps, small buttons, or even draw them directly onto the toilet paper roll with permanent markers if you're confident in your drawing skills. The key is to be resourceful with the materials you have available.
What are some other ways to decorate the bunnies?
Beyond the basic construction paper and marker decorations, there are numerous ways to embellish your paper roll bunnies! You can add a fluffy cotton ball to the back for a tail, or even use a small pom-pom. For a touch of elegance, tie a small ribbon or a piece of twine around the neck of the bunny to create a collar. You could also cut out tiny flower shapes from colored paper and glue them onto the ears or body. For a more whimsical look, consider adding small pipe cleaner antennae or even tiny paper hats or bows to give each bunny a unique personality and style.
What Next?
Congratulations on creating your delightful Paper Roll Bunny Buddies! These charming creations are more than just crafts; they're ready for imaginative play, can be displayed as festive decorations, or even gifted to friends and family. For variations, consider using patterned scrapbook paper for the inner ears, adding cotton balls for fluffy tails, or even attaching pipe cleaners for whiskers. If you enjoyed this project, why not try making other paper roll animals like chicks or lambs? Store your bunnies carefully in a dry place to preserve their charm for seasons to come.
Free: 10 Paper Crafts Anyone Can Make in 5 Minutes
Get our beginner guide + new craft ideas weekly.
No spam. Unsubscribe anytime.
Did you complete this activity?
Related
You might also like
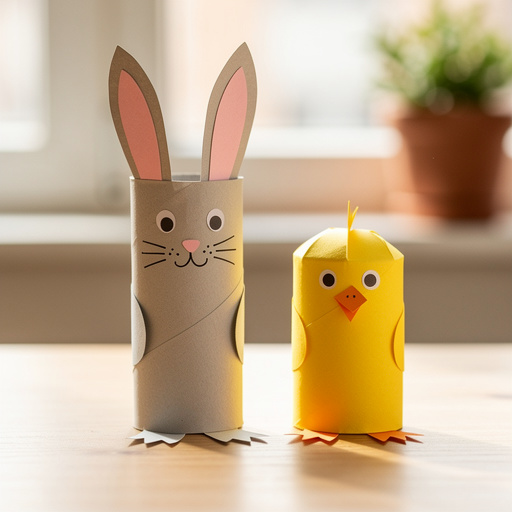
Paper Roll Bunny & Chick Friends
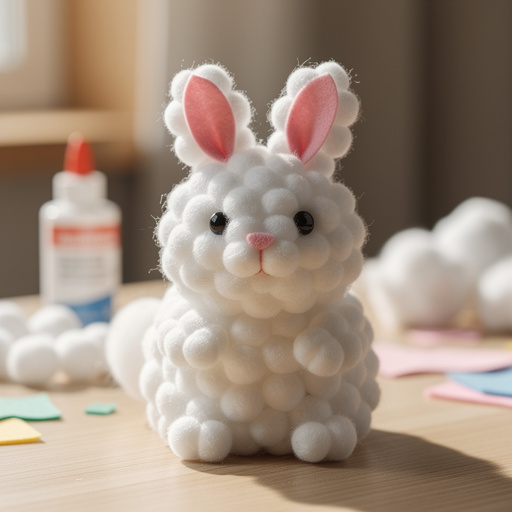
Fluffy Cotton Ball Bunny

Toilet Paper Roll Rocket Ships
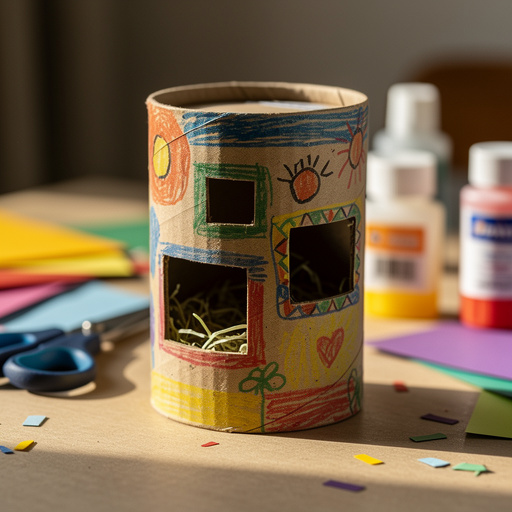
Cardboard Tube Critter Cages
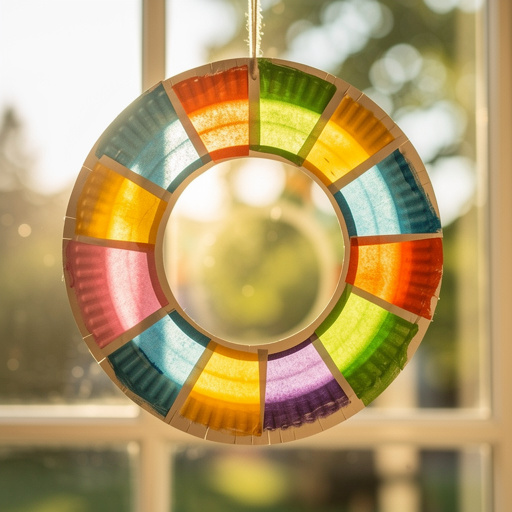
Paper Plate Sun Catchers