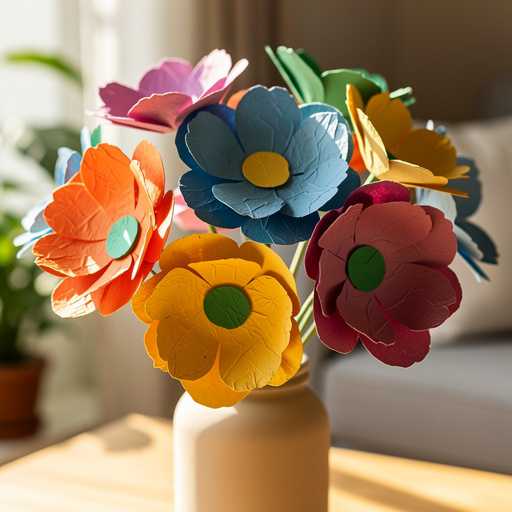
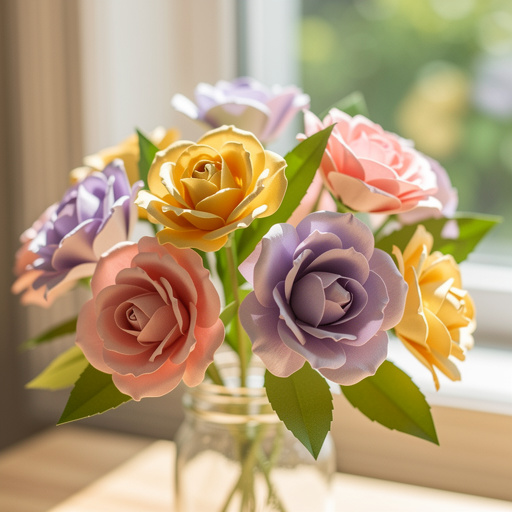
How to Make Fluffy Tissue Paper Flowers — Easy Step-by-Step Guide
Create vibrant and fluffy tissue paper flowers that look almost real! This simple craft is perfect for decorating or gifting. Follow our detailed steps to achieve stunning results.

Quick answer
To make fluffy tissue paper flowers, you need tissue paper (about 5-8 sheets per flower), pipe cleaners (1 per flower), and scissors. This beginner-friendly activity takes approximately 10-15 minutes per flower and involves stacking, folding, and fluffing the tissue paper. It's a fantastic project for families and kids aged 6+ and results in beautiful, customizable floral decorations.
What you need
Shop on Amazon · As an Amazon Associate we earn from qualifying purchases. Links above are affiliate links — we may earn a commission at no extra cost to you.
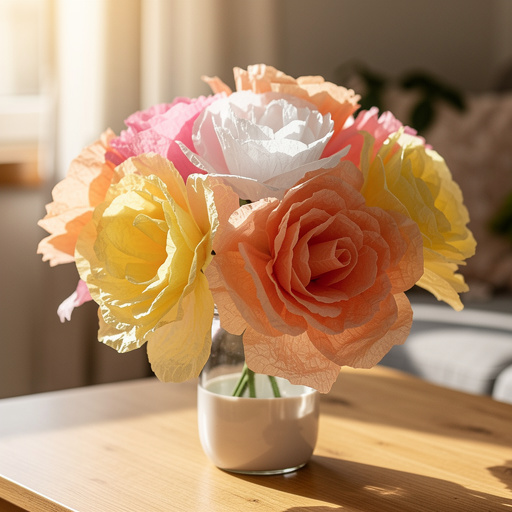
Unleash your creativity and bring a burst of color into your home with these delightful fluffy tissue paper flowers. This incredibly simple yet rewarding craft project allows you to create stunning floral arrangements that mimic the delicate beauty of real blooms, without the fuss or expense. Perfect for crafters of all ages and skill levels, from young children taking their first steps into DIY to adults looking for a relaxing and productive pastime, these flowers are a versatile decoration that adds a touch of handmade charm to any occasion. Get ready to transform simple sheets of tissue paper into vibrant works of art!
On this page
Step-by-Step Instructions
- 1
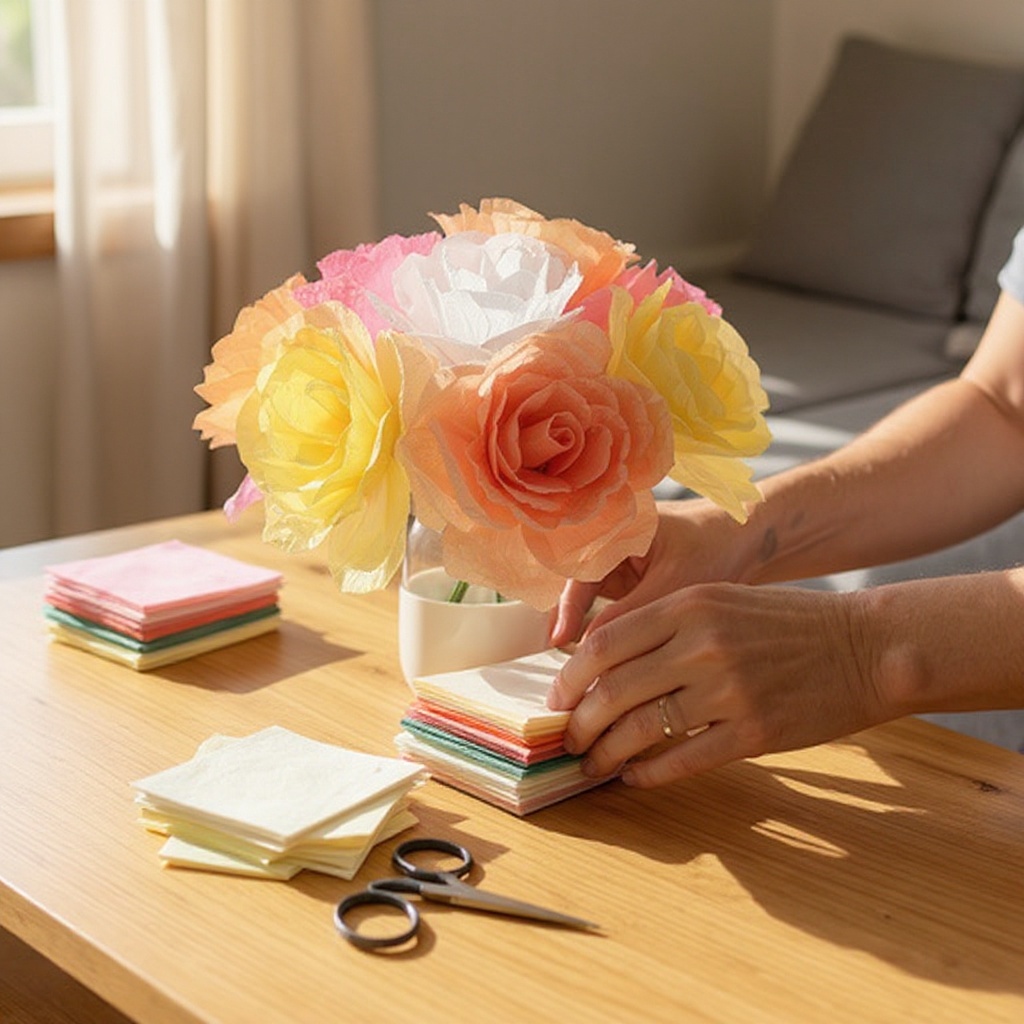
Begin by selecting your tissue paper. Choose vibrant colors that you love, or experiment with different shades for a more realistic or ombre effect. For a standard medium-sized flower, you'll want to cut your tissue paper into equal-sized squares. A good starting point for a medium flower is 4-inch squares, but you can adjust this size for larger or smaller blooms.
- 2
Once you have your squares cut, carefully stack 5 to 8 sheets of tissue paper neatly on top of each other. Ensure the edges are aligned as closely as possible to create a uniform stack. The number of layers will directly influence how full and fluffy your final flower appears; more layers mean a denser, more voluminous bloom.
- 3
Now, it's time to create the accordion folds. Starting at one edge of the stacked tissue paper, begin folding it back and forth like an accordion or a fan. Aim for folds that are approximately 1 inch wide, creating crisp creases. The consistency of your folds will contribute to the evenness of your petals.
- 4
Continue this accordion-style folding process until the entire stack of tissue paper has been transformed into a narrow strip. The more meticulously you fold, the more defined your petals will be. Ensure you maintain firm creases throughout this step to help the flower hold its shape.
- 5
Once your tissue paper is fully folded into a narrow strip, gently pinch the center of the folded stack. This is the crucial point where the flower will be secured and begin to take shape. You want to create a tight pinch right in the middle, ensuring all layers are held together firmly.
- 6
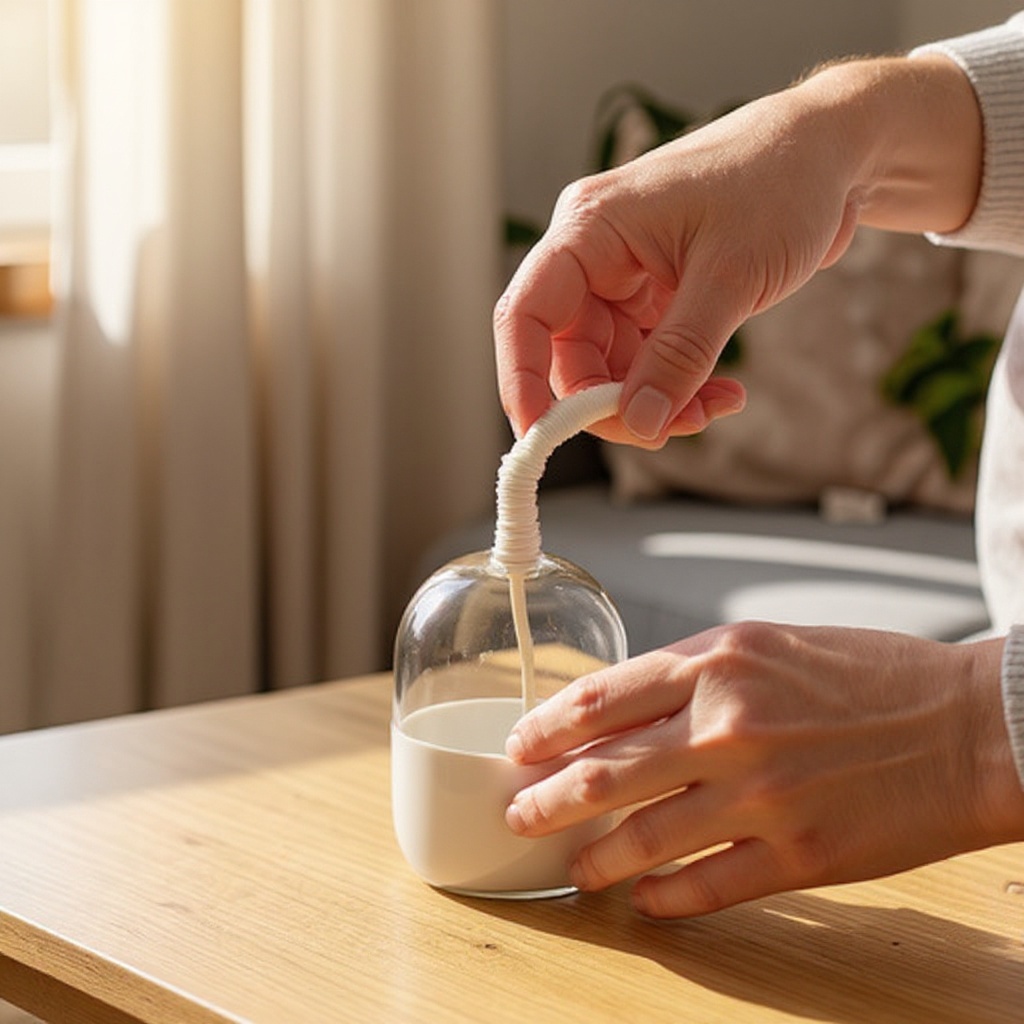
Take a pipe cleaner and wrap it tightly around the pinched center of the folded tissue paper stack. Twist the ends of the pipe cleaner together securely several times to ensure the tissue paper is held in place and won't slip. This pipe cleaner will act as the base and stem of your flower.
- 7
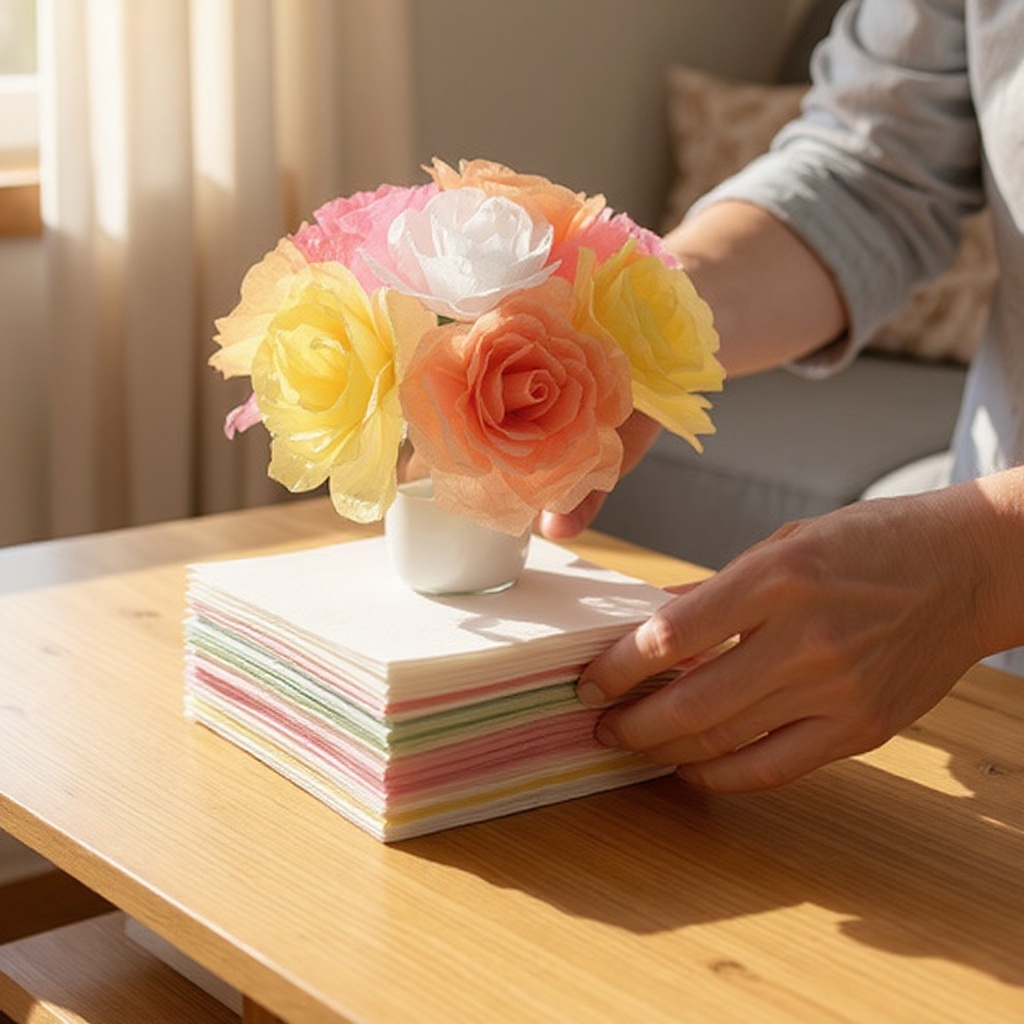
Now comes the magical part: fluffing! Carefully begin to separate and gently pull each layer of tissue paper upwards, one by one, away from the center. Work your way around the entire stack, teasing each layer to create the illusion of soft, fluffy petals. Be patient and gentle to avoid tearing the delicate paper.
- 8
Continue fluffing each layer until you achieve the desired fullness and shape for your flower. You can gently curl the edges of the petals outwards with your fingers to give them a more natural, organic look. Adjust and shape until you are happy with the overall appearance of your fluffy bloom.
- 9
Once you've achieved your desired fluffiness, you can further refine the flower. If you've left the pipe cleaner long, you can trim the bottom to create a more defined stem. Alternatively, you can leave the pipe cleaner as is, which creates a lovely pom-pom style flower that can be easily attached to various surfaces or held.
- 10
To create a more realistic flower, consider slightly varying the size of your tissue paper squares. You can also gently tear or crinkle the edges of a few of the inner layers before folding to mimic the natural imperfections of real petals. This adds a touch of authenticity to your handmade blooms.
- 11
For an ombre effect, stack your tissue paper squares in graduating shades of the same color, starting with the lightest at the bottom and ending with the darkest at the top. As you fluff the petals, this layering will create a beautiful gradient within each flower, adding depth and visual interest.
- 12
If you find that the tissue paper tears slightly while you are fluffing, don't worry! Small tears can actually enhance the natural, delicate appearance of the petals. Gently smooth out any larger tears, but embrace minor imperfections as part of the charm of handmade crafts.
- 13
Experiment with different sizes of tissue paper squares to create a bouquet of flowers in various dimensions. Smaller squares can be used for buds or accents, while larger squares can form the main blooms, allowing you to create a diverse and visually appealing floral arrangement.
- 14
Consider using metallic or glitter-infused tissue paper for a touch of sparkle and glamour. These special papers can elevate your fluffy flowers into dazzling decorations for parties, holidays, or special events, adding an extra layer of festivity.
- 15
To create a more structured flower, you can lightly mist the folded tissue paper with water before fluffing. This will make the paper slightly more pliable, allowing you to shape the petals more dramatically. Be careful not to oversaturate the paper, as it can become too fragile.
- 16
Once your flowers are complete, you can attach them to a variety of bases. Use hot glue or craft glue to adhere them to headbands, hair clips, or even picture frames for personalized accessories and decor. The pipe cleaner stem also makes them easy to insert into floral foam or arrangements.
Tips & Troubleshooting
- 1For fuller flowers, use more layers of tissue paper, aiming for 8-10 sheets per bloom. This will create a denser, more voluminous flower with a luxurious feel. For more delicate and airy flowers, use fewer layers, perhaps 3-5 sheets, which will result in a lighter, more ethereal appearance.
- 2Experiment with different color combinations for unique floral designs. You can create monochromatic bouquets by using various shades of a single color, or go bold with contrasting hues. Consider the occasion or the space you're decorating when choosing your color palettes.
- 3You can even use ombre effects by layering shades of the same color, starting with the lightest at the bottom and progressing to the darkest at the top. This technique adds a beautiful depth and sophistication to your tissue paper flowers, making them look more intricate.
- 4If your tissue paper tears slightly while fluffing, gently smooth it out. Small tears can actually add to the natural, organic look of the petals, making them appear more delicate and realistic. Embrace these minor imperfections as part of the handmade charm.
- 5Trim the bottom of the pipe cleaner to create a more defined stem, which is ideal for placing in vases or floral foam. Alternatively, you can leave the pipe cleaner as is, creating a pom-pom style flower that can be easily attached to other crafts or used as a handheld decoration.
- 6To add extra dimension and realism, gently curl the edges of the tissue paper petals outwards using your fingers or a pencil. This subtle shaping can make your flowers look more lifelike and less flat, enhancing their overall visual appeal.
- 7For a more structured and durable flower, consider using slightly heavier weight tissue paper, if available. While standard tissue paper is delicate, some craft stores offer slightly thicker varieties that are more forgiving during the fluffing process and hold their shape better.
- 8Before you start folding, you can lightly score the center of your tissue paper stack with a ruler and pencil. This will give you a clearer guideline for pinching and wrapping the pipe cleaner, ensuring a more centered and stable base for your flower.
Related Activities You Might Enjoy
Frequently Asked Questions
What are the best materials for tissue paper crafts?
For most tissue paper crafts, you'll generally need colored tissue paper in a variety of shades, sharp scissors for clean cuts, and an adhesive like glue sticks, craft glue, or double-sided tape. For specific projects like these fluffy flowers, pipe cleaners are essential for creating the stem and structure. Depending on the complexity of your project, you might also find cardstock useful for backing, glitter for added sparkle, or even floral wire for more elaborate arrangements. Always consider the project's requirements, but these core materials will get you started on a wide range of delightful tissue paper creations.
How do you make tissue paper flowers look realistic?
To make tissue paper flowers look more realistic, focus on layering and shaping. Use multiple sheets of tissue paper per flower to create fullness and depth. Vary the size of your tissue paper squares slightly for a more organic look, and don't be afraid to gently tear or crinkle the edges of some inner petals before fluffing to mimic natural imperfections. As you fluff, gently curl the edges of the petals outwards with your fingers or a pencil to give them dimension. Using a variety of colors and shades, including subtle gradients or ombre effects, can also significantly enhance their natural appearance and make them appear more lifelike.
Can kids make tissue paper crafts independently?
Yes, many tissue paper crafts are perfect for kids and can be done independently with minimal supervision, depending on their age and dexterity. Simple projects like tissue paper pom-poms, where kids tear or cut paper and then fluff it, or tissue paper mosaics glued onto paper, can be done by children aged 5-6 with some guidance on cutting. For more complex designs like these fluffy flowers, children aged 7 and up can usually manage the folding and fluffing steps independently, though younger children might need help with the initial cutting of squares and securing the pipe cleaner. It's a fantastic way to foster creativity and fine motor skills.
What are some easy tissue paper craft ideas?
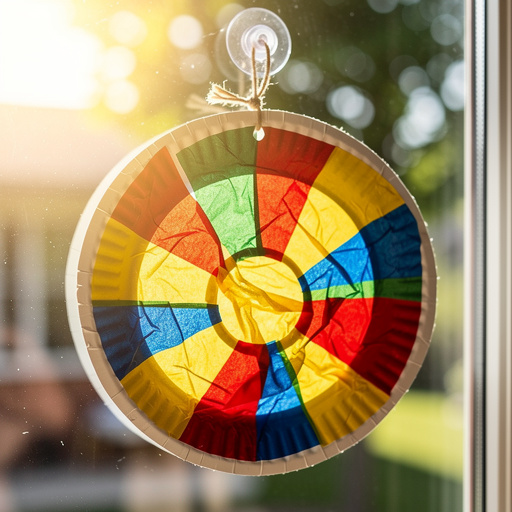
There are numerous easy and fun tissue paper craft ideas suitable for all ages. Some of the most popular include: fluffy tissue paper flowers (as detailed in this guide), vibrant tissue paper pom-poms that can be hung or used as decorations, and beautiful tissue paper mosaics where kids glue torn or cut pieces of colored tissue paper onto a surface to create pictures. Other simple ideas include making tissue paper suncatchers by gluing colored squares onto contact paper, decorating greeting cards with tissue paper elements, or creating layered tissue paper collages. These projects are generally simple, require few materials, and are incredibly enjoyable.
How many sheets of tissue paper do I need per flower?
The number of tissue paper sheets you need per flower can vary depending on the desired fullness and size of your bloom. For a standard medium-sized fluffy tissue paper flower, it's generally recommended to use between 5 to 8 sheets of tissue paper. If you prefer a very full and voluminous flower, you can increase this to 10 or even 12 sheets. Conversely, for a more delicate and airy flower, using fewer sheets, such as 3 to 5, will achieve a lighter appearance. Always have a few extra sheets on hand in case of accidental tears during the fluffing process.
Can I use different types of paper instead of tissue paper?
While tissue paper is ideal for creating the signature fluffy and delicate look of these flowers due to its thinness and malleability, you can experiment with other types of paper for different effects. Crepe paper, for instance, can also be used and offers a slightly different texture and stretch, often resulting in more ruffled petals. However, standard printer paper or cardstock would be too stiff and thick to achieve the desired fluffy, layered appearance. For these specific fluffy flowers, tissue paper is highly recommended for the best results, but feel free to explore other paper crafts with different materials.
How do I store my finished tissue paper flowers?
To keep your beautiful fluffy tissue paper flowers looking their best, it's important to store them carefully to prevent crushing. The best method is to place them in a sturdy box, ensuring there's enough space so the petals aren't compressed. You can layer them gently, perhaps with a piece of tissue paper or tissue paper between each flower if you are stacking them. Avoid storing them in humid environments, as moisture can cause the paper to stick or lose its shape. With proper storage, your handmade flowers can maintain their beauty for a considerable amount of time, bringing cheer to your space.
What Next?
Congratulations on creating your beautiful fluffy tissue paper flowers! These versatile creations can be used in countless ways. String them together to form a festive garland, attach them to a wreath for a seasonal display, or simply arrange them in a vase for a pop of color. For a more permanent display, consider attaching them to cardstock to create unique greeting cards or scrapbook embellishments. If you enjoyed this project, explore other tissue paper crafts like pom-poms or layered mosaics. Store your finished flowers carefully in a box to prevent crushing, and enjoy their cheerful presence for months to come!
Free: 10 Paper Crafts Anyone Can Make in 5 Minutes
Get our beginner guide + new craft ideas weekly.
No spam. Unsubscribe anytime.
Did you complete this activity?
Related