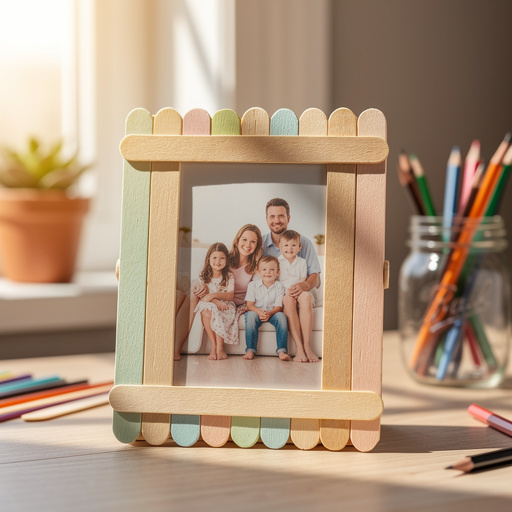
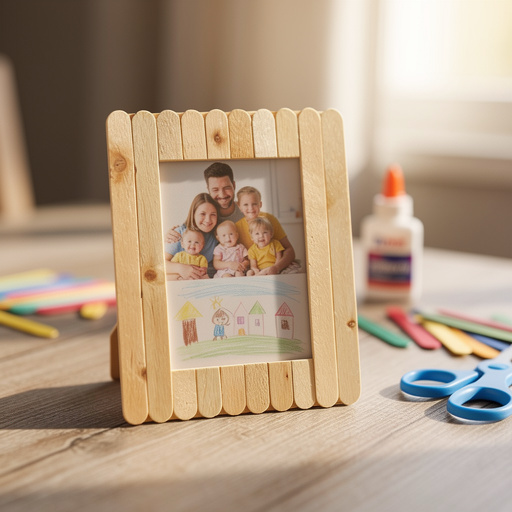
How to Make Popsicle Stick Picture Frames — Easy Step-by-Step Guide
Transform simple popsicle sticks into beautiful, personalized picture frames! This easy craft is perfect for little hands to decorate and proudly display their favorite photos or artwork. It's a fantastic way to foster creativity and create lasting keepsakes.

Quick answer
To make popsicle stick picture frames, you need popsicle sticks, glue, and decorations, taking about 30 minutes of active crafting time. Start by gluing four sticks into a square for the front. This beginner-friendly activity has 12 detailed steps and is perfect for 4-year-olds with adult supervision, resulting in a unique frame to cherish.
What you need
Shop on Amazon · As an Amazon Associate we earn from qualifying purchases. Links above are affiliate links — we may earn a commission at no extra cost to you.
Unleash your inner artist and transform everyday popsicle sticks into charming, personalized picture frames! This delightful DIY project is more than just a craft; it's an opportunity to create cherished keepsakes and a wonderful way to display precious memories. Perfect for rainy days, classroom activities, or simply a fun afternoon with loved ones, these frames are incredibly accessible and rewarding for crafters of all ages, especially young children eager to express their creativity. Get ready to add a touch of handmade magic to your favorite photos!
On this page
Step-by-Step Instructions
- 1
Lay four popsicle sticks flat on your work surface to form a square or rectangle. Ensure the sticks are arranged neatly side-by-side, creating the outer perimeter of your frame's front. For a more robust frame, you can slightly overlap the ends of these sticks at the corners.
- 2
Apply a thin, consistent line of craft glue along the edges of the four sticks where they will overlap at the corners. Aim for a bead of glue that is just enough to create a strong bond without excessive oozing; too much glue can seep out and create a messy appearance.
- 3
Carefully press the glued edges together to form the frame shape, ensuring the corners meet at a right angle. Hold for a few seconds to help the glue begin to set and the sticks adhere to each other, making sure the frame is square.
- 4
Let the front frame dry for about 10-15 minutes until it feels secure and the corners are firmly attached. This initial drying period prevents the frame from shifting when you add the back, ensuring a stable foundation for the next steps.
- 5
While the front frame is drying, take another four popsicle sticks and lay them flat, side-by-side, on your work surface. This will form the back layer of your frame, creating the depth for your photo and providing a surface to attach the front frame.
- 6
Apply glue along the outer edges of the back frame sticks where they will connect to the front frame. This creates the seal that will hold your photo in place, so ensure the glue covers the entire perimeter where the two frames will meet.
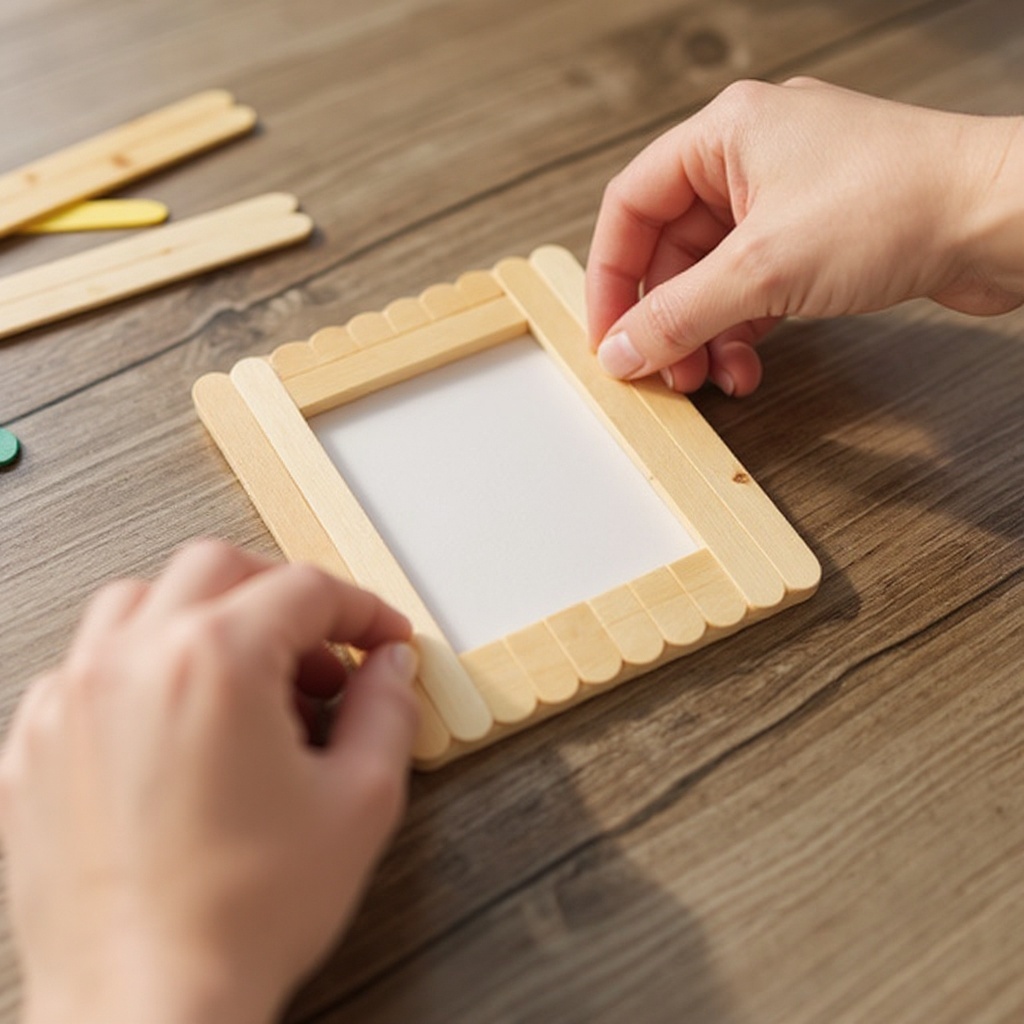
- 7
Carefully place the front frame on top of the glued back frame, aligning the edges precisely. This creates a pocket between the two layers where your photo or artwork will be inserted, so take your time to ensure the edges match up perfectly.
- 8
Gently press the two frames together, ensuring a good contact point along all glued edges. You might need to add a little extra glue on the sides if there are any small gaps to fully secure them and create a tight seal, preventing your photo from slipping out.
- 9
Allow the main frame structure to dry completely for at least 30 minutes to an hour. This ensures a sturdy base before you move on to the decorating stage, preventing any accidental dislodging of the glued sticks.
- 10
For added depth and stability, consider adding a second layer of four popsicle sticks on top of the first four that form the front of the frame. Glue these directly onto the first layer, ensuring they are aligned. This creates a slightly raised edge and a more substantial frame.
- 11
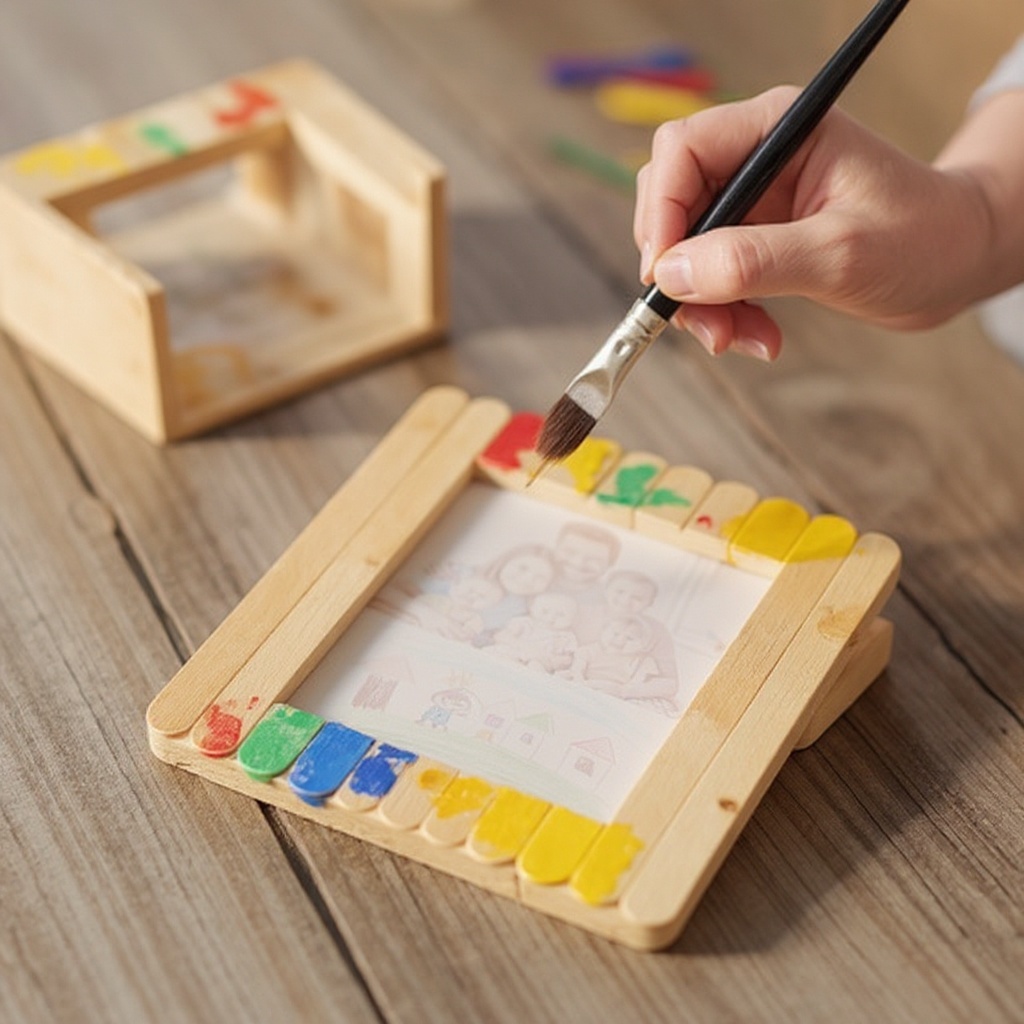
Now, it's time to decorate! Use child-safe paints or markers to color the frame. Encourage creativity by suggesting patterns, solid colors, or even simple drawings on the sticks, allowing each frame to be unique.
- 12
Once the paint is completely dry, it's time for the fun embellishments. Glue on glitter, sequins, pom-poms, buttons, or any other fun decorations to personalize your frame and make it truly unique. Let your imagination guide you!
- 13
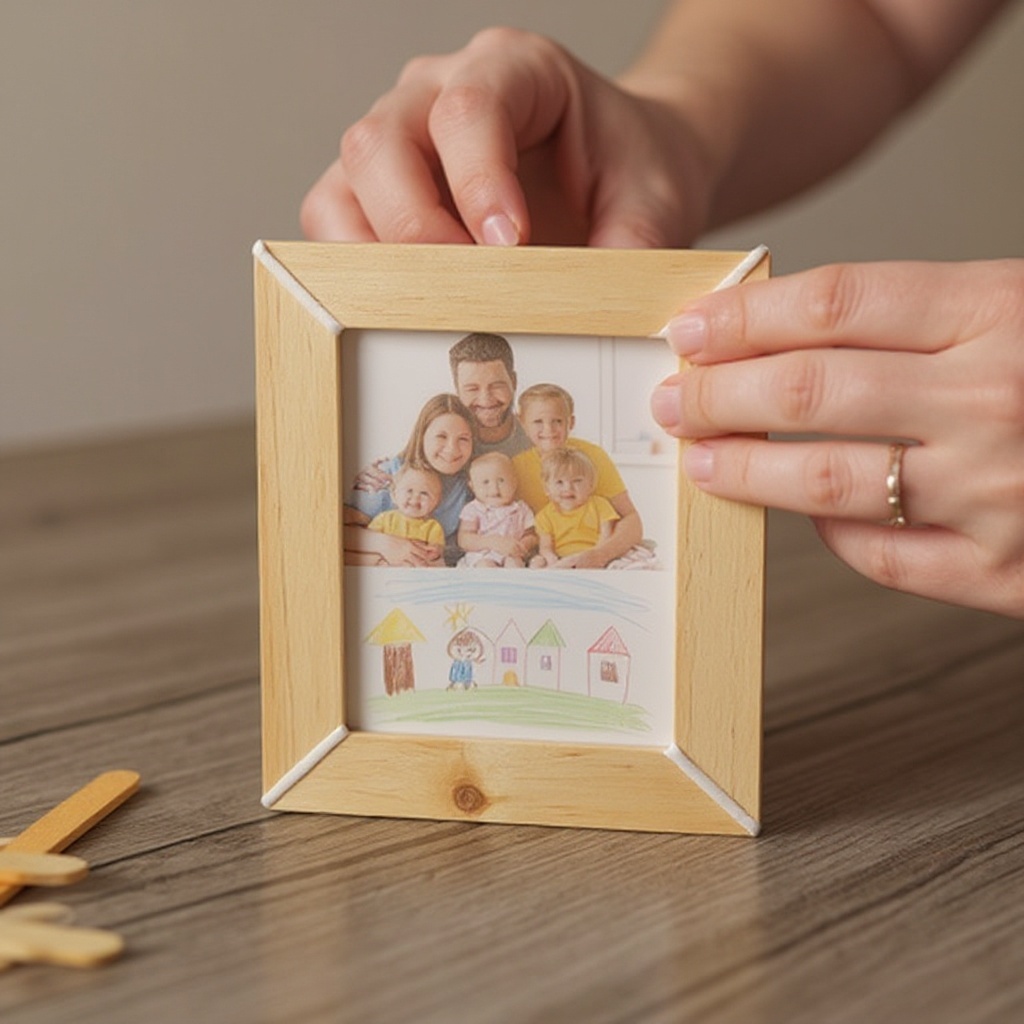
If you want to add a photo, carefully slide it into the pocket you created between the two frames. Ensure it fits snugly and is centered within the frame opening; you may need to gently adjust it.
- 14
For added stability, especially if you plan to stand the frame up, you can glue a piece of cardboard or cardstock to the back of the frame, covering the opening where the photo is inserted. Cut this backing to the size of your frame for a neat finish.
- 15
If you're using a stand, glue an additional popsicle stick diagonally across the back of the frame. Position one end of this stick near the top of the frame and let the other end extend downwards, creating a prop to hold the frame upright.
- 16
Allow all glue and paint to dry completely before displaying your beautiful new popsicle stick picture frame. This ensures all decorations are firmly attached and the frame is ready for its debut.
Tips & Troubleshooting
- 1Use a small amount of glue to avoid excess oozing out, which can make decorating messy and difficult. Wipe away any excess glue with a damp cloth immediately before it dries to maintain a clean finish and prevent sticky fingers.
- 2For a sturdier frame that can withstand more handling, you can add an extra layer of popsicle sticks to the back or sides after the initial frame is dry. This creates a thicker, more robust structure that is less prone to bending or breaking.
- 3Let your child's imagination run wild with decorations! Encourage them to create patterns, tell stories with their embellishments, or even incorporate their favorite colors and themes, making each frame a personal masterpiece.
- 4If you don't have a suitable photo, cut out a colorful drawing, a vibrant piece of patterned paper, or even a favorite quote to fill the frame. This adds a personal touch and makes the frame a decorative piece even without a photograph.
- 5Ensure all paints and glues are non-toxic and child-safe, especially when working with young children. Always supervise young children during the decorating process to ensure they use materials safely and appropriately, and have cleaning supplies readily available.
- 6Consider using different sizes and shapes of popsicle sticks for added visual interest, such as jumbo sticks or colored craft sticks. You can also paint the sticks before assembling the frame for a more uniform color base or to create intricate designs before construction.
- 7To create a stand for your frame, glue an additional popsicle stick diagonally across the back, with one end touching the top of the frame and the other extending downwards to act as a prop. Ensure the glue is dry before attempting to stand the frame.
- 8Experiment with different glueing techniques for unique edges. For instance, overlapping the ends of the sticks slightly can create a more decorative edge, or you can use them to create mosaic-like patterns by cutting them into smaller pieces before gluing.
Related Activities You Might Enjoy
Frequently Asked Questions
What kind of glue is best for popsicle stick crafts for 4-year-olds?
Non-toxic craft glue, like Elmer's glue, is the best choice for popsicle stick crafts with 4-year-olds. It's safe, easy to clean up with water, and dries clear, which is ideal for a neat finish. White school glue is generally preferred over glue sticks for popsicle sticks as it provides a stronger, more durable bond, especially when assembling the frame structure. Always ensure the glue is labeled as non-toxic and suitable for children's crafts to guarantee safety during the creative process, and have wet wipes or a damp cloth handy for quick cleanups.
How long does it take to make a popsicle stick picture frame?
Making a popsicle stick picture frame takes about 30 minutes of active crafting time, which includes assembling the frame and decorating it. However, the drying time for the glue and paint can add an additional hour or more, depending on the thickness of the application, humidity, and the type of materials used. For the best results and to ensure everything is securely attached, it's advisable to let the frame dry completely overnight before handling or displaying it, especially if you've used a lot of embellishments or a thick layer of glue.
Can a 4-year-old do popsicle stick crafts independently?
With non-toxic glue and simple designs, 4-year-olds can participate significantly in popsicle stick crafts, especially in the decorating stages. Adult supervision is highly recommended for the initial gluing of the frame structure and for handling small decorative items like sequins or beads, as these can be choking hazards. A 4-year-old can typically manage applying glue to individual sticks and placing decorations with guidance, which is excellent for developing fine motor skills and creativity. The assembly of the frame itself might require more adult assistance to ensure it's square and secure.
What are some other easy popsicle stick crafts for preschoolers?
Besides picture frames, preschoolers can enjoy making a variety of other easy popsicle stick crafts. They can create simple popsicle stick animals by gluing on googly eyes and pipe cleaners, or make basic stick figures by drawing faces and clothes on them. Small stick houses or fences can also be constructed by gluing sticks together, which is great for imaginative play. Other ideas include making popsicle stick crowns, simple boats, or even creating colorful mosaics by gluing small pieces of painted sticks onto a base. These crafts focus on gluing and decorating, which are great for developing fine motor skills, hand-eye coordination, and imaginative play.
How can I make the popsicle stick frame more durable?
To make your popsicle stick frame more durable, consider adding an extra layer of popsicle sticks to the back or sides after the initial frame is dry. This creates a thicker, more robust structure that is less likely to bend or break. You can also reinforce the corners by adding small triangular pieces of popsicle stick or even a bit of extra glue on the inside of the corners. For a truly sturdy frame, especially if it will be handled frequently, you can glue a piece of thin cardboard or cardstock to the entire back of the frame, covering the photo opening and providing a solid backing.
What size photo fits in a standard popsicle stick frame?
A standard popsicle stick frame, typically made with 4 sticks forming the outer perimeter and 4 sticks for the back, usually creates an opening that can accommodate a photo around 2x3 inches or 3x3 inches. The exact size will depend on the width of the popsicle sticks used and how much they overlap at the corners. It's best to measure the inner opening of your assembled frame before printing or cutting your photo to ensure a perfect fit. You can also trim photos slightly if needed, or use a slightly larger photo and let it overlap the edges for a different look.
Can I use hot glue for popsicle stick frames?
While hot glue can be used for popsicle stick crafts, it is generally not recommended when working with young children due to the risk of burns. Craft glue, like Elmer's white school glue, is safer and provides a strong enough bond for this project, especially when allowed to dry thoroughly. If you choose to use hot glue for adult-led assembly or for a quicker bond, always exercise extreme caution and ensure adequate ventilation. For decorative elements, craft glue is usually sufficient and safer for children to handle.
What Next?
Congratulations on creating your unique popsicle stick picture frames! These charming creations are perfect for gifting to family and friends, adding a personal touch to your home decor, or even as a special way to present a favorite photograph. For variations, consider using colored popsicle sticks, layering them for a 3D effect, or even creating mosaic patterns with cut pieces. You can also explore making larger frames by using jumbo craft sticks or combining multiple smaller frames. To display your masterpiece, attach a small easel to the back or add picture hanging hardware. Store them carefully to preserve their beauty, and get ready for your next creative adventure!
Free: 10 Paper Crafts Anyone Can Make in 5 Minutes
Get our beginner guide + new craft ideas weekly.
No spam. Unsubscribe anytime.
Did you complete this activity?
Related