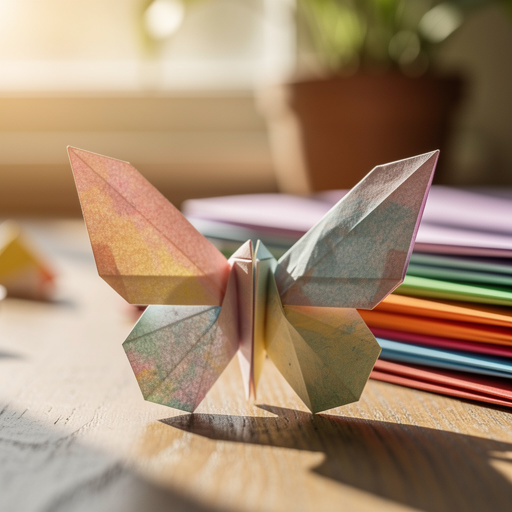
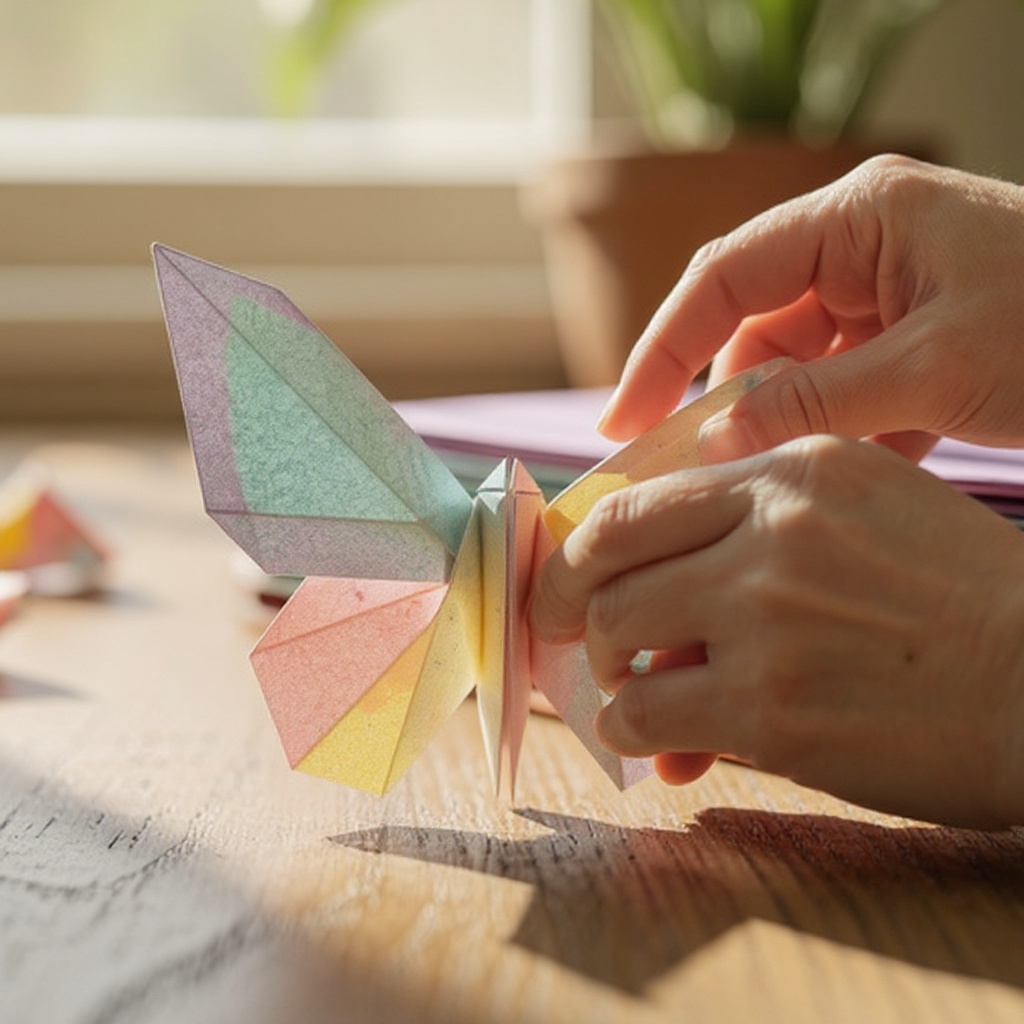
How to Make an Origami Paper Butterfly — Easy Step-by-Step Guide
Transform a single sheet of paper into a vibrant origami butterfly! This simple folding project is perfect for all ages and adds a touch of handmade charm to any space. With just a few folds, you'll create a delicate and beautiful paper creature that can be used for decoration, gifts, and more.

Quick answer
To make an origami paper butterfly, you need one square piece of paper and about 5 minutes. Start by folding the paper in half diagonally. This beginner-friendly activity has 10 steps and is perfect for families and kids aged 6+.
What you need
Shop on Amazon · As an Amazon Associate we earn from qualifying purchases. Links above are affiliate links — we may earn a commission at no extra cost to you.
Unleash your creativity with the timeless art of origami! Crafting an origami paper butterfly is an incredibly rewarding and accessible project, perfect for sparking joy and adding a touch of handmade beauty to your surroundings. This delightful activity requires minimal materials and offers a satisfying sense of accomplishment with each precisely folded crease. Whether you're looking for a calming solo pursuit, a fun family bonding experience, or a way to teach children about geometry and fine motor skills, this easy origami butterfly is an ideal choice. Its simplicity belies its charm, making it a fantastic introduction to the world of paper folding for crafters of all ages and skill levels.
On this page
Step-by-Step Instructions
- 1
Start with your square paper, colored side down if using double-sided paper. Ensure the paper is perfectly square for the best results; if you're using rectangular paper, you'll need to trim it into a square first by folding one corner down to meet the opposite edge and cutting off the excess strip.
- 2
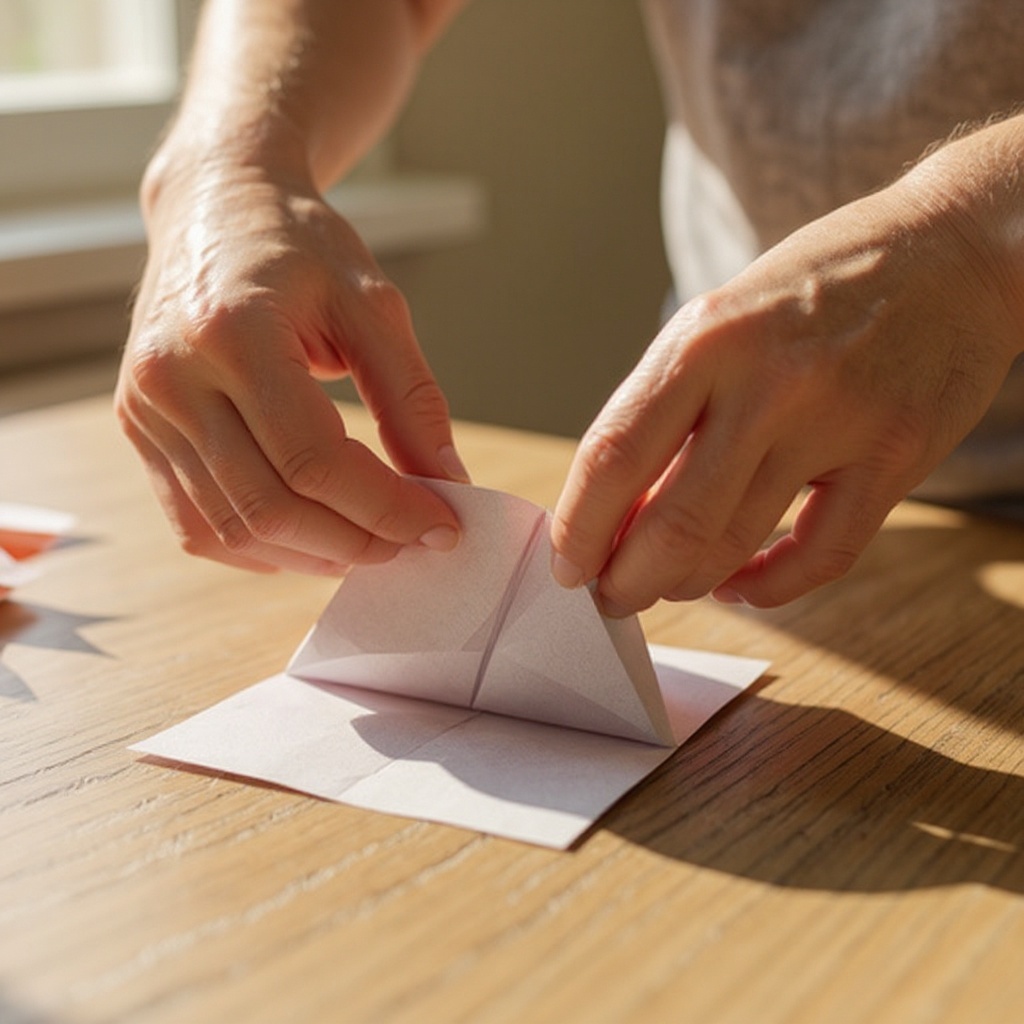
Fold the paper in half diagonally to create a triangle, then unfold. Align the corners precisely and make a sharp crease by running your fingernail or a bone folder along the fold line. This initial crease will serve as a guide for subsequent steps.
- 3
Fold the paper in half diagonally the other way, then unfold. Repeat the process of aligning corners and creating a firm crease. You should now have two diagonal creases forming an 'X' on your paper.
- 4
Flip the paper over so the colored side is facing up. This orientation is important for the next set of folds, as it ensures the valley folds created in the previous steps become mountain folds.
- 5
Fold the paper in half horizontally, then unfold. Bring the bottom edge up to meet the top edge, ensuring the corners align perfectly, and press down firmly to create a sharp crease. Unfold the paper completely.
- 6
Fold the paper in half vertically, then unfold. Bring the left edge over to meet the right edge, again aligning the corners meticulously and making a strong crease. Unfold the paper, and you should now have a grid of four creases on your paper.
- 7
Using the creases you've made, bring the left and right sides of the paper inwards to form a triangle shape (this is called a waterbomb base). Gently push the sides towards the center, allowing the existing creases to guide the paper. The top and bottom points should naturally come together to form a smaller, double-layered triangle.

- 8
With the open edges of the triangle facing down, fold the top layer of the right flap upwards, aligning the edge with the center crease. This fold should be made from the bottom point of the triangle upwards, creating a kite-like shape on that side. Ensure the crease is sharp and the edge is perfectly aligned with the central vertical crease.
- 9
Repeat step 8 with the top layer of the left flap. Mirror the previous fold by bringing the left flap upwards and aligning its edge with the center crease. You should now have two symmetrical flaps folded upwards, resembling the wings of a butterfly.
- 10
Flip the entire model over. This action prepares the paper for the final shaping of the butterfly's body and wings.
- 11
Fold the bottom point of the triangle upwards, so it extends slightly past the top edge. Take the single point at the bottom of the model and fold it straight up, making sure it goes a little beyond the very top point of the folded flaps. This excess paper will become the butterfly's head and antennae.
- 12
Fold the extended tip down and over the top edge, creasing it firmly to lock the shape. This is a crucial step for securing the butterfly's form. Fold the small triangle you just created downwards, wrapping it over the top edge of the folded flaps. Press this crease very firmly to ensure it holds.
- 13
Gently fold the entire butterfly in half vertically along the center crease. This is a simple fold that brings the two sides of the butterfly together, giving it a more compact and recognizable shape.
- 14
Unfold the last fold slightly to give your butterfly its 3D shape. Carefully open the butterfly by gently pulling the wings apart. This slight unfolding creates the characteristic three-dimensional form, allowing the butterfly to stand or be displayed as if in flight. Adjust the wings to your desired angle for the most appealing look.
Tips & Troubleshooting
- 1For crisp folds, run your fingernail along each crease with firm pressure. This technique, often called 'burnishing,' ensures that your folds are sharp and well-defined, which is essential for origami to hold its shape properly. A bone folder or the edge of a ruler can also be used for even crisper results, especially on thicker paper.
- 2Use patterned or double-sided paper for a more decorative butterfly. Origami paper comes in a vast array of colors, patterns, and textures, allowing you to create butterflies that are as unique as real ones. Consider floral prints, geometric designs, or even metallic finishes for a special touch.
- 3Experiment with different sizes of paper to create a variety of butterfly sizes. Starting with a larger square will result in a larger butterfly, while a smaller square will yield a miniature version. This is a great way to create a collection of butterflies for different decorative purposes.
- 4If your folds aren't precise, the butterfly might not hold its shape as well. Don't worry, practice makes perfect! Origami is a skill that improves with repetition. Focus on aligning edges and corners accurately with each fold, and don't be discouraged if your first few attempts aren't perfect.
- 5You can add googly eyes or draw patterns on your butterfly once it's complete. Once your origami butterfly is folded, you can personalize it further by adding small googly eyes to the 'head' area or drawing intricate patterns on the wings with fine-tipped markers. This adds an extra layer of charm and personality.
- 6To achieve a more realistic wing shape, you can gently curve the edges of the wings outwards after the final 3D fold. Use your fingers to subtly bend the paper outwards, mimicking the natural curve of a butterfly's wings. Be gentle to avoid tearing the paper.
- 7If you're making multiple butterflies for a garland or mobile, consider punching a small hole at the top of the body and threading a string through it. This makes it easy to hang your creations and create a beautiful, fluttering display.
- 8For a more robust butterfly that can withstand handling, consider using slightly thicker paper, such as cardstock, though this will make folding more challenging. Alternatively, you can spray your finished origami with a clear sealant to protect it from moisture and wear.
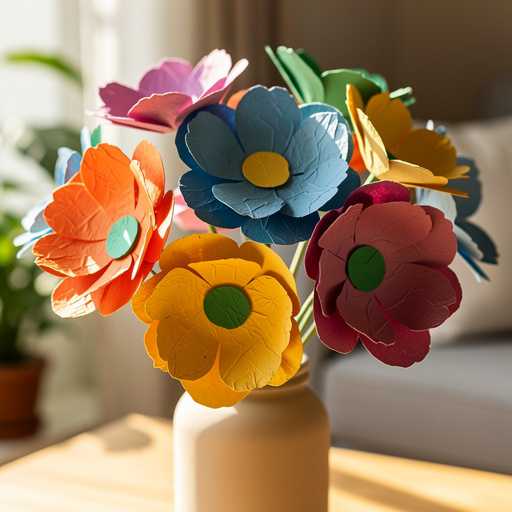
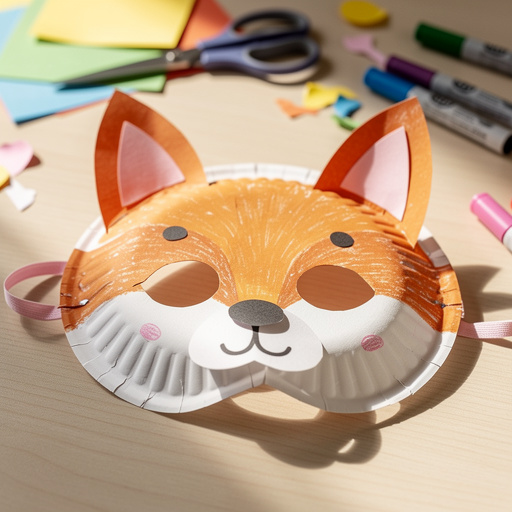
Related Activities You Might Enjoy
Frequently Asked Questions
What kind of paper is best for origami butterflies?
Origami paper is ideal because it's thin, strong, and holds creases well, making it easy to achieve sharp folds and intricate details. Its consistent texture and weight are specifically designed for the art of paper folding. Standard printer paper can work, but it's thicker and may be harder to fold precisely, potentially leading to a bulkier or less defined butterfly. Decorative scrapbook paper can also be used, offering a wide range of patterns and colors, but ensure it's not too thick or glossy, as this can make folding difficult. For beginners, a good quality origami paper in a 6x6 inch size is highly recommended for ease of handling and excellent results.
Can younger children make origami butterflies?
Yes, with adult supervision! Children aged 6 and up can usually manage the basic folds with some help, especially with the initial diagonal and horizontal folds. Younger children might need more assistance, particularly with the more intricate steps like forming the waterbomb base or the final locking fold, but it's a great way to develop fine motor skills, hand-eye coordination, and patience. Breaking down the steps and offering encouragement can make it a fun and rewarding experience for them. Consider using larger paper for smaller hands to make the folds easier to manage.
How can I make my origami butterfly stand up?
The final fold where you gently open the butterfly creates its 3D shape, allowing it to stand. Ensure your creases are firm throughout the process for the best results. The key is the slight unfolding after the vertical fold in step 14. By gently pulling the wings apart, you create a base that allows the butterfly to balance. For extra stability, you can slightly flatten the bottom edge of the butterfly's body where it rests on a surface. If you want it to stand more prominently, you can also create a small, flat base by folding a tiny portion of the bottom edge inwards before the final unfolding.
What can I do with my origami butterflies?
Origami butterflies are versatile! You can use them for decoration, hang them as mobiles, attach them to cards, or even use them as unique bookmarks. They add a lovely handmade touch to any project or space. Imagine a garland of colorful butterflies adorning a window, a cluster of them gracing a lampshade, or a single, elegant butterfly attached to a birthday card. They are also wonderful as party favors or as part of a larger decorative display, such as a centerpiece for a table or scattered across a mantelpiece. Their delicate beauty makes them a charming addition to many crafts and decor ideas.
How many steps are involved in making an origami butterfly?
This particular origami butterfly tutorial involves 14 distinct folding steps, starting from a single square piece of paper and culminating in a beautifully formed 3D butterfly. Each step is designed to be sequential and builds upon the previous folds, gradually transforming the flat paper into the desired shape. While the number of steps might seem daunting, they are all relatively simple and beginner-friendly, especially when followed with clear instructions and visual aids. The entire process, once you're familiar with the folds, can typically be completed in under 5 minutes, making it a quick and satisfying craft.
What is the 'waterbomb base' in origami?
The 'waterbomb base' is a fundamental preliminary fold in origami that is used to create many different models, including this butterfly. It's essentially a collapsed square that forms a double-layered triangle. You achieve it by making diagonal and horizontal creases on your square paper, then flipping it over and collapsing it inwards. The existing creases guide the paper to fold upon itself, resulting in a triangle with two flaps on each side. This base is crucial for many origami projects as it provides a stable and versatile starting point for further shaping.
Can I make origami butterflies from recycled paper?
Absolutely! Using recycled paper is a fantastic and eco-friendly way to create origami butterflies. Old magazines, newspapers, junk mail, or even pages from old books can be repurposed into beautiful paper butterflies. The key is to ensure the paper is not too thick or brittle. Magazine pages often have vibrant colors and interesting patterns that can add a unique artistic flair to your butterflies. If using newspaper, be aware that the ink might transfer slightly, so it's best for decorative purposes where that's not an issue. Just make sure to cut your recycled paper into a perfect square before you begin folding.
What Next?
Congratulations on creating your beautiful origami paper butterfly! This versatile creation can be enjoyed in so many ways. Consider making a whole swarm in various colors and sizes to adorn a wall, create a whimsical mobile, or embellish greeting cards and gift wrapping. For a truly unique touch, try using patterned scrapbook paper or even thin fabric scraps. If you enjoyed this project, why not explore other origami animals or geometric shapes? Store your delicate butterflies carefully in a dry place, perhaps in a box with tissue paper, to preserve their shape and beauty for years to come. Happy folding!
Free: 10 Paper Crafts Anyone Can Make in 5 Minutes
Get our beginner guide + new craft ideas weekly.
No spam. Unsubscribe anytime.
Did you complete this activity?