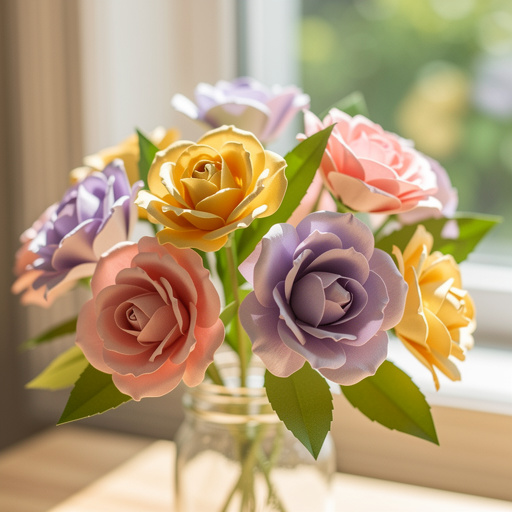
How to Make Paper Bloom Spring Flowers — Easy Step-by-Step Guide
Brighten your home with these beautiful, easy-to-make paper bloom spring flowers. A delightful screen-free craft for the whole family!

Quick answer
To make paper bloom spring flowers, you need construction paper, scissors, glue, and about 20 minutes. Start by cutting out petal shapes. This easy activity has 10 steps and is perfect for kids aged 6+.
What you need
Shop on Amazon · As an Amazon Associate we earn from qualifying purchases. Links above are affiliate links — we may earn a commission at no extra cost to you.
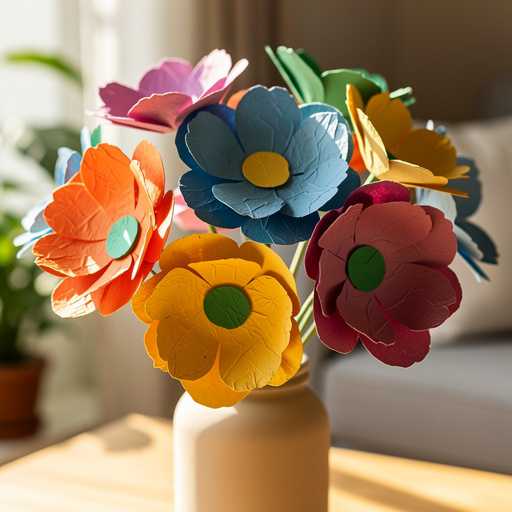
As winter's chill fades, our homes yearn for a touch of vibrant color and the cheerful spirit of spring. These paper bloom spring flowers are the perfect antidote to the lingering gray, offering a delightful and accessible craft project for all ages. Unlike fleeting real blooms, these paper creations last, bringing perpetual joy and a sense of accomplishment. They are an ideal screen-free activity, fostering creativity, fine motor skills, and a wonderful opportunity for family bonding. Get ready to transform simple construction paper into a bouquet of everlasting spring beauty!
On this page
Step-by-Step Instructions
- 1
Gather your construction paper, scissors, glue, and pencil. Ensure you have a clean, flat surface to work on for a smooth crafting experience.
- 2
On a piece of pink construction paper, lightly draw five oval shapes, each about 2 inches long, for the petals. These will form your first flower. Aim for consistency in size and shape for a balanced bloom.

- 3
Carefully cut out the five oval petal shapes. Take your time to ensure clean edges, as this will make the gluing process easier and the final flower more polished.
- 4
Take a piece of yellow construction paper and cut out a small circle, about the size of a dime, for the flower's center. You can also use a coin as a template for a perfectly round shape.
- 5
On a separate piece of green construction paper, draw and cut out a simple leaf shape. A basic teardrop or elongated oval with a pointed tip works well for a natural look.
- 6
Take one pink petal and apply a thin line of glue along one of its long edges. Be sure to apply the glue evenly, avoiding large clumps that might seep through.
- 7
Overlap the glued edge of the petal with the opposite long edge of the same petal to form a slightly cupped shape. Press gently to secure the seam, creating a gentle curve that mimics a real petal.
- 8
Repeat steps 6 and 7 for the remaining four pink petals, creating five identical cupped petals. Ensure each petal is securely glued and has a consistent cupped form.
- 9
Arrange the five cupped petals in a circle on your work surface, with the points facing inwards, and glue them together at their bases. Overlap them slightly to create a full, rounded flower shape.
- 10
Glue the yellow circle in the center of the flower, covering the petal bases. This will neatly hide the glued seams and provide a focal point for your bloom.
- 11
Glue the green leaf to the back of the flower base to create a stem. Position it so it looks like it's emerging from the bottom of the flower.
- 12
Repeat steps 2-12 to create more flowers in different colors and sizes. Experiment with different construction paper hues and adjust petal sizes for a varied and visually interesting bouquet.
- 13
Once your first flower is complete, gently press it between two heavy books for a few minutes. This helps to flatten the base slightly, making it easier to attach to other surfaces or to create a more stable arrangement.
- 14
For a more intricate center, use a hole punch on a contrasting color of construction paper to create several small circles. Glue these on top of the larger yellow circle for added texture and dimension.
- 15
If you're making multiple flowers, consider creating a variety of petal shapes. Instead of ovals, try cutting out teardrop shapes or even rounded squares for a more abstract floral design.
- 16
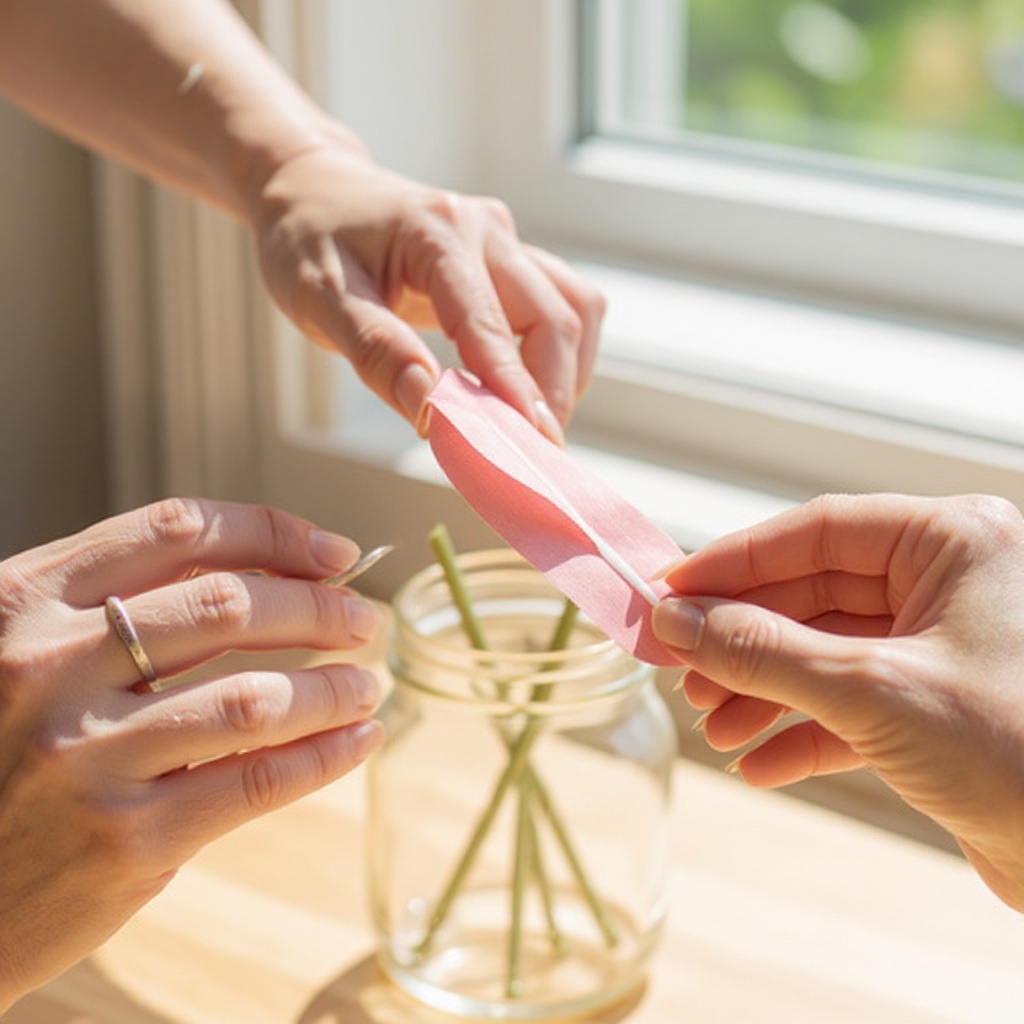
To create a more realistic stem, cut a thin strip of green construction paper and roll it tightly. Secure the end with a dab of glue, then attach this rolled stem to the back of your flower.
- 17
Allow all glue to dry completely before handling or displaying your paper flowers. This ensures that all the components are firmly attached and won't come apart.
- 18
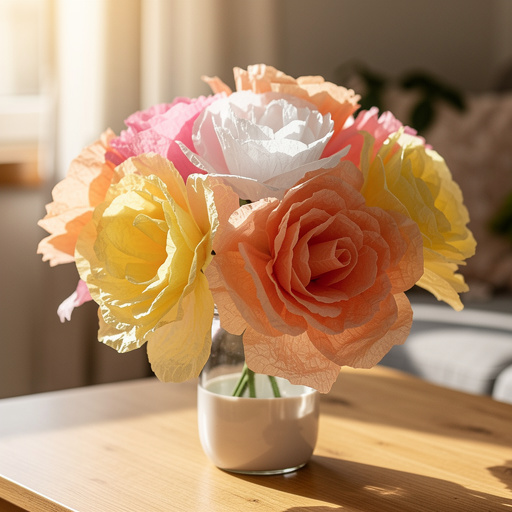
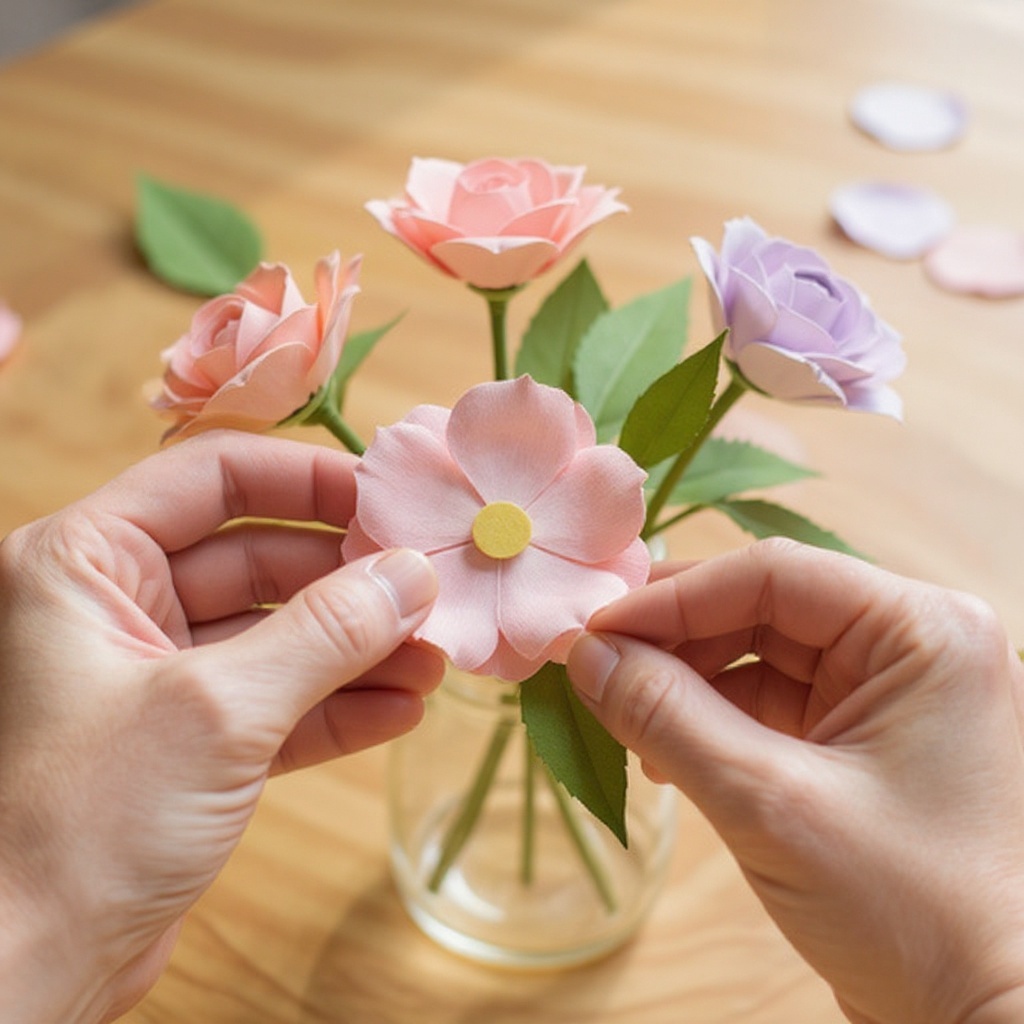
Once dry, you can arrange your paper flowers in a small vase or glue them onto a piece of cardstock to create a beautiful spring-themed greeting card or a decorative wall hanging.
Tips & Troubleshooting
- 1For a more realistic look, try drawing your petal shapes with a slight curve at the top, mimicking the natural way flower petals often bend. This subtle detail can elevate the overall appearance of your paper blooms.
- 2Experiment with different petal shapes like teardrops or rounded squares for varied flower designs. You can even try cutting notches into the edges of your petals to create a more ruffled or layered effect.
- 3Use a hole punch to create small circles for flower centers for a different texture. Layering several punched circles of varying sizes or colors can add depth and visual interest to the heart of your flower.
- 4Glue your finished flowers onto cardstock to create a spring-themed greeting card. You can arrange them in a bouquet design or use a single bloom as a focal point for a personalized touch.
- 5If using white school glue, allow each petal to dry slightly before attaching the next to prevent slippage. This patience will ensure your petals hold their cupped shape and form a well-structured flower.
- 6Consider using different shades of the same color for your petals to create a more realistic and dimensional effect. For example, use a lighter pink for the outer petals and a slightly darker pink for the inner ones.
- 7Don't be afraid to mix and match colors! Bright combinations like yellow and purple, or pink and blue, can create cheerful and eye-catching spring flowers that truly pop.
- 8For a touch of sparkle, add a tiny dab of glue to the center of your flower and sprinkle on some fine glitter. This adds a festive and whimsical element, perfect for special occasions or just for fun.
Related Activities You Might Enjoy
Frequently Asked Questions
What kind of paper is best for spring crafts easy flowers?
Construction paper is ideal for these spring crafts because it's colorful, easy to cut, and holds glue well, making it perfect for little hands and quick projects. Its slightly textured surface also gives the paper flowers a nice tactile quality. Cardstock can also be used for sturdier flowers, especially if you plan to attach them to a more rigid surface like a card or a wreath. For a more delicate look, you could experiment with tissue paper, though it requires a bit more care when gluing and shaping.
How can I make these paper flowers look more realistic?
You can make these paper flowers look more realistic by varying the petal shapes, adding a slight curve to the edges, and using multiple shades of the same color for depth. Instead of simple ovals, try drawing petals with a more organic, slightly irregular edge. Layering petals of slightly different sizes or using a technique where you gently curl the edges with a pencil can also add a lifelike dimension. Consider using a darker shade of the same color in the center of the flower to mimic natural shading.
Can I use these paper flowers for decorations?
Yes, these paper flowers are perfect for decorations! You can glue them onto garlands to create a festive spring banner, use them to embellish gift wrap for a personal touch, or create a beautiful spring-themed wall display by arranging them on a large piece of cardstock or directly onto a wall. They also look lovely clustered in a small vase or attached to a wreath for your front door, bringing a burst of color and cheer to your home.
What other spring crafts are easy for kids?
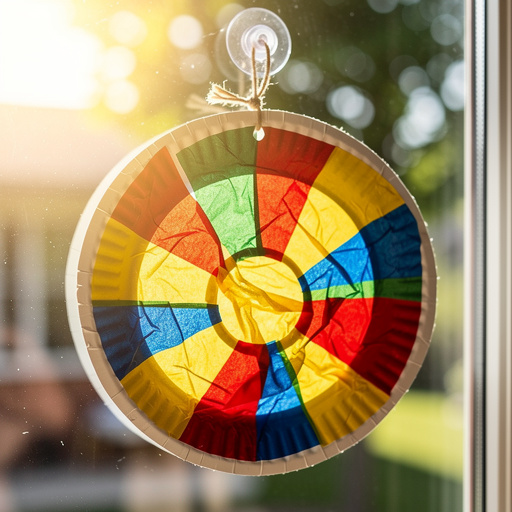
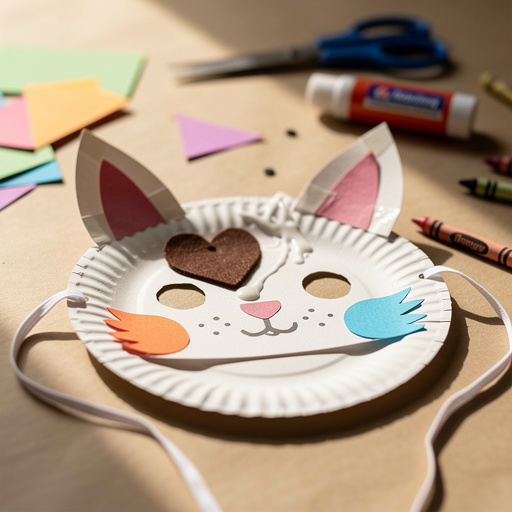
Other easy spring crafts for kids include painting rocks with spring themes like ladybugs, flowers, or sunshine, making butterfly suncatchers by coloring tissue paper and gluing it onto contact paper, or creating bird feeders from pinecones and peanut butter. You can also try making simple origami flowers, decorating Easter eggs with various techniques, or crafting bunny masks from paper plates. These activities are all engaging, relatively mess-free, and celebrate the arrival of spring.
How can I make the flower centers more interesting?
To make the flower centers more interesting, you can move beyond a simple circle. Try using a hole punch to create multiple small circles from contrasting or complementary colored paper and layer them in the center. You could also cut small fringe into the edge of a circle to create a textured effect, or even use a small bead or a pom-pom glued in the middle for a dimensional touch. For a bit of sparkle, a tiny dab of glue with some fine glitter is always a hit!
What are some other ways to use these paper flowers besides just making a bouquet?
These paper flowers are incredibly versatile! Beyond a bouquet, you can glue them onto a plain picture frame to give it a spring makeover, use them to decorate plain notebooks or journals, or create a beautiful floral crown by attaching them to a headband. They also make wonderful embellishments for handmade cards, gift tags, or even as part of a larger craft project like a spring-themed mobile. Their bright colors and cheerful appearance can liven up almost any craft.
What Next?
You've now created a charming collection of paper bloom spring flowers! These versatile blooms can be arranged in vases, glued onto wreaths, or even used to embellish handmade cards and gift wrap. For a different look, try layering petals of slightly different sizes or using patterned paper. Consider exploring other spring-themed crafts like painted rocks or DIY bird feeders to continue the seasonal fun. Store your paper flowers carefully in a box to protect them from dust and moisture, ensuring they remain a bright spot in your home for seasons to come.
Free: 10 Paper Crafts Anyone Can Make in 5 Minutes
Get our beginner guide + new craft ideas weekly.
No spam. Unsubscribe anytime.
Did you complete this activity?
Related