How to Make Beautiful Construction Paper Flowers — Easy Step-by-Step Guide
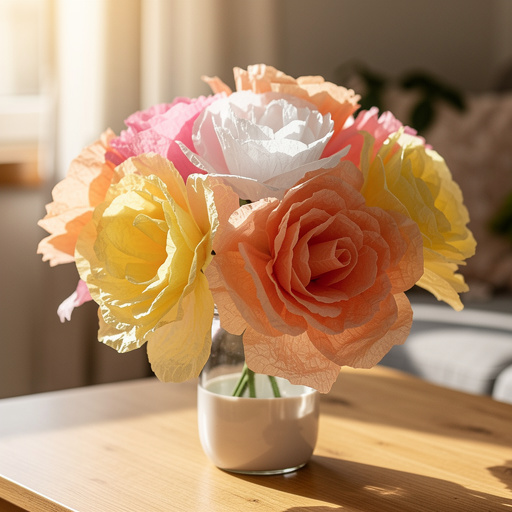
Brighten your home with vibrant, handmade flowers! This easy construction paper craft is perfect for all ages and requires just a few simple supplies. Learn how to make beautiful construction paper flowers with our detailed guide, perfect for kids and adults alike.
Quick answer
To make construction paper flowers, you need construction paper (at least 3 colors per flower), child-safe scissors, a glue stick or liquid craft glue, and a pencil. This project takes about 20 minutes per flower. Start by cutting petal shapes, then assemble them into a bloom. This beginner-friendly activity has 10 core steps and is perfect for families and kids aged 5+, offering a delightful way to create lasting floral beauty without any mess.
What you need
Shop on Amazon · As an Amazon Associate we earn from qualifying purchases. Links above are affiliate links — we may earn a commission at no extra cost to you.
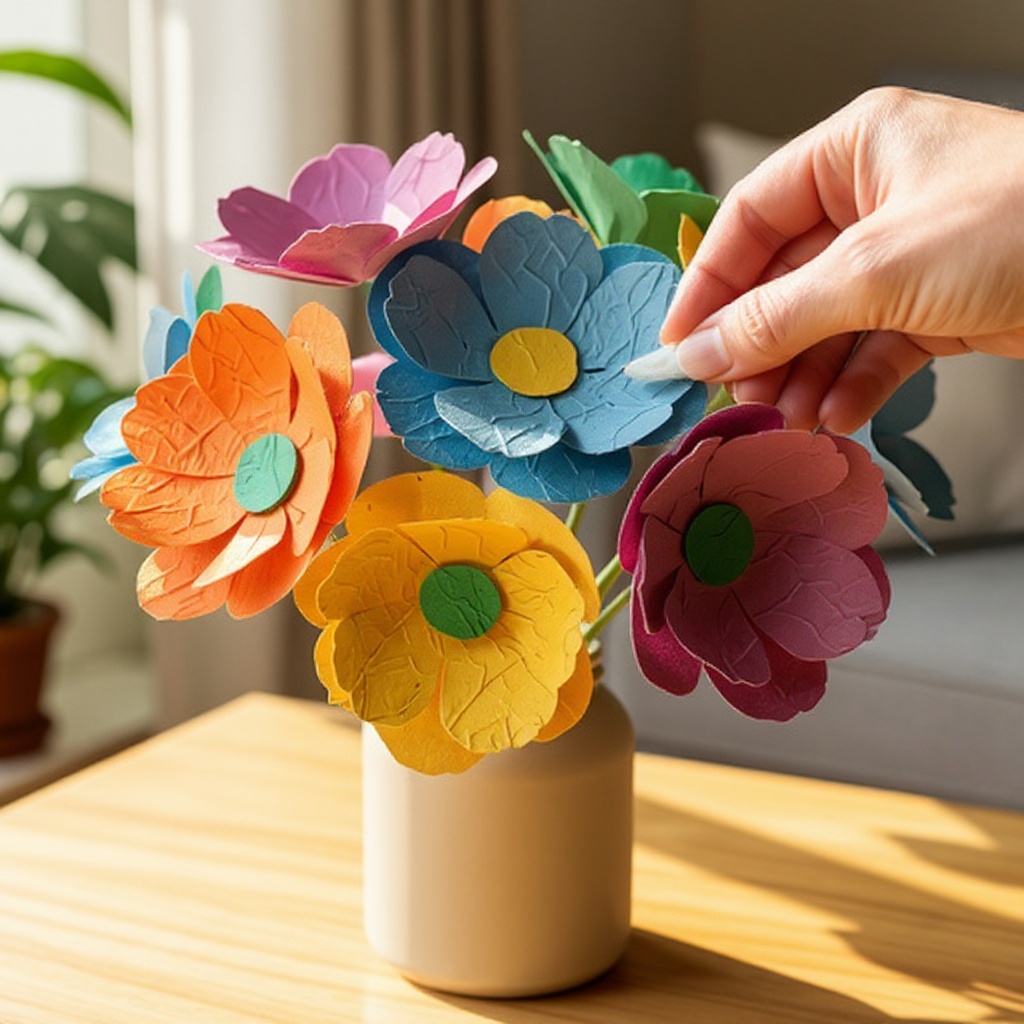
Discover the joy of bringing everlasting blooms into your home with this incredibly simple yet stunning construction paper flower craft. Unlike their delicate real counterparts, these paper blossoms require no watering and offer endless possibilities for color and design. This project is a fantastic way to spark creativity in children, providing a screen-free activity that enhances fine motor skills and artistic expression. It’s also a wonderfully therapeutic and rewarding craft for adults looking to add a personal touch to their decor or create thoughtful handmade gifts. Get ready to transform simple paper into vibrant works of art!
On this page
Step-by-Step Instructions
- 1
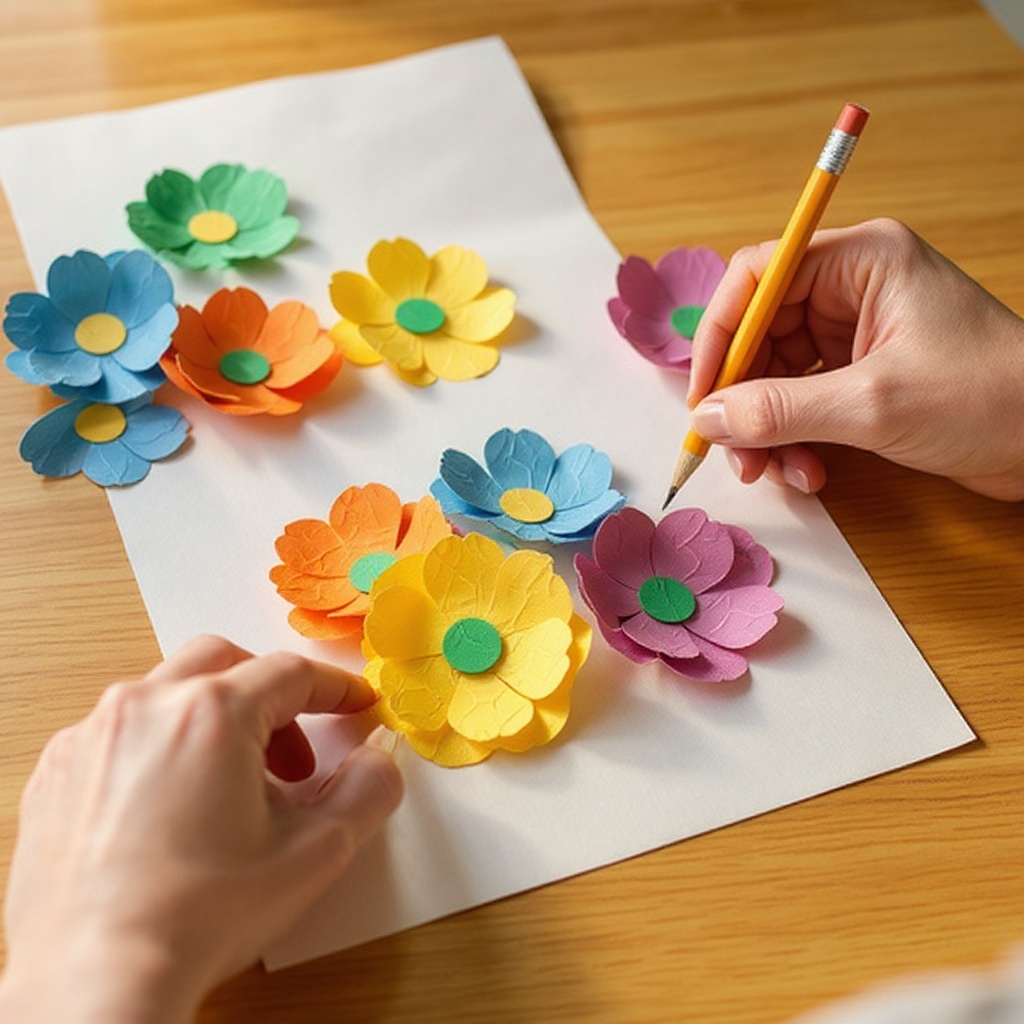
Choose your main flower color and draw 5-7 petal shapes on a piece of construction paper. Petals can be rounded, pointed, or wavy. For a classic look, aim for a shape that is wider at the top and tapers towards the bottom, resembling a teardrop or a rounded leaf. Ensure all your petals for one flower are roughly the same size and shape for a cohesive look.
- 2
Carefully cut out all the drawn petal shapes using child-safe scissors. Take your time to follow the lines precisely, as this will contribute to the overall neatness of your flower. If you're working with younger children, you can pre-draw the shapes for them to cut, or even have them practice cutting simple lines first.
- 3
Select a contrasting color for the flower's center and cut out a small circle (about 1 inch in diameter). This circle will serve as the base to attach your petals and will add a pop of color to the heart of your bloom. You can also experiment with cutting a scalloped edge or a star shape for a more decorative center.
- 4
Take one petal and apply glue to its bottom edge. A thin, even layer of glue is best; too much can cause the paper to wrinkle or become soggy. Ensure you cover the entire bottom edge where it will connect to the next petal.
- 5
Overlap the glued edge with the bottom edge of another petal and press them together to form a slight curve. This overlapping technique is key to creating the three-dimensional, layered effect of a real flower. Gently pinch the glued edges together to ensure a secure bond and to help the petal stand up slightly.
- 6
Continue gluing and overlapping petals until you have formed a circular flower shape. As you add each petal, slightly angle it inwards towards the center of the flower. This layering will build the fullness and dimension of your bloom, making it look more realistic and appealing.
- 7
Once all petals are attached and you're happy with the arrangement, carefully flip the flower over. Apply glue to the back of the entire petal structure, focusing on the area where the petals meet at the base.
- 8
Press the glued flower onto the center circle you cut earlier. Ensure the flower is centered on the circle and press down firmly to secure the bond. This center piece not only adds visual appeal but also reinforces the structure of your flower.
- 9
If desired, cut out a green stem and leaves from construction paper. For the stem, a long, thin rectangle works well. For leaves, you can cut out simple oval or pointed leaf shapes. Consider adding a slight curve to the stem to make it look more natural.
- 10
Glue the stem and leaves to the back of the flower to complete your construction paper flower. Position the stem so it extends downwards from the base of the flower, and attach the leaves along the stem or near the base. Allow all the glue to dry completely before handling.
- 11
For a more intricate center, instead of a simple circle, cut a smaller petal shape or a fringed strip of paper in a contrasting color. Roll the fringed strip tightly to create a textured center, or layer several small petal shapes around the very middle of the flower.
- 12
To add a touch of realism, gently curl the edges of your petals outwards using the edge of your scissors or a pencil. This subtle shaping can make your paper flowers look more lifelike and less flat. Be careful not to tear the paper when doing this.
- 13
Consider adding a second layer of petals for extra fullness. Cut another set of 5-7 petals, perhaps slightly smaller, and glue them in between the first layer of petals. This technique creates a more dense and luxurious-looking flower.
- 14
If you want to create a bouquet, you can attach multiple flowers to a single stem or create individual stems for each flower. For a bouquet, gather the stems together and tie them with ribbon or twine.
- 15
For a unique texture, try crumpling your construction paper petals slightly before gluing them. This adds a subtle crinkled effect that can mimic the natural texture of real flower petals.
- 16
If you are making flowers for a specific occasion, such as a birthday or holiday, consider using construction paper in colors that match the theme. You can also cut out small shapes like hearts or stars to add as embellishments.
- 17
To make your flowers more durable for repeated handling or outdoor display, you can lightly spray them with a clear acrylic sealant once the glue is completely dry. This will also give them a slight sheen.
- 18
Experiment with different sizes of petals and centers. Smaller petals can create delicate, intricate flowers, while larger petals can result in bold, statement blooms. Adjust the size of the center circle accordingly.
Tips & Troubleshooting
- 1For fuller flowers, use more petals or make your petals larger. A flower with 8-10 petals will naturally appear more voluminous than one with just 5. Increasing the size of each petal will also contribute to a grander bloom, so don't be afraid to scale up your designs.
- 2Experiment with different petal shapes like teardrops, hearts, or even jagged edges for unique blooms. Beyond the basic rounded or pointed shapes, try cutting out petal shapes that resemble leaves, star points, or even simple curves to create a wide variety of floral aesthetics.
- 3Layering different shades of the same color can add depth and realism to your flowers. For instance, use a darker shade for the base of the petal and a lighter shade for the tip, or alternate between two similar hues as you build your flower. This subtle variation mimics the natural color gradients found in real flowers.
- 4Once dry, you can add glitter to the center of the flower for extra sparkle. Apply a small amount of glitter glue to the center circle or sprinkle fine glitter onto wet liquid glue for a dazzling effect. This is a wonderful way to make your flowers extra festive and eye-catching.
- 5Don't be afraid to mix and match colors! Combine unexpected color palettes to create truly unique and artistic flowers. Consider using a bright pink for the petals and a lime green for the center, or a deep purple with a sunny yellow accent.
- 6For a more structured flower, consider using cardstock instead of construction paper. Cardstock is thicker and will hold its shape better, especially for larger flowers or if you plan to attach them to a surface where they might experience some pressure.
- 7If you're making a large number of flowers, consider creating a template for your petals. This will ensure that all your petals are uniform in size and shape, making the assembly process quicker and more consistent.
- 8To create a more naturalistic look, gently bend and shape each petal after it's glued. You can use your fingers to create a slight curve or cup the petals to give them a more organic, three-dimensional appearance.
Related Activities You Might Enjoy
Frequently Asked Questions
What are the best types of paper for construction paper crafts?
Construction paper is ideal for these crafts due to its texture and vibrant colors, making it easy to cut, glue, and manipulate. Cardstock can also be used for sturdier projects, offering more durability and a smoother surface for drawing or painting. For a more delicate and ethereal look, tissue paper is a fantastic choice, though it requires a gentler touch when gluing and handling. For this specific flower craft, the slightly rough texture of construction paper holds glue well and provides a satisfying tactile experience, making it perfect for both children and adults.
How can I make construction paper crafts more durable?
To make construction paper crafts more durable, consider laminating them or applying a clear sealant spray once the glue is completely dry. Laminating provides a protective plastic coating that shields the paper from moisture and tearing, making it ideal for items that will be handled frequently. A clear sealant spray, such as acrylic or Mod Podge, can also add a layer of protection and a desired finish, like matte or glossy. Using cardstock as a base or for the main components also adds significant strength, preventing bending and tearing.
What are some simple construction paper crafts for toddlers?
Toddlers can enjoy simple crafts like tearing construction paper into pieces to glue onto a larger sheet, creating a colorful collage. They can also practice making basic shapes like circles and squares by tracing around cups or blocks and then cutting them out (with supervision or pre-cut shapes). Gluing these shapes onto paper to create pictures, like a simple house or a sun, is a great activity. For very young toddlers, focus on the sensory experience of tearing and sticking. Safety scissors are a must, and adult supervision is always recommended to ensure they use them appropriately.
Can I use other materials with construction paper crafts?
Absolutely! Construction paper crafts are wonderfully versatile and lend themselves beautifully to mixed-media projects. You can enhance your creations by adding googly eyes for playful characters, yarn for texture and dimension, glitter for sparkle, buttons for unique embellishments, or even small fabric scraps for added color and pattern. These additions not only make the crafts more visually interesting but also provide opportunities for children to explore different textures and materials, fostering further creativity and fine motor skill development.
How many flowers can I make with a standard pack of construction paper?
A standard pack of construction paper, typically containing 50-100 sheets in assorted colors, can yield a significant number of flowers. If each flower uses approximately 6-8 petals and a center circle, and you use about 1-2 sheets of paper per flower (depending on petal size and color choices), you could realistically make anywhere from 25 to 75 flowers. This estimate can vary based on the complexity of your petal designs, the size of your flowers, and whether you're also using paper for stems and leaves. It's a great amount for a large classroom project or to create a substantial bouquet.
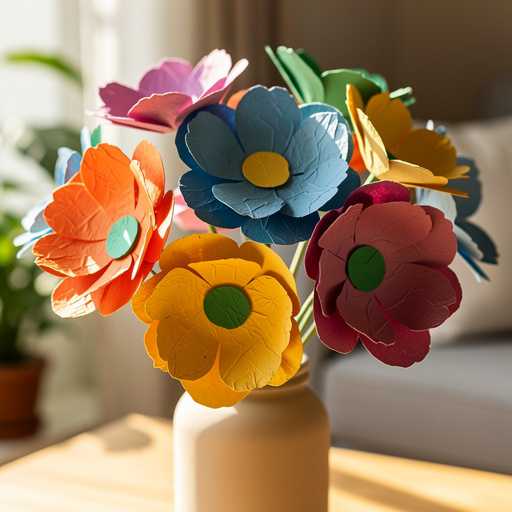
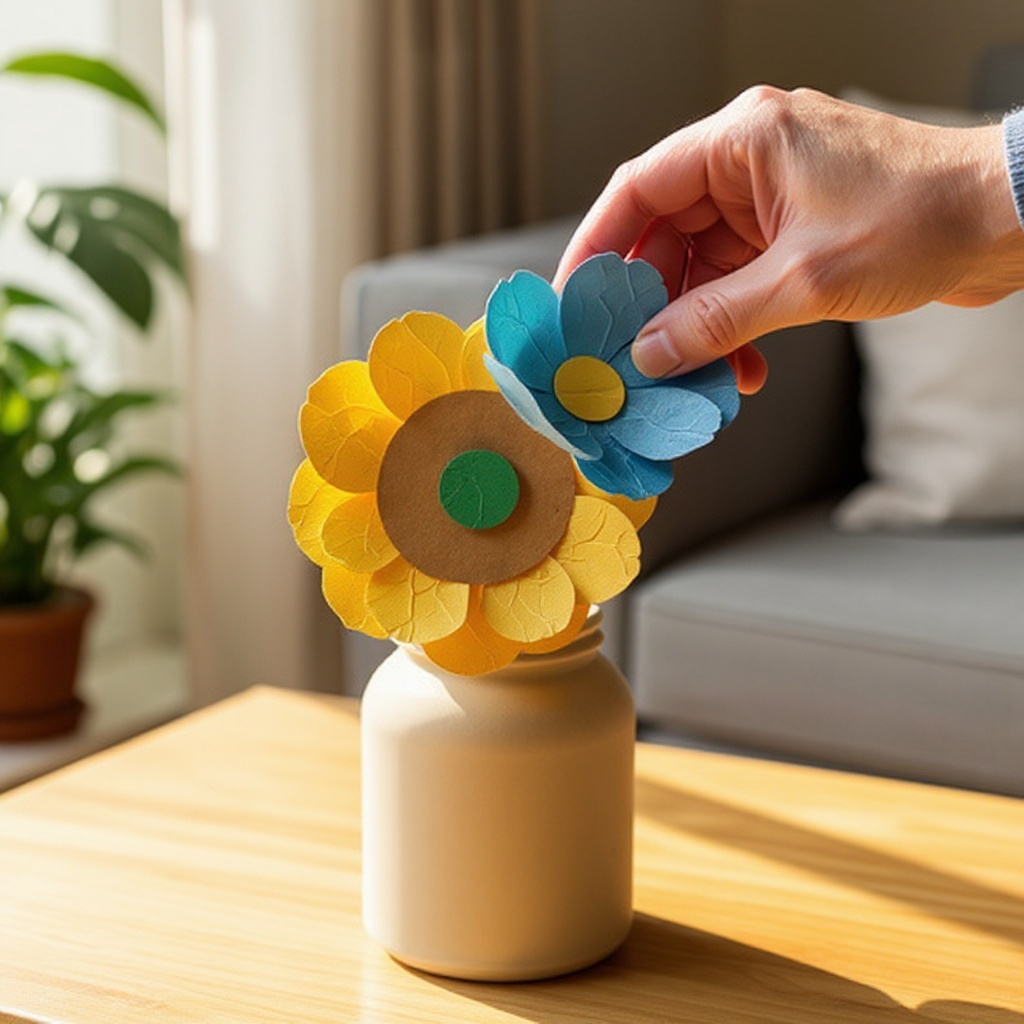
What are some creative ways to display my construction paper flowers?
There are numerous creative ways to display your beautiful construction paper flowers! You can arrange them in a vase for a vibrant, everlasting centerpiece that requires no maintenance. Glue them onto a canvas or a piece of cardboard to create a unique piece of wall art. Attach them to greeting cards, gift tags, or even use them to decorate party invitations for a personal touch. For a whimsical effect, string them together to create a garland or banner. You can also glue them onto headbands or hair clips for wearable floral accessories.
What Next?
Congratulations on creating your beautiful construction paper flowers! These vibrant blooms are incredibly versatile. You can arrange them in a vase for a stunning centerpiece, glue them onto cards or gift tags for a personalized touch, or even create a whole bouquet to adorn a wall. For a different look, try using patterned scrapbook paper or even painted construction paper. Consider adding a touch of sparkle with glitter glue or small beads. Store your creations flat in a box to prevent crushing, and enjoy the burst of color they bring to your space!
Free: 10 Paper Crafts Anyone Can Make in 5 Minutes
Get our beginner guide + new craft ideas weekly.
No spam. Unsubscribe anytime.
Did you complete this activity?