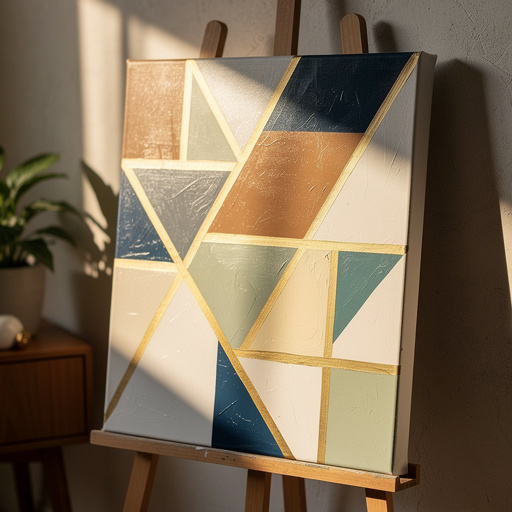
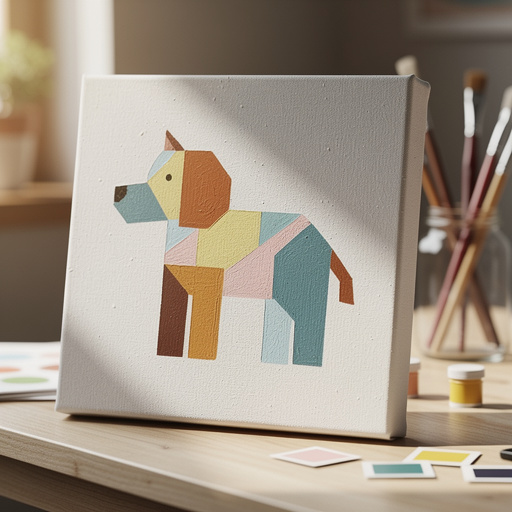
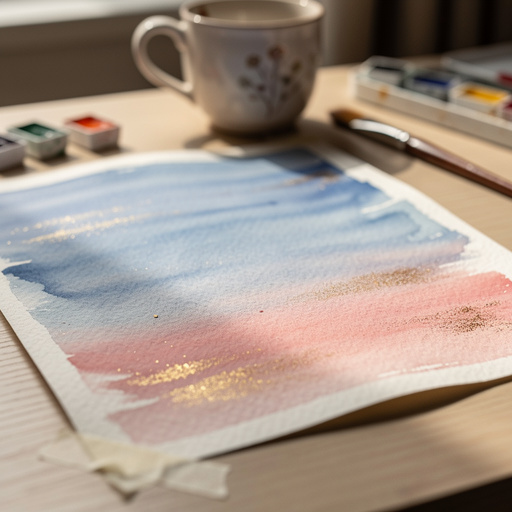
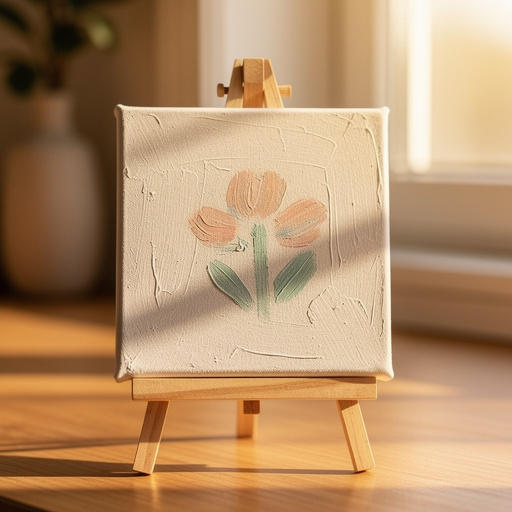
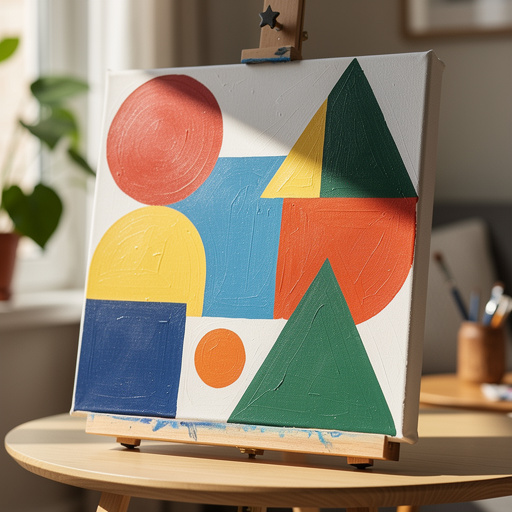
How to Create Vibrant Geometric Canvas Art with Acrylics — Easy Step-by-Step Guide
Unleash your creativity with vibrant geometric canvas art! This easy acrylic painting project is perfect for families looking for engaging, screen-free activities. Discover how to create sharp, modern designs with simple materials and techniques.
Quick answer
To make vibrant geometric canvas art, you need acrylic paints, canvas, masking tape, and brushes, taking about 60 minutes. Start by taping off geometric shapes on your canvas. This beginner-friendly activity has 10 steps and is perfect for families with kids aged 6+.
What you need
Shop on Amazon · As an Amazon Associate we earn from qualifying purchases. Links above are affiliate links — we may earn a commission at no extra cost to you.
Looking for a creative project that's both visually striking and incredibly simple to execute? This vibrant geometric canvas art tutorial is your answer! Perfect for unleashing your inner artist, this project transforms a blank canvas into a modern masterpiece using just a few basic supplies. It's an ideal activity for families seeking engaging, screen-free fun, offering a fantastic opportunity for kids and adults alike to explore color and design. The satisfaction of peeling back the tape to reveal crisp, clean lines is immense, making it a rewarding experience for all skill levels.
On this page
Step-by-Step Instructions
- 1
Prepare your workspace by covering it with newspaper, a drop cloth, or an old sheet to protect surfaces from paint spills and splatters. Ensure good ventilation in the area where you'll be painting.
- 2
Lay your blank canvas flat on the covered surface, ensuring it's stable and won't shift while you work. Orient the canvas in the way you intend to display it.
- 3
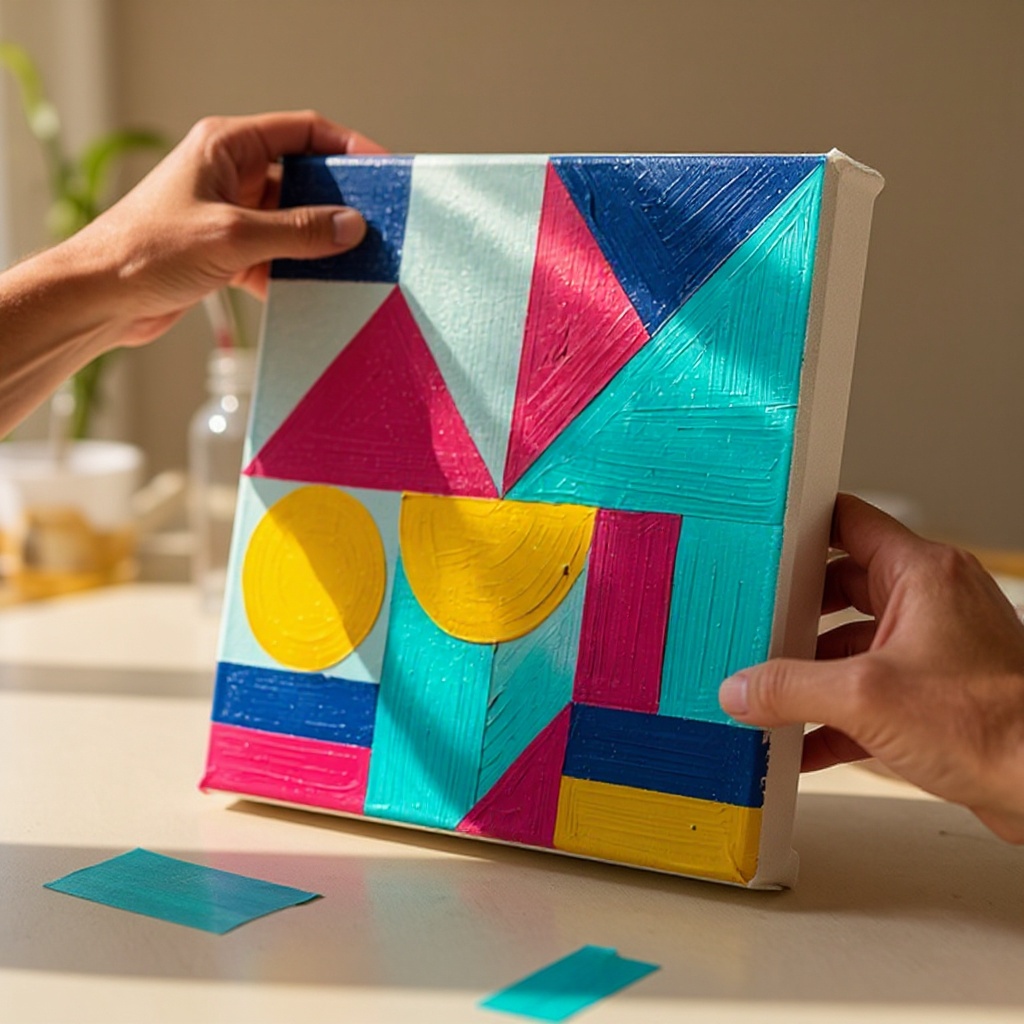
Begin by using the painter's masking tape to create geometric shapes on the canvas. Think squares, triangles, rectangles, or even more complex patterns like chevrons or interlocking shapes. Press the edges down firmly to prevent paint bleed, paying extra attention to corners and edges.
- 4
For the first color, choose a vibrant hue and carefully apply it within one of the taped-off sections using a paintbrush. Ensure you cover the entire area evenly, reaching all the way to the edges of the tape.
- 5
Rinse your brush thoroughly in the water cup, swishing it around to remove all traces of the first color. Gently dab the brush on a paper towel to remove excess water before switching to a new color.
- 6
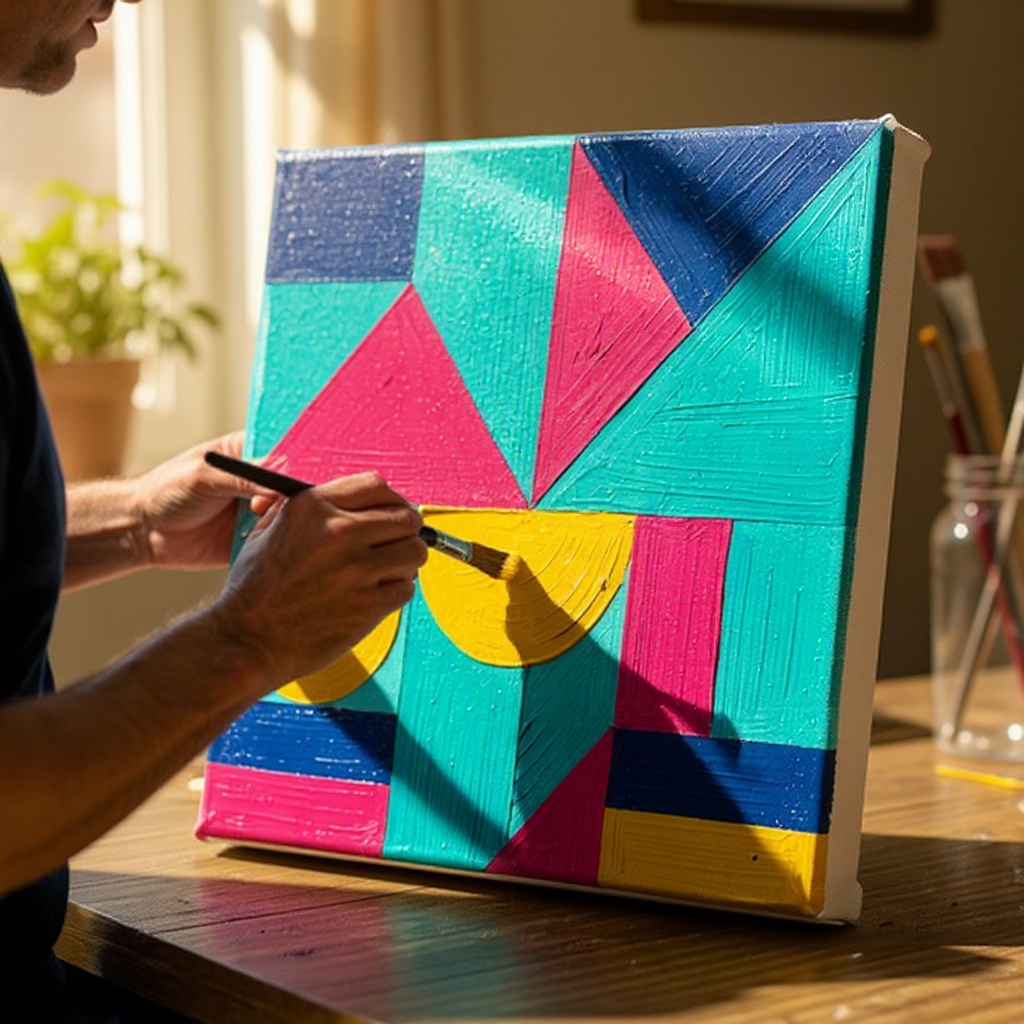
Select a second, contrasting or complementary color and apply it to a different taped-off section. Again, ensure complete coverage within the taped boundaries, working with smooth, even strokes.
- 7
Continue filling in the geometric shapes with different colors, alternating colors and shapes to create a dynamic composition. Don't be afraid to experiment with color combinations that appeal to you.
- 8
Once all sections are painted, allow the paint to dry completely to the touch. This is a crucial step for preventing the tape from peeling up the wet paint and causing smudges or uneven lines.
- 9
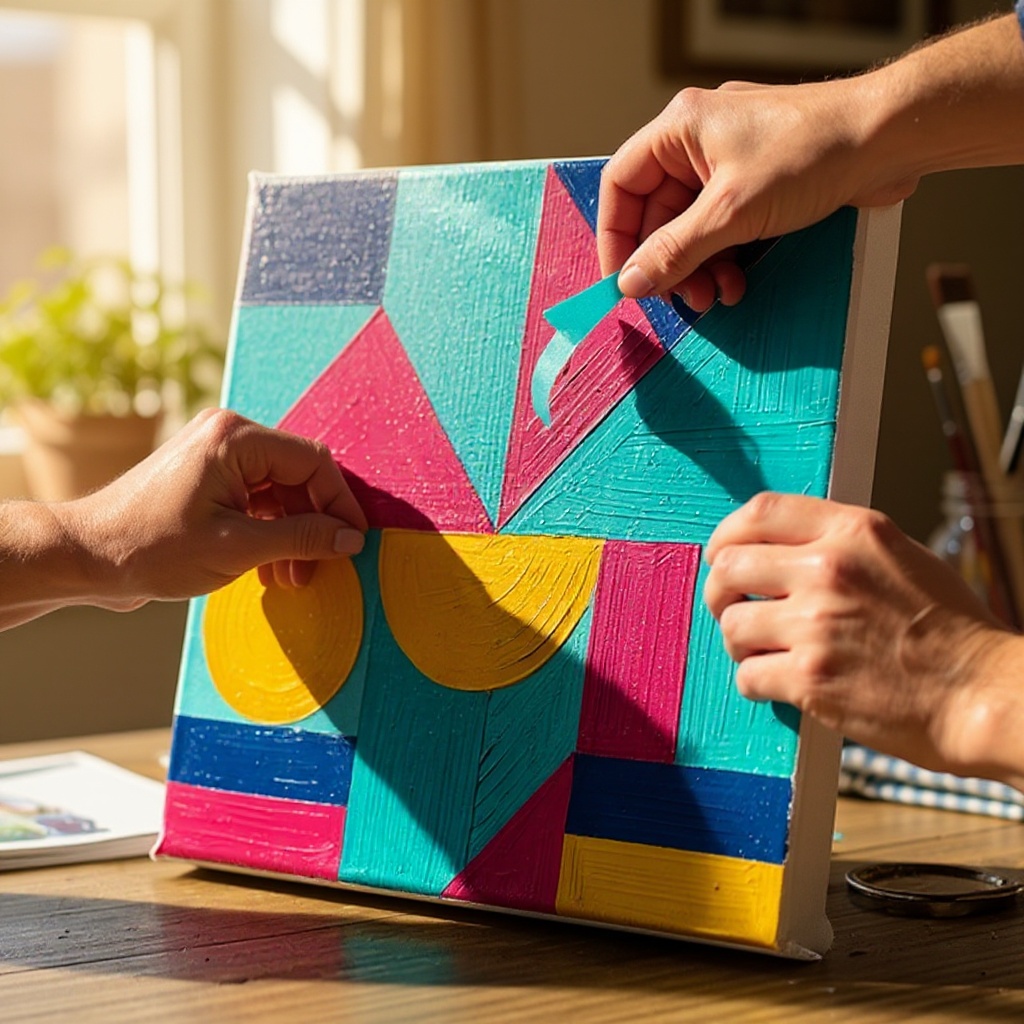
When the paint is dry, carefully and slowly peel off the masking tape. Start at one corner and pull the tape away at a 45-degree angle to reveal the crisp, clean lines between the colors. If any tape sticks, gently coax it off with your fingernail or a craft knife.
- 10
Admire your vibrant geometric canvas art! Let it dry completely for another hour or two before handling or displaying it to ensure the paint is fully cured and won't smudge.
- 11
Optional: Once the main paint layers are completely dry, you can add finer details. Use a small round brush and a contrasting color, like black or white, to add thin outlines around some of the shapes for added definition and a more polished look.
- 12
Optional: If you notice any minor imperfections or slight paint bleeds, you can carefully touch them up. Use a small, fine-tipped brush and the appropriate color to gently correct any smudges or uneven lines once all the paint is dry.
Tips & Troubleshooting
- 1For the sharpest lines, ensure the masking tape is pressed down very firmly on all edges before painting. Run your fingernail or a credit card along the tape's edge to create a strong seal against the canvas surface.
- 2Experiment with different color combinations to achieve various moods. Complementary colors (like blue and orange, or red and green) create high contrast and visual excitement, while analogous colors (like blue, green, and yellow) create a more harmonious and calming feel.
- 3If you notice any slight paint bleed under the tape, don't panic! You can carefully touch it up with a small, fine-tipped brush and the correct color once the main paint is dry. This often makes the imperfection virtually disappear.
- 4Consider adding a thin black or white outline around some of the shapes with a fine-tip brush after the main colors are dry. This technique can add significant definition and a professional, graphic quality to your artwork.
- 5This technique is incredibly versatile and can be used on various surfaces. Try it on smaller wooden blocks for coasters, on cardstock for greeting cards, or even on furniture for a unique decorative touch.
- 6Don't be afraid to layer colors. You can paint a base layer in one color, let it dry, and then apply tape over it to create new shapes with different colors on top. This allows for more complex geometric designs.
- 7For a more textured look, you can use a palette knife to apply thicker acrylic paint within some of the taped sections. This adds dimension and visual interest to your geometric patterns.
- 8Clean your brushes thoroughly immediately after use. Acrylic paint can dry hard and ruin your brushes if left uncleaned, so a quick rinse and proper storage will ensure they last.
Related Activities You Might Enjoy
Frequently Asked Questions
What are some easy acrylic painting ideas for beginners?
Beginner acrylic painting ideas abound, and geometric patterns are a fantastic starting point due to their inherent structure. Simple abstract color blending, where you focus on smooth transitions between hues, is another excellent choice. Painting basic shapes like dots, stripes, or even simple landscapes with bold colors can also be very rewarding. Using masking tape to create clean lines, as demonstrated in this geometric art project, is a highly recommended technique for beginners as it guarantees sharp edges and a professional-looking finish, boosting confidence and encouraging further exploration.
How can I prevent paint from bleeding under masking tape?
Preventing paint bleed is key to achieving crisp lines in geometric art. The most crucial step is to ensure the masking tape is pressed down very firmly along all edges, creating a tight seal against the canvas. For extra protection, especially with porous surfaces or when using thin paints, you can 'seal' the tape edge first. Paint a thin layer of the base color of the canvas (or a clear acrylic medium) along the tape edge, let it dry completely, and then apply your main colors. This seals any tiny gaps and prevents the subsequent paint layers from seeping underneath.
What kind of canvas is best for acrylic painting?
For acrylic painting, stretched canvas or canvas boards are excellent choices, offering a smooth and receptive surface that holds paint well. Stretched canvas, often made of cotton or linen, is mounted on a wooden frame and provides a taut surface ideal for various painting techniques. Canvas boards are a more economical option, consisting of canvas mounted onto a rigid board, making them great for practice or smaller projects. For this vibrant geometric project, any standard pre-primed canvas, whether stretched or a board, will work beautifully, providing a good foundation for the acrylics.
How long does acrylic paint take to dry?
Acrylic paint dries relatively quickly, which is one of its many advantages. A thin layer of acrylic paint typically dries within 10-20 minutes in average room conditions. However, thicker applications, higher humidity, or lower temperatures can extend this drying time. It's always best to wait until the paint is completely dry to the touch before proceeding with the next step, especially before removing tape or applying additional layers. For projects involving tape removal, ensuring the paint is fully dry prevents it from lifting or smudging, guaranteeing those sharp, clean lines.
Can I use other types of tape besides painter's masking tape?
While painter's masking tape is highly recommended for its balance of adhesion and ease of removal, other tapes can be used with caution. Washi tape can be used for very delicate applications or for creating intricate patterns, but it's often less adhesive and may require extra sealing. Blue painter's tape is similar to green but can sometimes be more forgiving on delicate surfaces. Avoid using standard packaging tape or duct tape, as these are too strong and will likely peel off the canvas surface or leave behind sticky residue. Always test your chosen tape on a scrap piece of canvas or a similar surface first.
What are complementary and analogous colors and how do they affect my art?
Complementary colors are pairs of colors that are directly opposite each other on the color wheel, such as red and green, blue and orange, or yellow and purple. When placed next to each other, they create the strongest contrast and make each other appear more vibrant. Using complementary colors in your geometric art will result in a bold, high-energy, and visually striking piece. Analogous colors, on the other hand, are colors that are next to each other on the color wheel, like blue, green, and yellow. They create a sense of harmony, unity, and calmness in a painting. Choosing between these color relationships allows you to control the mood and impact of your artwork.
What Next?
Congratulations on creating your vibrant geometric canvas art! This project is incredibly versatile; consider creating a series of smaller pieces in coordinating colors to form a stunning gallery wall. For future endeavors, experiment with different tape widths, metallic paints, or even incorporate stencils for added complexity. Once completely dry, your artwork can be displayed proudly on a wall using command strips or a picture hanger, or leaned on a shelf. Store any leftover paints in airtight containers to preserve their vibrancy for your next artistic adventure.
Free: 10 Paper Crafts Anyone Can Make in 5 Minutes
Get our beginner guide + new craft ideas weekly.
No spam. Unsubscribe anytime.
Did you complete this activity?