How to Make Hand-Carved Rubber Stamps — Easy Step-by-Step Guide
Design and carve your own unique rubber stamps to add a personal touch to letters, cards, and crafts. A fun, screen-free activity for the whole family!

Quick answer
To make diy postage stamps, you need carving tools, rubber blocks, and ink pads, taking about 60 minutes. Start by sketching your design. This beginner-friendly activity has 10 steps and is perfect for families with kids aged 8 and up.
What you need
Shop on Amazon · As an Amazon Associate we earn from qualifying purchases. Links above are affiliate links — we may earn a commission at no extra cost to you.
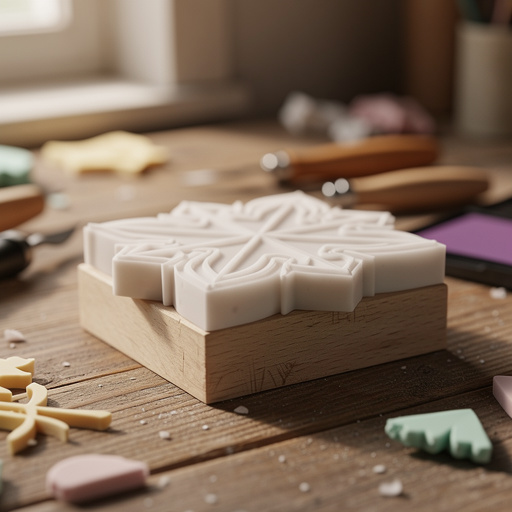
Unleash your inner artist and create something truly personal with the timeless craft of hand-carved rubber stamps. This project is a delightful way to add a unique, handmade touch to everything from snail mail and greeting cards to journal pages and gift tags. It’s a wonderfully tactile and screen-free activity that fosters creativity and fine motor skills, making it an ideal pastime for families looking to connect and create together. Whether you're a seasoned crafter or a complete beginner, this guide will walk you through the simple process of transforming a plain rubber block into a personalized work of art.
On this page
Step-by-Step Instructions
- 1
Sketch your design onto a piece of paper. Keep it relatively simple for your first stamp, with clear lines and distinct shapes to make the carving process more manageable and the final print more impactful. Think about bold outlines and solid areas rather than very fine details.
- 2
Once you have a design you're happy with, carefully trace it onto the carving rubber block using a pencil. Press firmly to ensure a good transfer, and if your design is particularly delicate, consider using tracing paper between your sketch and the rubber block for a cleaner transfer.
- 3
If your design has intricate elements or you want a more defined outline, you can lightly etch the main lines of your design onto the rubber block with a V-gouge tool. This creates a shallow groove that will act as a guide for your subsequent carving, helping you stay within the lines and achieve a more precise result.
- 4
Begin to remove the rubber around your design using your carving tools, starting with the larger background areas. This process is often referred to as 'clearing the block' and involves removing the rubber that you do *not* want to be inked. Use a larger U-gouge or flat gouge for efficient removal of these larger sections.
- 5
Switch to the V-gouge tool to carefully carve away the lines of your design, creating the raised surface that will hold the ink. The V-gouge is perfect for creating clean, defined lines that will translate into your printed image. Work slowly and deliberately, following the etched or drawn lines of your design.
- 6
Continue to meticulously carve away any excess rubber from the background areas, ensuring that the design elements are clearly defined and stand out. The goal is to create a clear distinction between the raised parts of your design (which will pick up ink) and the lowered background (which will not).
- 7
Keep carving and refining your design until you are completely satisfied with the depth and clarity of the raised areas. Ensure that all the parts of your design that you want to print are at the same level and that no stray marks or unwanted rubber remain. This is where patience pays off for a professional-looking stamp.
- 8
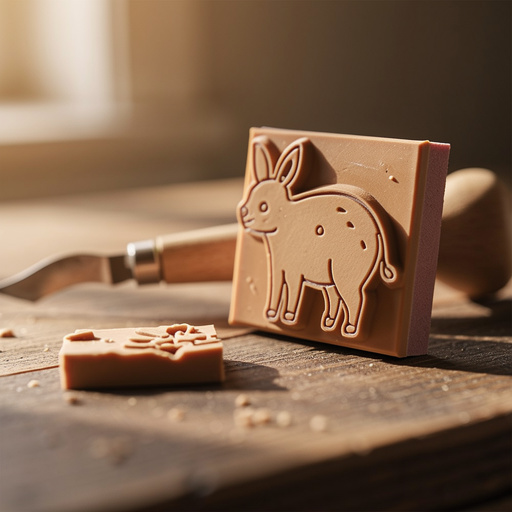
Once the carving is complete and you're happy with the design, you can trim the edges of the rubber block for a neat and tidy finish. Use sharp scissors or a craft knife to create clean, straight edges around your carved design, making the stamp easier to handle and store.
- 9
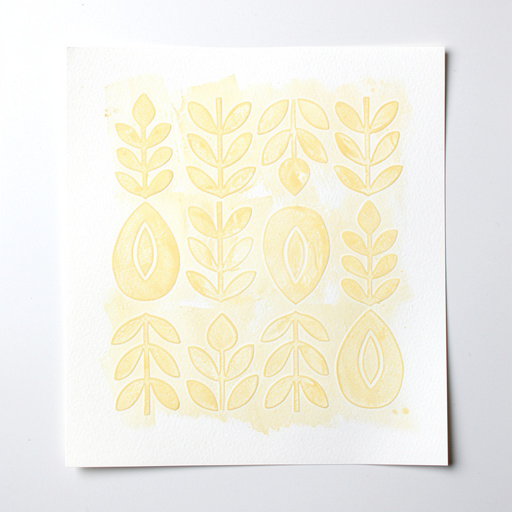
Test your newly carved stamp by pressing it firmly and evenly into an ink pad. Ensure that the entire raised surface of your design makes contact with the ink pad for consistent ink coverage. If some areas aren't picking up ink, you may need to do a little more carving to ensure they are sufficiently raised.
- 10
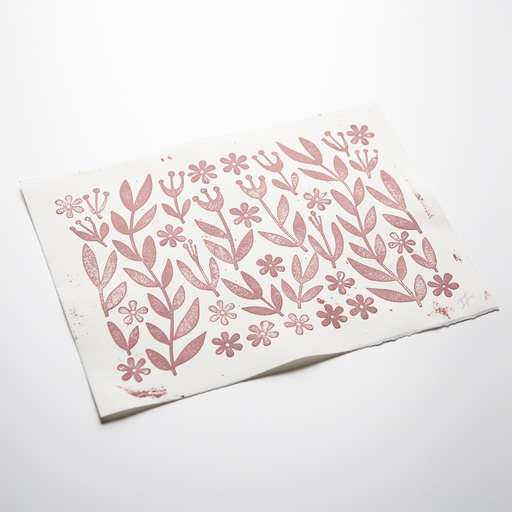
Gently and evenly press the inked stamp onto your chosen surface, such as paper or cardstock, to create your unique diy postage stamp. Apply firm, consistent pressure to transfer the ink cleanly, and then lift the stamp straight up to avoid smudging. Allow the ink to dry completely before handling or stacking your stamped items.
Tips & Troubleshooting
- 1Start with simple shapes and bold lines for your initial projects. Intricate details can be challenging for beginners and may lead to frustration, so mastering basic shapes first will build confidence and skill. Think of stars, hearts, simple flowers, or geometric patterns.
- 2Always carve away from yourself to prevent accidental cuts and ensure your safety. Keep your fingers and hands clear of the carving path at all times, and maintain a stable grip on both the carving tool and the rubber block. This is a crucial safety precaution for any carving project.
- 3If you make a small mistake during carving, don't despair! For minor nicks or unwanted lines, you can sometimes carefully fill them with a tiny amount of strong craft glue and let it dry completely before re-carving or simply carve around the error to incorporate it into the design. Sometimes, a mistake can lead to a unique artistic element.
- 4Experiment with different ink colors and types to discover new creative possibilities. Archival inks will last longer and are less prone to fading, making them ideal for projects you want to preserve. Consider metallic inks or embossing powders for added flair and dimension.
- 5You can create a decorative border around your stamp design to make it look more like a traditional postage stamp. This can be achieved by carving a simple square or rectangular outline around your main design, adding a professional and thematic touch to your creations.
- 6When transferring your design, if you find the pencil transfer isn't clear enough, try using a piece of carbon paper or tracing paper. This will give you a much sharper and more accurate outline to follow during the carving process, especially for more detailed artwork.
- 7Consider the negative space in your design. The areas you carve away are just as important as the areas you leave raised. Think about how the background shapes will contribute to the overall aesthetic of your stamp and the final print.
- 8For larger or more complex designs, it can be helpful to break them down into smaller, manageable sections. Carve one section at a time, checking your progress frequently, to avoid feeling overwhelmed and to ensure accuracy throughout the process.
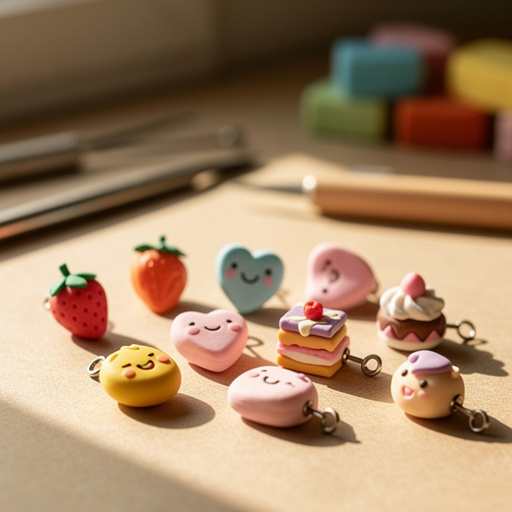
Related Activities You Might Enjoy
Frequently Asked Questions
Can kids make their own postage stamps?
Yes, with adult supervision! Children aged 8 and up can enjoy making diy postage stamps using soft carving blocks and child-safe carving tools. Focus on simpler designs and always supervise carving closely, emphasizing safety rules like carving away from oneself. Soft carving blocks are ideal as they require less force, making them more manageable for younger hands. This activity is a fantastic way to encourage creativity, fine motor skills, and a sense of accomplishment in children, turning a simple craft into a rewarding experience.
What kind of rubber is best for carving stamps?
Soft carving rubber blocks, often referred to as carving blocks or stamp carving rubber, are ideal for this project. Brands like Speedball Speedy-Carve or similar linoleum carving blocks are specifically designed to be easily cut with carving tools, making them perfect for diy postage stamps. These blocks are softer than traditional linoleum, which means they require less pressure and are more forgiving for beginners. Avoid using hard rubber or erasers, as they are much more difficult to carve and can lead to tool breakage or injury.
Can I use these diy postage stamps for mailing?
While these diy postage stamps are fantastic for crafts, journaling, and decorating letters, they are not officially recognized by postal services for postage. They add a creative and personal touch to your envelopes, making them visually appealing, but you will still need to affix official postage stamps for your mail to be processed and delivered. Think of these handmade stamps as decorative embellishments rather than functional postage, adding a unique flair to your correspondence that recipients are sure to appreciate.
How do I clean my carved stamps?
After inking, gently wipe your stamp with a damp cloth or a specialized stamp cleaner to remove excess ink. For stubborn ink that has dried into the carved lines, use a little mild soap and water, gently scrubbing with a soft brush if necessary, then pat dry thoroughly with a lint-free cloth. Ensure the stamp is completely dry before storing it to prevent mold or damage to the rubber. Proper cleaning will extend the life of your custom stamps and ensure crisp, clear prints for future use.
What are some other uses for hand-carved stamps?
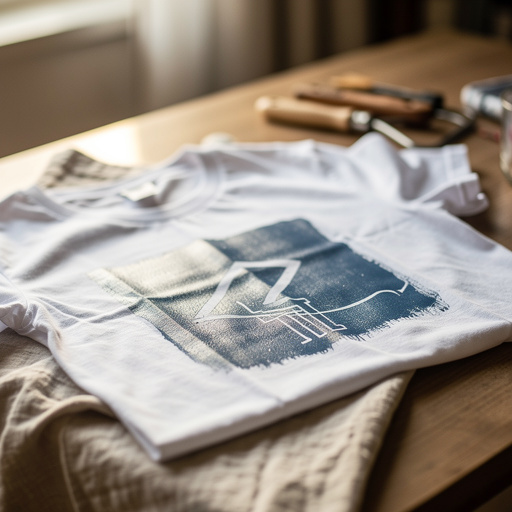
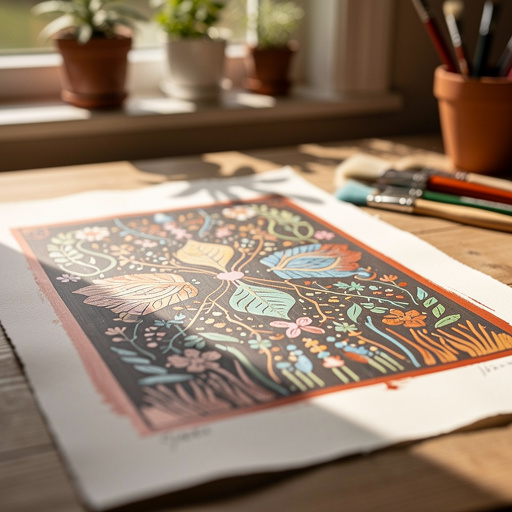
Beyond personalizing letters and cards, hand-carved stamps open up a world of creative possibilities. You can use them to decorate journal pages, create custom fabric prints by using fabric ink, design unique gift wrap, personalize stationery, or even create patterns on pottery before firing. They are also excellent for embellishing scrapbooks, creating homemade stickers, or adding a signature mark to your artwork. The versatility of a custom stamp means you can infuse your personal style into almost any craft project.
How do I ensure my design transfers well to the rubber block?
To ensure a good transfer, start with a design drawn with a relatively dark pencil or marker on smooth paper. When tracing onto the rubber block, press firmly and evenly, especially along the lines of your design. For more intricate designs, consider using tracing paper or carbon paper placed between your sketch and the rubber block. This will provide a sharper, more defined outline to follow during the carving process, reducing the chance of errors and making your carving more precise.
What Next?
Congratulations on creating your own hand-carved rubber stamps! The possibilities are endless, from creating a signature stamp for your correspondence to designing themed sets for holidays or special occasions. Consider mounting your carved blocks onto wooden handles for easier grip and a more professional feel, or even experiment with carving on larger blocks for more impactful prints. Store your finished stamps in a cool, dry place, perhaps in a dedicated craft box or drawer, to keep them in pristine condition for years of creative use. Now, go forth and stamp your world with personality!
Free: 10 Paper Crafts Anyone Can Make in 5 Minutes
Get our beginner guide + new craft ideas weekly.
No spam. Unsubscribe anytime.
Did you complete this activity?
Related