How to Make Rainbow Stretch Bead Bracelets — Easy Step-by-Step Guide
Create vibrant, personalized bracelets with colorful beads and stretchy cord. This easy DIY project is perfect for family crafting time.
Quick answer
To make rainbow stretch bead bracelets, you need colorful beads, elastic cord, and about 15 minutes. Start by cutting the cord and threading your beads in a rainbow pattern. This beginner-friendly activity has 7 steps and is perfect for kids aged 6+ and families.
What you need
Shop on Amazon · As an Amazon Associate we earn from qualifying purchases. Links above are affiliate links — we may earn a commission at no extra cost to you.
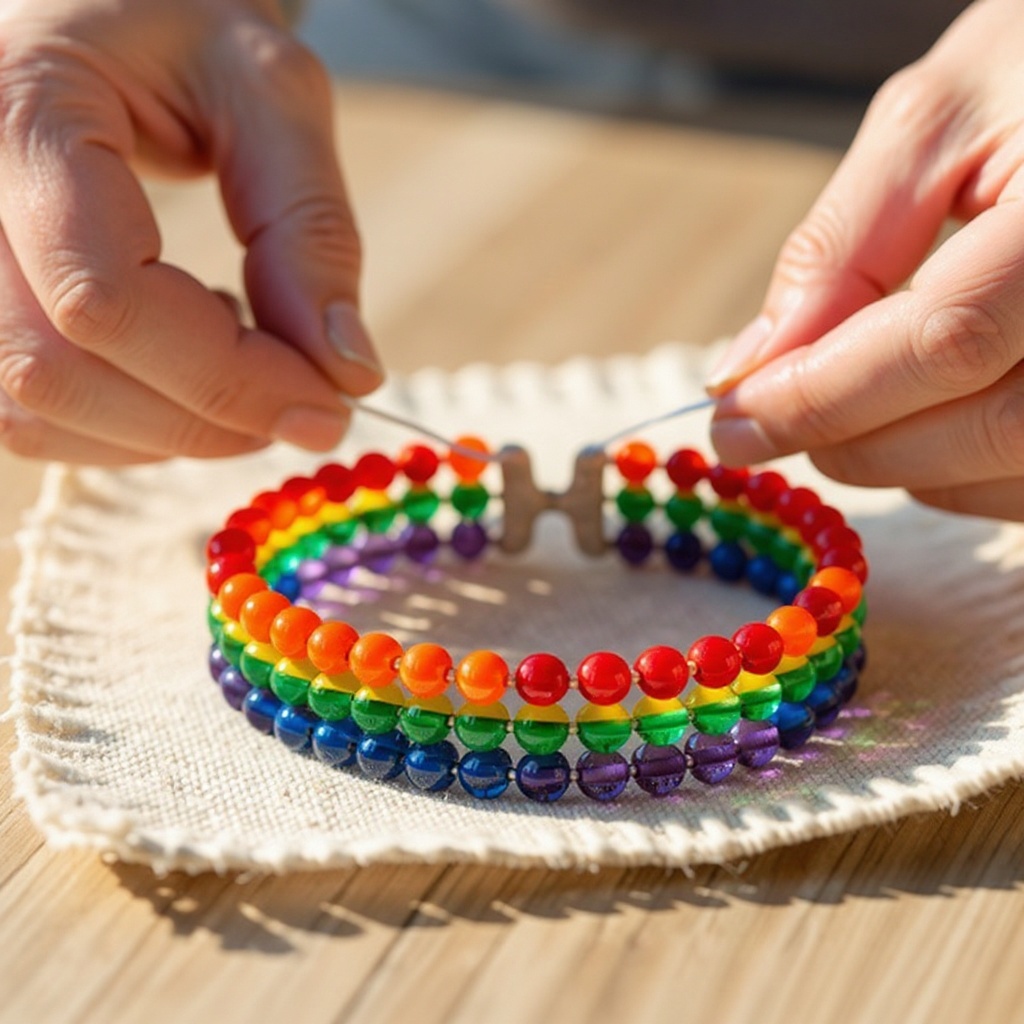
Unleash your inner artist and add a splash of color to your day with these delightful Rainbow Stretch Bead Bracelets! This project is more than just making jewelry; it's a fantastic opportunity for creative expression, a wonderful way to bond with loved ones, and a simple yet rewarding craft that anyone can master. Whether you're looking for a fun activity for a rainy afternoon, a unique party favor, or just a way to brighten your own style, these bracelets are the perfect answer. Their vibrant hues and customizable designs make them a joy to create and wear.
On this page
Step-by-Step Instructions
- 1
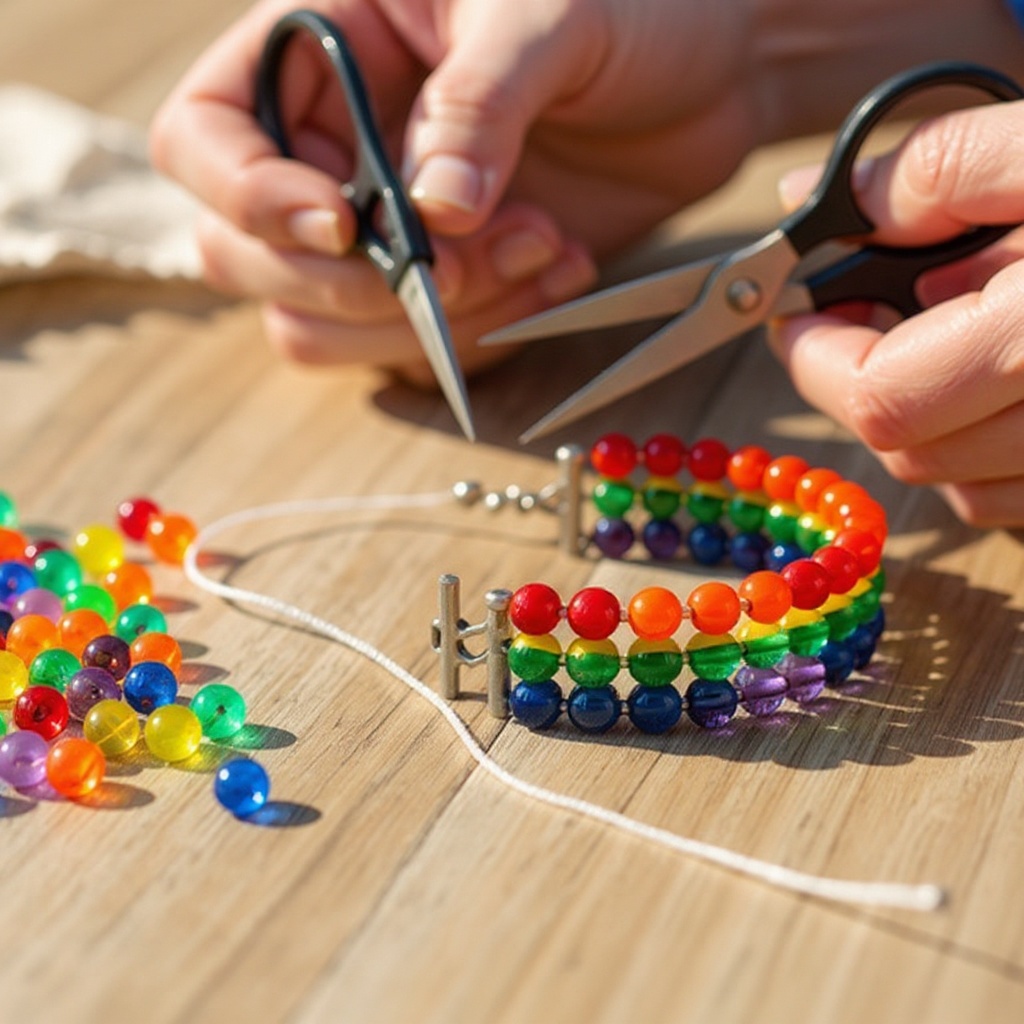
Cut a piece of elastic cord approximately 10 inches long. This generous length provides ample room for threading beads and, crucially, for tying a secure knot without the cord being too taut. It's better to have a little extra than not enough when working with stretchy materials.
- 2
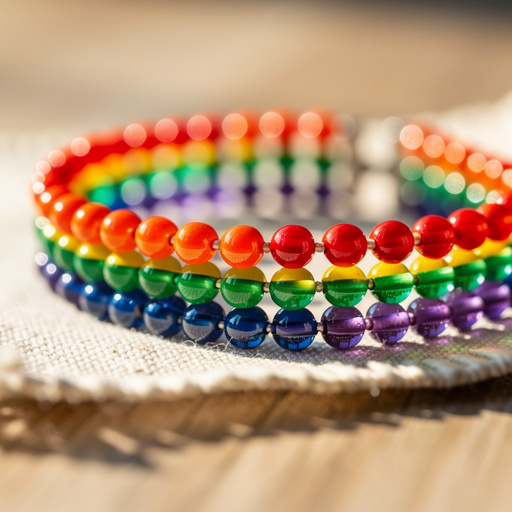
Gather your colorful beads and arrange them in your desired pattern. For a classic rainbow, start with red, then orange, yellow, green, blue, indigo, and violet. You can also create ombre effects, random patterns, or even spell out words with letter beads.
- 3
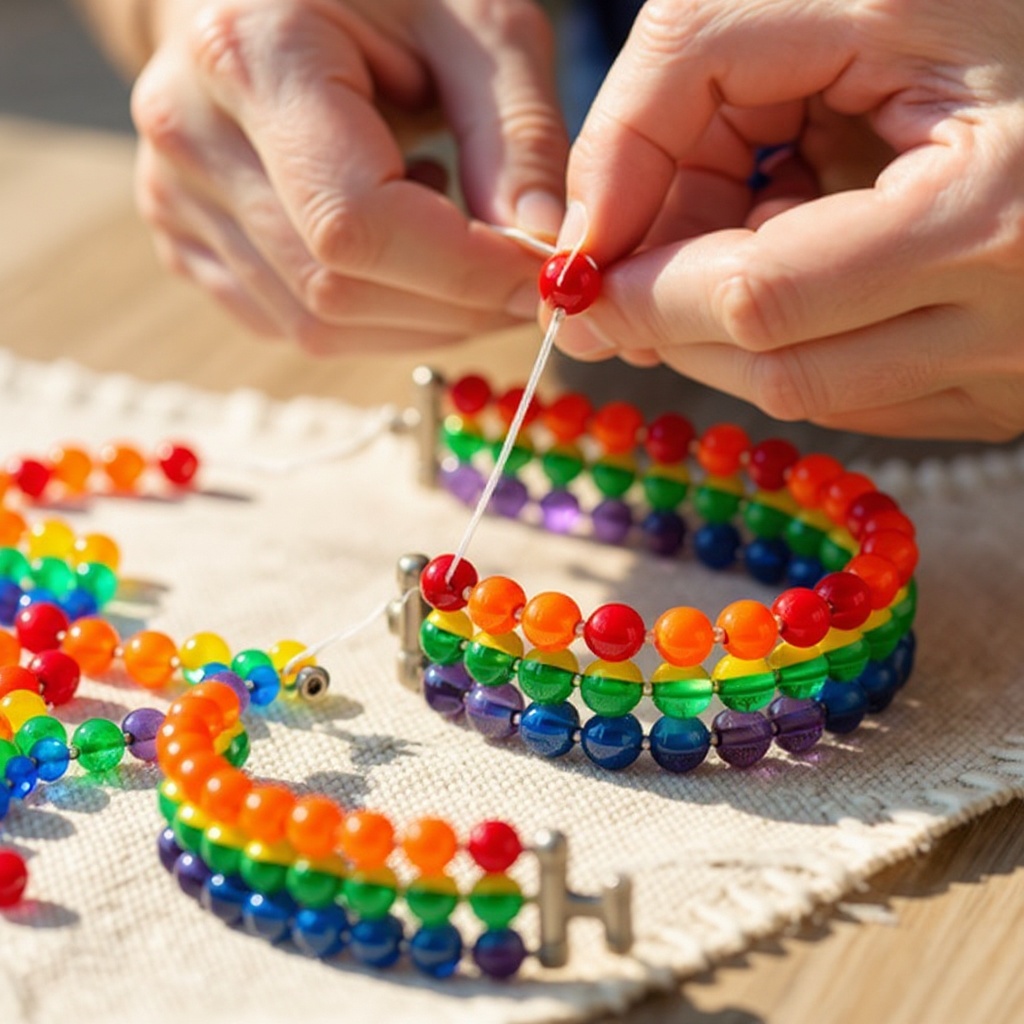
Begin threading the beads onto one end of the elastic cord, carefully guiding them down the strand. Ensure the beads are sliding smoothly and that the cord isn't getting twisted as you work. This initial threading is where your design truly comes to life.
- 4
Continue adding beads, following your chosen pattern meticulously. Pay attention to the spacing between beads; you want them to sit snugly against each other without being so tight that they distort the bracelet's shape when worn. Aim for a consistent flow in your design.
- 5
Periodically, hold the bracelet up to your wrist to gauge its length. You're aiming for a snug but comfortable fit. The bracelet should slide onto your wrist without excessive force, and it shouldn't feel loose enough to slip off easily. This is a crucial step for ensuring wearability.
- 6
Once you have threaded enough beads to achieve your desired bracelet length, carefully bring the two ends of the elastic cord together. Ensure the beads are evenly distributed on both sides of the intended knot location.
- 7
Tie a secure knot by making a double or triple knot with the elastic ends. Pull it very tight to ensure it won't come undone during wear. The tension from the knot is what holds the bracelet together, so make sure it's robust.
- 8
Trim any excess elastic cord close to the knot, leaving just a tiny tail of about 1-2mm. This small amount of excess cord helps prevent the knot from loosening or unraveling over time, ensuring the longevity of your bracelet.
- 9
Optional: For added security and a cleaner finish, apply a small dab of clear nail polish or fabric glue directly over the knot. Let it dry completely before handling the bracelet further. This acts as a sealant, further preventing the knot from slipping.
- 10
Optional: If you're adding charms, thread them onto the cord at the desired position before tying the final knot, or attach them to the bracelet after it's completed using a jump ring. Ensure they are securely fastened.
- 11
Optional: Gently stretch the bracelet a few times to test its elasticity and ensure the beads are sitting well. This also helps to slightly loosen the cord before the final knot is tied, making it easier to achieve a comfortable fit.
- 12
Optional: If you've used a very thin cord and are concerned about the knot, you can thread the tail end of the cord back through the last few beads before tying the knot. This hides the tail and adds extra security.
Tips & Troubleshooting
- 1If your beads have very small holes, use a thinner elastic cord (0.7mm) or a needle to help thread them. A beading needle with a flexible eye can be particularly helpful for guiding the cord through stubborn holes, making the process much smoother.
- 2To make your bracelet extra secure, tie a small dab of clear nail polish or fabric glue over the knot before trimming the excess cord. This acts as a sealant, preventing the knot from loosening over time and giving you peace of mind that your bracelet will stay intact.
- 3Experiment with different bead sizes, shapes, and materials like wooden beads, glass beads, or alphabet beads for unique designs. Mixing textures and finishes can add a sophisticated touch to your handmade jewelry, moving beyond the basic pony bead look.
- 4Measure your wrist before you start threading beads to ensure a perfect fit. You can also wrap the cord around your wrist loosely to gauge the length needed. A good rule of thumb is to add about 1/2 inch to your wrist measurement for a comfortable fit.
- 5Consider using a bead mat or a tray with a lip to keep your beads from rolling away, especially if you're working on a hard surface or have pets or small children around. This simple tool can save a lot of frustration and lost beads.
- 6For a truly professional finish, try to hide the knot by threading the tail end of the elastic cord back through the last few beads before trimming. This not only looks neater but also adds an extra layer of security to your knot.
- 7Don't be afraid to mix and match bead colors and types! You can create gradients, color blocks, or even incorporate themed beads for special occasions. The possibilities are truly endless when it comes to personalizing your bracelets.
- 8If you find the elastic cord is fraying as you thread beads, you can slightly melt the end with a lighter (with adult supervision) to create a hardened tip. Be very careful when doing this to avoid burns or melting too much of the cord.
Related Activities You Might Enjoy
Frequently Asked Questions
What kind of beads are best for making bracelets?
For easy handmade bracelets, pony beads, plastic beads, or seed beads with larger holes work best. Ensure the bead hole is large enough for your elastic cord to pass through easily. Larger holes, typically found in pony beads or larger craft beads, make threading much simpler, especially for beginners and children. If you're using smaller beads like seed beads, opt for a thinner elastic cord and consider using a beading needle to help guide the cord through the tiny openings. Avoid beads with very irregular or sharp-edged holes, as these can snag and damage the elastic cord over time.
How do I make sure my beaded bracelet stays on?
Use a strong elastic cord and tie a secure double or triple knot. For extra security, add a drop of fabric glue or clear nail polish to the knot before trimming the excess cord. The key is tension and a reliable knot. Ensure the elastic cord is of good quality and has sufficient stretch. When tying the knot, pull it as tightly as possible. Applying a bead of fabric glue or clear nail polish over the knot creates a protective barrier that prevents the elastic from slipping or fraying, significantly increasing the bracelet's durability.
Can kids make these beaded bracelets by themselves?
Yes, with adult supervision for cutting the cord and tying the knot, children aged 6 and up can easily thread beads and create their own colorful bracelets. The main tasks of selecting beads and threading them are perfectly suited for young children's fine motor skills and creativity. Adult assistance is recommended for the cutting of the elastic cord, as scissors can be sharp, and for tying the final knot, which requires a bit more dexterity and strength to ensure it's secure. This makes it a wonderful family craft activity.
What's the best way to store handmade beaded bracelets?
Store your handmade beaded bracelets separately to prevent tangling and scratching. A jewelry box with compartments or a small tray works well to keep them organized. Avoid tossing them all into a single pile, as this can lead to knots and damage to the beads or the elastic cord. Individual compartments, soft pouches, or even small zip-top bags can help protect each bracelet. This careful storage will ensure your beautiful creations remain in pristine condition for a long time.
How long should the elastic cord be for a bracelet?
For a standard adult-sized bracelet, start with a piece of elastic cord that is approximately 10 to 12 inches long. This length provides enough slack to comfortably thread your beads and, more importantly, to tie a secure knot without the cord being too tight or difficult to manage. Having extra cord is always better than running short, as it allows for a stronger knot and easier manipulation. You can always trim the excess once the knot is tied and secured.
Can I use different types of beads besides pony beads?
Absolutely! While pony beads are excellent for beginners due to their large holes and affordability, you can use a wide variety of beads. Glass beads, wooden beads, acrylic beads, and even small metal charms can be incorporated. The key consideration is the size of the bead's hole; it must be large enough for your chosen elastic cord to pass through. If you're using beads with smaller holes, you might need to switch to a thinner elastic cord or use a beading needle to help thread them. This opens up a world of design possibilities!
What Next?
Congratulations on creating your beautiful rainbow stretch bead bracelets! You've mastered a simple yet versatile craft that opens the door to endless creative possibilities. Don't stop here – experiment with different color combinations, add charms, or even try incorporating letter beads to spell out names or inspiring words. These bracelets make wonderful personalized gifts for friends and family. To keep your creations looking their best, store them individually in a jewelry box or a soft pouch to prevent tangling and scratching. Happy crafting, and may your days be as colorful as your new bracelets!
Free: 10 Paper Crafts Anyone Can Make in 5 Minutes
Get our beginner guide + new craft ideas weekly.
No spam. Unsubscribe anytime.
Did you complete this activity?
Related
You might also like
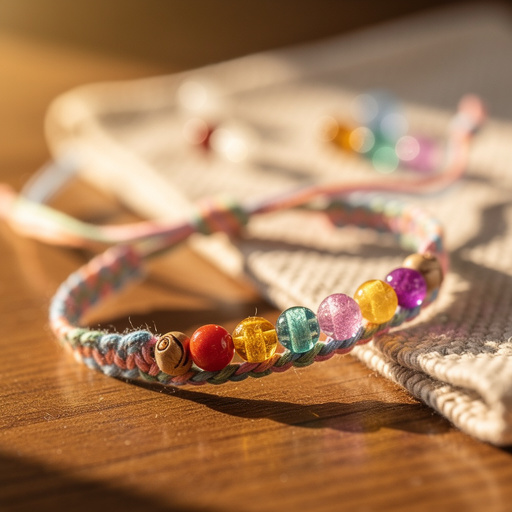
DIY Friendship Bracelets with Beads
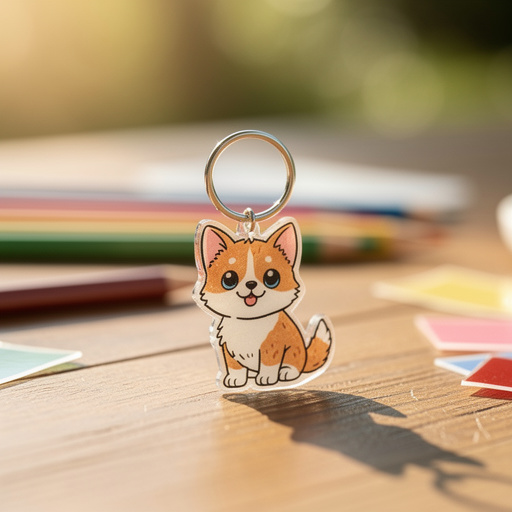
Shrink Plastic Pet Charms
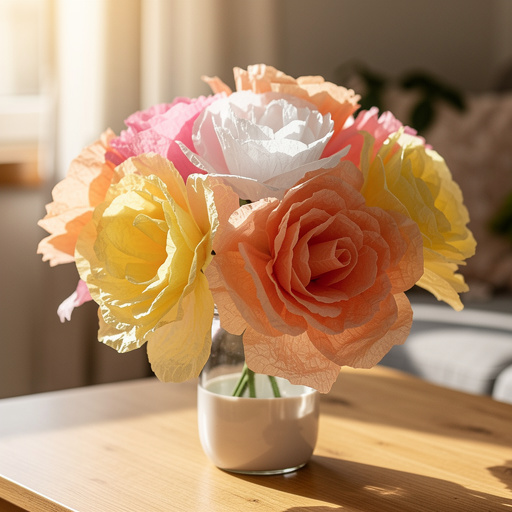
Fluffy Tissue Paper Flowers
Shrink Plastic Charms & Jewelry

Shrink Plastic Pet Portraits