How to Make Puzzle Piece Jewelry — Easy Step-by-Step Guide
Craft unique puzzle piece jewelry to share with friends and family. This simple, screen-free activity results in charming, personalized accessories.
Quick answer
To make puzzle piece jewelry, you need old puzzle pieces, paint, sealant, and jewelry findings, taking about 60 minutes. Start by painting your puzzle pieces. This beginner-friendly activity has 12 steps and is perfect for families and kids aged 6+.
What you need
Shop on Amazon · As an Amazon Associate we earn from qualifying purchases. Links above are affiliate links — we may earn a commission at no extra cost to you.
Looking for a heartfelt and creative way to celebrate friendships or family bonds? Crafting puzzle piece jewelry is a wonderfully sentimental project that allows you to create tangible symbols of connection. This DIY activity is not only fun and engaging but also provides a screen-free opportunity for quality time, making it ideal for families, friend groups, or anyone who appreciates handmade gifts. Each charm becomes a unique representation of your shared bond, a wearable reminder of the special connection you share.
On this page
Step-by-Step Instructions
- 1
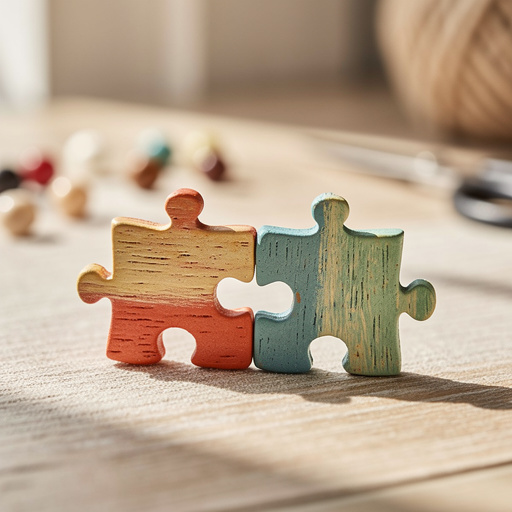
Gather your puzzle pieces. For each charm, you'll need two pieces that fit together perfectly, ensuring they are from the same puzzle to guarantee a proper fit. Select pieces that are not warped or damaged, as this will affect the final look and durability of your charm.
- 2
Clean your puzzle pieces if they are dusty or dirty. A gentle wipe with a damp cloth is usually sufficient; avoid soaking them as this can damage the cardboard. Allow them to air dry completely on a flat surface before proceeding to the next step.
- 3
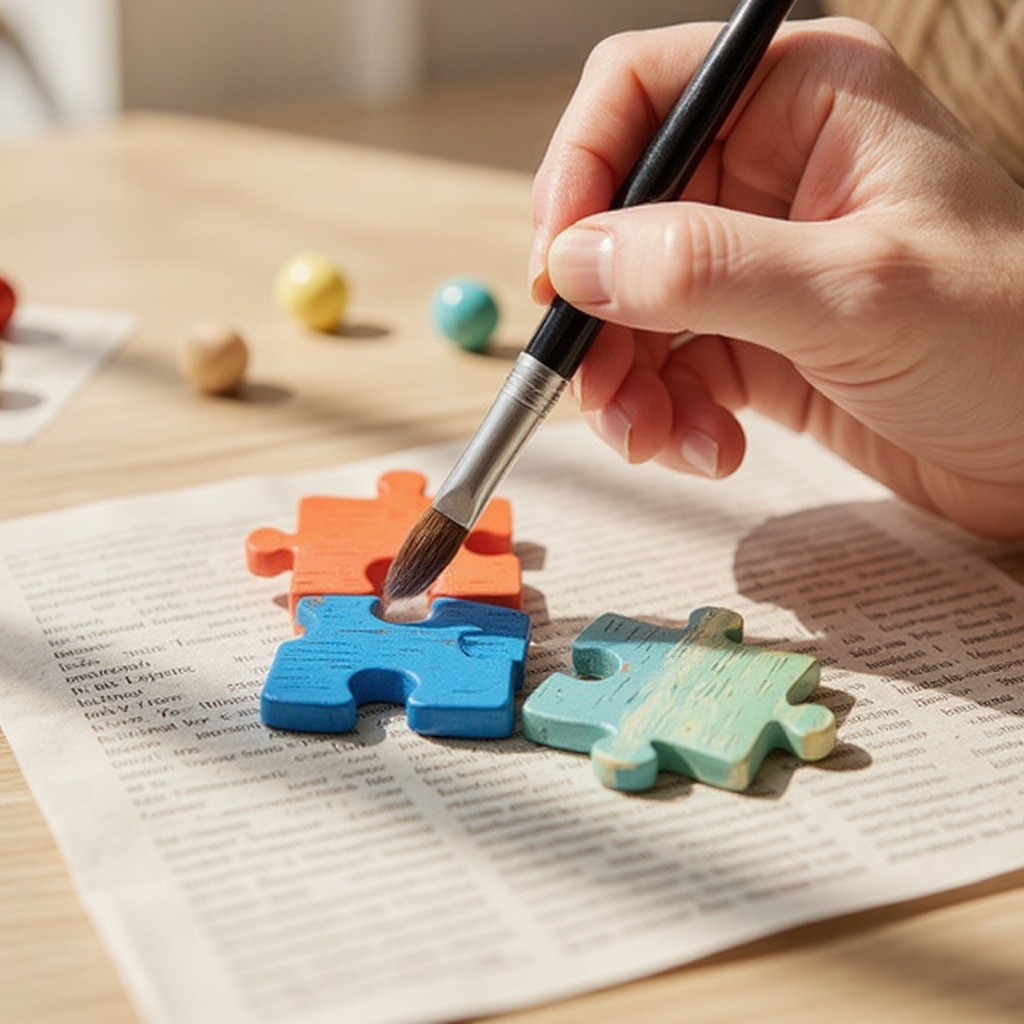
Prepare your painting area by laying down newspaper or a craft mat to protect your surfaces from paint. Have your paints, brushes, and water cup ready for easy access.
- 4
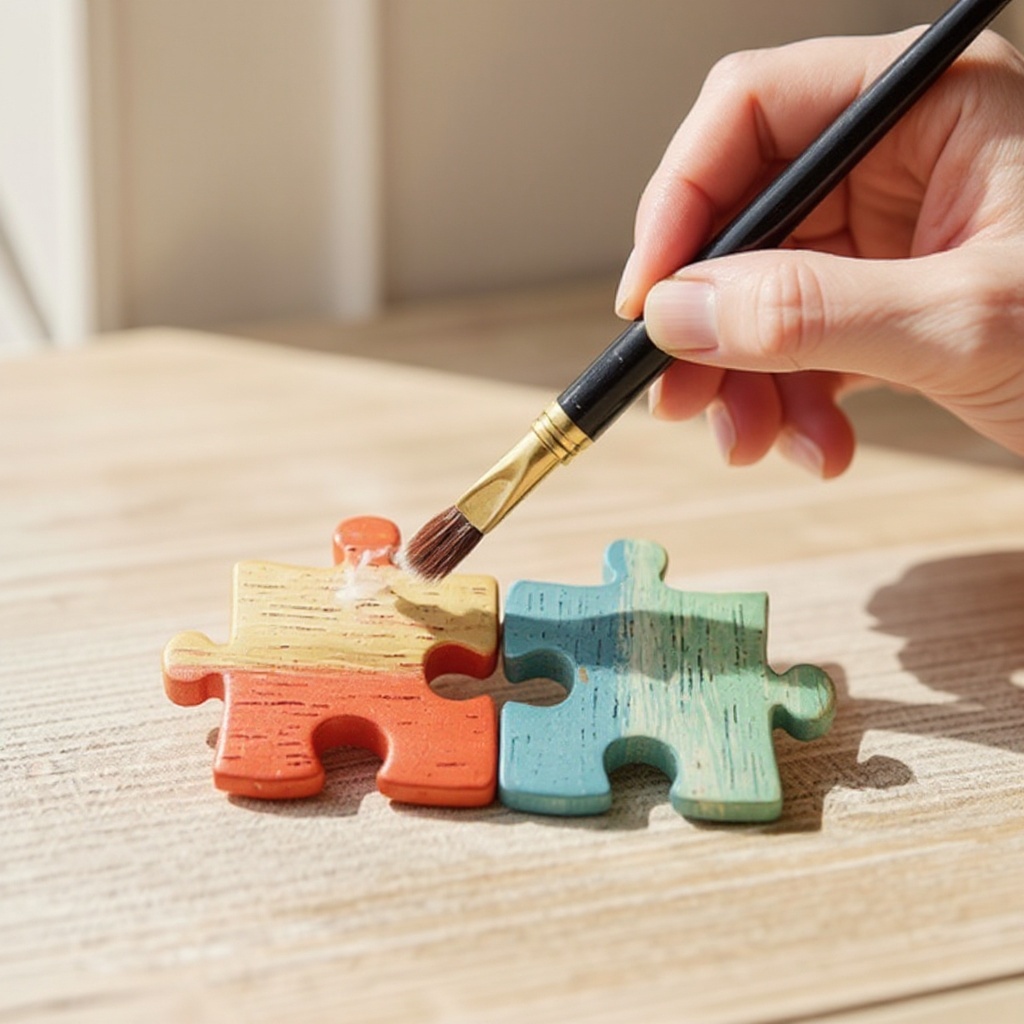
Paint the front of each puzzle piece with your chosen acrylic colors. Apply a thin, even coat, ensuring you cover the entire surface without leaving streaks. Let this first coat dry completely before applying a second coat, which is crucial for achieving vibrant and opaque colors.
- 5
Apply a second coat of paint if needed for full coverage and depth of color. For intricate designs or if you're using lighter colors over darker puzzle pieces, a third coat might be beneficial. Allow each coat to dry thoroughly between applications to prevent smudging.
- 6
Once the paint is completely dry, you can add details with permanent markers or glitter, if desired. Use fine-tip markers for delicate lines and patterns, or sprinkle glitter while the paint is still slightly tacky for a sparkly effect. Let these embellishments dry thoroughly.
- 7
Apply a thin, even coat of clear sealant or Mod Podge over the painted surface of each puzzle piece. This protective layer is essential for sealing the paint, preventing chipping, and adding a finished look. Ensure you cover the entire painted area, including any details you've added.
- 8
Allow the sealant to dry completely according to the product's instructions. This may take anywhere from 30 minutes to a few hours, depending on the product and humidity. Ensure the sealant is fully cured before moving on to avoid smudging or peeling.
- 9
Once the sealant is dry and hardened, carefully drill a small hole near the edge of each puzzle piece. Choose a drill bit that is slightly larger than your jump rings. Position the drill bit perpendicular to the surface and apply gentle, steady pressure to create a clean hole without cracking the piece.
- 10
Open a jump ring using your jewelry pliers. Grip one side of the jump ring with your flat-nose pliers and the other side with your round-nose pliers, then twist gently in opposite directions to open it, creating a gap. Avoid pulling the jump ring apart, as this can distort its shape.
- 11
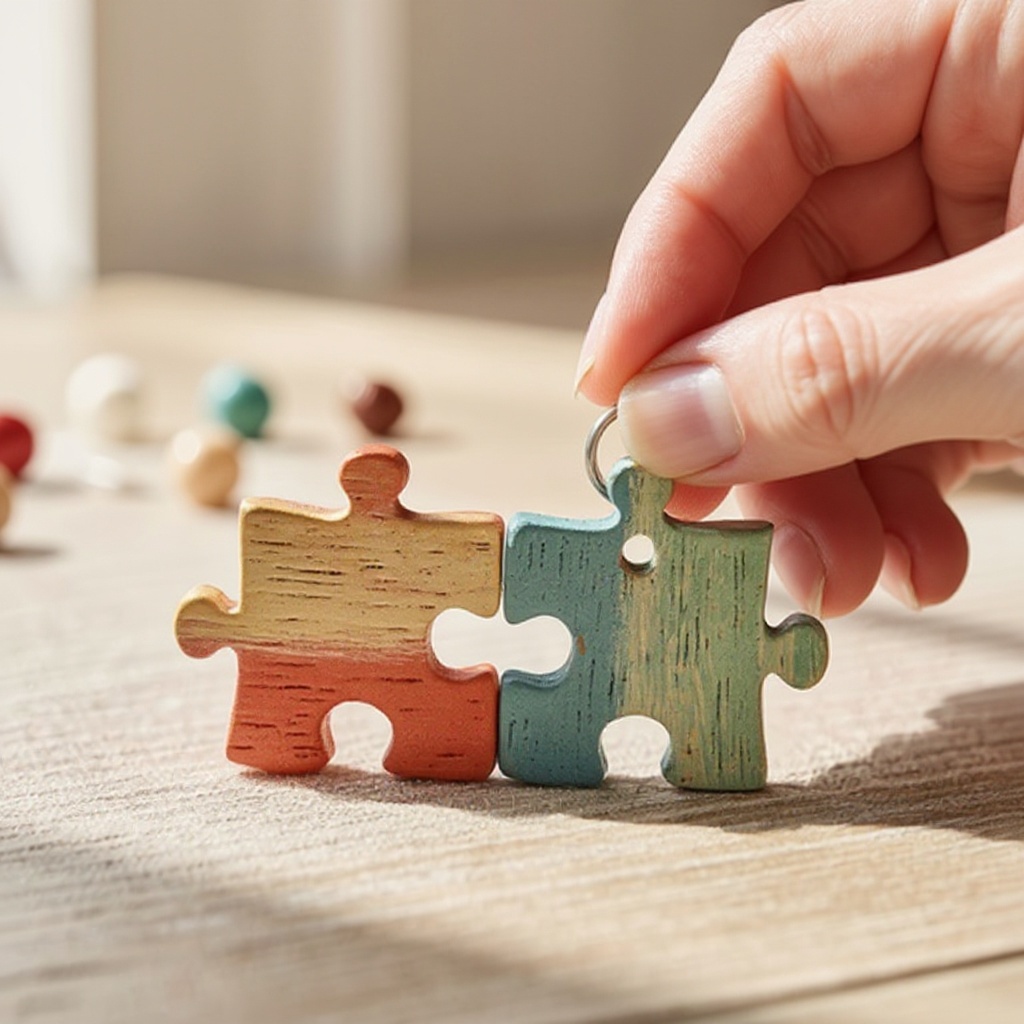
Attach one jump ring to the hole of one puzzle piece. Thread the opened jump ring through the drilled hole, ensuring it sits securely.
- 12
Connect the second puzzle piece to the same jump ring, ensuring they fit together like a puzzle. Carefully thread the second puzzle piece onto the jump ring, aligning it with the first piece so they interlock as they would in a completed puzzle.
- 13
Close the jump ring securely with your pliers. Using the same twisting motion as when you opened it, bring the ends of the jump ring back together until they meet flush, creating a closed loop that holds both puzzle pieces firmly.
- 14
Attach your completed puzzle piece charm to a necklace chain, bracelet cord, or earring hook using another jump ring. Repeat steps 10-13 to attach the charm to your chosen jewelry finding, ensuring a secure and aesthetically pleasing connection.
- 15
If you wish to add extra durability or a smoother finish, you can lightly sand the edges of the puzzle pieces after drilling the holes. Use a fine-grit sandpaper and be gentle to avoid damaging the painted surface.
- 16
For a more polished look, consider applying a second thin coat of sealant to the back of the puzzle pieces as well, especially if they are made of plain cardboard. This will provide a more uniform finish and added protection.
- 17
If you are creating multiple charms, organize your painted and sealed pieces by their corresponding puzzle mates to avoid confusion during the assembly process.
- 18
Test the strength of your jump ring connections by gently tugging on them. If any feel loose, carefully re-close them with your pliers to ensure they are secure and won't come apart.
Tips & Troubleshooting
- 1If your puzzle pieces are very thin or feel flimsy, consider gluing two identical pieces together back-to-back before painting. This will create a thicker, more durable charm that is less likely to bend or break, providing a more substantial feel to your finished jewelry.
- 2Experiment with different painting techniques like ombre, marbling, or simple geometric patterns for unique designs. You can create a gradient effect by blending colors, or use tape to create sharp lines for a modern look. Don't be afraid to get creative with your color palettes!
- 3For a more secure connection, you can use a tiny drop of super glue on the jump ring after closing it. Apply the glue carefully with a toothpick to the point where the jump ring ends meet, ensuring it doesn't drip onto the puzzle piece or surrounding areas.
- 4If you don't have jewelry pliers, needle-nose pliers can work, but be gentle to avoid damaging the puzzle pieces. The key is to use controlled movements and avoid excessive force, as these pliers can sometimes be more prone to crushing delicate materials.
- 5Consider using different types of puzzles, like wooden or cardboard ones, for varied textures and looks. Wooden puzzles offer a more rustic feel and can be painted or stained, while thicker cardboard puzzles provide a good base for intricate designs and are generally easier to work with.
- 6To ensure your paint colors are vibrant and opaque, especially when painting over darker puzzle pieces, consider using a white acrylic paint as a base coat. This will create a brighter canvas for your chosen colors and significantly enhance their saturation.
- 7When drilling holes, it's helpful to mark the exact spot with a pencil beforehand. This ensures consistent placement on all your puzzle pieces and makes the drilling process more precise, leading to a more professional-looking final product.
- 8If you're using glitter, consider applying it over a layer of wet sealant or glue for better adhesion. You can also seal over glitter once it's dry to prevent shedding and create a smooth, durable surface.
Related Activities You Might Enjoy
Frequently Asked Questions
What kind of puzzles work best for making jewelry?
Most standard jigsaw puzzles work well for this project, especially those made from sturdy cardboard. Cardboard puzzles are generally the easiest to cut, paint, and drill holes into, making them ideal for beginners and children. Thicker wooden puzzles can also be used and offer a more premium feel, but they might require a stronger drill and more effort to create holes. Avoid puzzles with very thin or flimsy pieces, as these can be difficult to work with and may not hold up well over time. The key is to select pieces that are relatively flat and free from damage.
How do I make sure the puzzle pieces stay together?
The primary method for keeping the puzzle pieces together is through the use of a securely closed jump ring. When you open and close the jump ring correctly with pliers, it creates a strong connection. For an extra layer of security, especially if the jewelry will be worn frequently or subjected to movement, you can add a tiny dab of strong craft glue or super glue to the point where the jump ring ends meet after it's closed. Ensure the glue is applied precisely and allowed to cure fully according to its instructions.
Can I use glue instead of drilling holes for the jump rings?
While you could technically use glue to attach jump rings, drilling holes is generally the more secure and professional-looking method for creating puzzle piece jewelry. Gluing jump rings directly onto the surface can be less durable and may not hold up well to wear and tear. If you must use glue, opt for a strong craft glue or epoxy specifically designed for bonding metal to other materials. Apply it carefully to the back of the puzzle piece where the jump ring will sit, and allow it to cure completely before handling the charm. However, drilling provides a more integrated and robust attachment point.
How do I seal the puzzle piece jewelry to make it last?
To seal your puzzle piece jewelry and ensure its longevity, use a clear acrylic sealant or a product like Mod Podge. Apply a thin, even coat of your chosen sealant over the entire painted surface of each puzzle piece, ensuring full coverage. This protective layer shields the paint from chipping, scratching, and minor water damage. Allow the sealant to dry completely according to the product's instructions, which typically involves several hours. For added durability, you can apply a second thin coat after the first has fully dried. This step is crucial for preserving the vibrant colors and intricate details of your handmade charms.
What if I don't have jewelry pliers?
If you don't have specialized jewelry pliers, needle-nose pliers can be a suitable alternative for opening and closing jump rings. However, it's important to be extra careful when using them. Needle-nose pliers can sometimes be more prone to crushing or bending the puzzle pieces if too much force is applied. Grip the jump ring gently but firmly, using one plier to hold one side and the other to twist. Focus on controlled movements to open and close the ring without damaging the delicate puzzle material. Always test the security of the closed jump ring afterwards.
How can I make my puzzle piece charms more unique?
To make your puzzle piece charms truly unique, consider incorporating a variety of decorative elements and techniques. Beyond simple painting, you can try marbling effects by swirling different colors together, creating ombre gradients, or using stencils for intricate patterns. Adding glitter, small beads, or even tiny charms to the jump rings can also enhance their appeal. For a personal touch, use permanent markers to write initials, dates, or small symbols on the pieces before sealing. Experimenting with different finishes of sealant, such as matte or glossy, can also alter the final look and feel of your jewelry.
What is the best way to drill holes in puzzle pieces without breaking them?
The key to drilling holes without breaking puzzle pieces is to use the right drill bit size and apply gentle, consistent pressure. A small drill bit, typically around 1/16 inch, is usually sufficient for jump rings. It's also helpful to place the puzzle piece on a firm, flat surface, perhaps with a piece of scrap wood underneath, to provide support. Mark the desired hole location with a pencil first. Then, hold the drill perpendicular to the surface and start drilling slowly, allowing the drill bit to do the work. Avoid forcing the drill; let it gradually create the hole. If you're working with very thin pieces, consider gluing two together first for added stability.
What Next?
Once your puzzle piece charms are complete and assembled, you have a beautiful and meaningful piece of jewelry that tells a story. Consider creating a set for each member of your friend group or family, perhaps with different color schemes or designs to represent individual personalities. These charms can be displayed on a jewelry stand, stored in a special box, or even incorporated into a larger piece of art. For future projects, explore using different types of puzzles, incorporating beads, or even trying out decoupage techniques for even more intricate designs.
Free: 10 Paper Crafts Anyone Can Make in 5 Minutes
Get our beginner guide + new craft ideas weekly.
No spam. Unsubscribe anytime.
Did you complete this activity?
Related