How to Create Gilded Acorn & Leaf Place Card Holders — Easy Step-by-Step Guide
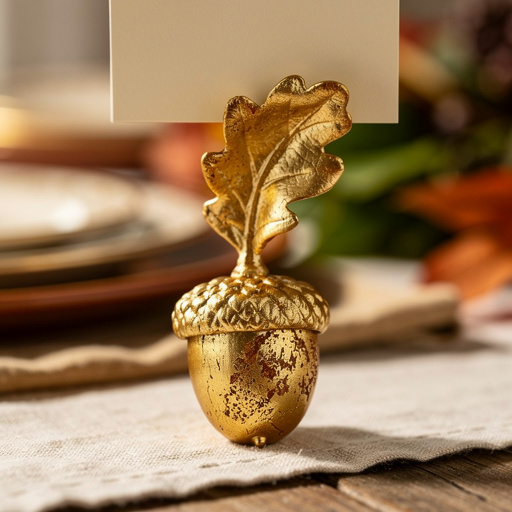
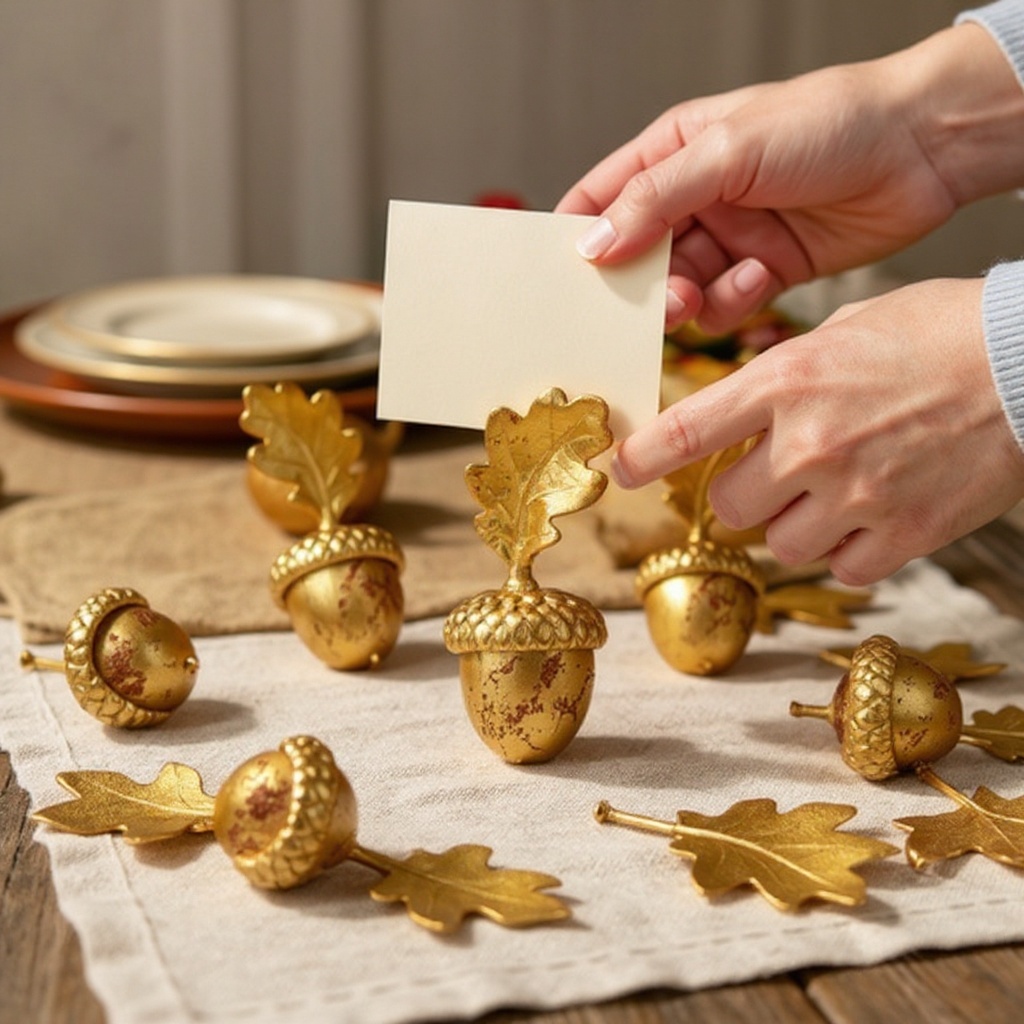
Elevate your Thanksgiving table setting with these charming gilded acorn and leaf place card holders. A sophisticated yet simple DIY for adult crafters. This guide provides a detailed, step-by-step process to create beautiful, personalized place cards that add a touch of natural elegance to your holiday feast.
Quick answer
To make gilded acorn and leaf place card holders, you need real acorns, faux leaves, gold spray paint, and small cardstock. Start by cleaning and preparing your natural elements, then spray them with metallic gold paint and a clear sealant. Finally, attach the gilded leaves to the acorns with hot glue and insert your personalized place cards. This beginner-friendly activity has 15 steps and is perfect for adults looking to add a special touch to their Thanksgiving table.
What you need
Shop on Amazon · As an Amazon Associate we earn from qualifying purchases. Links above are affiliate links — we may earn a commission at no extra cost to you.
As the crisp autumn air arrives and the scent of cinnamon fills the home, it's time to think about gathering with loved ones. Your Thanksgiving table is the heart of the celebration, and what better way to add a personal, elegant touch than with handmade place card holders? These Gilded Acorn & Leaf Place Card Holders are a delightful DIY project that brings the beauty of nature indoors with a touch of festive glamour. Perfect for adult crafters seeking a sophisticated yet achievable project, they offer a unique way to guide your guests to their seats while adding a warm, autumnal ambiance to your dining experience.
On this page
Step-by-Step Instructions
- 1
Gather your acorns and faux leaves. Ensure all acorns are clean, dry, and free of any loose dirt or debris; you can gently brush them with a dry brush or wipe them with a slightly damp cloth and allow them to air dry completely. Inspect the faux leaves to ensure they have intact stems, as these will be crucial for attachment.
- 2
Prepare your workspace for spray painting. Lay down a large piece of cardboard or newspaper in a well-ventilated area, preferably outdoors or in a garage with the door open. This will protect your surfaces from paint overspray and make cleanup easier.
- 3
Arrange the cleaned acorns and faux leaves on your prepared surface, ensuring they are not touching each other. This allows for even application of the spray paint and prevents them from sticking together as they dry.
- 4
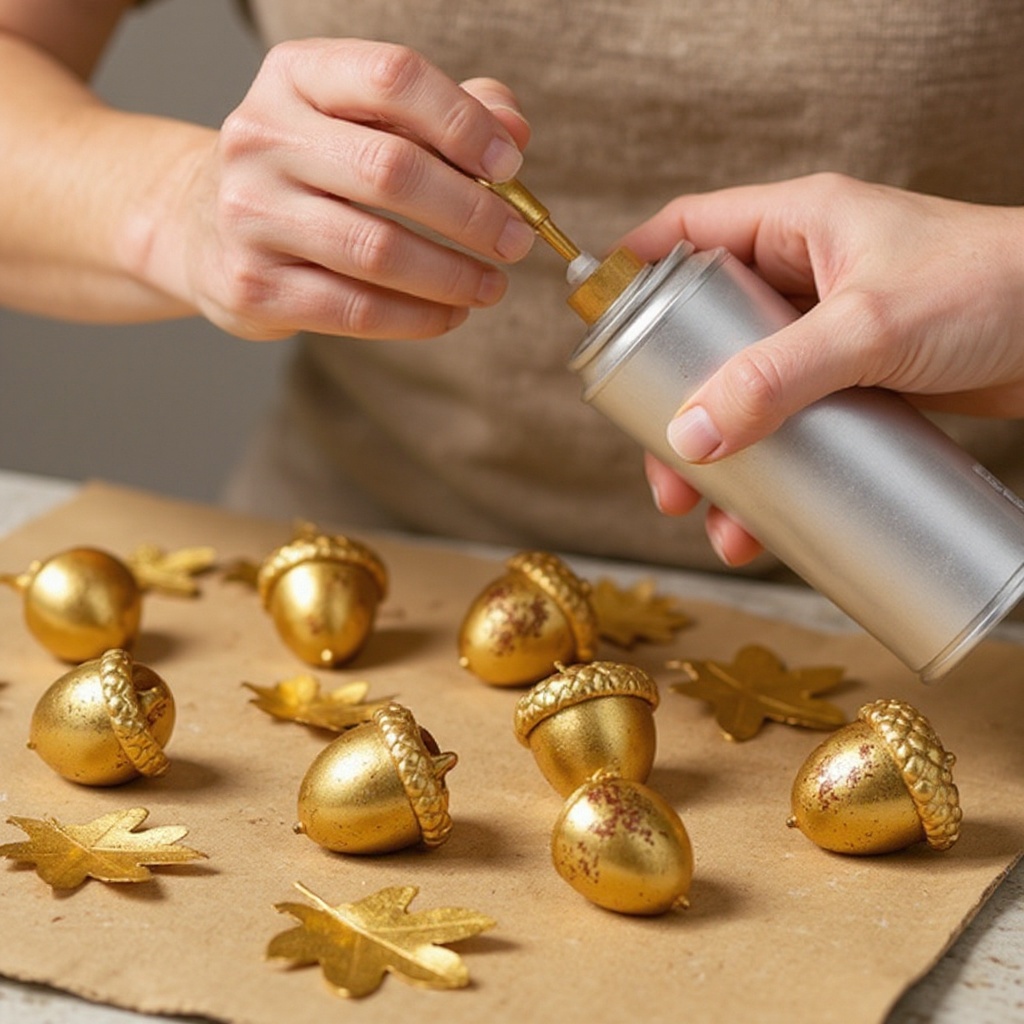
Shake the metallic gold spray paint can vigorously for at least one minute to ensure the pigment is thoroughly mixed. Hold the can about 8-10 inches away from your items and apply a light, even coat of paint. Aim for a sweeping motion to avoid drips and splotches, covering all visible surfaces of the acorns and leaves.
- 5
Allow the first coat of gold spray paint to dry for approximately 15 minutes. The paint should feel dry to the touch, but it's okay if it's not completely hardened at this stage. This initial drying period helps prevent the second coat from becoming too thick.
- 6
Apply a second light coat of gold spray paint, again holding the can 8-10 inches away and using a sweeping motion. This second coat will ensure complete, opaque coverage and a rich metallic finish. If any areas appear patchy, you can apply a third very light coat after the second has dried for 15 minutes.
- 7
Once the gold paint is completely dry to the touch (allow at least 30 minutes to an hour for thorough drying), it's time to apply the clear acrylic sealant. This step is crucial for protecting the delicate gold finish and preventing it from rubbing off onto your hands or surfaces.
- 8
Shake the clear acrylic sealant spray can well, just as you did with the paint. Apply a light, even coat over all the gilded acorns and leaves, holding the can at the same distance of 8-10 inches. Ensure you cover all the painted surfaces to create a protective barrier.
- 9
Let the sealant dry completely according to the product instructions. Most acrylic sealants require about 20-30 minutes to dry to the touch, but it's best to let them cure for at least an hour, or even longer, before handling them extensively to ensure maximum durability.
- 10
While the sealant is drying, prepare your place cards. Using your fine-tip permanent marker, neatly write each guest's name on the cardstock pieces. Ensure the ink is completely dry before proceeding to avoid smudging.
- 11
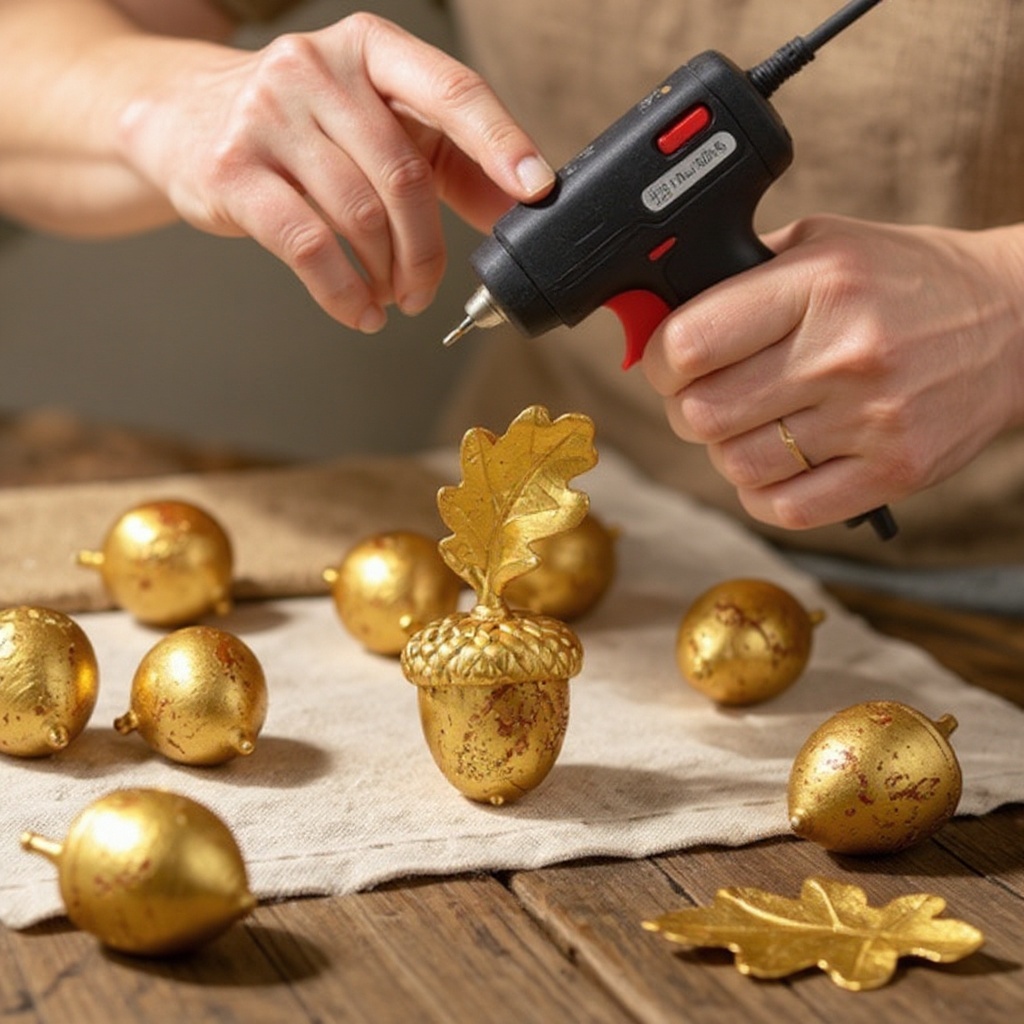
Now, it's time to assemble the place card holders. Heat up your hot glue gun and have your glue sticks ready. Carefully apply a small, controlled amount of hot glue to the underside of an acorn cap, focusing on the area where the leaf stem will attach.
- 12
Immediately after applying the glue, take one of your gilded faux leaves and firmly press its stem into the hot glue on the acorn cap. Hold it in place for a few seconds until the glue sets and the leaf is securely attached to the acorn. Be mindful not to use too much glue, as it can ooze out and look messy.
- 13
Repeat the hot glue process for all the remaining acorns and leaves, creating 12-15 beautiful gilded acorn and leaf clusters. Ensure each leaf is positioned at an angle that will allow a place card to be easily inserted.
- 14
Once all the leaf-to-acorn attachments are secure and the glue has fully cooled, it's time to add the place cards. Gently take a prepared place card and carefully tuck its bottom edge into the natural opening of the acorn cap, positioning it between the acorn itself and the stem of the attached leaf.
- 15
Adjust the angle of the place card so it stands upright and is easily readable. If a card feels a bit loose, you can add a tiny dab of hot glue to the very bottom edge of the cardstock to secure it more firmly to the acorn or leaf stem, ensuring it stays put throughout your meal.
Tips & Troubleshooting
- 1If you encounter acorns that are missing their caps, don't worry! You can still create beautiful place card holders by simply gluing the gilded leaf directly onto the top of the acorn. Ensure the top surface of the acorn is relatively flat for good adhesion.
- 2Experiment with different metallic finishes to achieve a unique look for your table. Instead of classic gold, try a warm bronze, a rich copper, or even a shimmering silver spray paint. You could also explore matte finishes for a more rustic aesthetic.
- 3Safety first when working with spray paints and sealants. Always ensure you are in a well-ventilated area, preferably outdoors, to avoid inhaling fumes. Consider wearing gloves to protect your hands and a mask to safeguard your respiratory system.
- 4For added stability, especially if your acorns have a very rounded bottom, you can add a tiny dab of hot glue to the bottom edge of the place card itself before tucking it into the acorn cap. This will help secure it to the acorn or leaf stem and prevent it from tilting.
- 5If your faux leaves have very thin or flimsy stems, you might want to reinforce them with a bit of extra hot glue before attaching them to the acorn. This will ensure they remain securely in place throughout your event.
- 6To achieve a more cohesive look, consider spray painting a few extra acorns and leaves without any attachments. These can be scattered around your centerpiece or used as decorative accents on your buffet table.
- 7When writing names on your place cards, practice a few times on scrap cardstock first to perfect your lettering. A fine-tip permanent marker is ideal for neat, legible writing that won't bleed.
- 8If you want to add an extra touch of sparkle, you can lightly dust the wet spray paint with fine glitter before it dries. This will give your gilded elements a subtle shimmer, but be sure to do this in a contained area to manage the glitter.
Related Activities You Might Enjoy
Frequently Asked Questions
Can I use real leaves for this craft?
Yes, you can absolutely use real leaves for this craft, and they can add an even more authentic, natural touch to your place card holders! The key is to ensure they are completely dry and have been pressed flat before you begin the gilding process. You can press leaves by placing them between sheets of newspaper inside heavy books for a week or two. Once dried and flattened, they may be more delicate than faux leaves, so handle them with extra care during the painting and assembly stages to prevent them from tearing or crumbling. Ensure the stems are sturdy enough to attach to the acorns.
How do I make sure the gold paint doesn't rub off?
The clear acrylic sealant is your best friend in ensuring the gold paint doesn't rub off. It acts as a protective barrier over the metallic finish. Apply the sealant in light, even coats, ensuring you cover all the painted surfaces of both the acorns and the leaves. Avoid applying it too thickly, as this can lead to drips or an uneven finish. Allow the sealant to dry thoroughly according to the product instructions – this curing time is essential for its durability. A well-sealed finish should withstand gentle handling without flaking or transferring color.
What if I don't have acorns?
If acorns are not readily available in your area, you can adapt this craft using a variety of other natural elements. Small, clean pinecones are an excellent alternative; their textured surfaces catch the metallic paint beautifully. Sturdy twigs, especially those with interesting shapes, can also work well. Even small, dried seed pods or sturdy, dried flower heads can be transformed with a touch of gold. The most important factors are that the natural element is clean, completely dry, and has a surface that can hold the paint and glue effectively. You might need to adjust the attachment method slightly depending on the item you choose.
How long will these place card holders last?
With the proper application of the clear acrylic sealant, these place card holders are designed to last for several Thanksgiving seasons. The sealant protects the delicate gold paint from wear and tear, preventing it from chipping or rubbing off. To maximize their lifespan, store them carefully in a dry, cool place when they are not in use. Avoid storing them in humid environments or where they might be exposed to direct sunlight for extended periods, as this can degrade the paint and sealant over time. With good care, they can become a cherished part of your holiday decor for years to come.
What kind of faux leaves work best?
For this project, opt for small, realistic faux autumn leaves that have a sturdy, intact stem. The stem is crucial for securely attaching the leaf to the acorn cap with hot glue. Look for leaves made from materials like fabric, plastic, or a thin, pliable foam that can hold their shape and color well after being spray painted. Avoid leaves that are too large or too delicate, as they might overwhelm the acorn or be difficult to handle. The more realistic the leaf's texture and shape, the more natural and elegant your finished place card holders will appear.
Can I use a different color than gold spray paint?
Absolutely! While gold offers a classic, elegant look, feel free to explore other metallic finishes or even bold colors to match your Thanksgiving decor. Bronze, copper, rose gold, or antique brass spray paints can create a warm, autumnal palette. For a more modern or whimsical touch, consider a matte black, a deep forest green, or even a vibrant jewel tone. Just ensure that whatever spray paint you choose is suitable for the material of your acorns and leaves, and always test it on a small, inconspicuous area first if you're unsure. Remember to use a clear sealant over any color to protect the finish.
How do I ensure the place cards stand up straight?
The natural opening of the acorn cap, combined with the angle of the attached leaf stem, usually provides enough support for the place cards to stand upright. However, if you find that some cards are leaning or not standing as securely as you'd like, there are a couple of tricks. You can gently bend the bottom edge of the cardstock slightly to create a more stable base. Alternatively, as mentioned in the tips, a tiny dab of hot glue applied to the very bottom edge of the cardstock before inserting it can help secure it to the acorn or leaf stem, ensuring it remains perfectly positioned throughout your meal.
What Next?
These Gilded Acorn & Leaf Place Card Holders are a beautiful and functional addition to any fall gathering. For variations, consider using different metallic spray paints like rose gold or antique brass, or even a matte finish for a more subdued look. You could also experiment with different natural elements like small pinecones, dried berries, or even sturdy twigs. Once your place card holders are complete, arrange them thoughtfully on your table, perhaps interspersed with a few real autumn leaves or a scattering of nuts. Store them carefully in a dry, cool place after the festivities to ensure they can grace your table for many Thanksgivings to come.
Free: 10 Paper Crafts Anyone Can Make in 5 Minutes
Get our beginner guide + new craft ideas weekly.
No spam. Unsubscribe anytime.
Did you complete this activity?
Related
You might also like
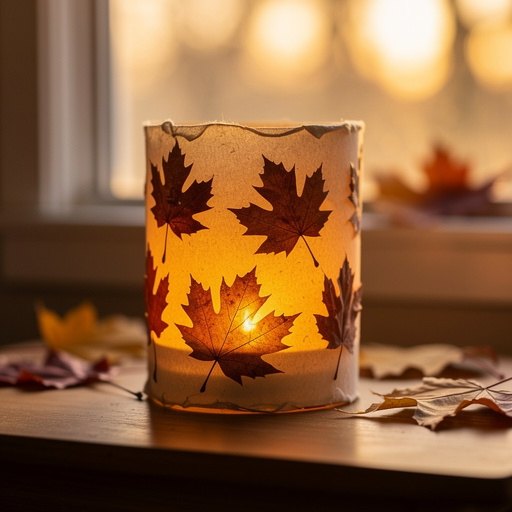
Leaf Silhouette Luminaries
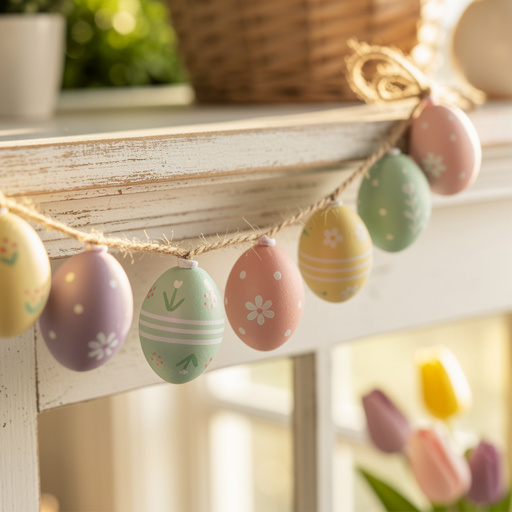
Elegant Easter Egg Garland
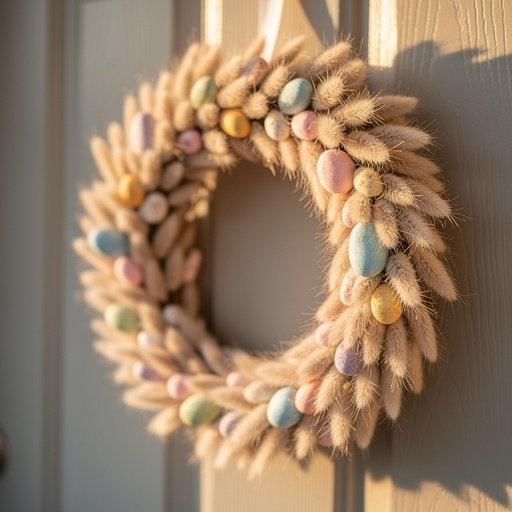
Bunny Tail Easter Wreath
Bunny Ear Paper Lanterns

Easter Egg Carton Critters