How to Make a Bunny Tail Easter Wreath — Easy Step-by-Step Guide
Craft a delightful Easter wreath adorned with fluffy bunny tails! This easy, screen-free project is perfect for family fun and springtime decorating. Learn how to create a whimsical bunny-themed wreath that will add a touch of handmade charm to your home this Easter season. Suitable for crafters of all skill levels, this project is a wonderful way to celebrate spring and create lasting memories.
Quick answer
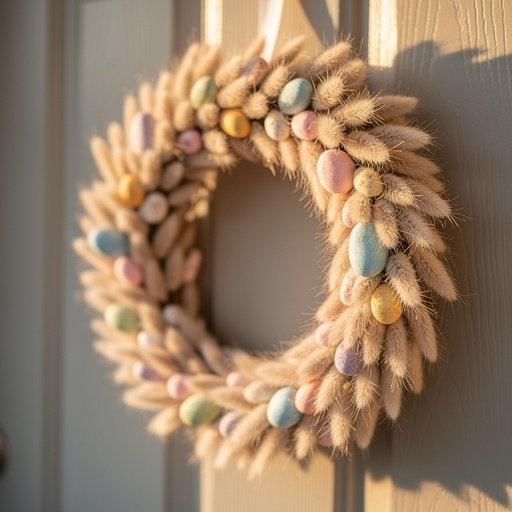
To make a Bunny Tail Easter Wreath, you need a 12-inch wire wreath form, approximately 2-3 skeins of worsted weight yarn in pastel colors, felt sheets in coordinating colors for bunny ears and noses, sharp scissors, and a hot glue gun with glue sticks. The project takes about 45 minutes to an hour. Start by wrapping the wreath form tightly with yarn until it's completely covered. Then, cut out small, fluffy bunny ear shapes and oval noses from felt, assemble them into simple bunny faces, and hot glue them onto the yarn-wrapped wreath form, spacing them evenly for a charming display. This beginner-friendly activity has 10 core steps and is perfect for families with children aged 6+ with adult supervision.
What you need
Shop on Amazon · As an Amazon Associate we earn from qualifying purchases. Links above are affiliate links — we may earn a commission at no extra cost to you.
Welcome spring with a touch of handmade magic! This Bunny Tail Easter Wreath is more than just a decoration; it's a delightful family activity that brings creativity and joy into your home. Imagine the smiles as little hands help wrap yarn and assemble adorable bunny faces. This screen-free project offers a wonderful opportunity to disconnect from technology and reconnect with loved ones, fostering creativity and fine motor skills in younger crafters. Its charming simplicity makes it an accessible project for beginners, ensuring everyone can contribute to a beautiful, festive display that embodies the spirit of Easter.
On this page
Step-by-Step Instructions
- 1
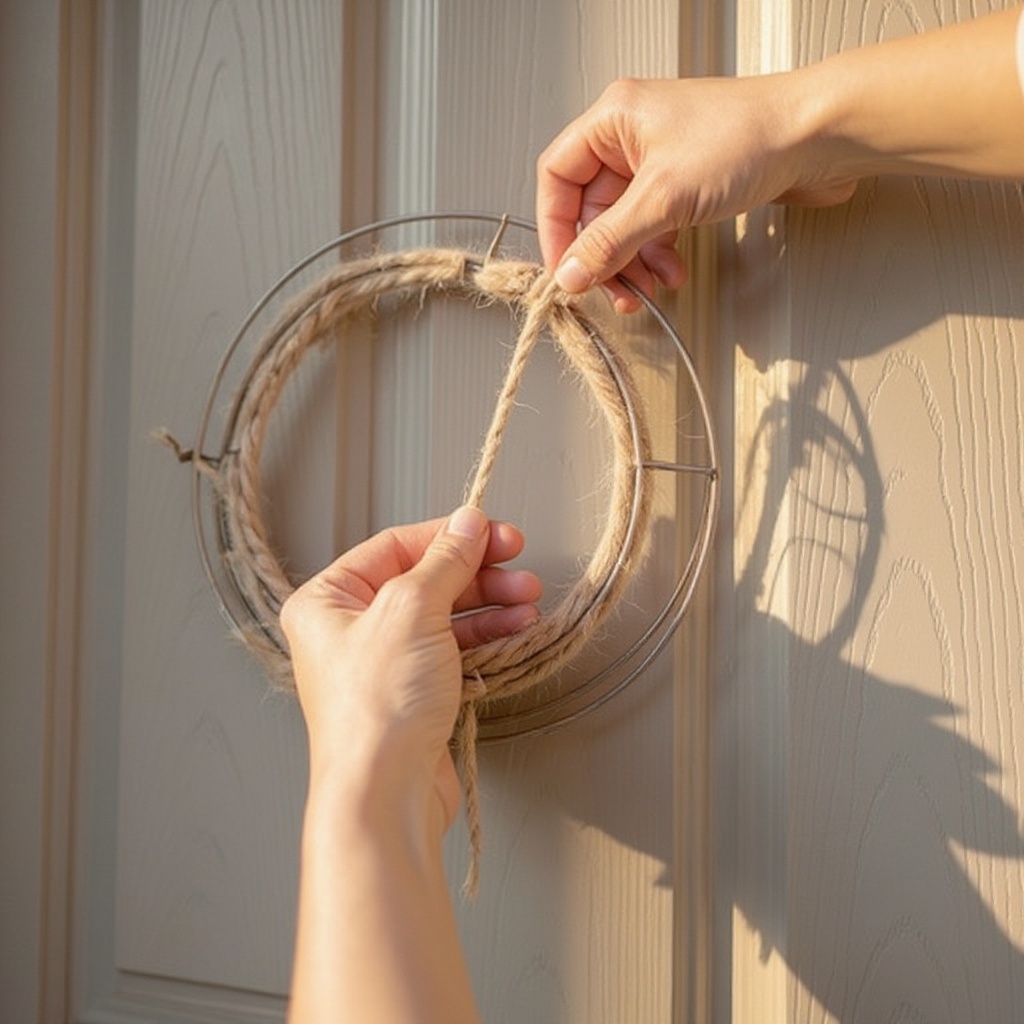
Begin by securing the end of your first yarn color to the wire wreath form with a knot. This initial knot will anchor the yarn and prevent it from unraveling as you start wrapping. Make sure the knot is snug against the wire.
- 2
Wrap the yarn tightly around the wire form, covering it completely. Start by wrapping the yarn around one of the inner rings of the wreath form, then move to the outer ring, and then back to the inner, ensuring you create a dense, even layer of yarn. Continue wrapping until the entire form is covered in yarn, knotting off the end securely. Overlap the yarn slightly with each pass to avoid any gaps.
- 3
Once the yarn is completely covering the wreath form, begin attaching the felt bunny faces around the wreath. This is where your wreath starts to come to life with adorable characters.
- 4
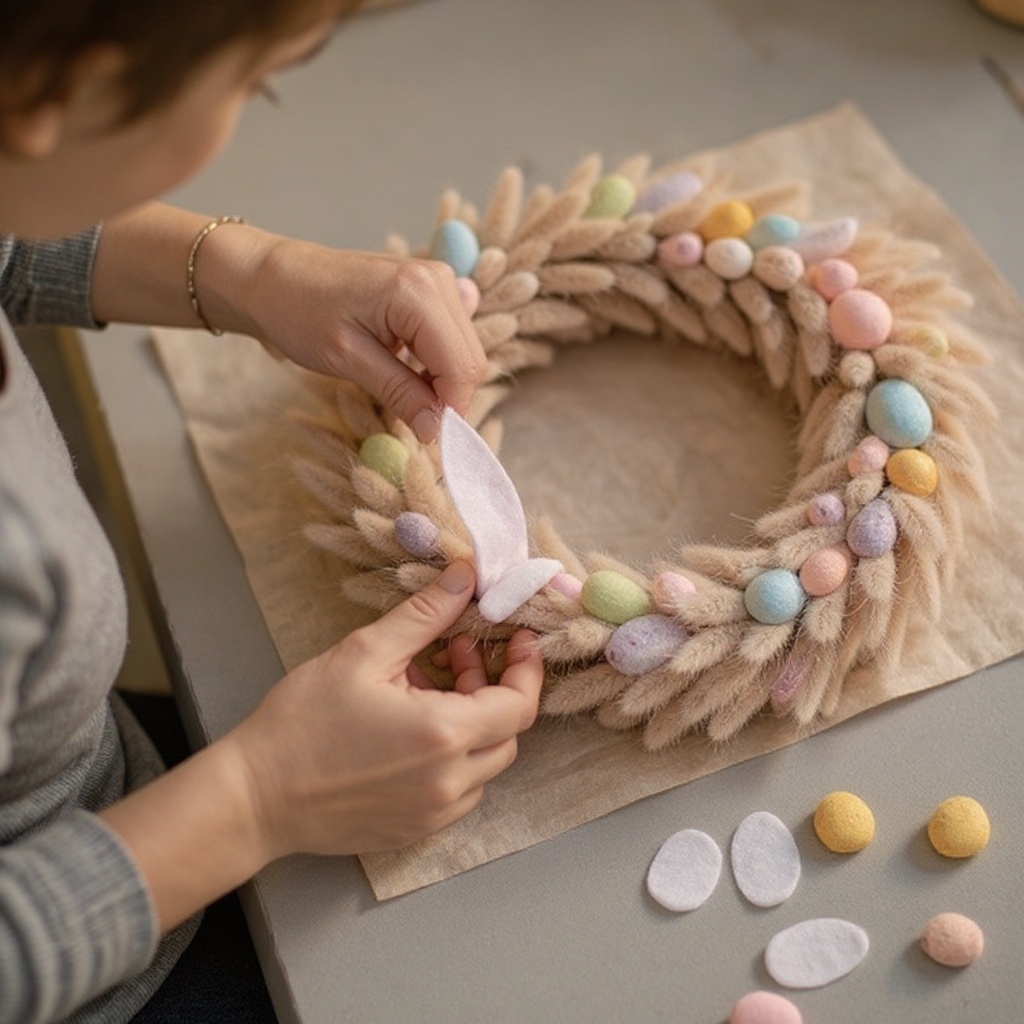
Cut out small, fluffy bunny ear shapes from the felt sheets. Aim for about 6-8 pairs of ears, ensuring they are roughly the same size and shape for a cohesive look. You can make them slightly pointed or rounded at the top, depending on your preference for bunny ear style.
- 5
Cut out small, oval-shaped bunny noses from a contrasting felt color. You'll need one nose for each pair of ears you've created. The size of the nose should be proportionate to the ears and the overall scale of your wreath.
- 6
Using the hot glue gun, carefully attach two felt bunny ears to the back of each felt nose, positioning them slightly apart and angled outwards to create a simple, charming bunny face. Ensure the glue is applied sparingly to avoid excess bulk.
- 7
Arrange the bunny faces evenly spaced around the wreath, ensuring they are facing outwards and creating a delightful visual appeal. Consider the overall balance and composition as you place them; you might want to cluster them slightly or spread them out uniformly.
- 8
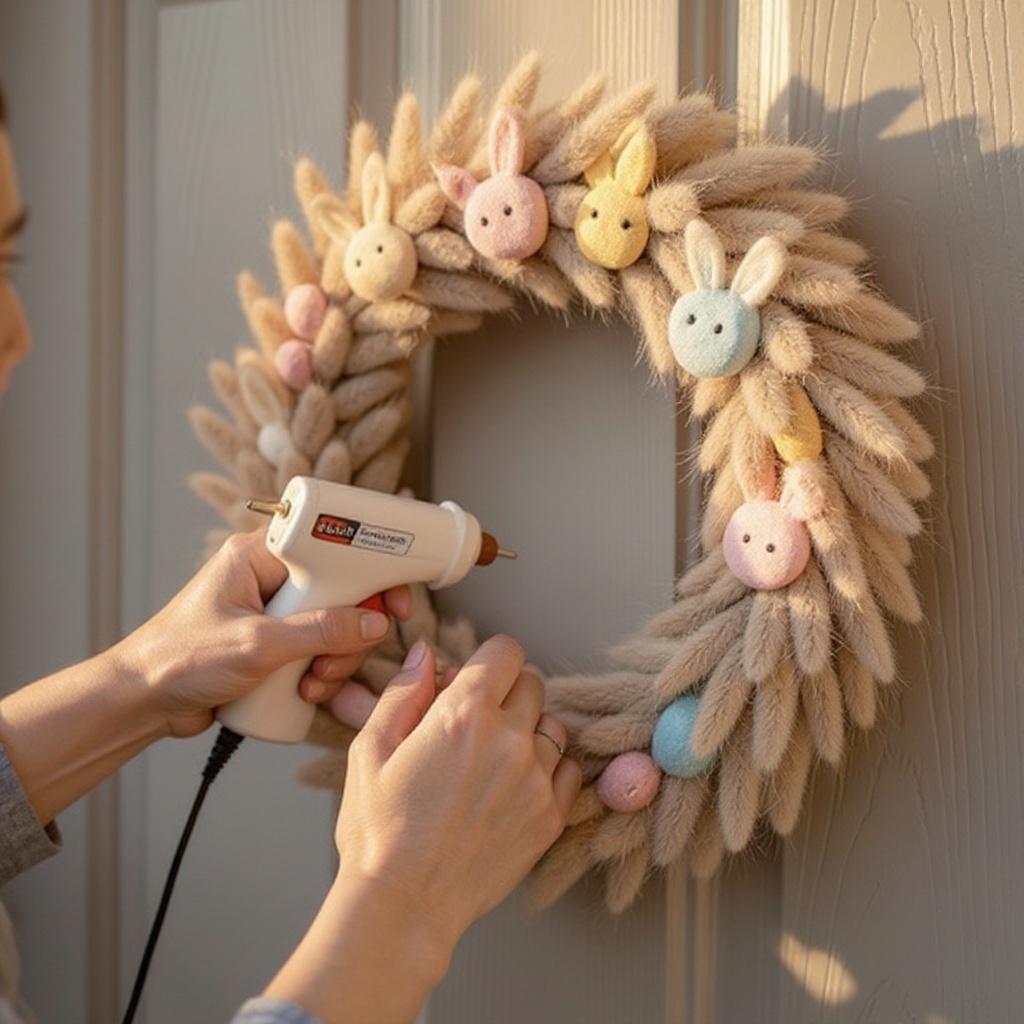
Secure each felt bunny face to the yarn-covered wreath form using a small dab of hot glue on the back of the felt nose. Press each bunny face gently but firmly onto the yarn for a few seconds to ensure a strong bond.
- 9
Continue adding bunny faces until you have a charming cluster around your wreath, filling the space as desired. You can aim for a full wreath or leave some areas of the yarn visible for a more minimalist look.
- 10
If desired, attach a loop of ribbon to the back of the wreath for easy hanging. Fold the ribbon in half to create a loop and secure both ends to the back of the wire wreath form using hot glue or by tying it securely to the wire.
- 11
Add any optional embellishments now, such as tiny felt flowers nestled between the bunny faces or small pom-poms for added texture. This is your chance to personalize the wreath further and make it truly unique.
- 12
Allow all the hot glue to cool and set completely before handling the wreath extensively or hanging it. This ensures that all the felt pieces are securely attached and the wreath is sturdy.
Tips & Troubleshooting
- 1If the yarn starts to unravel at any point during the wrapping process, don't panic. Simply secure the end with a small knot and a dab of hot glue to prevent further unraveling and continue wrapping from that point.
- 2Experiment with different yarn textures and colors for a unique look. Consider using variegated yarns for a multi-tonal effect, or try chunky yarns for a quicker wrap and a more substantial feel. You can also add small felt flowers or pom-poms for extra decorative flair.
- 3For younger children who may struggle with precise cutting, pre-cut the felt shapes for the bunny ears and noses to make the process easier and more enjoyable for them. This allows them to focus on the fun of assembling and gluing.
- 4Ensure the hot glue is completely cooled before handling the wreath to avoid burns. Always supervise children closely when they are using scissors or working near the hot glue gun, and teach them about safe crafting practices.
- 5When wrapping the yarn, try to maintain consistent tension. If the yarn is too loose, it can create gaps and look messy; if it's too tight, it can distort the shape of the wreath form. Aim for a firm but even wrap.
- 6Don't be afraid to mix and match yarn colors. You can create stripes by switching colors every few rows, or use a gradient effect by blending colors together. This adds a personalized touch to your wreath.
- 7When attaching the bunny faces, consider their placement carefully. You can create a playful pattern, such as a repeating sequence of ears and noses, or arrange them in a more organic, scattered fashion. Step back occasionally to assess the overall look.
- 8If you don't have a wire wreath form, you can create a similar base by cutting a large circle from sturdy cardboard and then cutting out a smaller circle from the center to form a ring. This DIY base can then be wrapped with yarn just like the wire form.
Related Activities You Might Enjoy
Frequently Asked Questions
What are the best yarn colors for an Easter wreath?
Pastel colors are quintessential for an Easter theme, evoking the soft hues of spring and new beginnings. Think of delicate shades like soft pink, baby blue, mint green, lavender, and creamy white. A cheerful sunny yellow can also add a bright, optimistic touch. For the bunny elements, consider natural tones like light brown, grey, or classic white for the ears and a contrasting pop of pink or a darker shade for the noses. Don't be afraid to mix and match these colors to create a visually appealing and festive wreath that truly captures the spirit of Easter.
Can I make this Easter wreath without a hot glue gun?
Yes, you can certainly make this Easter wreath without a hot glue gun, although hot glue offers the quickest and most secure bond for attaching the felt pieces. If you prefer not to use hot glue, strong craft glue or fabric glue are excellent alternatives. Apply a generous amount of your chosen adhesive to the back of the felt pieces and press them firmly onto the yarn-wrapped wreath form. You may need to hold the pieces in place for a longer duration to allow the glue to set properly. Be patient, as these alternative glues might require more drying time compared to hot glue.
How long does it take to make a DIY Easter wreath?
This Bunny Tail Easter Wreath typically takes about 45 minutes to an hour to complete, depending on your crafting speed and the number of bunny tails you decide to add. The yarn wrapping is the most time-consuming part, but it's also a very meditative and enjoyable process. Cutting out the felt shapes and gluing them on is relatively quick. If you're working with children, you might want to allocate a bit more time to allow for their participation and any learning curves. Overall, it's a manageable project that can be completed in a single crafting session.
What age is this Easter wreath craft suitable for?
This craft is suitable for children aged 6 and up with adult supervision, especially when using scissors and a hot glue gun. Younger children can enthusiastically help with the yarn wrapping, which is a fantastic way to develop fine motor skills and hand-eye coordination. They can also enjoy selecting the yarn and felt colors. For children under 6, an adult should handle all the cutting and gluing tasks, allowing the younger crafters to assist with simpler steps like holding the yarn or placing the pre-cut felt pieces.
How many bunny faces should I make for the wreath?
The number of bunny faces you create for your wreath is entirely up to your aesthetic preference and the size of your wreath form. For a standard 12-inch wreath form, making between 6 to 10 bunny faces usually provides a good balance. You can opt for a denser arrangement with more bunny faces clustered together for a fuller look, or a sparser arrangement with fewer faces spaced further apart for a more minimalist design. Consider the overall visual impact you want to achieve; stepping back and looking at the wreath as you place the faces can help you decide on the perfect number.
Can I customize the bunny ears and noses?
Absolutely! Customizing the bunny ears and noses is a wonderful way to add personality and unique charm to your Easter wreath. You can experiment with different shapes for the ears – perhaps longer, floppier ears, or even pointed elf-like ears. For the noses, consider using small pom-poms in various colors, tiny buttons, or even small felt hearts for a whimsical touch. You could also add small felt bows or flowers to the ears or around the faces to further personalize your creation and make it truly one-of-a-kind.
What Next?
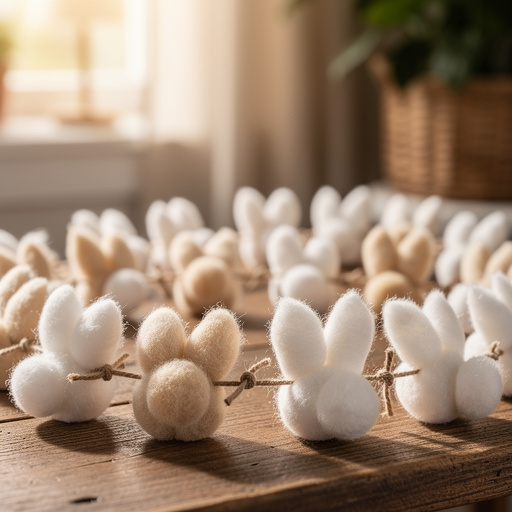
Once your charming Bunny Tail Easter Wreath is complete, you have a beautiful piece of handmade decor ready to welcome guests and celebrate the season. For variations, consider adding small felt flowers, pom-poms, or even tiny ribbon bows to the bunny faces for extra flair. You could also experiment with different yarn textures, like chenille or boucle, for a truly unique fluffy effect. To store your wreath after the season, gently remove any ribbon hanging loop and place it in a breathable bag or box, away from direct sunlight and moisture, to keep it looking its best for years to come. This project is a fantastic starting point for other Easter crafts, such as decorating Easter eggs or creating felt bunny garlands.
Free: 10 Paper Crafts Anyone Can Make in 5 Minutes
Get our beginner guide + new craft ideas weekly.
No spam. Unsubscribe anytime.
Did you complete this activity?
Related