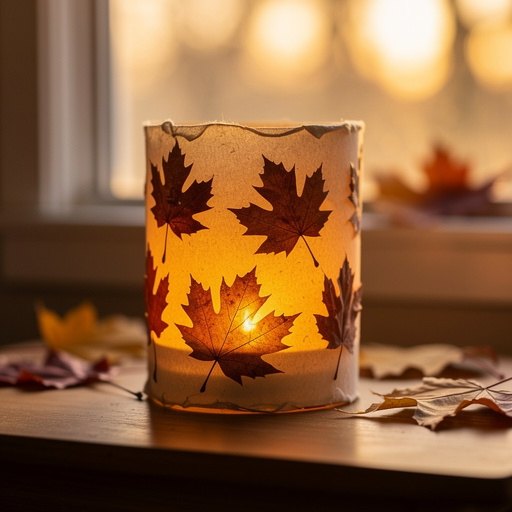
How to Create Leaf Silhouette Luminaries — Easy Step-by-Step Guide
Craft enchanting leaf silhouette luminaries to add a warm, natural glow to your Thanksgiving table. A screen-free activity for the whole family.

Quick answer
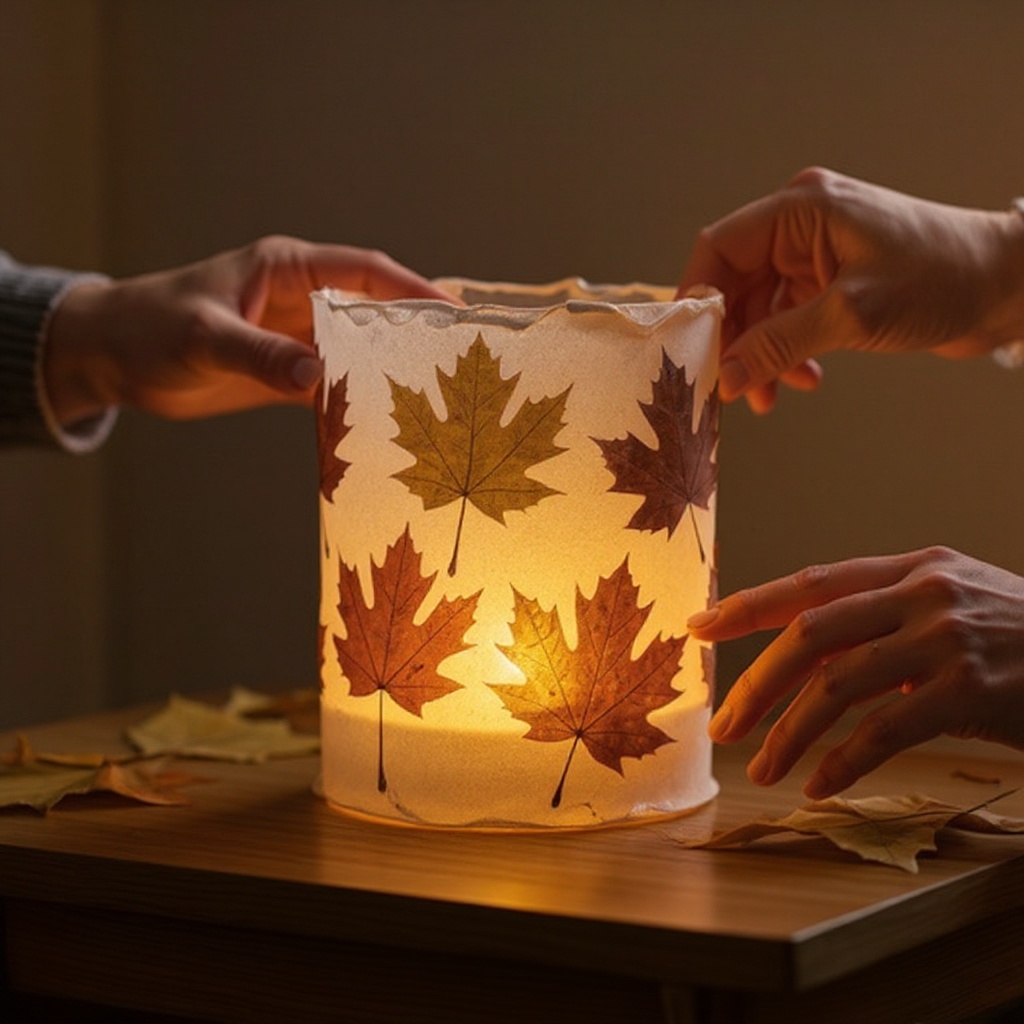
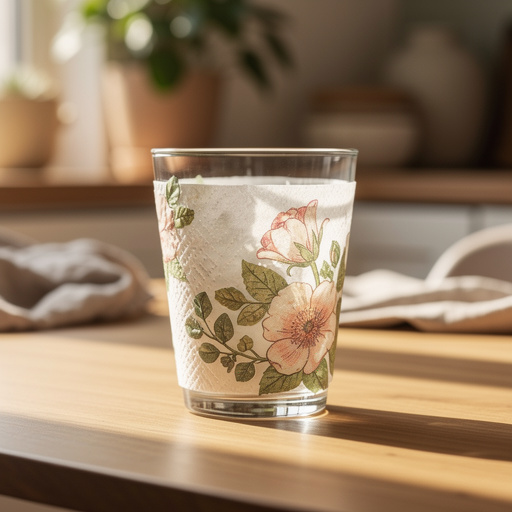
To make leaf silhouette luminaries, you need fallen leaves, jars, Mod Podge, and tissue paper, taking about 45 minutes. Start by adhering leaves to the outside of jars. This beginner-friendly activity has 10 steps and is perfect for families with children aged 6+.
What you need
Shop on Amazon · As an Amazon Associate we earn from qualifying purchases. Links above are affiliate links — we may earn a commission at no extra cost to you.
As autumn paints the world in vibrant hues, bring a touch of that natural beauty indoors with these enchanting leaf silhouette luminaries. This project is more than just a craft; it's an invitation to connect with nature and create something truly magical. Perfect for a cozy Thanksgiving centerpiece or a charming addition to any fall decor, these luminaries offer a screen-free, engaging activity that the whole family can enjoy, fostering creativity and a shared sense of accomplishment.
On this page
Step-by-Step Instructions
- 1
Gather a variety of fallen leaves. Ensure they are dry and have been pressed flat for at least a few days to prevent curling. Look for leaves with interesting shapes and textures, such as maple, oak, or even delicate fern fronds, ensuring they are not too brittle or crumbly.
- 2
Gently clean any dirt off the leaves with a dry cloth or a soft brush. Avoid using water, as this can make the leaves damp and harder to adhere. If a leaf has a stubborn bit of dirt, you can carefully try to pick it off with your fingernail or a toothpick.
- 3
Prepare your workspace by laying down newspaper or a drop cloth to protect your surfaces from Mod Podge. Ensure your glass jars are clean and completely dry before you begin.
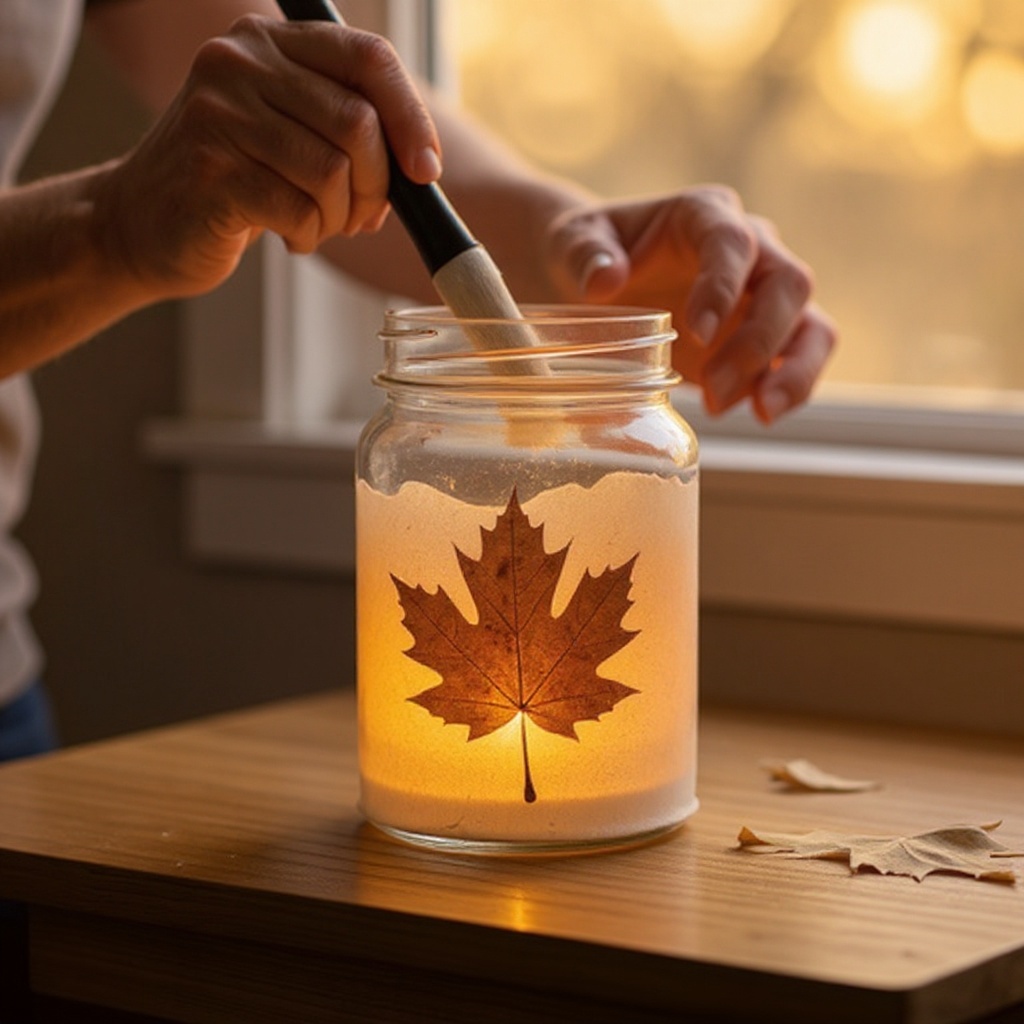
- 4
Using a foam brush, apply a thin, even layer of Mod Podge to a section of the outside of a glass jar. Work in small areas at a time so the Mod Podge doesn't dry before you can place your leaf.
- 5
Carefully place a leaf onto the Mod Podge, pressing down gently to adhere it. Start with larger leaves and work your way around the jar, overlapping them slightly to create a natural, layered effect. Use your fingers or the small paintbrush to smooth out any wrinkles or air bubbles.
- 6
Apply another thin layer of Mod Podge over the top of the leaf to seal it, ensuring the edges are well-covered. This will help to secure the leaf and prevent it from peeling later. Be sure to brush in the direction of the leaf's natural veins for a smoother finish.
- 7
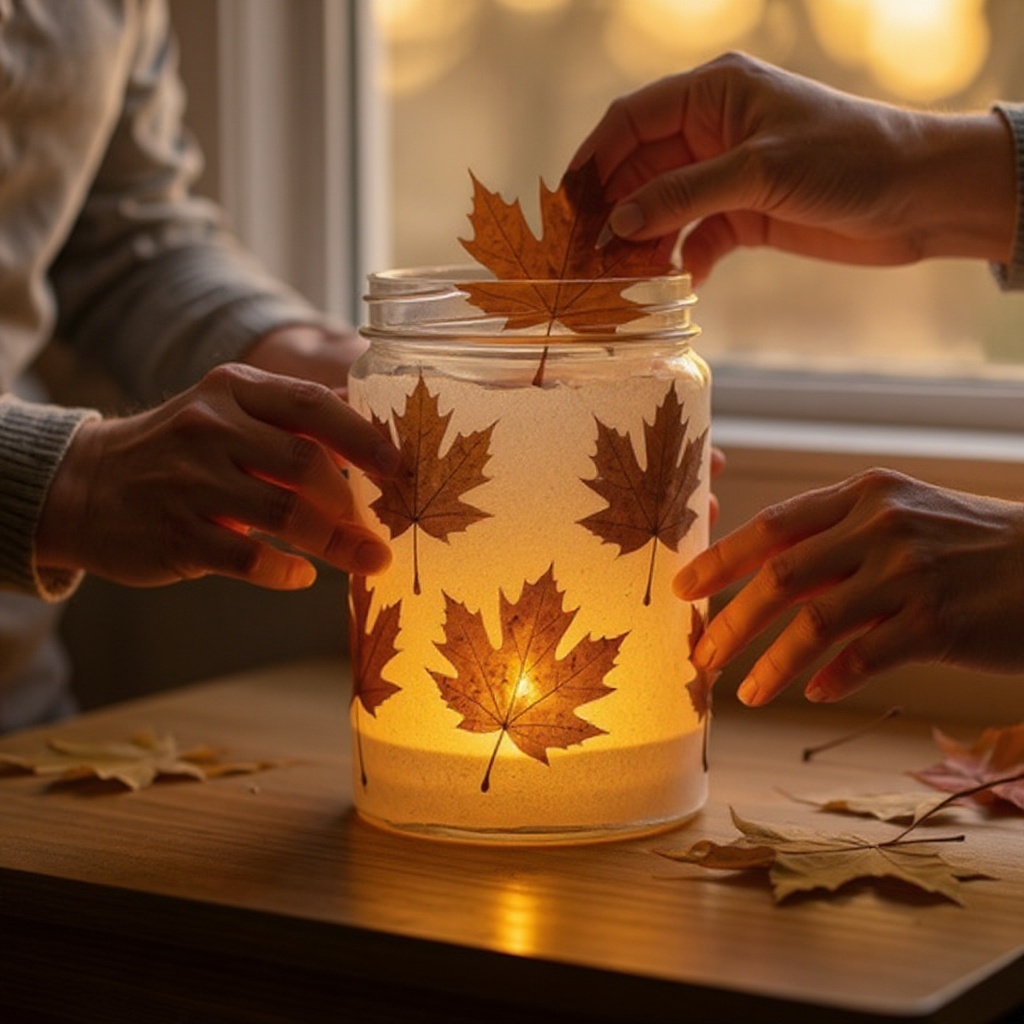
Continue adhering leaves around the entire surface of the jar, overlapping them slightly for a fuller look. Don't be afraid to mix different shapes and sizes of leaves to create a dynamic and visually interesting pattern. You can also use smaller leaves to fill in any small gaps.
- 8
Once all leaves are attached and sealed with Mod Podge, allow the initial layer of Mod Podge on the leaves to dry completely for about 20-30 minutes. This ensures the leaves are firmly in place before you add the tissue paper.
- 9
While the jars dry, cut or tear strips of tissue paper into various sizes. Tearing the edges of the tissue paper will create a softer, more organic look than cutting with scissors. Aim for a mix of widths and lengths to add visual interest.
- 10
Once the Mod Podge on the leaves is dry to the touch, apply a thin, even layer of Mod Podge over the entire exterior of the jar, including over the adhered leaves. This layer will act as the base for your tissue paper.
- 11
Gently press the tissue paper strips onto the Mod Podge-covered jar, creating a soft, diffused effect. Overlap the tissue paper to cover any gaps and to build up layers of color and texture. You can arrange the tissue paper in a random pattern or try to create a gradient effect.
- 12
Apply a final thin coat of Mod Podge over the tissue paper to seal everything. This final layer will smooth out the tissue paper, protect the design, and give your luminary a finished look. Ensure all edges of the tissue paper are sealed down.
- 13
Let the luminaries dry completely. This may take several hours, depending on the thickness of the Mod Podge and tissue paper layers. You can speed up the drying process slightly by placing them in a warm, well-ventilated area, but avoid direct heat.
- 14
Once the luminaries are completely dry and the Mod Podge is no longer tacky, place a tea light or battery-operated fairy lights inside to illuminate them. The light will shine through the leaves and tissue paper, creating a beautiful, warm glow.
Tips & Troubleshooting
- 1For a more uniform look, you can trim the edges of the leaves before adhering them, especially if you want a cleaner, more defined silhouette. However, leaving the natural edges can add to the rustic charm of the luminaries.
- 2Experiment with different leaf shapes and sizes for unique patterns. Smaller leaves work well for detailed areas or to fill in smaller spaces between larger leaves, adding depth and complexity to your design.
- 3If your leaves are brittle, you can try lightly misting them with water before applying Mod Podge, but be careful not to make them too wet, as this can cause them to tear or become mushy. A very light spritz is usually sufficient to add a little flexibility.
- 4For a more rustic feel, use brown or cream-colored tissue paper, which will enhance the natural tones of the leaves. For a festive touch, try a muted orange or yellow tissue paper that complements autumn colors without being overpowering.
- 5Ensure the Mod Podge is completely dry before adding the tissue paper to prevent the leaves from becoming soggy and potentially detaching. Patience is key to a durable and beautiful finish.
- 6Consider using a variety of leaf colors – reds, oranges, yellows, and browns – for a richer, more dynamic visual effect. The contrast between the leaf colors and the tissue paper will be striking when lit.
- 7When applying Mod Podge, use long, even strokes to avoid brush marks, especially on the final layer. This will give your luminaries a more professional and polished appearance.
- 8If you find that some leaves are still curling slightly after drying, you can gently press them down with a bit more Mod Podge and a clean finger or a small brush. This might require a second small application of Mod Podge over the area.
Related Activities You Might Enjoy
Frequently Asked Questions
What kind of leaves work best for luminaries?
Dried and pressed leaves are best for this craft. Look for leaves that are relatively flat and not too brittle, as very brittle leaves can crumble when handled. Autumn leaves in various colors and shapes offer the most beautiful results, providing a natural palette of reds, oranges, yellows, and browns. Collect a diverse selection to create interesting patterns and textures on your luminaries. Ensure they have been pressed flat for at least 3-5 days to remove excess moisture and prevent curling during the crafting process.
Can I use fresh leaves for this craft?
Fresh leaves are not recommended for this craft. They tend to curl, shrink, and become brittle as they dry, which can cause them to detach from the jar and create unsightly gaps in your design. The moisture content in fresh leaves can also interfere with the adhesion of the Mod Podge, leading to a less durable luminary. It's best to take the time to collect and press leaves beforehand to ensure a beautiful and long-lasting result.
How long do these luminaries last?
With proper sealing and care, your leaf silhouette luminaries can last for several seasons. The Mod Podge acts as a protective sealant, preserving the leaves and tissue paper. When not in use, store them carefully in a dry place, away from direct sunlight and moisture, to prevent degradation. Avoid stacking them directly on top of each other to prevent damage to the delicate leaf designs. Handle them gently when displaying to ensure their longevity.
What is Mod Podge and where can I find it?
Mod Podge is a versatile, all-in-one craft medium that functions as a glue, sealer, and finish. It dries clear and is water-based, making it easy to clean up. It's ideal for decoupage projects like this luminary craft, as it adheres paper, fabric, and other decorative elements to surfaces while also providing a protective coating. You can find Mod Podge at most craft stores, in the craft section of larger retailers like Walmart or Target, and online through various e-commerce platforms. It comes in different finishes, such as matte, gloss, and satin.
Can I use different types of jars for this project?
Absolutely! This project is very adaptable to different types of glass containers. While mason jars are popular, you can also use old pickle jars, jam jars, wine bottles (with the bottoms cut off for a unique look, though this requires advanced skills and safety precautions), or even glass vases. The key is that the jar is clean, dry, and has a smooth surface for the Mod Podge to adhere to. Varying jar shapes and sizes will create a beautiful, eclectic collection of luminaries.
What kind of lights should I use inside the luminaries?
For safety and convenience, battery-operated tea lights or fairy lights are highly recommended. They provide a warm, flickering glow without the risk of an open flame, making them perfect for use around children and pets, and for placement on surfaces where a real candle might be a hazard. If you choose to use real tea lights, ensure they are placed on a heat-resistant surface and never leave them unattended. The light will diffuse beautifully through the layered leaves and tissue paper, creating a magical ambiance.
How can I make the leaf silhouettes more prominent?
To make the leaf silhouettes stand out more, consider applying the Mod Podge to the jar in a way that leaves some areas of the glass showing through the tissue paper. Alternatively, you can use a slightly thicker application of Mod Podge over the leaves themselves before adding the tissue paper, which can create a subtle raised effect. Another technique is to use a single layer of tissue paper and ensure the leaves are well-adhered and sealed, allowing their natural shape to be the primary focus against the diffused light.
What Next?
These leaf silhouette luminaries are wonderfully versatile. Consider using different colored tissue paper for varied moods, or even adding a touch of glitter to the final Mod Podge coat for extra sparkle. For a truly unique touch, try incorporating small twigs or dried flowers alongside the leaves. Once your luminaries are complete and dry, arrange them on your mantelpiece, windowsill, or as a stunning centerpiece for your autumn gatherings. Store them carefully in a cool, dry place between seasons to enjoy their warm glow year after year.
Free: 10 Paper Crafts Anyone Can Make in 5 Minutes
Get our beginner guide + new craft ideas weekly.
No spam. Unsubscribe anytime.
Did you complete this activity?
Related
You might also like
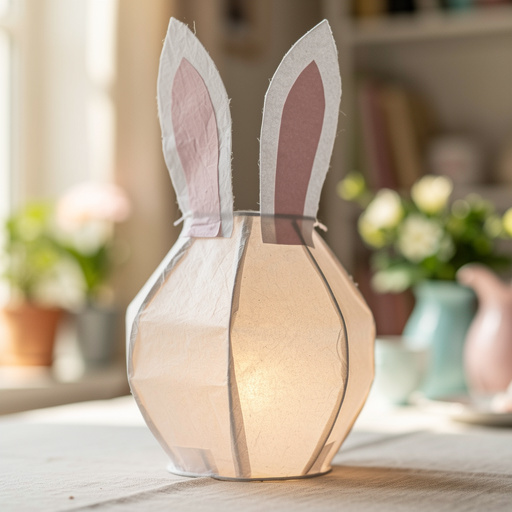
Bunny Ear Paper Lanterns
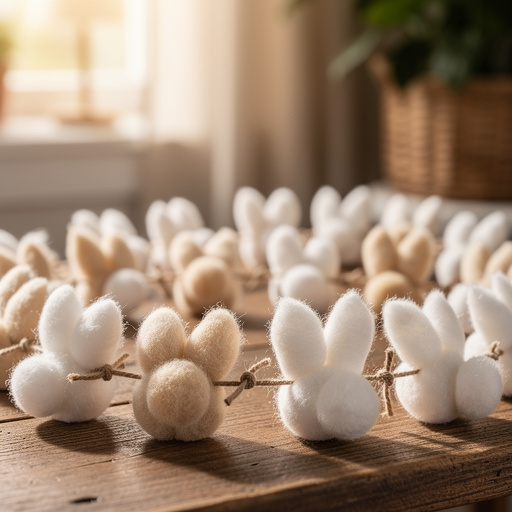
Bunny Tail Cotton Ball Garland
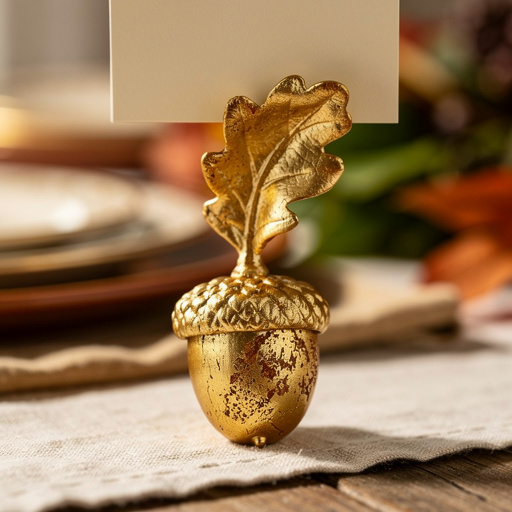
Gilded Acorn & Leaf Place Card Holders
Napkin Art Glassware Makeover

Easter Egg Carton Critters