How to Create an Elegant Easter Egg Garland — Easy Step-by-Step Guide
Elevate your Easter decor with this stunning, yet simple, elegant Easter egg garland. A sophisticated craft perfect for adding a touch of spring to your home. This guide provides clear, step-by-step instructions for creating a beautiful garland that will impress your guests and bring a festive spirit to your celebrations. Perfect for crafters of all levels, this project is a delightful way to spend an afternoon and create a lasting piece of seasonal decor.
Quick answer
To make an elegant Easter egg garland, you need 12-20 faux Easter eggs (plastic or styrofoam, 2-3 inch size), acrylic paints in pastel or spring colors, paintbrushes, about 6 feet of twine or jute string, scissors, and a hot glue gun with glue sticks. Start by painting your eggs in your chosen colors and patterns, allowing them to dry completely. Then, cut your twine to size, tie knots to secure the eggs at desired intervals, and attach them using hot glue. This beginner-friendly activity has approximately 15 steps and is perfect for adults wanting beautiful, screen-free decor that can be completed in about 60-90 minutes.
What you need
Shop on Amazon · As an Amazon Associate we earn from qualifying purchases. Links above are affiliate links — we may earn a commission at no extra cost to you.
Welcome spring into your home with a touch of handmade charm! This elegant Easter egg garland is more than just a decoration; it's a testament to the beauty of simple, thoughtful crafting. Designed for ease and aesthetic appeal, this project is perfect for anyone looking to add a sophisticated, personalized touch to their Easter celebrations. Whether you're a seasoned crafter or a complete beginner, this garland offers a rewarding experience, allowing you to create a stunning piece of decor that feels both fresh and timeless, bringing a warm, inviting atmosphere to your living space.
On this page
Step-by-Step Instructions
- 1
Gather all your materials in a well-ventilated area, ensuring you have enough space to work comfortably and lay out your eggs without them touching while drying.
- 2
If using styrofoam eggs, you may want to lightly sand them with fine-grit sandpaper for a smoother finish, which will help the paint adhere better and create a more polished look.
- 3
Begin painting the first coat of your chosen color onto each faux egg, ensuring even coverage. For best results, use a dabbing motion rather than long strokes, especially on styrofoam, to avoid creating texture.
- 4
Allow the first coat of paint to dry completely before applying a second coat. This is crucial for achieving full coverage and preventing the paint from looking streaky or uneven.
- 5
Once the second coat is dry, assess if any areas need a third coat for opaque coverage. Patience here will pay off in a beautifully finished garland.
- 6
If you desire, add subtle patterns or details with a contrasting color or a fine-tip brush. Consider simple dots, stripes, or even delicate floral motifs to enhance the elegance of your eggs.
- 7
For a more polished and durable finish, lightly spray the completely dry eggs with a clear sealant. Ensure you do this in a well-ventilated area and allow them to dry thoroughly according to the product's instructions.
- 8
Cut your twine to the desired length for your garland, adding at least 12-18 extra inches on each end for tying and securing the garland when hanging.
- 9
Tie a sturdy knot at one end of the twine, about 6-8 inches from the very end. This knot will act as a stopper, preventing the first egg from sliding off the twine.
- 10
Apply a small but generous dab of hot glue to the top of the first egg, near the natural hanging point if it has one, or simply where you intend for it to attach to the twine.
- 11
Carefully press the knotted end of the twine firmly into the hot glue on the first egg. Hold it in place for about 15-20 seconds until the glue cools and the twine is securely attached.
- 12
Measure the desired spacing for your next egg along the twine. A consistent spacing, such as 3-4 inches between eggs, will create a visually pleasing rhythm for your garland.
- 13
Tie another sturdy knot in the twine at your measured spacing. This knot will serve as the anchor point for the next egg.
- 14
Apply a dab of hot glue to the top of the next egg, similar to how you did with the first egg.
- 15
Press the newly tied knot in the twine firmly into the hot glue on the second egg. Hold until the glue cools and the egg is securely attached.
- 16
Repeat steps 12 through 15 for all remaining eggs, ensuring consistent spacing and secure attachment for each one. Take a moment to step back and check the overall balance and spacing as you go.
- 17
Once all eggs are attached, tie a final knot at the other end of the twine, about 6-8 inches from the last egg. This knot secures the last egg and creates a loop for hanging the garland.
- 18
Trim any excess twine from the ends, leaving enough for tying if you plan to hang it directly with the twine.
- 19
Inspect your garland for any loose glue strands or unevenness and make minor adjustments as needed.
Tips & Troubleshooting
- 1For a more sophisticated look, embrace a limited color palette, perhaps using only two or three complementary pastel shades. Alternatively, try ombre effects by blending colors on each egg, starting with a lighter shade at the bottom and gradually darkening towards the top.
- 2If your faux eggs have a visible seam from the molding process, you can either paint over it to conceal it or strategically use it as a guide for your painted designs, incorporating it into stripes or borders.
- 3Instead of relying solely on hot glue, you can carefully drill small pilot holes at the top of the eggs and thread the twine through, securing it with knots on the inside or outside of the egg for an even more robust attachment.
- 4Elevate your garland's visual appeal by adding small beads or charms between the eggs. Wooden beads in natural tones or delicate metal charms can add sparkle, texture, and extra visual interest, breaking up the pattern of the eggs.
- 5To achieve a professional finish, consider using painter's tape to create crisp, clean lines for stripes or geometric patterns on your eggs. Apply the tape firmly, paint over the edges, and then carefully remove the tape while the paint is still slightly wet.
- 6Experiment with different paint finishes beyond matte. A subtle satin finish can add a touch of sheen, or you could even try a crackle medium for a vintage, distressed look on some of the eggs.
- 7If you're using plastic eggs and want a more vibrant color, consider spray painting them first with a primer designed for plastic, then follow with your acrylic colors for better adhesion and a smoother finish.
- 8When attaching the eggs, ensure the glue is hot and applied generously enough to create a strong bond. Don't rush the cooling process; holding the egg and twine in place for the recommended time is key to preventing them from detaching later.
Related Activities You Might Enjoy
Frequently Asked Questions
What kind of eggs work best for an Easter garland?
Faux Easter eggs made of plastic or styrofoam are ideal for this project. They are lightweight, which is essential for a garland that will be hung, and they are also easy to paint and decorate without the risk of cracking. Their durability means your garland can be enjoyed for many Easters to come. Avoid using real eggs, as they are fragile, prone to breaking during the crafting process, and will eventually spoil, making them unsuitable for a lasting decoration. The size of the eggs, typically 2-3 inches, is also perfect for creating a balanced and visually appealing garland.
How do I ensure the eggs stay on the twine securely?
The most secure method for attaching the eggs to the twine is by using a hot glue gun. Apply a generous dab of hot glue to the top of the egg where you want the twine to attach. Then, press the knotted end of the twine firmly into the glue. Hold it in place for at least 15-20 seconds to allow the glue to cool and set completely. For added security, ensure the knot is substantial and sits well within the glue. If you're concerned about the bond, you can also add a small amount of glue around the twine where it meets the egg after it has initially set.
Can I make this garland with kids?
Absolutely! This craft is wonderfully adaptable for older children with adult supervision. They can enthusiastically participate in the painting and decorating of the eggs, choosing their favorite colors and creating fun patterns. Adults should handle the more intricate steps, such as cutting the twine, tying precise knots, and especially the use of the hot glue gun, which requires careful handling. This shared activity provides a fantastic opportunity for quality family time and allows children to feel a sense of accomplishment by contributing to a beautiful handmade decoration.
What are some alternative paint techniques for the eggs?
Beyond simple brush painting, there are many creative techniques to explore for decorating your Easter eggs. You can try watercolor effects by diluting acrylic paints with water for a translucent, layered look. Marbling can be achieved by swirling paints in shaving cream or water and dipping the eggs. For a more abstract approach, consider dipping the eggs entirely in paint for a solid, bold color or using stencils to create intricate patterns like polka dots, damask, or floral designs. Even simple sponging with different colors can create a lovely textured effect.
How can I make my garland look more cohesive and elegant?
To achieve a truly elegant and cohesive look, focus on your color palette. Stick to a limited selection of 2-4 complementary pastel or muted spring colors. This restraint will prevent the garland from looking too busy. Consider using a consistent pattern across all eggs, or variations on a theme, such as stripes on some and dots on others, all within the same color scheme. Another sophisticated touch is to ensure the spacing between each egg is uniform. Finally, a matte or satin sealant spray can add a professional finish that unifies the appearance of all the painted eggs.
How long will this garland take to make?
The time it takes to create this elegant Easter egg garland can vary depending on your speed and the complexity of your decorations. However, for a beginner, you can expect to spend approximately 60 to 90 minutes on the entire project. This includes the time for painting the eggs (allowing for drying between coats), adding any decorative details, and then assembling the garland by attaching the eggs to the twine. If you're painting multiple batches of eggs or adding very intricate designs, it might take a bit longer, but the process is generally quite efficient.
What Next?
Congratulations on creating your beautiful, elegant Easter egg garland! This versatile decoration can be draped across mantels, windows, doorways, or even used to adorn a buffet table. For future displays, consider storing your garland carefully in a box or bag, perhaps with some tissue paper, to protect the painted surfaces and prevent tangling. You can also experiment with different color palettes, egg sizes, or even incorporate other spring-themed embellishments like small wooden beads or paper flowers for future iterations. This project is a wonderful starting point for a whole collection of handmade Easter decor!
Free: 10 Paper Crafts Anyone Can Make in 5 Minutes
Get our beginner guide + new craft ideas weekly.
No spam. Unsubscribe anytime.
Did you complete this activity?
Related
You might also like

Bunny Tail Cotton Ball Garland
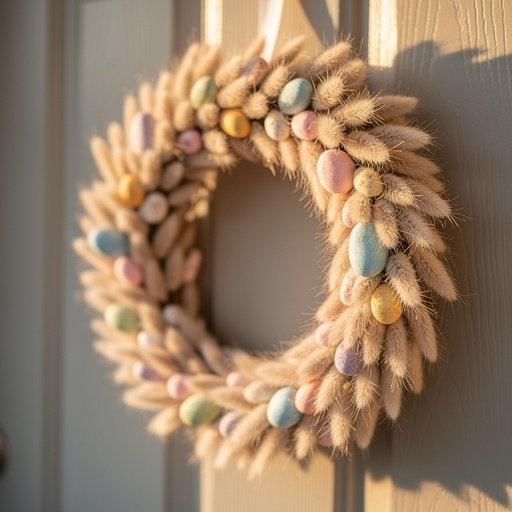
Bunny Tail Easter Wreath
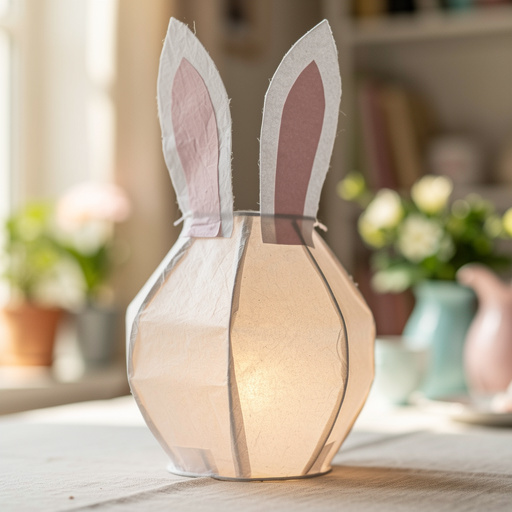
Bunny Ear Paper Lanterns

Printable Music Note Garland

Leaf Silhouette Luminaries