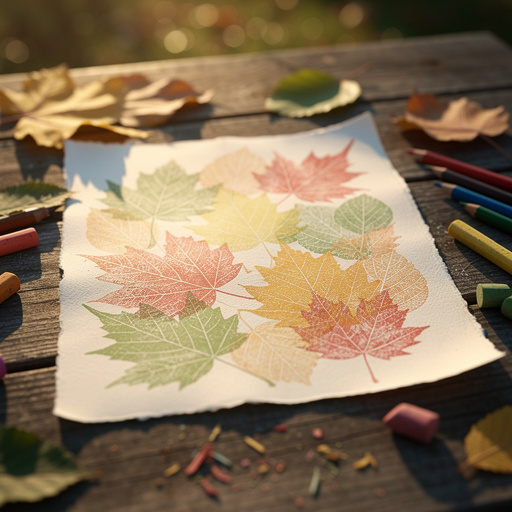
How to Make a Leaf Rubbing Nature Collage — Easy Step-by-Step Guide
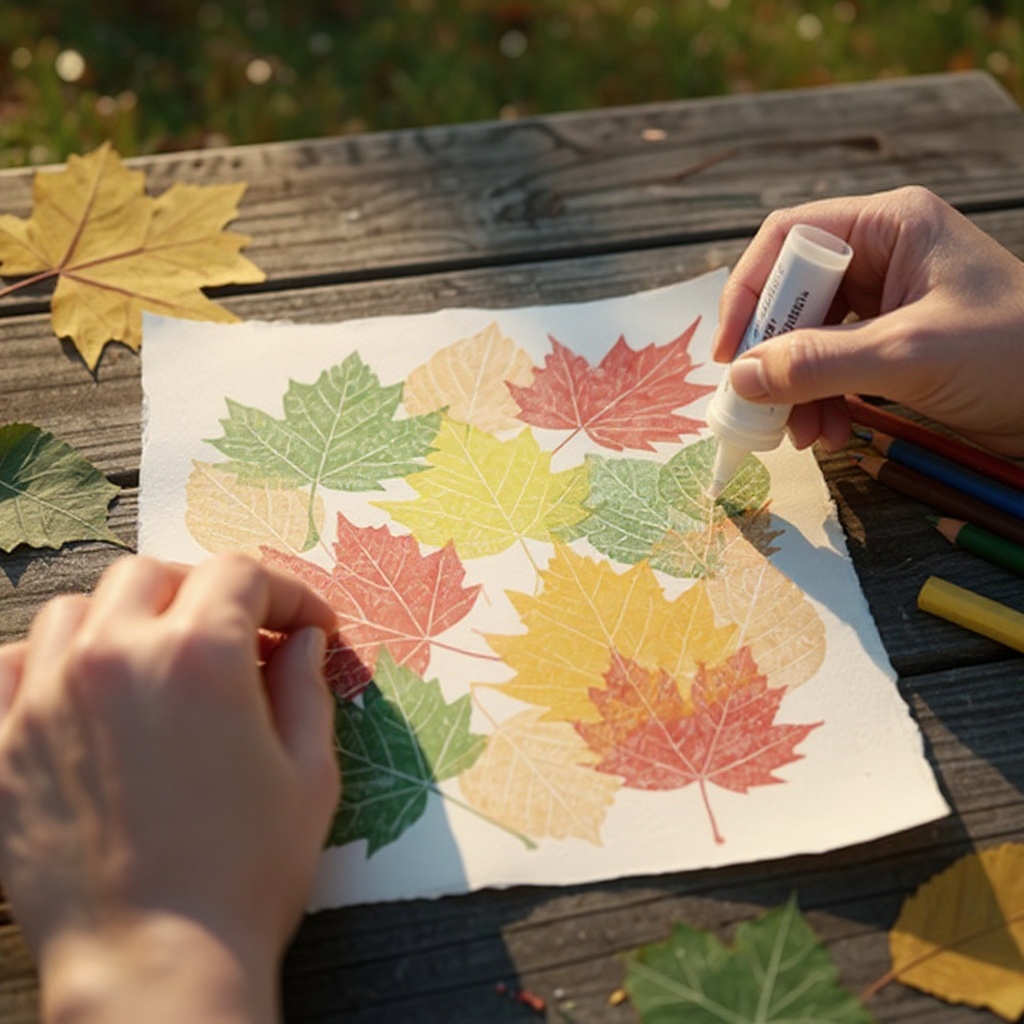
Transform fallen leaves into a vibrant autumn collage using a simple rubbing technique. A perfect screen-free activity for little artists.

Quick answer
To make a leaf rubbing nature collage, you need fallen leaves, paper, and crayons, and about 30 minutes. Start by placing a leaf under paper and rubbing with a crayon. This beginner-friendly activity has 10 steps and is perfect for preschoolers.
What you need
Shop on Amazon · As an Amazon Associate we earn from qualifying purchases. Links above are affiliate links — we may earn a commission at no extra cost to you.
On this page
Step-by-Step Instructions
- 1
Gather a variety of interesting fallen leaves from outside. Look for different shapes, sizes, and textures.
- 2
Gently clean any dirt or debris off the leaves with a damp cloth.
- 3
Place one leaf, vein-side up, on a flat surface.
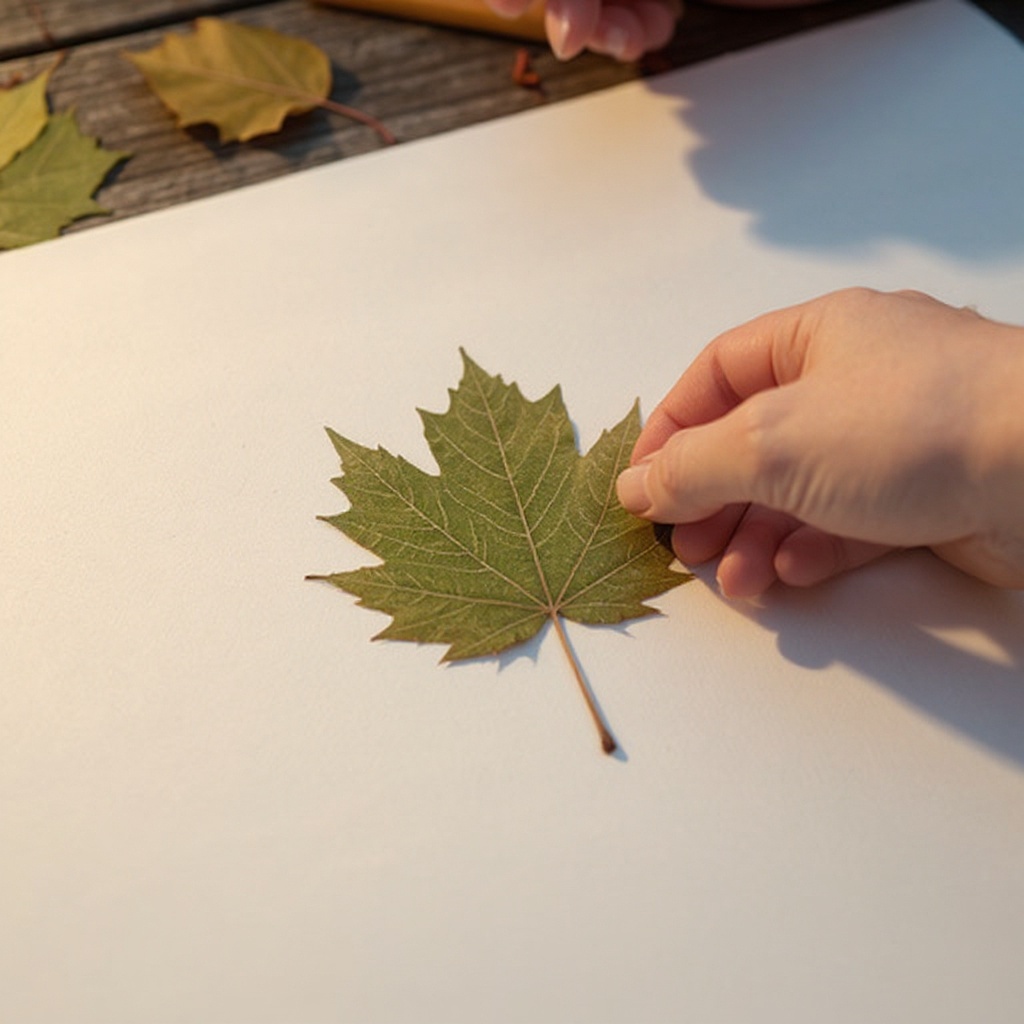
- 4
Lay a sheet of plain white paper over the leaf.
- 5
Peel the paper off the crayons you want to use. Use the side of the crayon for larger coverage.
- 6
Rub the side of the crayon firmly over the paper where the leaf is underneath. You should see the leaf's texture and shape appear.
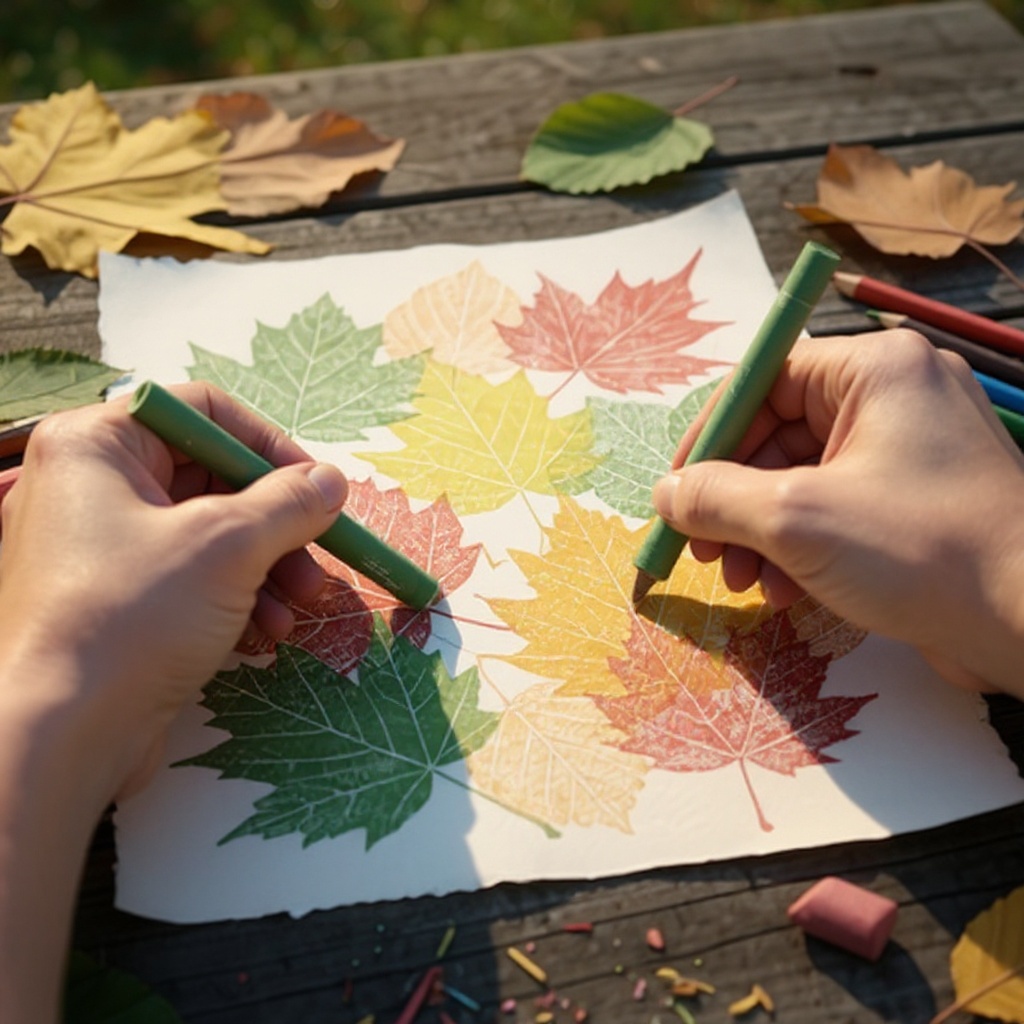
- 7
Continue rubbing with different crayon colors to create multiple leaf rubbings on the same sheet of paper.
- 8
Repeat steps 3-7 with different leaves and paper to create a collection of leaf rubbings.
- 9
Once you have several leaf rubbings, use child-safe scissors to cut out interesting shapes or sections from the papers. (Adult help may be needed for younger children).
- 10
Arrange the cut-out leaf rubbing pieces onto a new sheet of paper to create a collage. Overlap pieces for a layered effect.
- 11
Use a glue stick to secure each piece of the leaf rubbing collage to the background paper.
- 12
Allow the glue to dry completely.
Tips & Troubleshooting
- 1For clearer leaf rubbings, ensure the leaf is completely flat and dry. If it's too brittle, it might crumble.
- 2Experiment with different types of paper. Thicker paper might give a more textured result, while thinner paper can show finer details.
- 3Try using different parts of the leaf, like just the stem or a single vein, for unique patterns.
- 4Once the collage is dry, you can add details with markers or glitter for extra sparkle.
- 5Store finished collages flat in a protective sleeve or frame them for display.
Related Activities You Might Enjoy
Frequently Asked Questions
What are the best leaves for leaf rubbing?
Look for leaves with prominent veins, like maple, oak, or sycamore. Ensure they are dry and not too brittle or too wet for the best texture transfer.
How do I get the best leaf rubbing results?
Use the side of the crayon and rub firmly over the paper. Make sure the leaf is positioned vein-side up and is flat underneath the paper for clear impressions.
Can I use colored paper for leaf rubbings?
While white paper allows the crayon colors to show best, you can experiment with colored paper. Lighter colored crayons will be more visible on darker paper.
What other fall crafts can I do with leaves?
Besides leaf rubbings, you can create leaf garlands, leaf-printed art, or use leaves for nature collages by gluing them directly onto paper.
Free: 10 Paper Crafts Anyone Can Make in 5 Minutes
Get our beginner guide + new craft ideas weekly.
No spam. Unsubscribe anytime.
Did you complete this activity?
Related
You might also like
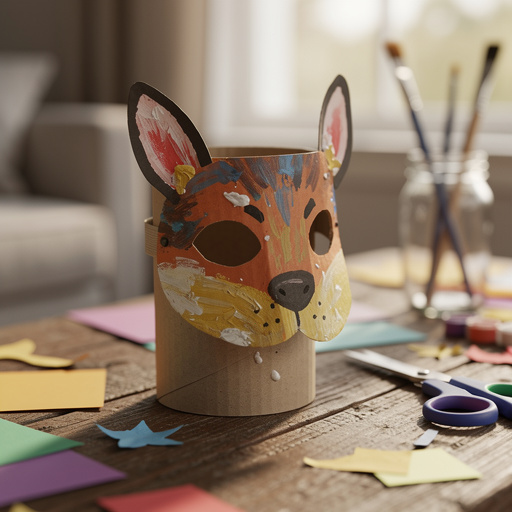
Cardboard Tube Animal Masks
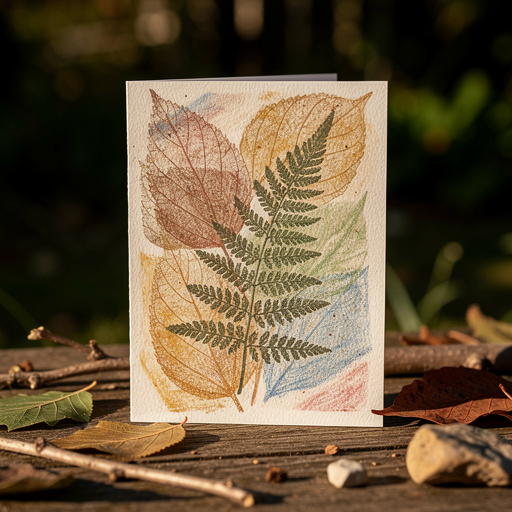
Nature Rubbing Art Cards
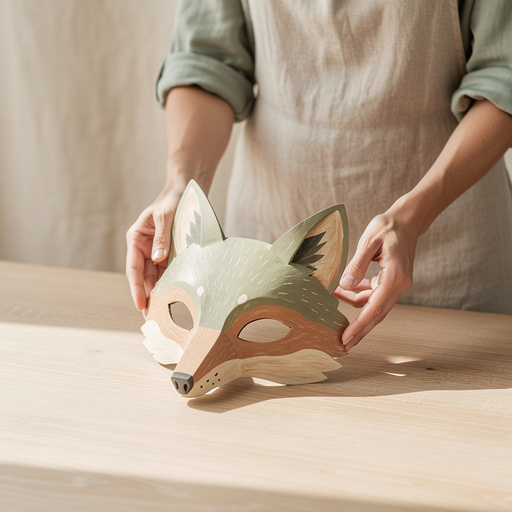
Cardboard Critter Masks
Winter Wonderland Paper Snowflakes
Toilet Paper Roll Animal Puppets