How to Create Decoupage Furniture Facelifts — Easy Step-by-Step Guide
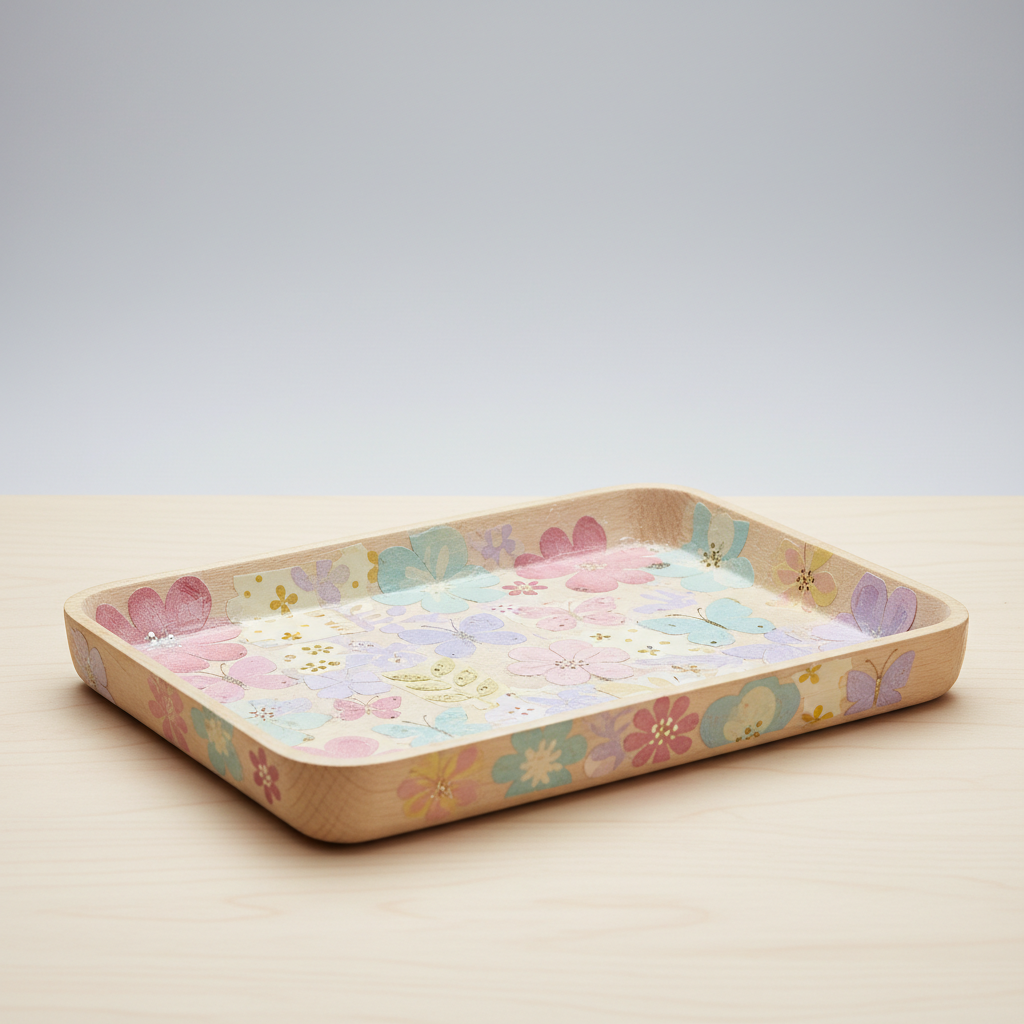
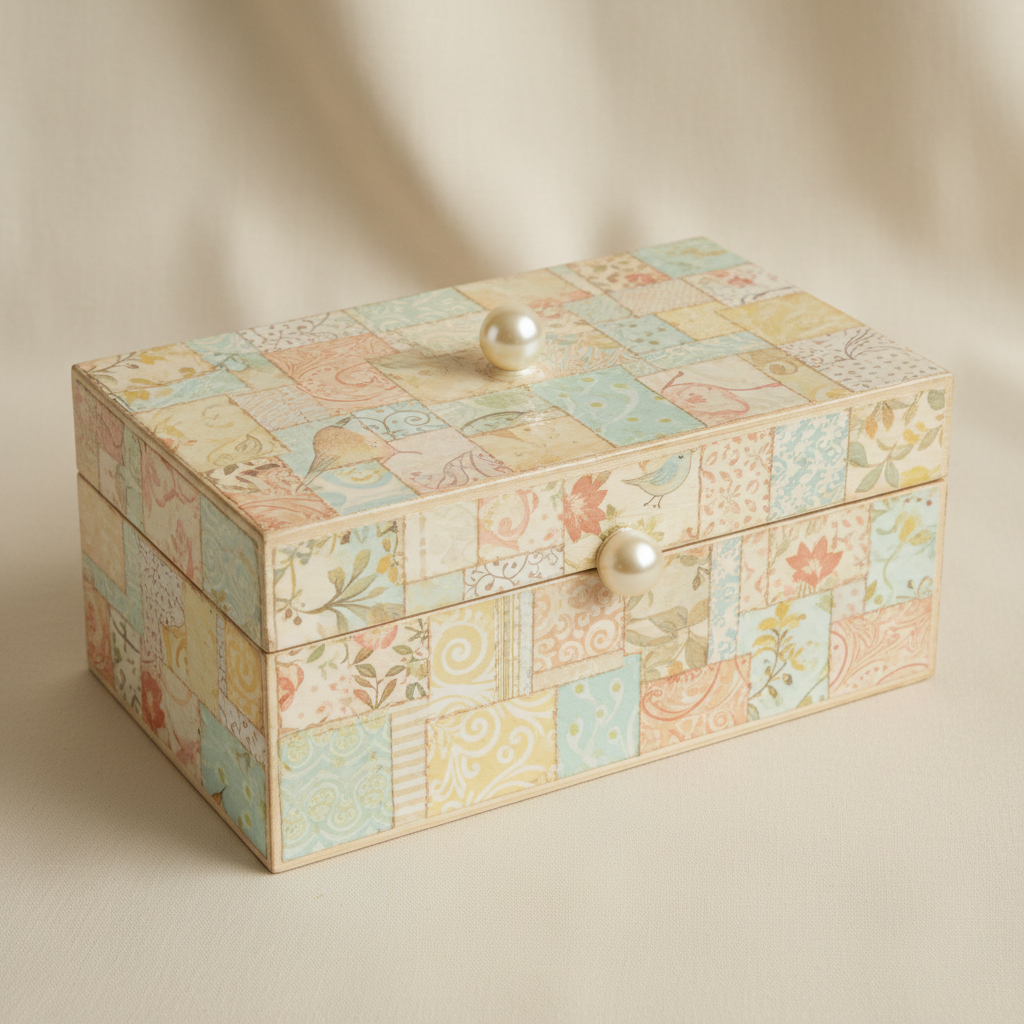
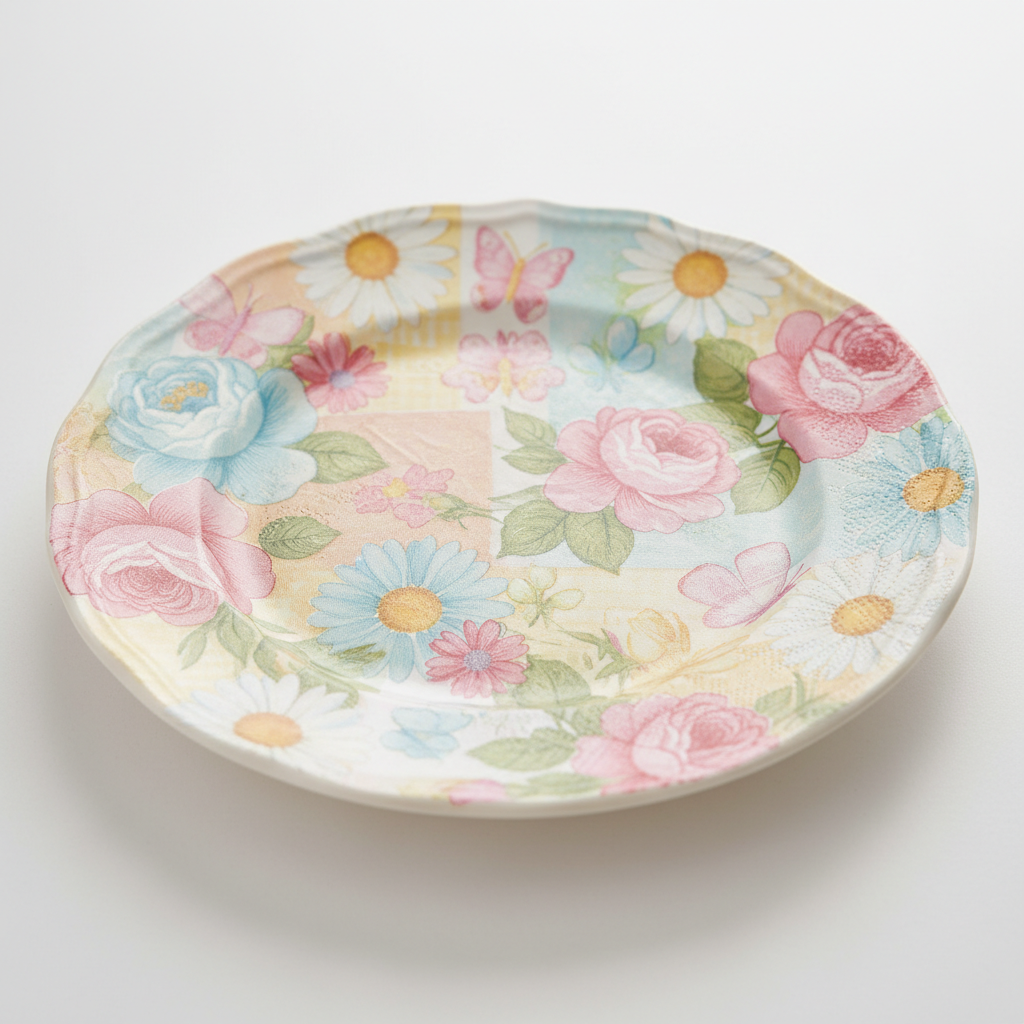
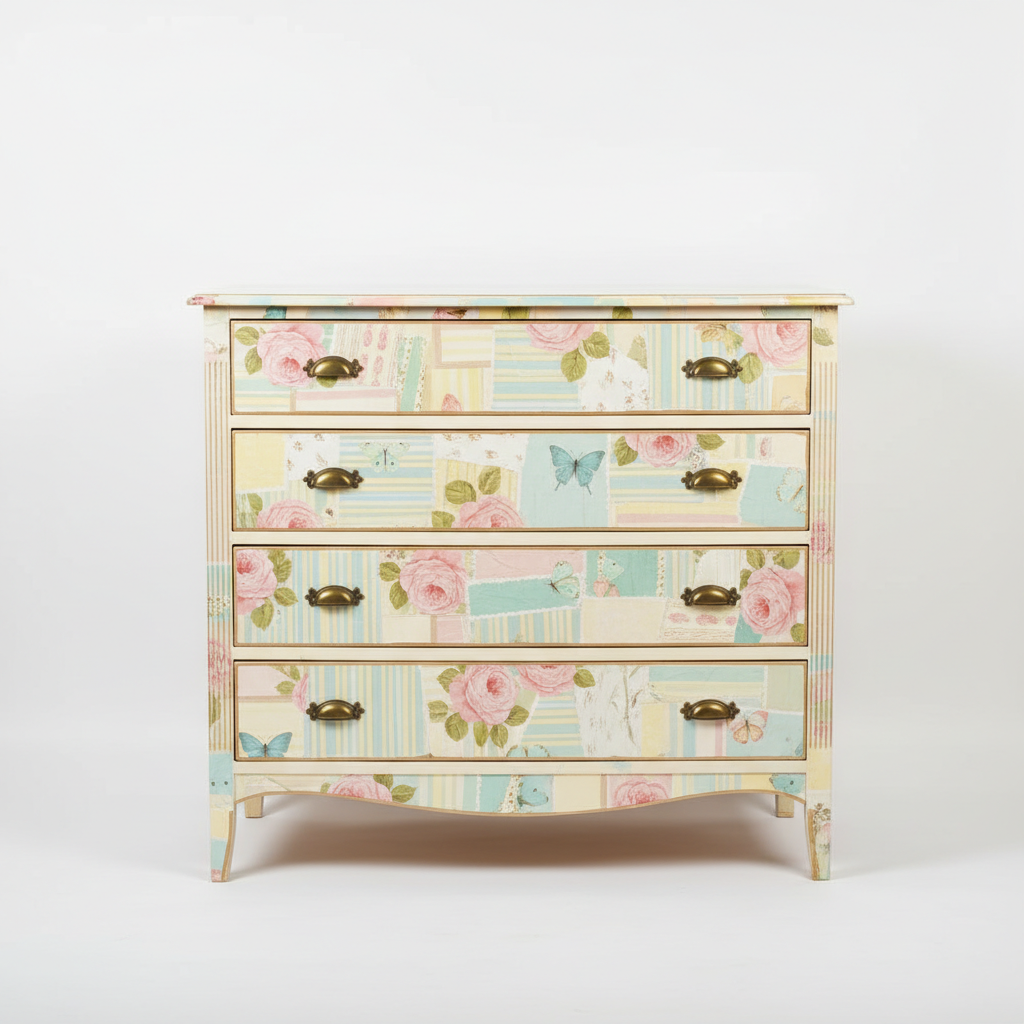
Give old furniture a vibrant new life with the art of decoupage! This guide shows you how to transform drawers, tabletops, and more with beautiful paper designs. Perfect for beginners and families, this project breathes new life into tired pieces.

Quick answer
To create decoupage furniture, you need old furniture, decorative paper, decoupage glue, and brushes, taking about 2-3 hours for a small piece. Start by cleaning and preparing your furniture surface. This beginner-friendly activity has 10 steps and is perfect for families looking for screen-free projects, resulting in a unique, personalized piece of decor.
What you need
Shop on Amazon · As an Amazon Associate we earn from qualifying purchases. Links above are affiliate links — we may earn a commission at no extra cost to you.
Tired of staring at drab, uninspired furniture? Breathing new life into old pieces is not only eco-friendly but also incredibly rewarding, and decoupage is the perfect technique for the job. This accessible craft allows you to infuse personality and style into anything from a humble stool to a grand dresser using beautiful papers. It's a fantastic way to create custom decor that reflects your unique taste, making it ideal for DIY enthusiasts, families seeking creative bonding time, or anyone looking to add a touch of handmade charm to their home without breaking the bank.
On this page
Step-by-Step Instructions
- 1
Clean the furniture surface thoroughly with a damp cloth to remove any dirt, dust, or grime, and allow it to dry completely. For stubborn residue, a mild soap solution can be used, but ensure it's rinsed off and the surface is bone dry before proceeding.
- 2
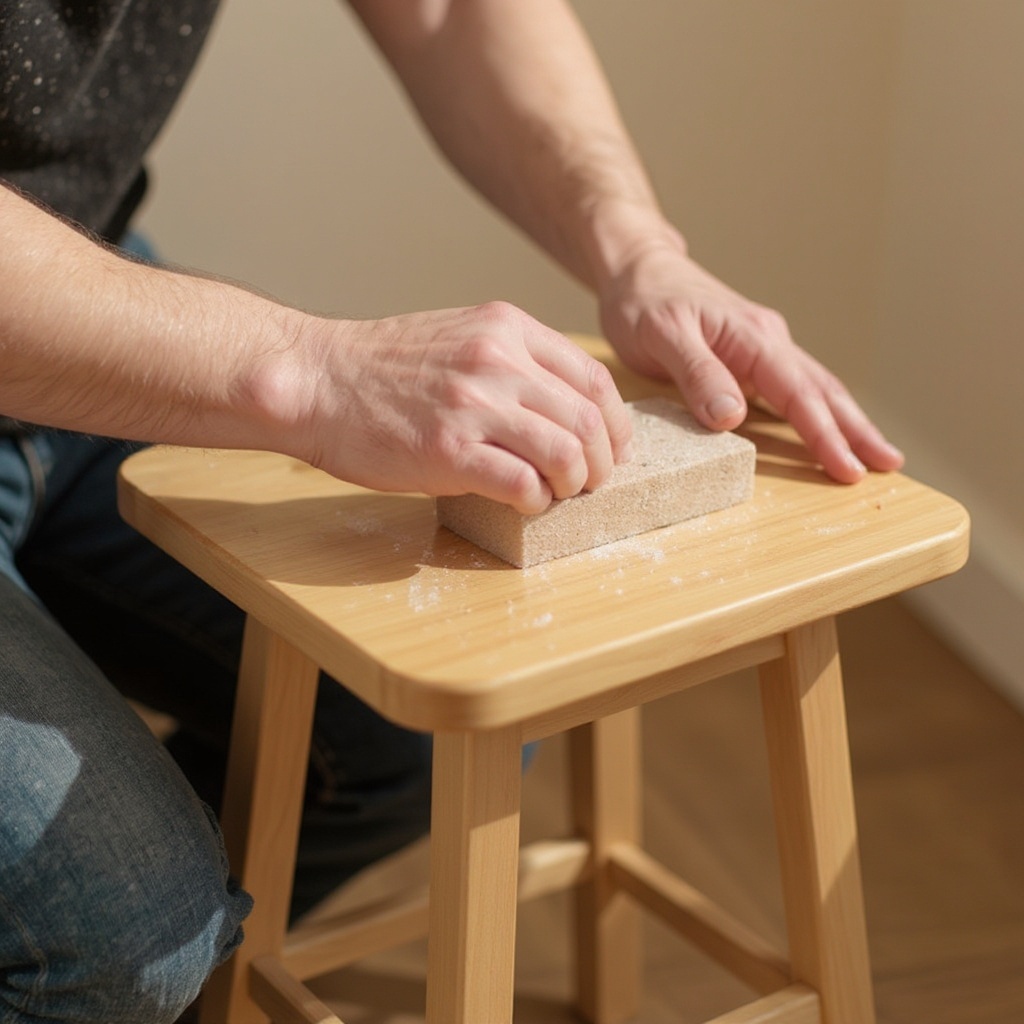
Lightly sand the furniture surface with medium-grit sandpaper to create a smooth, slightly roughened base for the glue to adhere to. This step is crucial for longevity, especially on glossy finishes, and helps prevent peeling. Wipe away any sanding dust thoroughly with a dry cloth or a tack cloth to ensure a clean surface.
- 3
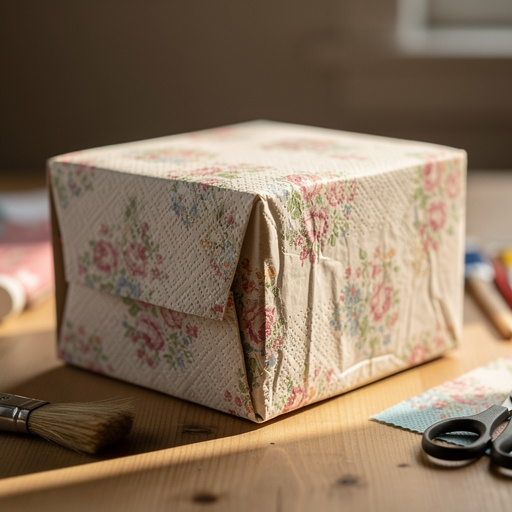
Prepare your decorative paper by cutting or tearing it into pieces that will fit your furniture. Consider the scale of your design and the curves of the furniture; smaller pieces are often easier to manage on intricate areas. Overlapping the edges of the paper slightly is perfectly acceptable and can help create a seamless look.
- 4
Apply a thin, even layer of decoupage glue to a small section of the furniture surface using a foam brush or paintbrush. Work in manageable sections so the glue doesn't dry before you can apply the paper.
- 5
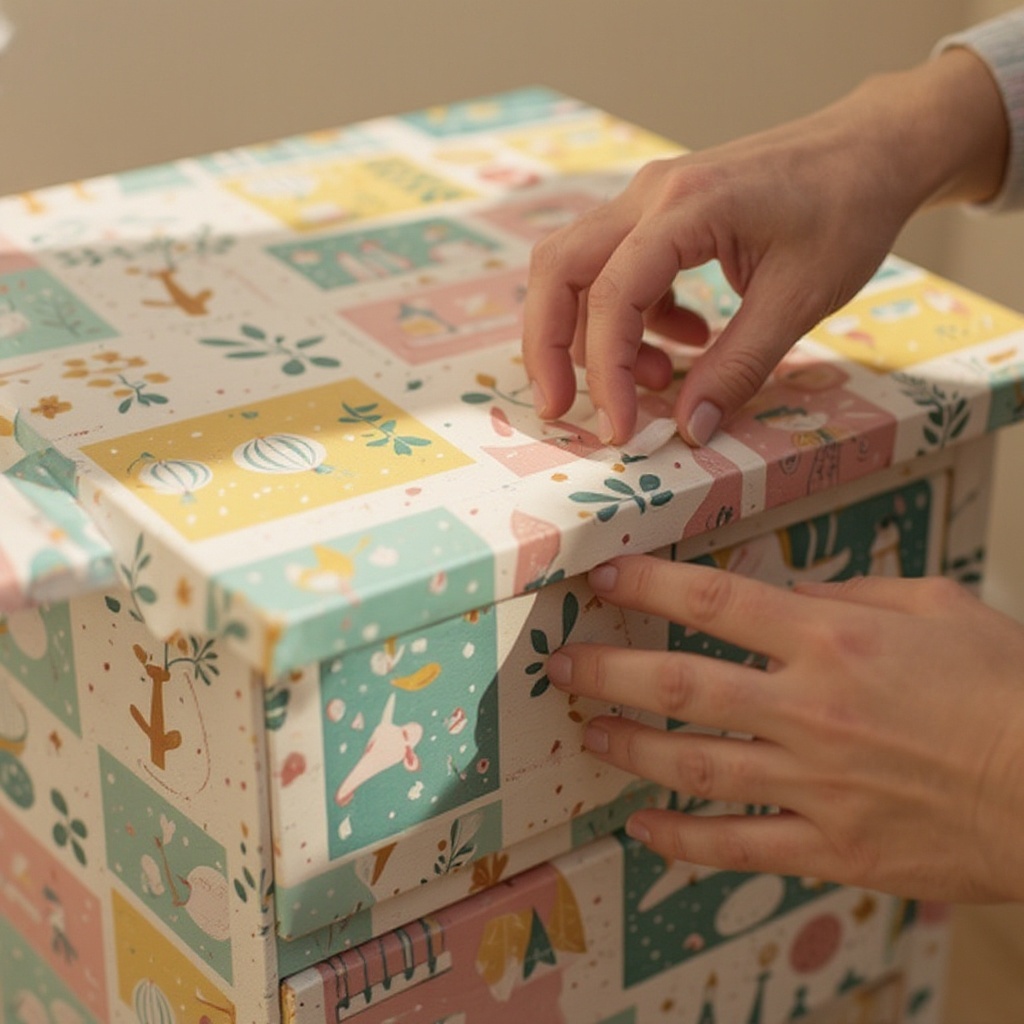
Carefully place a piece of decorative paper onto the glued section, gently smoothing out any wrinkles or air bubbles with your fingers, a clean brush, or a brayer. Start from the center and work your way outwards to push out trapped air.
- 6
Continue applying glue and paper, working in small sections, until the entire surface you want to decorate is covered. Overlap the edges of the paper slightly to ensure full coverage and a seamless look, much like tiling.
- 7
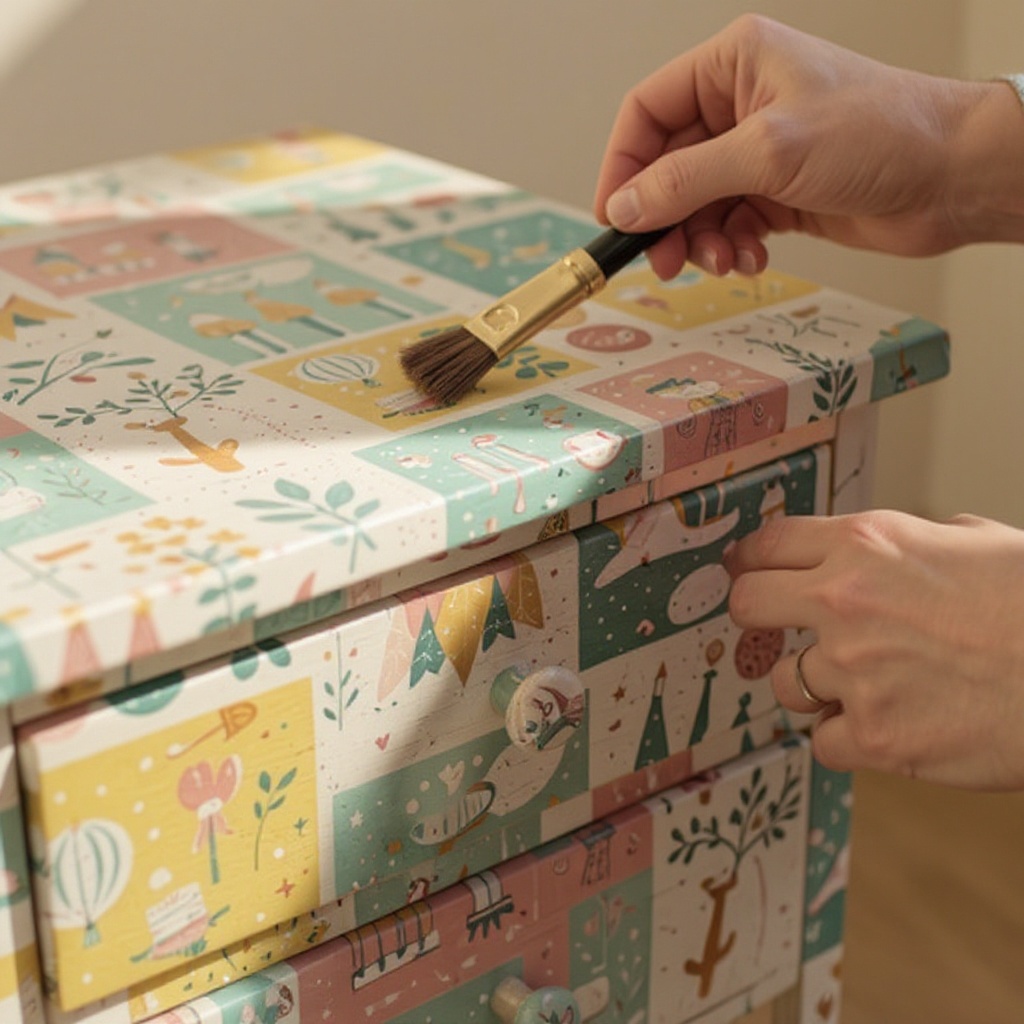
Once all the paper is applied and you've smoothed out as many imperfections as possible, brush another thin, even layer of decoupage glue over the entire decorated surface. This acts as a sealant, protecting the paper and further adhering it to the furniture.
- 8
Allow the decoupage glue to dry completely according to the product's instructions, which typically takes 1-2 hours for a single layer. Ensure the environment is not too humid, as this can affect drying time.
- 9
For extra durability and a smoother finish, especially on surfaces that will see a lot of use like tabletops or drawer fronts, apply 1-2 additional coats of clear sealant. Allow each coat to dry thoroughly between applications, following the sealant manufacturer's recommendations.
- 10
Inspect your finished piece for any missed spots or areas where the paper might be lifting. Touch up with a little more decoupage glue and paper if necessary, and allow to dry completely.
- 11
If you've used thin papers like tissue paper or very light book pages, consider applying a base coat of paint to the furniture first. This prevents the original color or grain of the furniture from showing through the delicate paper, ensuring your design pops.
- 12
For a more professional and bubble-free finish, use a brayer or a clean, stiff credit card to smooth out the paper as you apply it. This technique is particularly effective at pressing out stubborn air bubbles and wrinkles.
- 13
Don't be afraid to mix and match different types of paper for a truly unique, eclectic style. Combining patterns, textures, and colors can create a visually dynamic and personalized piece of furniture.
- 14
If you're decorating a tabletop or another surface that will be exposed to moisture or frequent use, ensure you use a durable sealant. A water-resistant or polyurethane varnish will provide the best protection against spills and everyday wear and tear.
- 15
For curved surfaces or intricate details, consider using smaller, more flexible pieces of paper or fabric. You can also pre-moisten some papers slightly with water or glue to make them more pliable and easier to mold around shapes.
- 16
If you notice any small air bubbles after the glue has dried, you can sometimes carefully prick them with a fine needle and then gently press them down with a touch of glue.
- 17
Allow your decoupage project to cure fully for at least 72 hours before putting it into heavy use. This allows the glue and sealant to harden completely for maximum durability.
- 18
Consider using painter's tape to mask off areas you don't want to decoupage, such as hardware or edges, for a cleaner, more defined finish.
Tips & Troubleshooting
- 1If using thin paper like tissue paper, you might want to apply a base coat of paint to the furniture first so the original color doesn't show through. A light-colored primer or paint will provide a neutral canvas, allowing your chosen paper design to be more vibrant and visible.
- 2For a more professional look, consider using a brayer or a credit card to smooth out the paper and remove air bubbles as you go. Apply firm, even pressure, working from the center of the paper outwards to push out any trapped air effectively.
- 3Don't be afraid to mix and match different types of paper for a unique, eclectic style. Combining patterns, textures, and even colors can create a visually interesting and personalized piece that truly stands out.
- 4If you're decorating a tabletop, ensure you use a durable sealant that can withstand spills and wear. Look for water-resistant or polyurethane varnishes that offer a protective barrier against moisture and abrasion.
- 5For curved surfaces, consider using smaller, more flexible pieces of paper or fabric. You can also gently dampen the paper with a spray bottle of water or a thin layer of glue to make it more pliable and easier to mold around contours.
- 6When cutting intricate shapes, a craft knife and cutting mat can provide more precision than scissors. For organic shapes or a more rustic look, tearing the paper can create softer edges that blend beautifully.
- 7Always work in a well-ventilated area, especially when using sealants, and allow adequate drying time between coats for the best results and to avoid any lingering fumes.
- 8Test your chosen paper and glue combination on a scrap piece first to ensure compatibility and to get a feel for the application process before committing to your furniture piece.
Related Activities You Might Enjoy
Frequently Asked Questions
What kind of paper is best for decoupage furniture?
You can use a wide variety of papers for decoupage furniture, offering endless creative possibilities. Popular choices include decorative wrapping paper, old maps, pages from vintage books, fabric scraps, wallpaper samples, and even printed designs from your own computer. Thicker papers, such as cardstock or heavier wrapping paper, are generally easier for beginners to work with as they are less prone to tearing and wrinkling. However, thinner papers like tissue paper or delicate book pages can also be used effectively, especially if you apply a base coat of paint to the furniture first to prevent the underlying color from showing through and to provide a more stable surface.
How do I prepare furniture for decoupage?
Proper preparation is key to a long-lasting and beautiful decoupage finish. Start by cleaning the furniture thoroughly with a damp cloth to remove any dust, dirt, or grease; for tougher grime, a mild soap solution can be used, but ensure it's rinsed off and the surface is completely dry. Next, lightly sand the entire surface you intend to decoupage using medium-grit sandpaper (around 120-180 grit). This step is crucial for creating a slightly roughened texture that allows the decoupage glue to adhere properly, especially on glossy or previously finished surfaces. After sanding, wipe away all dust with a dry cloth or a tack cloth to ensure a clean, smooth base.
Can I decoupage over existing paint or varnish?
Yes, you can absolutely decoupage over existing paint or varnish, provided the surface is properly prepared. The most critical step is to lightly sand the existing finish to create a 'tooth' for the glue to grip onto. A glossy or smooth surface will not hold the glue as well as a slightly roughened one. If the existing paint or varnish is peeling or damaged, it's best to remove the loose bits and sand the area smooth. For very dark or vibrant colors, applying a primer or a base coat of neutral paint before decoupaging can help ensure your chosen paper design appears true to color and isn't dulled by the underlying hue.
How long does decoupage furniture last?
With proper application and adequate sealing, decoupage furniture can last for many years, often looking as good as new. The durability depends on several factors, including the quality of the materials used, the thoroughness of the preparation and application, and the type of sealant applied. For high-traffic surfaces like tabletops, desks, or drawer fronts that experience frequent use and potential spills, using a durable, water-resistant sealant like polyurethane varnish is highly recommended. This protective layer shields the paper from moisture, wear, and tear, significantly increasing the lifespan and resilience of your beautiful decoupage creation.
What is the best glue for decoupage?
Mod Podge is a widely popular and highly recommended all-in-one product specifically designed for decoupage projects. It functions as a glue, sealer, and finish, offering convenience and excellent results. Mod Podge comes in various finishes, including matte, satin, and gloss, allowing you to choose the look you desire for your furniture. If you prefer a more DIY approach or can't find Mod Podge, a mixture of white craft glue (like Elmer's) and water can be used as a substitute. A common ratio is about 2 parts glue to 1 part water, mixed thoroughly until smooth. While this DIY option works, Mod Podge often provides a more durable and professional finish.
How do I deal with wrinkles and air bubbles in decoupage?
Wrinkles and air bubbles are common challenges in decoupage, but they can be managed with careful application. As you place each piece of paper onto the glued surface, gently smooth it out from the center towards the edges using your fingers, a clean brush, or a brayer/credit card. Work slowly and deliberately to push out trapped air. If you notice a bubble after the glue has dried, you can sometimes carefully prick it with a fine needle and then gently press it down with a tiny bit of decoupage glue. For more stubborn wrinkles, especially on flexible papers, pre-moistening the paper slightly with water or a thin layer of glue can make it more pliable and easier to smooth.
What Next?
Congratulations on transforming your furniture with the magic of decoupage! You've not only saved a piece from landfill but created a unique work of art. Consider displaying your newly adorned furniture as a focal point in your living room, bedroom, or entryway. For future projects, experiment with different paper types like vintage postcards, sheet music, or even pressed flowers for an entirely different aesthetic. Remember, the possibilities are endless, and each piece you decoupage will tell its own story.
Free: 10 Paper Crafts Anyone Can Make in 5 Minutes
Get our beginner guide + new craft ideas weekly.
No spam. Unsubscribe anytime.
Did you complete this activity?