How to Make Spring Flower Seed Paper — Easy Step-by-Step Guide
Create beautiful, plantable seed paper that blooms with wildflowers. A wonderful screen-free activity for the whole family to enjoy.
Quick answer
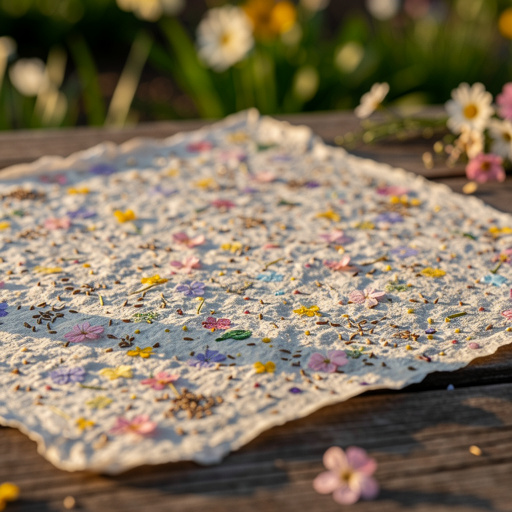
To make spring flower seed paper, you need recycled paper, water, wildflower seeds, and about 60 minutes. Start by blending the paper into pulp. This beginner-friendly activity has 10 steps and is perfect for families with children aged 6+.
What you need
Shop on Amazon · As an Amazon Associate we earn from qualifying purchases. Links above are affiliate links — we may earn a commission at no extra cost to you.
Embrace the spirit of spring with a delightful and eco-conscious craft: homemade seed paper! This project transforms everyday recycled paper into a canvas for future blooms. It's a wonderfully tactile and screen-free activity, perfect for engaging children and adults alike in a shared creative experience. Imagine sending cards or creating gift tags that can be planted to grow a vibrant patch of wildflowers. This guide will walk you through every simple step, ensuring a beautiful and blooming result that celebrates nature's renewal.
On this page
Step-by-Step Instructions
- 1
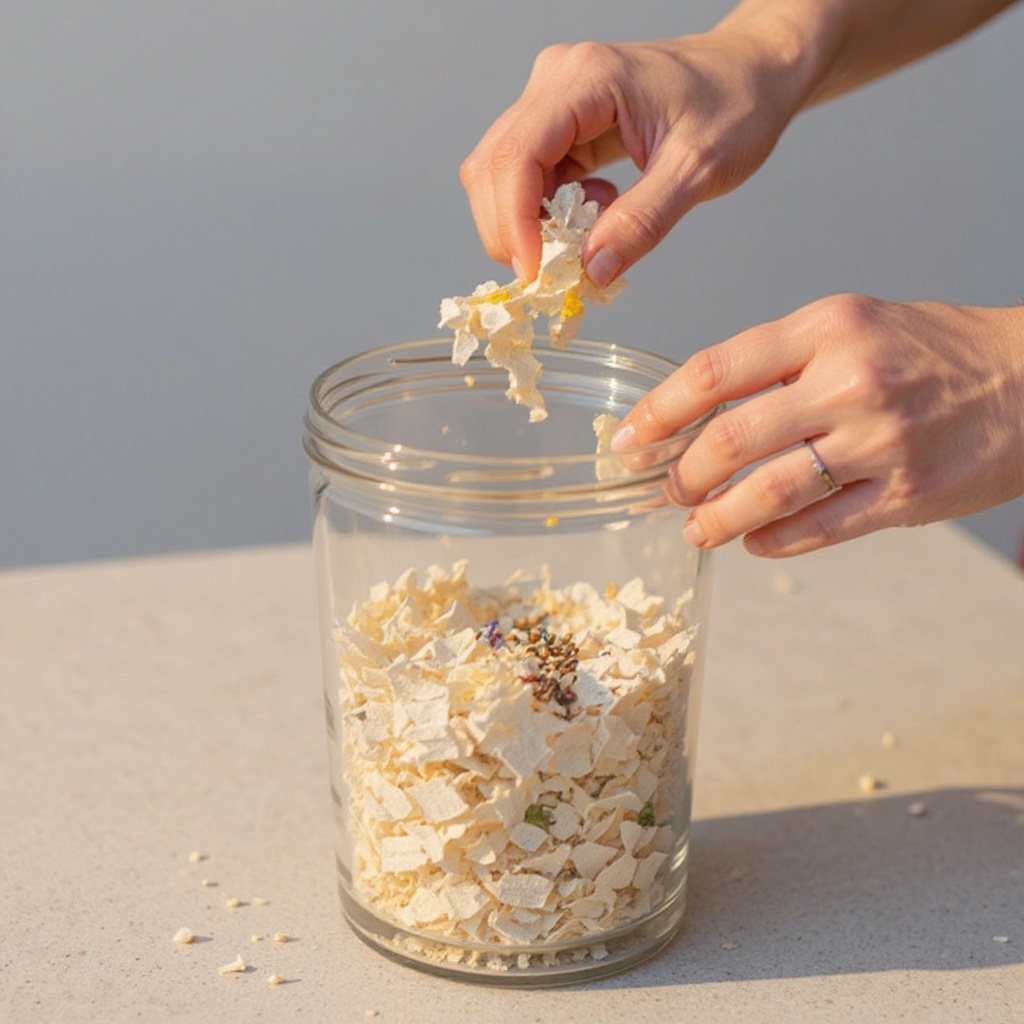
Begin by preparing your recycled paper. Tear the shredded recycled paper into very small pieces, no larger than a postage stamp. This will help the paper break down more easily in the blender, ensuring a smoother pulp.
- 2
Place the torn paper pieces into your blender. Add 2 cups of warm water to the blender with the paper. The water helps to soften the paper fibers, making them easier to blend into a uniform pulp.
- 3
Blend the paper and water mixture until a smooth, consistent pulp forms. Aim for a consistency that resembles thick oatmeal or porridge, with no large paper chunks remaining. You may need to blend in batches if your blender is small, and scrape down the sides as needed.
- 4
Pour the freshly blended paper pulp into the large bowl. If you're adding natural food coloring for a decorative effect, now is the time to gently stir in a few drops until you achieve your desired hue. Mix thoroughly to ensure the color is evenly distributed throughout the pulp.
- 5
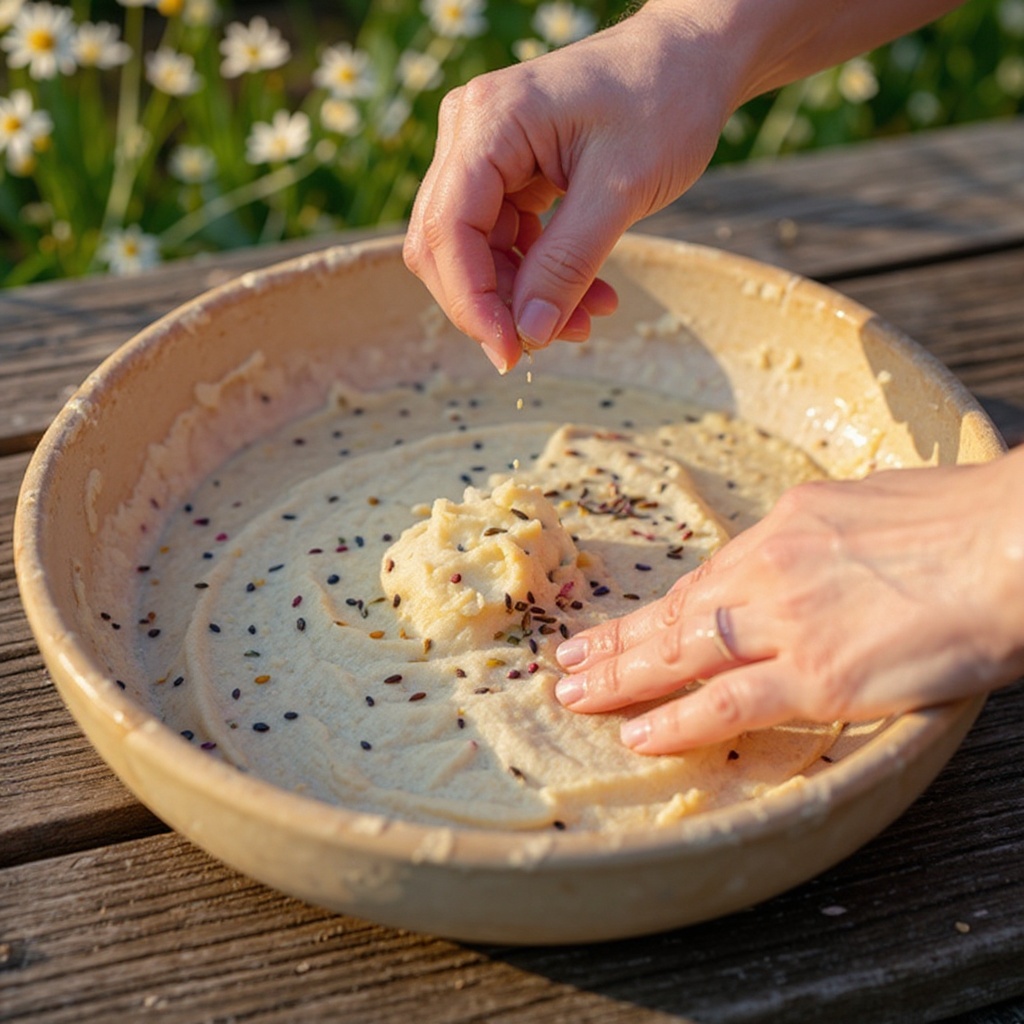
Gently stir in the wildflower seeds. Be sure to mix them in thoroughly, ensuring they are evenly distributed throughout the pulp. Avoid over-mixing, which could damage the delicate seeds. If you're adding dried flower petals or fabric scraps, incorporate them now as well.
- 6
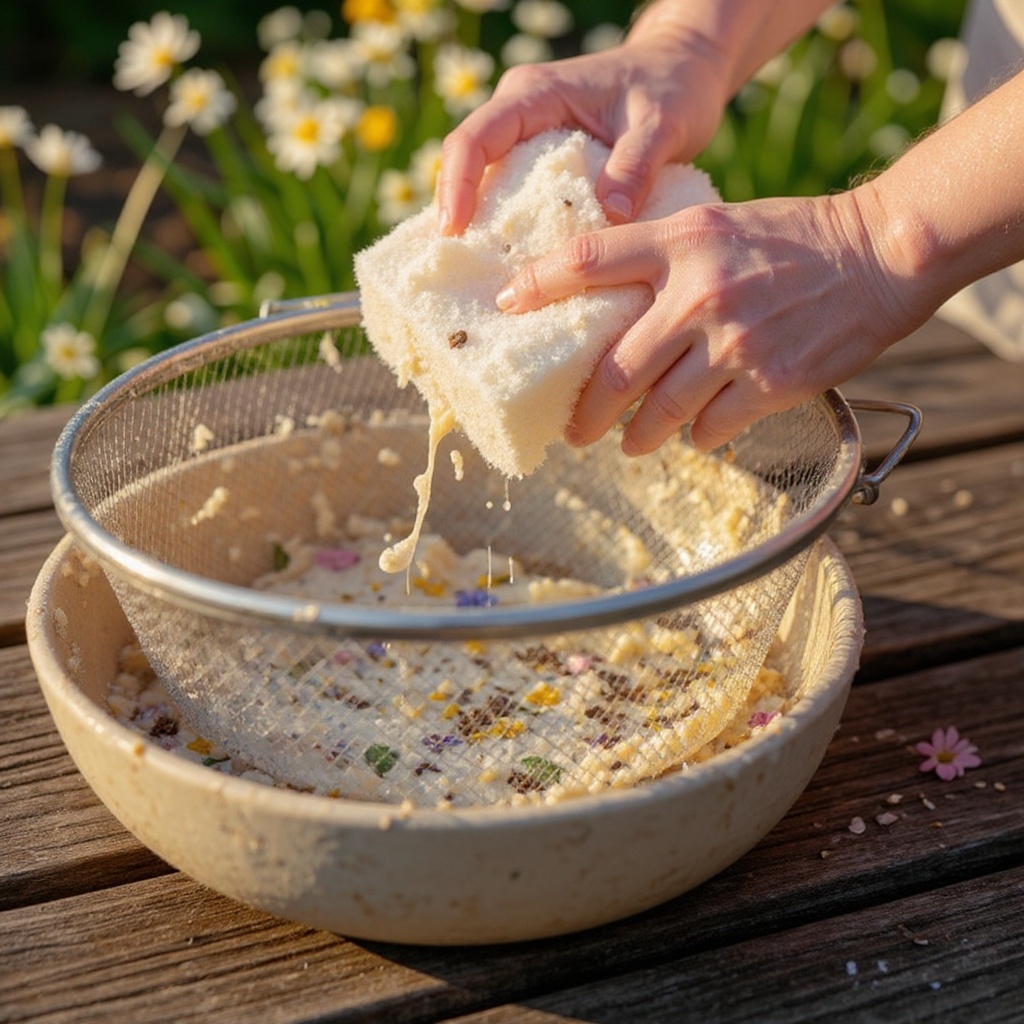
Prepare your draining station. Place the fine-mesh sieve (or the cheesecloth-lined colander) over another bowl or directly over your sink to catch the excess water. This step is crucial for removing as much moisture as possible, which aids in drying.
- 7
Carefully scoop the seed-infused pulp into the prepared sieve. Allow the excess water to drain naturally through the mesh. You'll see a significant amount of water being released at this stage.
- 8
Using your sponge, gently but firmly press down on the pulp within the sieve. This action helps to absorb and remove more water from the pulp, creating a denser, more manageable sheet. Continue pressing until you can no longer easily squeeze water out.
- 9
Prepare your drying surface. Lay out a few absorbent towels or felt sheets on a flat surface. These will act as a base for your seed paper, wicking away moisture.
- 10
Gently transfer the pressed pulp from the sieve onto the absorbent towels or felt sheets. Carefully spread it into a thin, even layer, aiming for a consistent thickness across the entire sheet. This evenness is key for uniform drying and successful germination.
- 11
Place another absorbent towel or felt sheet on top of the newly formed seed paper layer. This top layer will help to absorb moisture from both sides of the paper.
- 12
Carefully press down with the sponge again, this time sandwiching the seed paper between the two absorbent layers. This second pressing helps to wick away even more moisture, speeding up the drying process and creating a more compact paper.
- 13
Allow the seed paper to dry completely on the flat surface. This typically takes 24-48 hours, depending on humidity and thickness. For the most even drying, carefully flip the seed paper occasionally, ensuring it remains flat and doesn't curl.
- 14
Once the seed paper feels completely dry and firm to the touch, it's ready for use. It should be stiff and no longer feel damp or pliable. If it still feels soft, allow it to dry for a few more hours.
Tips & Troubleshooting
- 1If your pulp feels excessively watery after the initial pressing, don't hesitate to gently squeeze out more water with your hands before spreading it onto the towels. This will prevent the paper from becoming too thin and potentially tearing during the drying process.
- 2For a more decorative and colorful effect, consider adding a few drops of natural food coloring to the pulp before incorporating the seeds. Experiment with different shades and combinations for unique results, ensuring the coloring is non-toxic and won't harm the seeds.
- 3It is absolutely crucial to ensure the seed paper is completely dry before handling or storing it. Even slight dampness can cause the paper to become fragile and fall apart, making it difficult to plant or use as intended.
- 4Store your finished and dried seed paper in a cool, dry place, away from direct sunlight and moisture. A sealed container, like a decorative box or a zip-top bag, will help protect it from humidity until you are ready to plant or gift it.
- 5When you're ready to plant your seed paper, tear off a piece of the desired size. Submerge it in water for a few minutes to rehydrate the paper and activate the seeds. Then, plant it under a thin layer of soil (about 1/4 inch deep) in a sunny spot, ensuring the soil remains consistently moist.
- 6For best germination results, choose wildflower seeds that are native to your specific region and are known for their ease of growth. Avoid seeds that require special stratification or have very large sizes, as these may not perform as well in the seed paper medium.
- 7If you notice any areas where the seeds are clumped together, gently try to redistribute them as you spread the pulp. Even seed distribution is key to ensuring a good bloom when the paper is planted.
- 8Be patient during the drying process. Rushing the drying can lead to mold or uneven germination. The 24-48 hour drying period is a guideline; adjust based on your environment for optimal results.
Related Activities You Might Enjoy
Frequently Asked Questions
What kind of paper can I use for seed paper?
You can use most types of recycled paper like newspaper, junk mail, or scrap printer paper. The key is that the paper should be absorbent and easily break down into pulp. Avoid glossy or coated papers, as these contain plastic or synthetic materials that don't break down well in water and can hinder germination. Ensure the paper is free from excessive amounts of heavy inks, as these can sometimes affect the seeds. Plain, unbleached paper is ideal, but colored junk mail can also work if the ink is not too dense. Always aim for paper that feels relatively soft and fibrous.
How long does it take for the seeds to sprout?
Sprouting times for seed paper can vary significantly depending on several factors, including the specific type of wildflower seeds used, your local climate, the amount of sunlight the planted paper receives, and how consistently the soil is kept moist. Generally, you can expect to see initial sprouts emerge within 1 to 3 weeks after planting the seed paper in suitable conditions. Some faster-germinating varieties might show signs of life sooner, while others may take a bit longer. Consistent watering and a sunny location are crucial for encouraging timely germination.
Can I use any seeds for seed paper?
While you can technically use many types of seeds, it's highly recommended to use wildflower seeds that are native to your region and are known to germinate easily. These seeds are adapted to your local climate and soil conditions, increasing your chances of success. Avoid using very large seeds, such as beans or peas, as they can be difficult to embed evenly and may not sprout well within the paper. Seeds that require specific stratification (a period of cold or moist treatment) might also not perform optimally in seed paper. Opt for small, easy-to-germinate seeds for the best results.
How do I plant the seed paper?
Planting your seed paper is a simple and rewarding process. First, tear off a piece of the dried seed paper to the size you desire. Next, soak the piece in water for a few minutes to rehydrate the paper and help loosen the seeds. Find a sunny spot in your garden or a pot with well-draining soil. Plant the soaked seed paper under a thin layer of soil, about 1/4 inch deep, pressing it gently into place. Keep the soil consistently moist, especially during the initial germination period, to ensure the seeds have the best chance to sprout and grow.
Can I add other decorative elements to my seed paper?
Absolutely! Adding other decorative elements can make your seed paper even more special. You can incorporate a few drops of natural food coloring into the pulp for a vibrant hue, or gently mix in dried flower petals, small pieces of colorful thread, or even tiny confetti made from biodegradable materials. When adding these elements, ensure they are small and won't interfere with the seeds' ability to germinate or the paper's ability to break down. Avoid anything plastic or synthetic, as this defeats the eco-friendly purpose of the project. Test a small batch first to see how your additions affect the paper's texture and drying.
What is the best way to store dried seed paper?
To ensure your seed paper remains viable and ready for planting, proper storage is key. Store the completely dried seed paper in a cool, dry place, away from direct sunlight and humidity. A sealed container, such as a decorative box, a tin, or even a zip-top plastic bag, will help protect it from moisture and pests. Keeping it in a consistent environment will prevent the paper from becoming brittle or developing mold, ensuring the seeds remain viable for a good amount of time. Aim to use your seed paper within a year for the best germination rates.
What Next?
Once your spring flower seed paper is dry, the possibilities are endless! Use it for handmade greeting cards, unique gift tags, or even as decorative elements for party favors. For a truly special touch, consider adding dried flower petals or small, colorful bits of fabric to the pulp before spreading. Store your finished seed paper in a cool, dry place, perhaps in a decorative box or tied with twine, until you're ready to share or plant. This project is a fantastic gateway to other paper-making and eco-crafting adventures, encouraging a deeper connection with nature and sustainable practices.
Free: 10 Paper Crafts Anyone Can Make in 5 Minutes
Get our beginner guide + new craft ideas weekly.
No spam. Unsubscribe anytime.
Did you complete this activity?
Related
You might also like
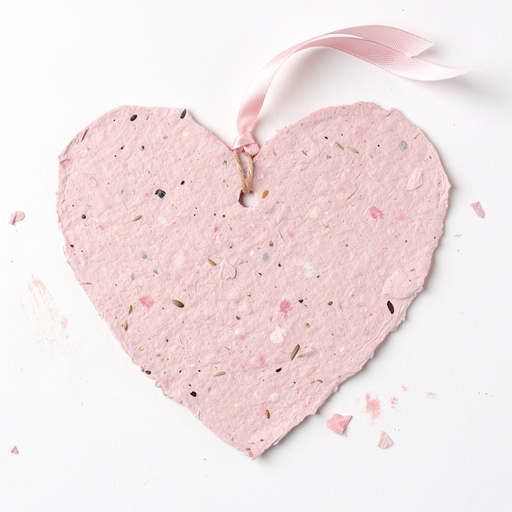
Heart-Shaped Seed Paper Valentines
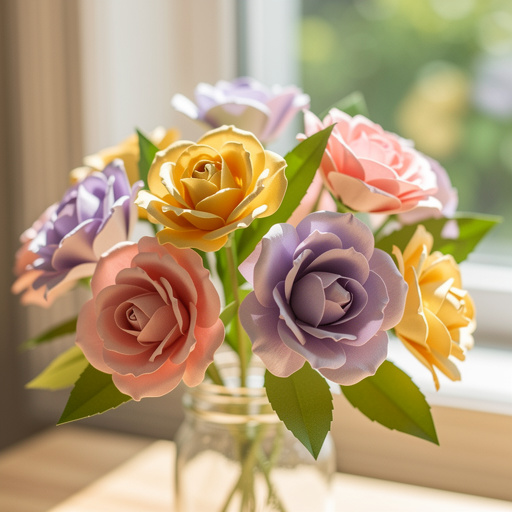
Paper Bloom Spring Flowers
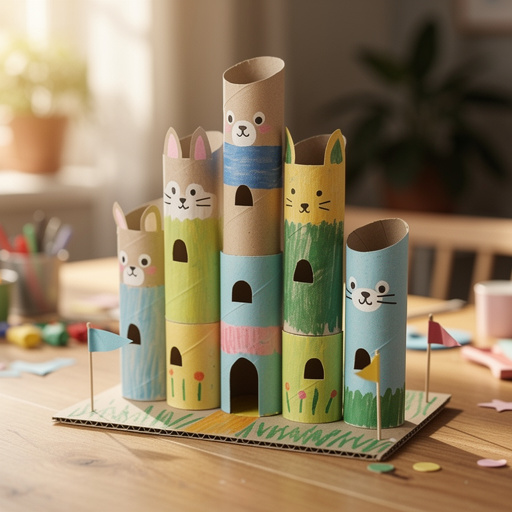
Cardboard Tube Critter Castles
Clay & Button Charm Bracelets
Spring Flower Pot Painting