The Ultimate Guide to DIY Cardboard Animal Masks: From Simple to Spectacular
Transform everyday cardboard into incredible animal masks! This comprehensive guide offers detailed, easy-to-follow steps for crafting personalized critter masks that are perfect for imaginative play, costume parties, or school events. Learn to add unique touches, troubleshoot common issues, and even explore advanced techniques for a professional-looking finish. We'll cover everything from choosing the right materials to adapting designs for different age groups.
Quick answer
To make cardboard critter masks, you'll need corrugated cardboard (e.g., 2 sheets of approx. 30cm x 40cm), thinner cardstock (1 sheet of approx. 20cm x 30cm), scissors or a craft knife, white craft glue, acrylic paints, paintbrushes, elastic or ribbon, and a hole punch. This project takes about 60-90 minutes and is a fantastic screen-free activity for ages 4 and up, with adaptations for younger crafters.
What you need
Shop on Amazon · As an Amazon Associate we earn from qualifying purchases. Links above are affiliate links — we may earn a commission at no extra cost to you.
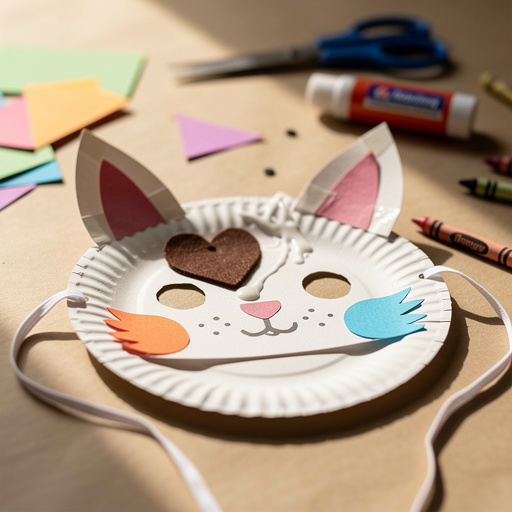
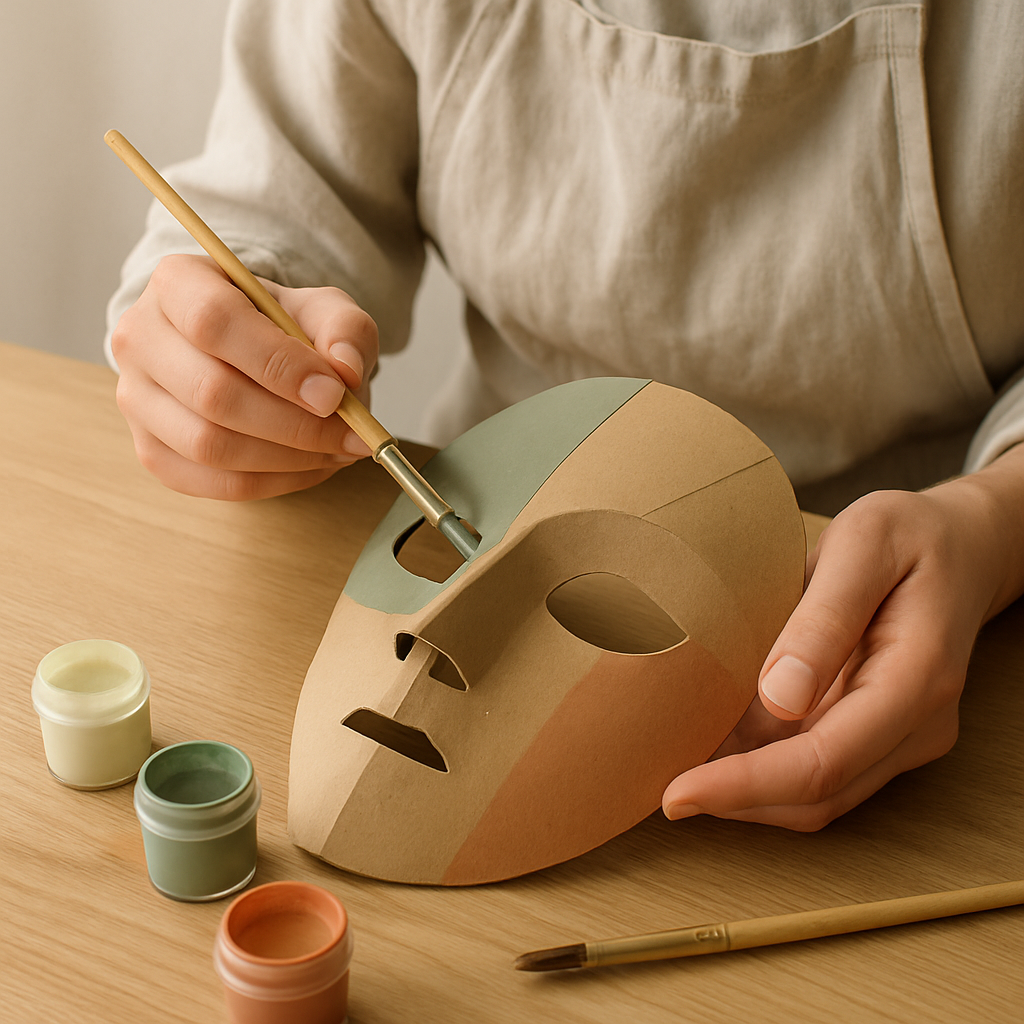
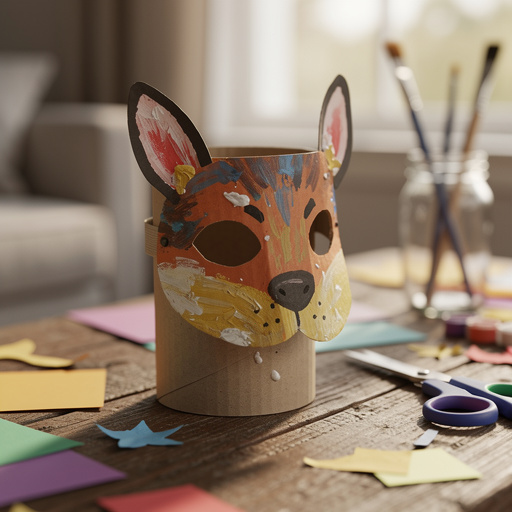
I remember the sheer delight on my nephew's face when he first wore the cardboard lion mask we made for his birthday party. It wasn't just a mask; it was a portal to his imagination! After years of crafting, I've found that recycled cardboard is one of the most versatile and rewarding materials for creating durable and fun masks, and this project is a perfect example. Forget generic store-bought masks; let's dive into creating your own unique Cardboard Critter Masks that are sure to impress, exploring unique variations and troubleshooting common crafting hiccups along the way!
On this page
Step-by-Step Instructions
- 1
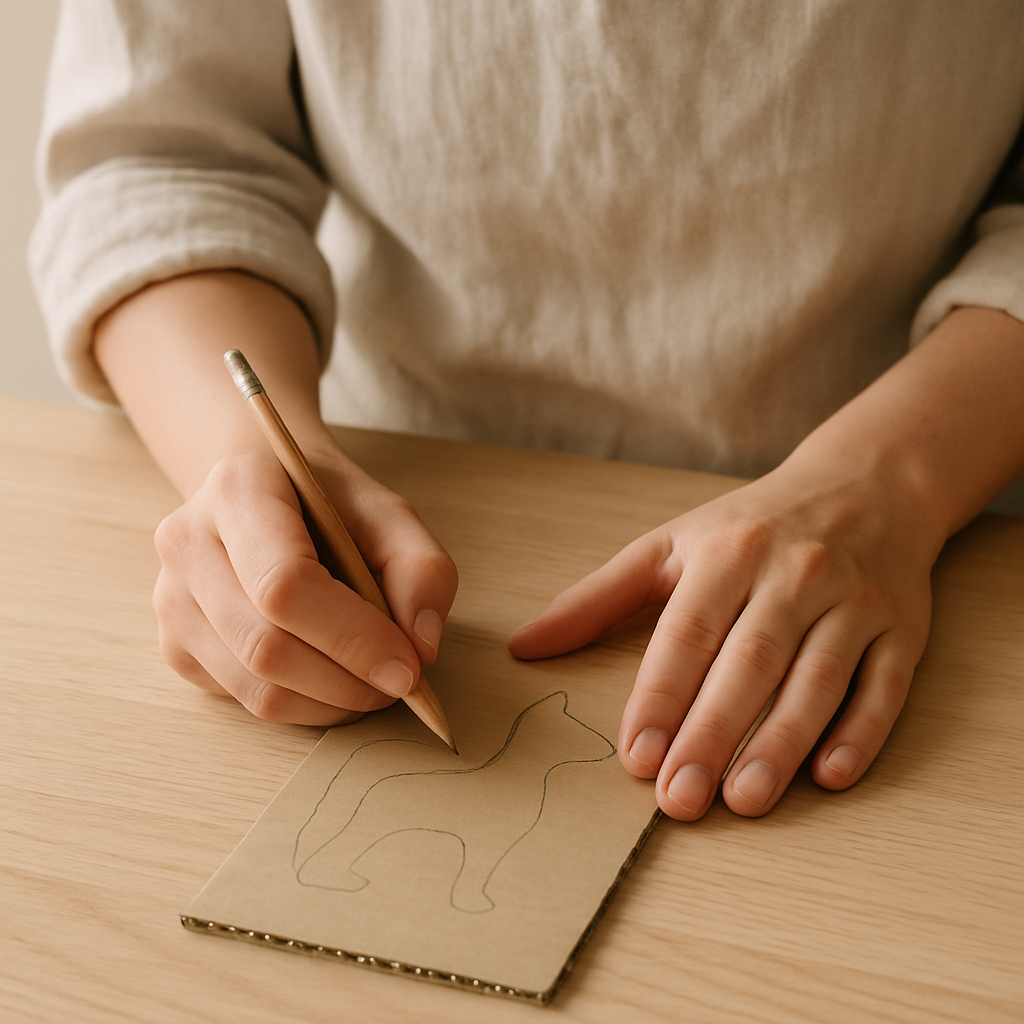
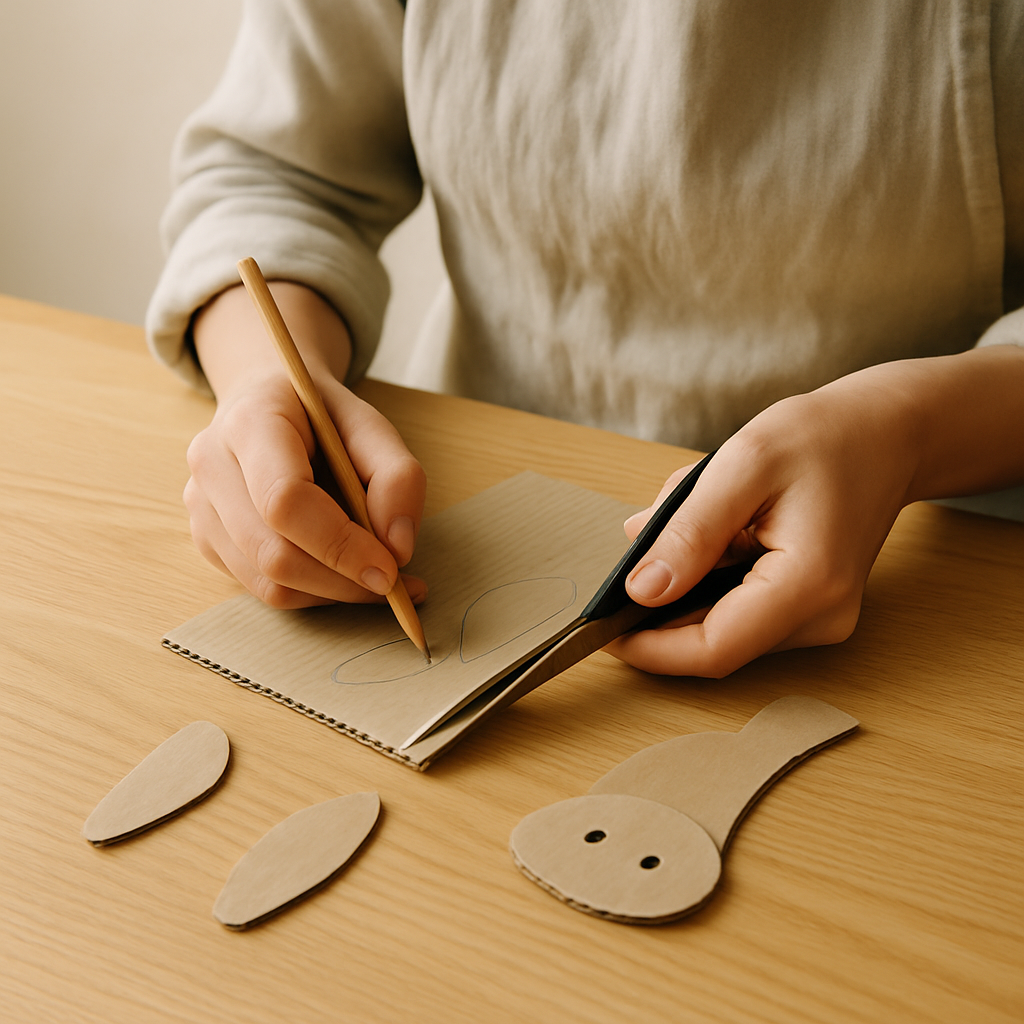
Step 1: Sketch Your Animal's Silhouette. On one sheet of corrugated cardboard, lightly sketch the main outline of your chosen animal's head, aiming for a height of approximately 20-25cm. Consider the overall shape: is it round like a bear, elongated like a horse, or does it have prominent ears like a rabbit? Adjusting the size ensures a comfortable fit for the wearer; if the sketch isn't quite right, simply erase and redraw as cardboard is forgiving!
- 2
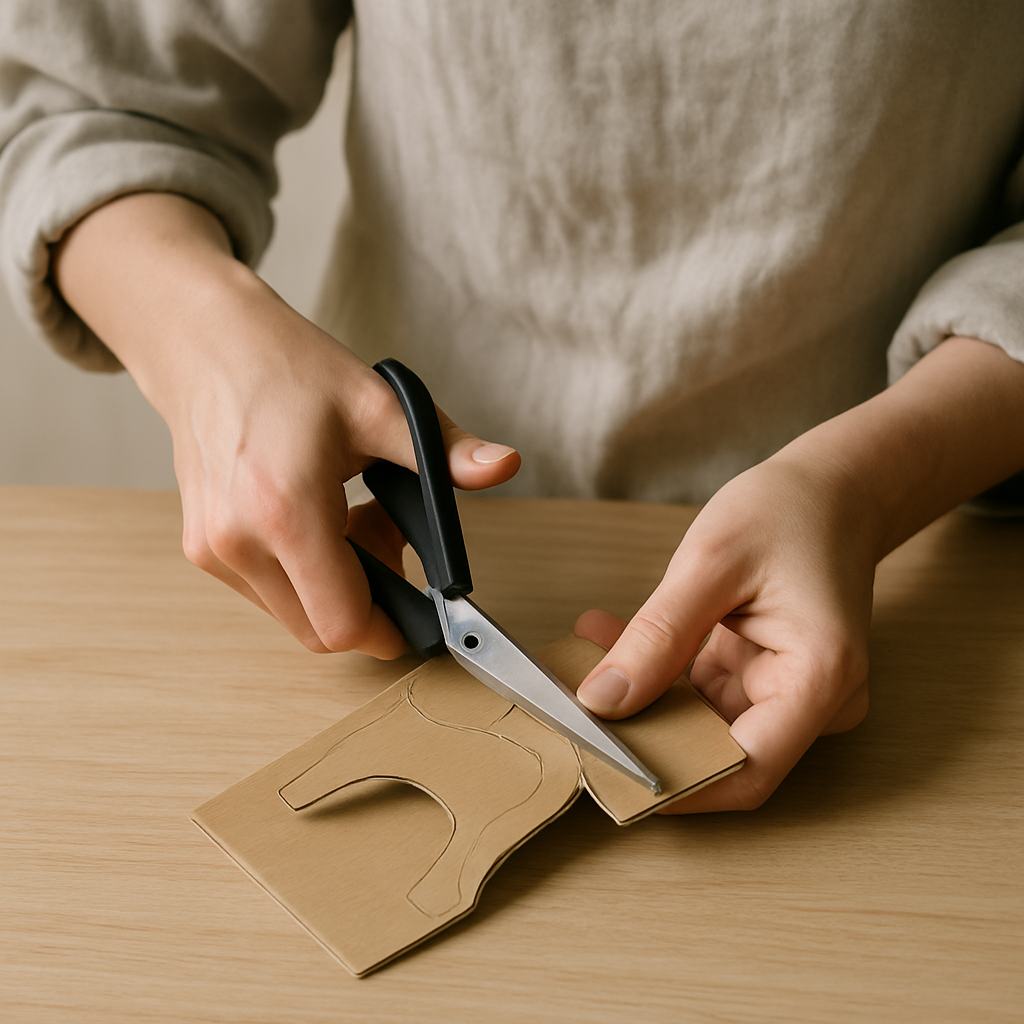
Step 2: Cut Out the Main Mask Shape. Carefully cut along your sketched lines using heavy-duty scissors or a craft knife on a cutting mat. If using scissors, ensure the cardboard isn't too thick to avoid tearing. You should now have the primary face shape of your animal, ready for its features; if the edges are a bit rough, you can gently sand them down with fine-grit sandpaper.
- 3
Step 3: Design and Cut Additional Features. On the remaining corrugated cardboard, sketch and cut out separate pieces for key features like ears, a snout, a beak, or horns. For example, cut two identical triangles for a cat's ears or a rounded oval for a bear's snout. Precise cutting here will make a big difference in the final look; if cutting ears, ensure both are the same size and shape for symmetry. If a piece isn't perfect, cut a new one.
- 4
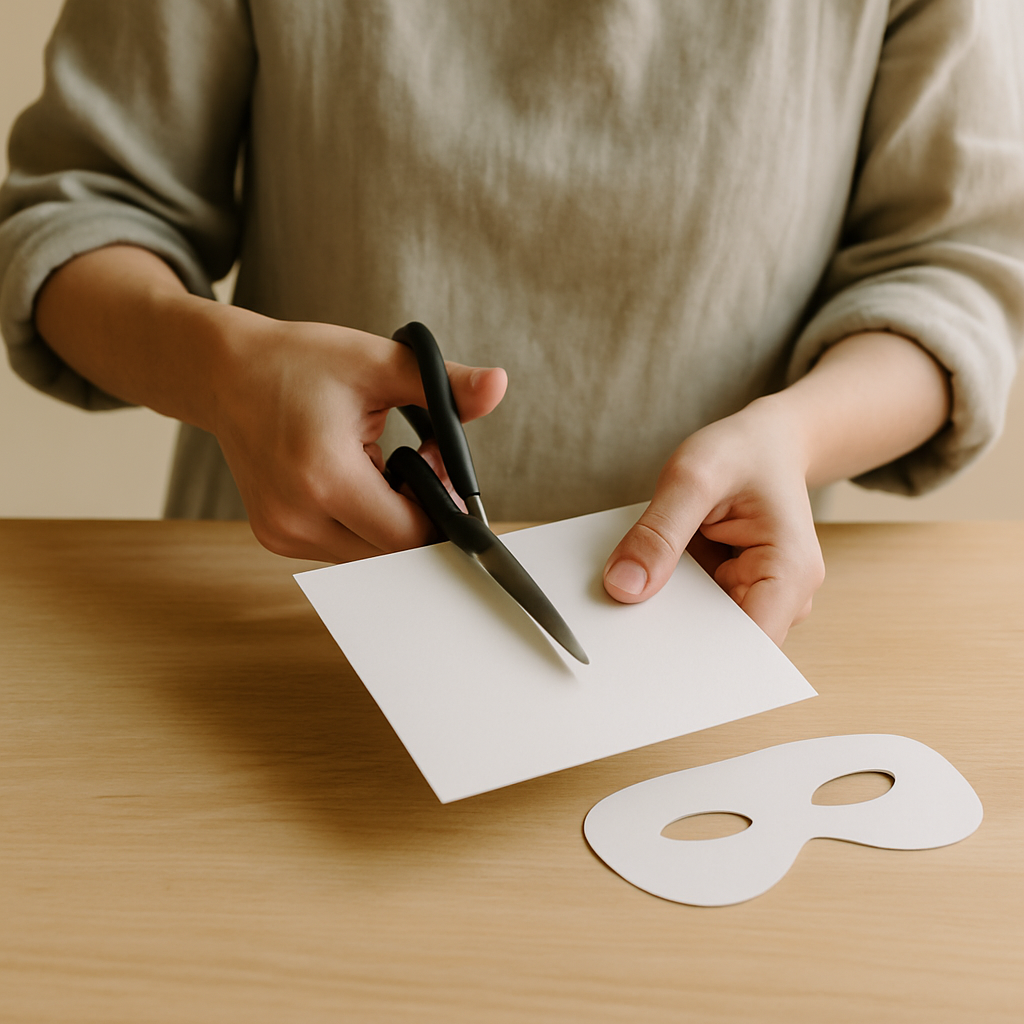
Step 4: Prepare the Inner Mask Base. Take your sheet of white cardstock and cut a piece roughly 15cm x 20cm. This layer will serve as the foundation for attaching your facial features, providing a smoother surface for painting details and adding a bit of rigidity to the mask. For younger crafters (ages 4-7), you can pre-cut this base and all subsequent feature shapes to simplify the process.
- 5
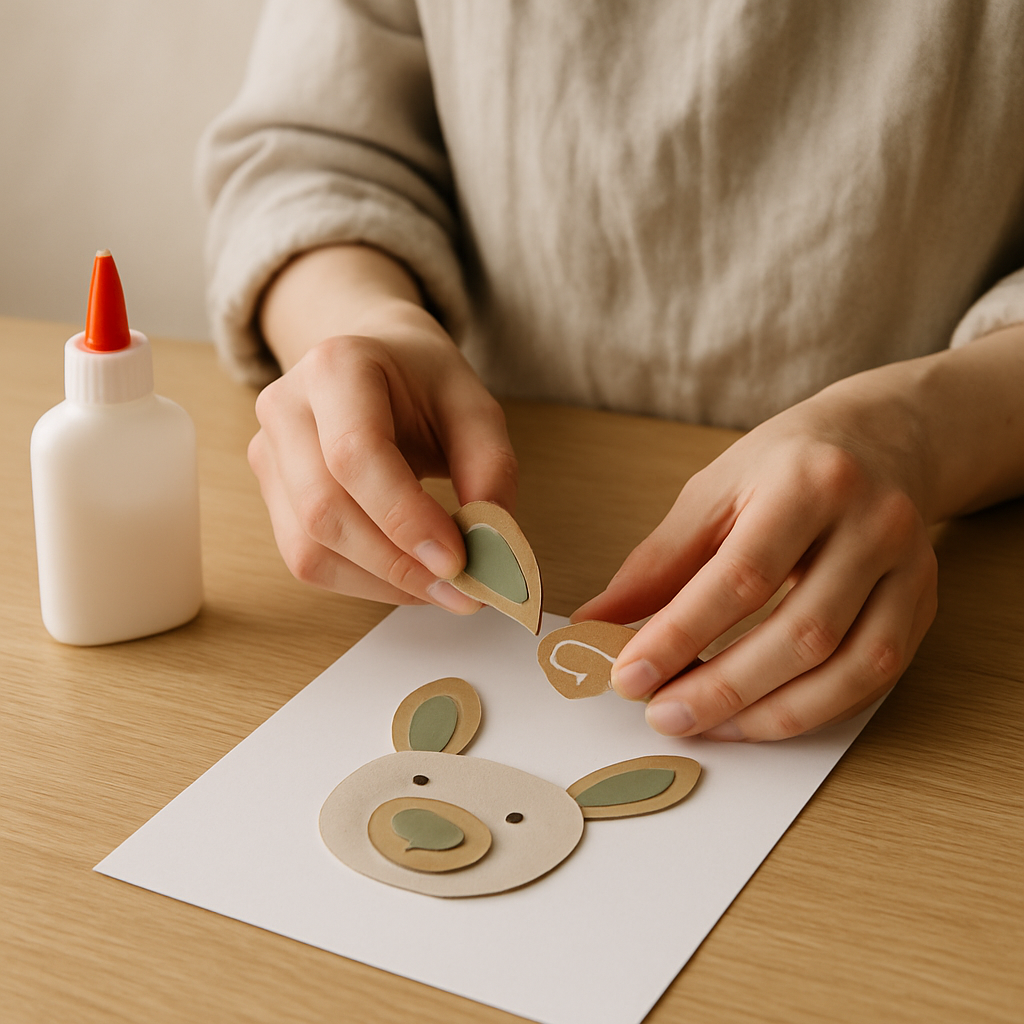
Step 5: Assemble Facial Features onto the Base. Using white craft glue, carefully attach the cut-out facial features (ears, snout, etc.) onto the cardstock layer. Position them precisely as you envision them on the final mask, ensuring they are centered and aligned. Let this layer dry completely, which typically takes about 15-20 minutes, or until the glue is no longer tacky to the touch.
- 6
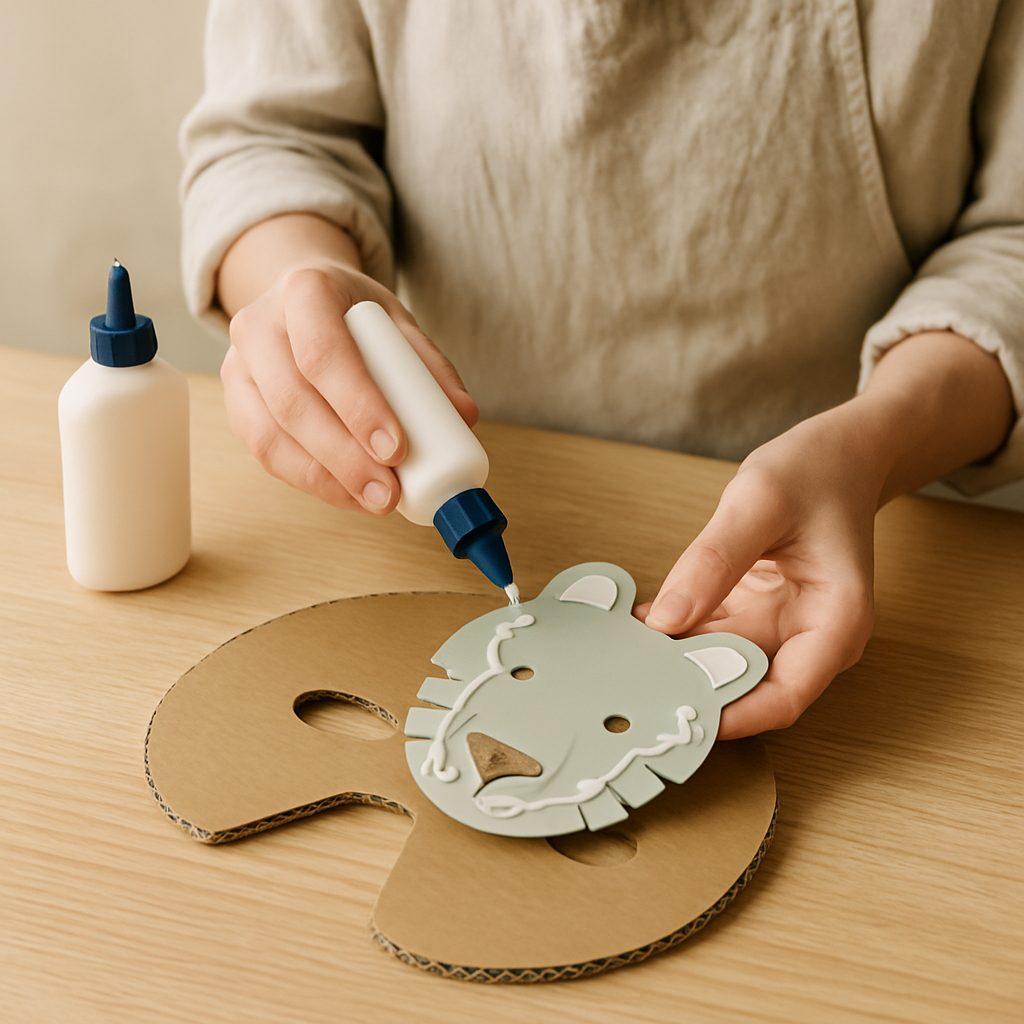
Step 6: Secure the Main Mask to the Base. Once the features are firmly attached and dry on the cardstock, apply a generous amount of white craft glue to the back of the cardstock layer. Carefully align this with the back of your main corrugated cardboard mask shape, ensuring the edges match up as closely as possible. Press firmly to create a strong bond and let it dry for at least 30 minutes.
- 7
Step 7: Paint and Decorate Your Critter. After the glue is fully dry, it's time to paint! Use acrylic paints to bring your animal to life, starting with base colors and adding details like stripes, spots, or shading. Let each layer of paint dry completely before adding the next; this may take 15-30 minutes per layer depending on paint thickness and humidity. Integrate optional decorative elements like yarn for a mane or felt for ears during this stage.
- 8
Step 8: Add the Fastening Mechanism. Once the paint is completely dry, use a hole punch to create two holes on opposite sides of the mask, about 2cm in from the edge and approximately 5cm down from the top. Thread your elastic string or ribbon through these holes and tie securely to create a wearable mask that fits comfortably. For a more secure fit on smaller heads, you may need to shorten the elastic by 5-10cm.

Tips & Troubleshooting
- 1Troubleshooting Paint Smudging: If your paint is smudging before it's fully dry, it might be too thin or the surface too smooth. Try applying a thin layer of clear craft sealant spray or even watered-down white glue over the dried paint. Let it dry completely before adding more layers or handling.
- 2Age Adaptation for Younger Crafters: For children under 5, pre-cut all the cardboard shapes for them. They can then focus on the fun part: decorating with paint, crayons, or even gluing on pre-cut paper shapes. For slightly older kids (5-8), you can let them do the cutting with supervision, but guide them on placement.
- 3Achieving Crisp Folds for Features: If you're adding a snout or other feature that needs a slight fold, score the cardboard lightly with the back of your craft knife (or a dull butter knife) along the fold line before bending. This creates a clean crease. If the fold isn't crisp, run your thumbnail along it firmly to set the bend.
- 4Upcycling Materials: Don't have plain cardboard? Use old cereal boxes or packaging – just be sure to remove any tape or labels. You can even glue layers of newspaper onto a cardboard base for added texture before painting, creating a unique, papier-mâché-like effect.
- 5Mask Not Holding Shape?: If your mask feels flimsy, especially after painting, try gluing a second layer of corrugated cardboard to the back of the main shape before adding the decorative inner layer. Ensure the corrugation runs in different directions for maximum strength, creating a much more rigid structure.
Related Activities You Might Enjoy
Frequently Asked Questions
What kind of cardboard is best for making animal masks?
For these masks, single-wall corrugated cardboard (like from shipping boxes) is ideal because it's sturdy enough to hold its shape but still manageable to cut with scissors or a craft knife. Thinner cardstock (160gsm or higher) or sturdy paper is great for layering decorative elements like ears or snouts, providing a smoother surface for painting details. Avoid very thick cardboard like that used for appliances, as it's difficult to cut precisely without specialized tools.
How can I make the mask fit different head sizes?
The key to fitting different head sizes lies in the elastic or ribbon. When attaching the elastic (Step 8), measure it around the wearer's head, leaving about 2-3cm of comfortable slack so it's not too tight. For younger children, you might need to shorten the elastic by 5-10cm. You can also adjust the height and width of the initial cardboard sketch (Step 1) to better suit smaller or larger faces.
What if I don't have acrylic paints?
No problem! You can use other types of paint. Tempera paints are a good, washable option for younger children. Crayons or colored pencils can also be used to decorate the mask, especially if you've used a thinner cardstock for the main layer or inner features. For a more textured look, consider using markers or even gluing on colored paper scraps.
How do I make more complex animal features, like horns or antlers?
For more intricate features, you'll want to build them up in layers. Cut out multiple identical shapes from cardboard and glue them together to create a 3D effect. You can also roll pieces of cardboard into cones for horns or create layered, fan-like shapes for antlers. Attach these securely to the main mask using strong craft glue or even hot glue (with adult supervision) once the base paint is dry.
How can I make my mask more unique compared to others?
To add unique flair, consider creating a 'gallery' of variations. For a fierce tiger, add bold stripes and pointy ears. For a whimsical owl, use large, round eyes and textured feather patterns. You could also incorporate advanced techniques, like using textured paper or fabric scraps for a lion's mane, or even adding small LED lights for glowing eyes on a creature mask. Comparing different mask-making materials, such as the pros and cons of paper mache versus felt, can also inspire unique approaches.
What are some alternative mask-making methods?
While cardboard is fantastic for its accessibility and ease of use, other methods exist. Paper mache, for instance, creates a very durable and smooth surface, though it requires more drying time and can be messier. Felt masks offer a softer, more pliable option, great for younger children. For a more advanced project, consider combining techniques, like using a cardboard base with paper mache elements for added depth and strength. Exploring these different methods can lead to truly unique mask designs.
What Next?
With your critter masks complete and dry, it's time to add those final, personalized touches! Consider incorporating yarn for a lion's majestic mane, felt for soft, floppy ears, or even googly eyes for an extra touch of whimsy. These decorative elements, along with other optional materials like feathers or fabric scraps, can be integrated during the painting and decorating stage (Step 7) to truly bring your creation to life. Mastering these fundamental cardboard construction and decorating skills will undoubtedly open the door to even more ambitious crafting projects, from intricate paper mache to simple felt creations.
Free: 10 Paper Crafts Anyone Can Make in 5 Minutes
Get our beginner guide + new craft ideas weekly.
No spam. Unsubscribe anytime.
Did you complete this activity?
Related
You might also like
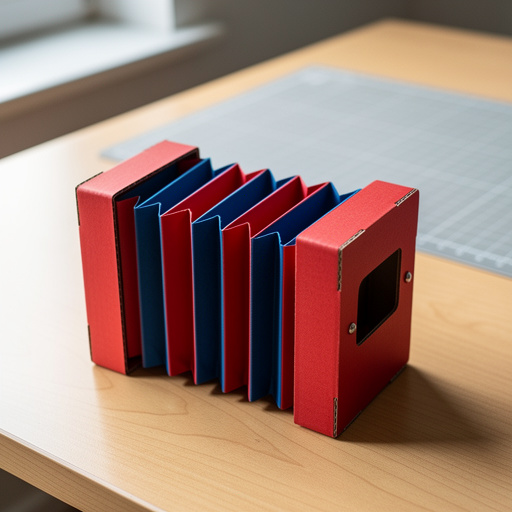
Cardboard Box Accordion
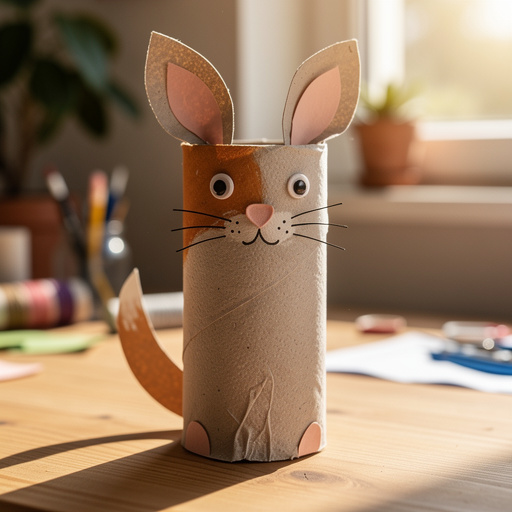
Toilet Paper Roll Animal Puppets
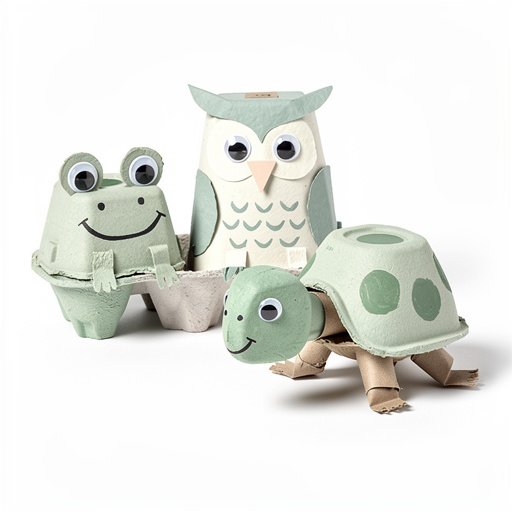
Egg Carton Critters & Creations
Winter Wonderland Paper Snowflakes
Cardboard Tube Animal Masks