How to Make Heart-Shaped Seed Paper Valentines — Easy Step-by-Step Guide
Craft beautiful, plantable Valentine's Day cards that grow into flowers! These unique seed paper hearts are a thoughtful and eco-friendly way to share love. This beginner-friendly activity is perfect for families with kids aged 6+ and takes about 60 minutes to prepare, plus drying time.

Quick answer
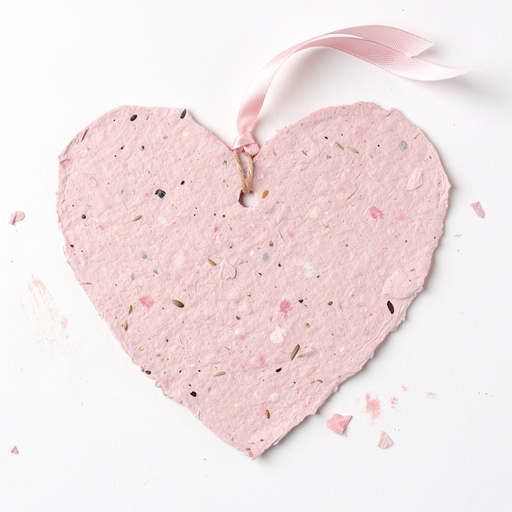
To make heart-shaped seed paper valentines, you need recycled paper, seeds, water, and a blender, taking about 60 minutes for preparation. Start by blending the paper into pulp, then mix in seeds, press, and dry. This beginner-friendly activity has 12 core steps and is perfect for families with kids aged 6+.
What you need
Shop on Amazon · As an Amazon Associate we earn from qualifying purchases. Links above are affiliate links — we may earn a commission at no extra cost to you.
This Valentine's Day, move beyond traditional store-bought cards and create something truly memorable and meaningful with these Heart-Shaped Seed Paper Valentines. This DIY project offers a delightful way to express your love while championing sustainability. Imagine gifting a card that not only conveys your heartfelt message but also blossoms into beautiful flowers, a lasting reminder of your affection. It's a wonderfully tactile and engaging craft, perfect for families looking for a creative activity that’s both fun and eco-conscious, suitable for even the youngest crafters.
On this page
Step-by-Step Instructions
- 1
Begin by tearing your shredded recycled paper into even smaller pieces, roughly 1-inch squares. This helps the paper break down more easily in the blender, ensuring a smoother pulp.
- 2
Place the torn paper pieces into your blender. Ensure you don't overfill the blender; you may need to work in batches depending on its size.
- 3
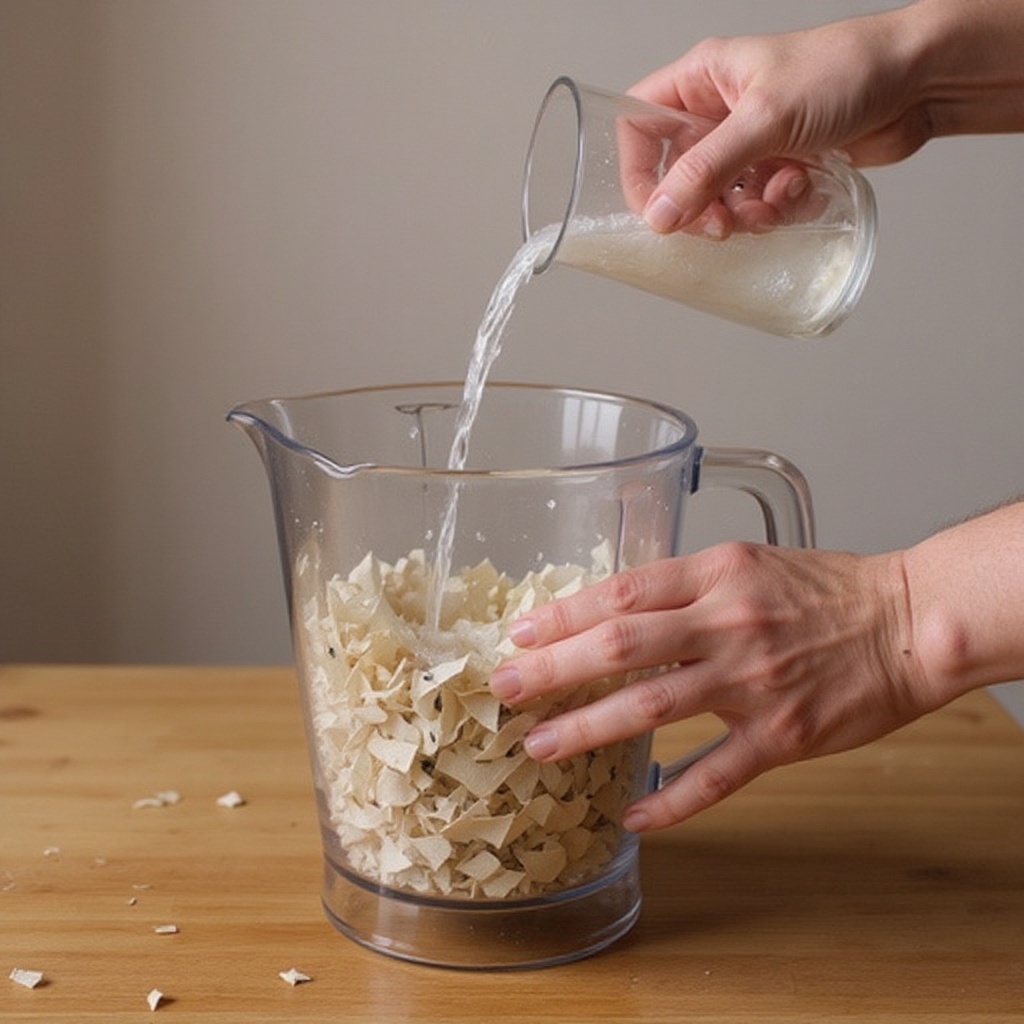
Add 2 cups of warm water to the blender with the paper. The warm water helps to soften the paper fibers, making them easier to blend into a consistent pulp.
- 4
Blend the mixture on high speed until it forms a smooth, uniform pulp, resembling the consistency of thick oatmeal or porridge. Scrape down the sides of the blender as needed to ensure all paper is incorporated.
- 5
If you wish to add color to your seed paper, now is the time to add a few drops of food coloring to the pulp in the blender and blend briefly to distribute evenly. Be mindful that the color will lighten as it dries.
- 6
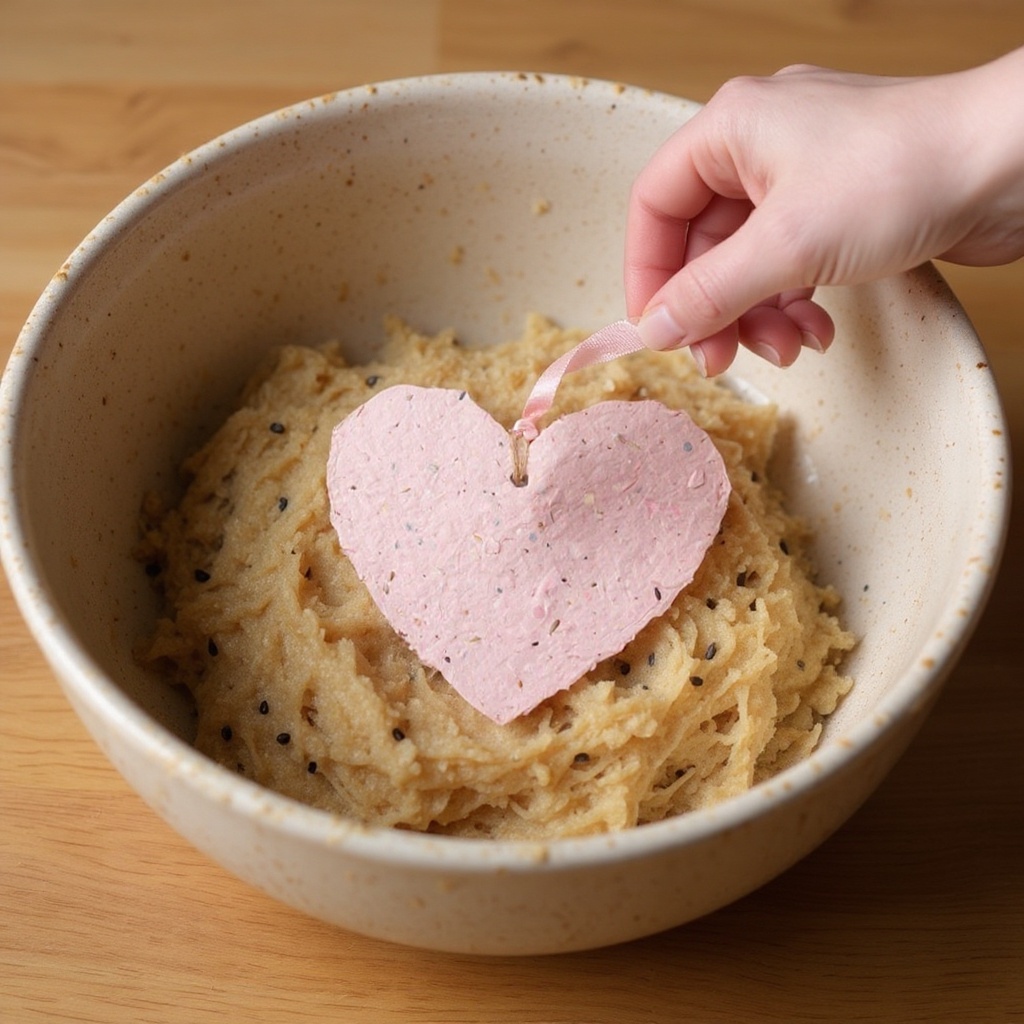
Pour the blended paper pulp into the large bowl. If you blended in batches, add each batch to the bowl, stirring gently to combine.
- 7
Carefully stir in the 1/4 cup of wildflower seeds (or your chosen seeds) into the pulp. Mix thoroughly with a spoon or your hands, ensuring the seeds are evenly distributed throughout the mixture so each piece of paper has a good chance of sprouting.
- 8
Place the fine mesh strainer over another empty bowl or directly over your sink. This setup will catch the excess water as you drain the pulp.
- 9
Scoop generous handfuls of the seed pulp mixture into the fine mesh strainer. Allow the excess water to drain through the mesh, leaving the thicker pulp behind.
- 10
Once a good amount of pulp is in the strainer, use the clean sponge to gently press down on the pulp. This action absorbs and removes as much water as possible, which is crucial for proper drying and preventing mold.
- 11
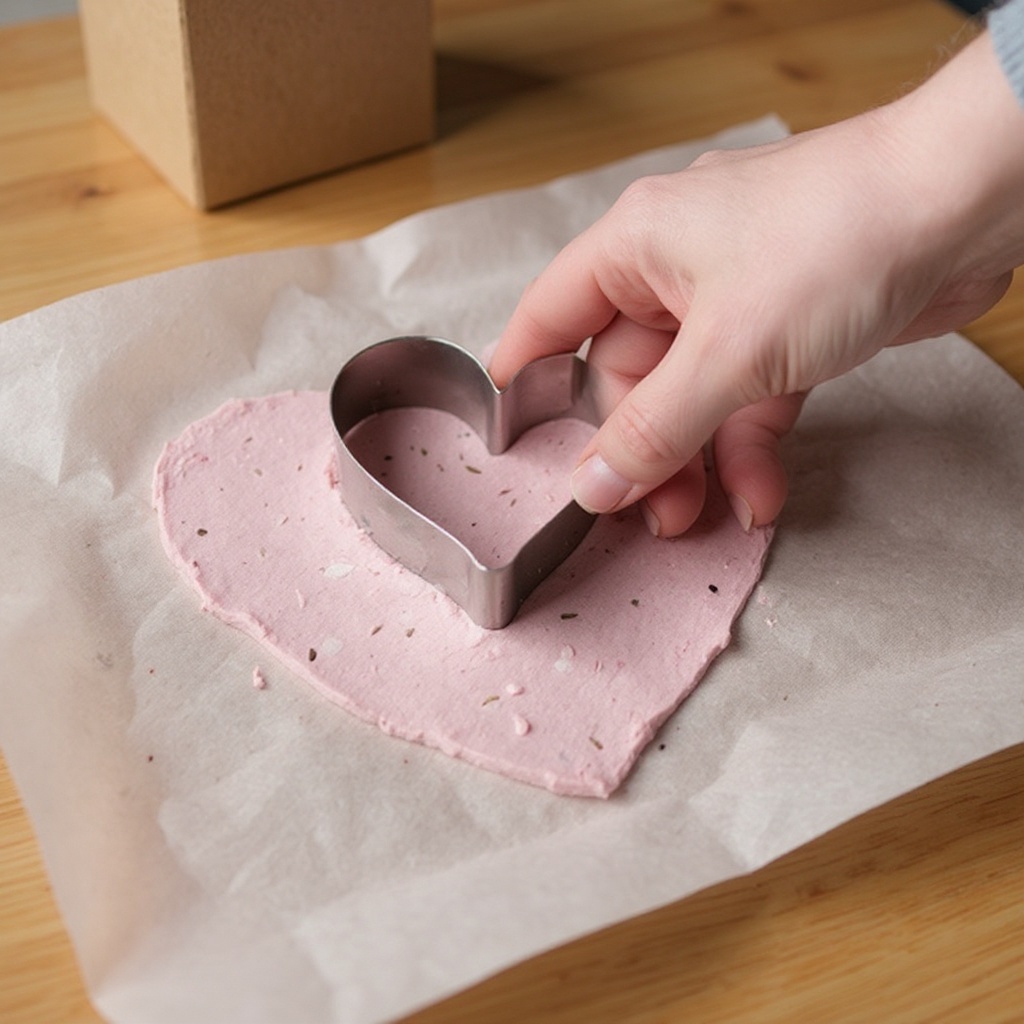
Lay out one large sheet of wax or parchment paper on a flat, clean surface. Carefully spread the damp seed paper pulp thinly and evenly onto this sheet, aiming for a consistent thickness of about 1/8 to 1/4 inch.
- 12
If you are using heart-shaped cookie cutters, gently press them into the spread pulp to create defined heart shapes. You can also freehand shape the pulp into hearts using your hands or a spatula for a more organic look.
- 13
Once your shapes are formed, carefully lay a second sheet of wax or parchment paper over the top of the seed paper pulp. This protects the top layer and helps with even pressing.
- 14
Place heavy books on top of the layered paper to press out even more moisture and flatten the seed paper, or use a rolling pin to gently roll over the top sheet. Ensure the weight is distributed evenly for a uniform thickness.
- 15
Allow the seed paper to dry completely in a well-ventilated area, away from direct sunlight or heat, for at least 24 to 48 hours, or until it feels firm and dry to the touch. The drying time will vary depending on humidity and thickness.
- 16
Once the seed paper is completely dry and firm, carefully peel the top layer of wax or parchment paper away. Then, gently peel the dried seed paper hearts from the bottom sheet. Your unique Valentine's Day seed paper is now ready to be written on and gifted!
Tips & Troubleshooting
- 1If your pulp feels too watery after pressing with the sponge, add a little more shredded paper, a tablespoon at a time, and mix well before spreading. Conversely, if it seems too dry and crumbly, add a tablespoon of water and mix until it reaches a workable consistency.
- 2Experiment with a variety of seeds! Beyond wildflowers, consider herb seeds like basil, parsley, or chives, or even small, easy-to-grow vegetable seeds like lettuce or radish. Ensure the seeds are non-GMO and suitable for your local climate.
- 3For an exceptionally smooth and refined seed paper finish, you can let the shredded paper soak in water for several hours, or even overnight, before blending. This allows the fibers to break down more thoroughly, resulting in a finer pulp.
- 4Once your seed paper hearts are completely dry, you can personalize them further. Use a fine-tipped pen to write heartfelt messages, draw designs, or even add eco-friendly glitter for a touch of sparkle. Stamps also work well on the textured surface.
- 5Store your finished seed paper valentines in a cool, dry place, perhaps in a resealable bag or an airtight container, until Valentine's Day. This prevents them from absorbing moisture, which could lead to mold or premature germination.
- 6To ensure the best germination rates, use seeds that are relatively fresh. Check the expiration dates on your seed packets, and if you're unsure, it's always best to test a few seeds by planting them in a small pot beforehand.
- 7When spreading the pulp, aim for an even thickness. Uneven thickness can lead to some areas drying faster than others, potentially causing cracking or making the paper difficult to handle. A consistent layer also ensures better seed distribution.
- 8If you don't have cookie cutters, you can simply shape the pulp into rough heart forms with your hands or use a spatula to create the edges. The organic, handmade look is part of the charm of this craft.
Related Activities You Might Enjoy
Frequently Asked Questions
Can I use any kind of paper for seed paper valentines?
It's best to use 100% recycled paper that isn't glossy or coated, as these finishes can interfere with the paper's ability to break down and the seeds' ability to germinate. Junk mail, newspaper, and plain printer paper work exceptionally well because they are typically uncoated and readily available. Avoid paper with plastic or foil elements, as these will not decompose. The less ink on the paper, the better, as excessive ink can sometimes affect seed viability or the overall appearance of the paper. Always ensure the paper is clean and free from food residue.
What kind of seeds are best for seed paper?
Wildflower seeds are a popular and excellent choice as they create beautiful, colorful blooms that are often beneficial to pollinators. You can also use herb seeds like basil, parsley, or chives, or even small vegetable seeds such as lettuce or radish. The key is to choose seeds that are small, have a good germination rate, and are suitable for your local climate and growing conditions. Ensure they are non-GMO and preferably organic for the best results. Avoid very large seeds, as they can be difficult to embed evenly and may not sprout as reliably.
How long does it take for seed paper to grow?
Once planted, seeds typically sprout within 7 to 21 days, depending on the specific seed type, temperature, moisture, and sunlight conditions. For optimal germination, the seed paper needs to be planted in moist soil and kept consistently damp. The paper itself will decompose, providing nutrients for the growing seedlings. Factors like the thickness of the paper and the quality of the seeds will also influence the germination timeline. Patience is key, and with proper care, you'll soon see your heartfelt message bloom into life.
How do I plant my seed paper valentine?
Planting your seed paper valentine is simple and rewarding. Tear off a piece of the seed paper, or the entire heart if you wish. Press it gently into moist soil, about 1/4 inch deep, in a pot or garden bed. Ensure the soil is well-draining and rich in nutrients. Keep the soil consistently damp, but not waterlogged, and place the pot or garden in a location that receives adequate sunlight for the chosen seeds. Watch as the paper decomposes and your seeds begin to sprout into beautiful flowers or herbs.
Can I write on the seed paper before or after it's dry?
It is best to write on the seed paper after it has completely dried. While you can technically write on damp pulp, the ink may bleed and the paper is fragile and prone to tearing. Once the seed paper is fully dry and firm, it has a texture similar to handmade paper, making it ideal for writing with a fine-tipped pen or a marker. You can also use stamps or other decorative elements. Writing on dry paper ensures your message remains clear and legible, and the paper is sturdy enough to handle the writing process without damage.
How can I make my seed paper more colorful or decorative?
To add color, you can incorporate a few drops of food coloring into the paper pulp before blending or mixing in the seeds. Be aware that the color will lighten considerably as the paper dries. For a more natural approach, consider using colored recycled paper if you have it, or even adding dried, finely ground flower petals or natural dyes. For sparkle, use eco-friendly, biodegradable glitter mixed in with the pulp and seeds. Avoid non-biodegradable glitter, as it can harm the environment when planted.
What Next?
These Heart-Shaped Seed Paper Valentines are a charming and eco-friendly alternative to conventional cards. Once dry, you can write your messages directly onto the paper with a fine-tipped pen or even decorate them with stamps. For a unique presentation, consider attaching them to a small potted plant or a bouquet of fresh flowers. Store any extra seed paper in a cool, dry place for future gifting or planting. As a next step, explore making other seed paper shapes or even seed paper tags for gifts!
Free: 10 Paper Crafts Anyone Can Make in 5 Minutes
Get our beginner guide + new craft ideas weekly.
No spam. Unsubscribe anytime.
Did you complete this activity?
Related
You might also like
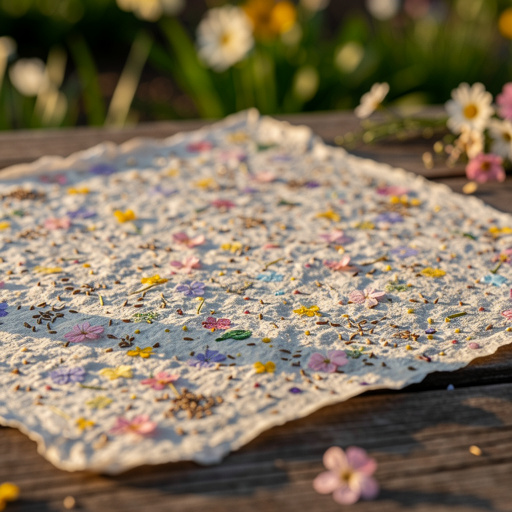
Spring Flower Seed Paper
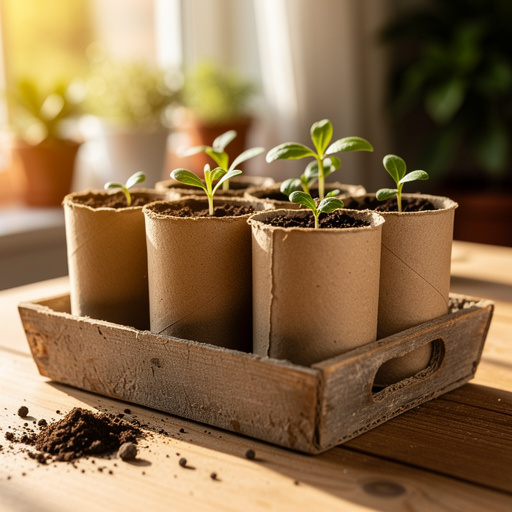
Cardboard Tube Seed Starters
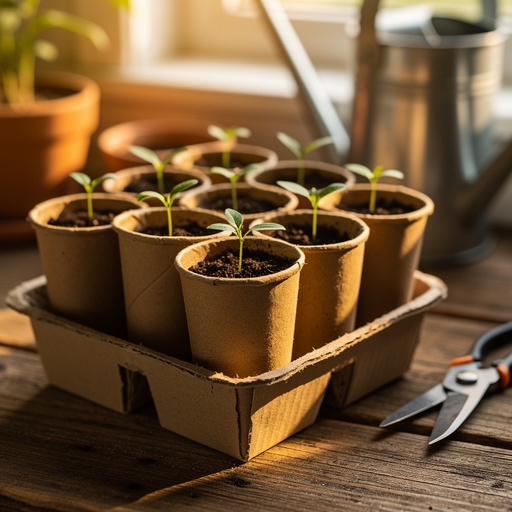
Cardboard Tube Seedling Starters
Whimsical Magazine Collage Creatures
Plastic Bottle Bird Feeder