How to Make Simple Fabric Coasters — Easy Step-by-Step Guide
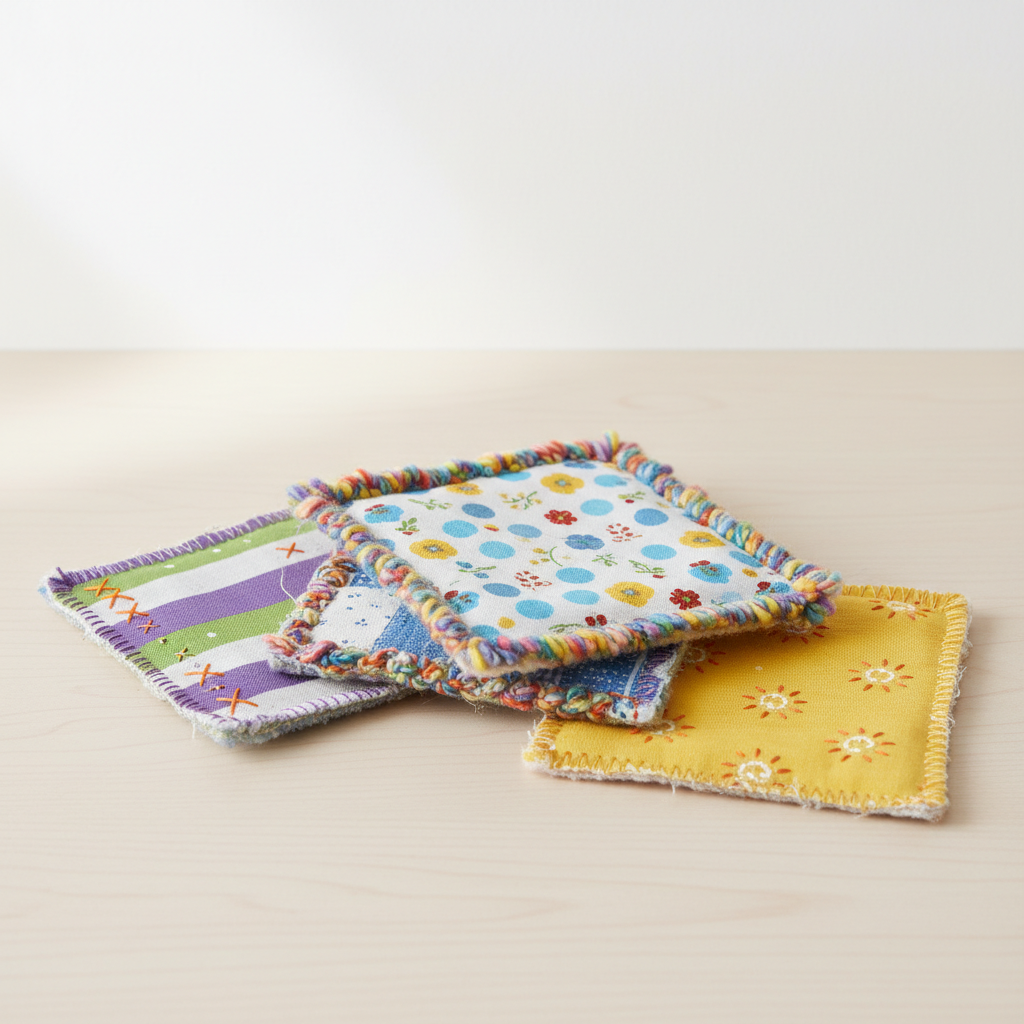
Whip up a set of charming fabric coasters in no time! These are perfect for protecting surfaces and make wonderful handmade gifts. This beginner-friendly activity has 10 steps and is perfect for families looking for easy sewing projects for gifts.
Quick answer
To make fabric coasters, you need fabric scraps, batting, thread, and a sewing machine, taking about 30 minutes. Start by cutting your fabric and batting. This beginner-friendly activity has 10 steps and is perfect for families looking for easy sewing projects for gifts.
What you need
Shop on Amazon · As an Amazon Associate we earn from qualifying purchases. Links above are affiliate links — we may earn a commission at no extra cost to you.
Discover the joy of creating your own functional home decor with this incredibly simple fabric coaster tutorial. Perfect for anyone dipping their toes into the world of sewing, these coasters are not only practical for safeguarding your furniture from drink rings but also serve as delightful, personalized gifts. Whether you're looking for a quick weekend project, a way to use up fabric scraps, or an engaging activity to share with family, these easy-to-make coasters offer a rewarding and stylish outcome with minimal effort.
On this page
Step-by-Step Instructions
- 1
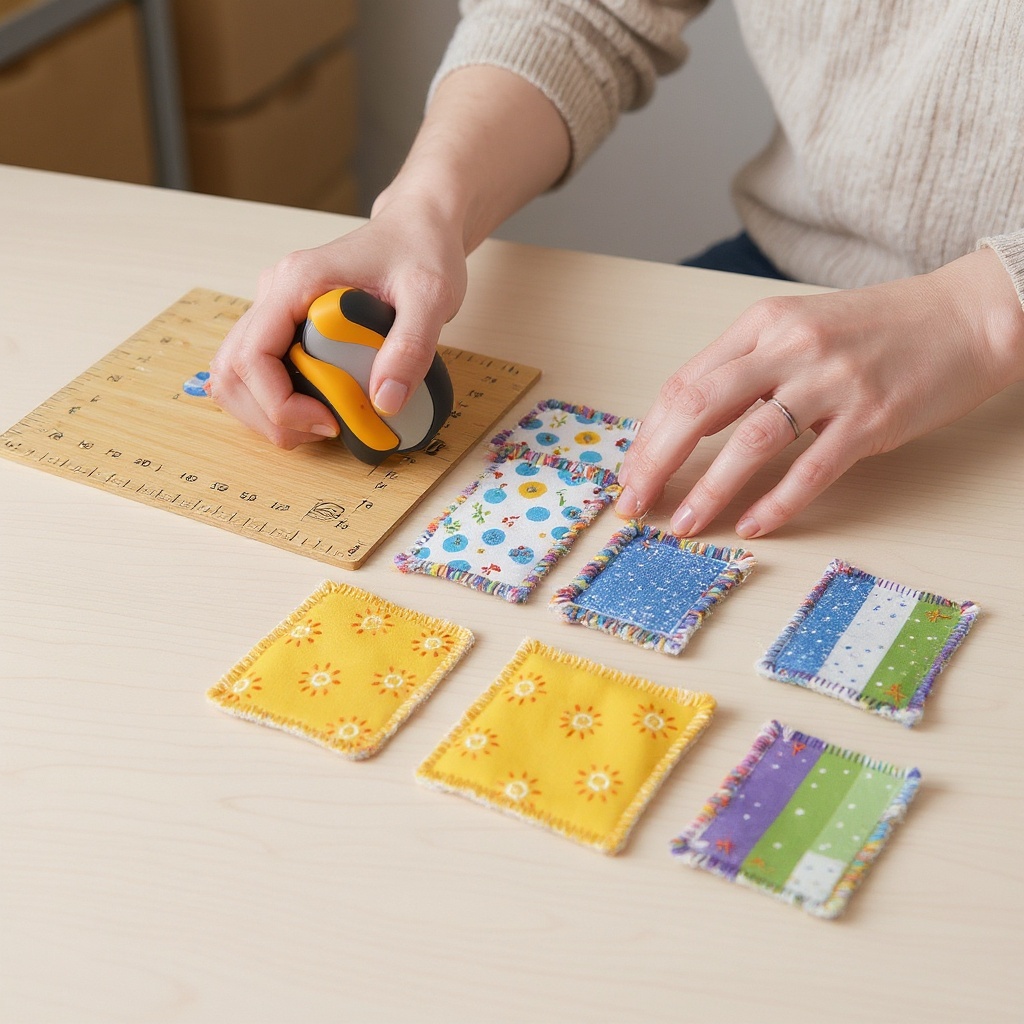
Cut your four fabric scraps into 5x5 inch squares. Ensure your cuts are as precise as possible using a ruler and fabric scissors for clean edges, which will make sewing much easier and result in a neater final product.
- 2
Cut your two cotton batting pieces into 4x4 inch squares. This size is slightly smaller than the fabric squares, which helps to reduce bulk in the seam allowance and makes turning the coaster right-side out much smoother.
- 3
Place one fabric square right-side down on your work surface. This will be the backing fabric for your coaster, so ensure it's the side you want visible on the bottom.
- 4
Center one batting square on top of the fabric square. Position the batting so that it is evenly distributed within the boundaries of the fabric, leaving a consistent margin of fabric around all sides of the batting.
- 5
Place a second fabric square right-side up on top of the batting. This will be the decorative top of your coaster, so ensure the right side is facing upwards, ready to be seen.
- 6
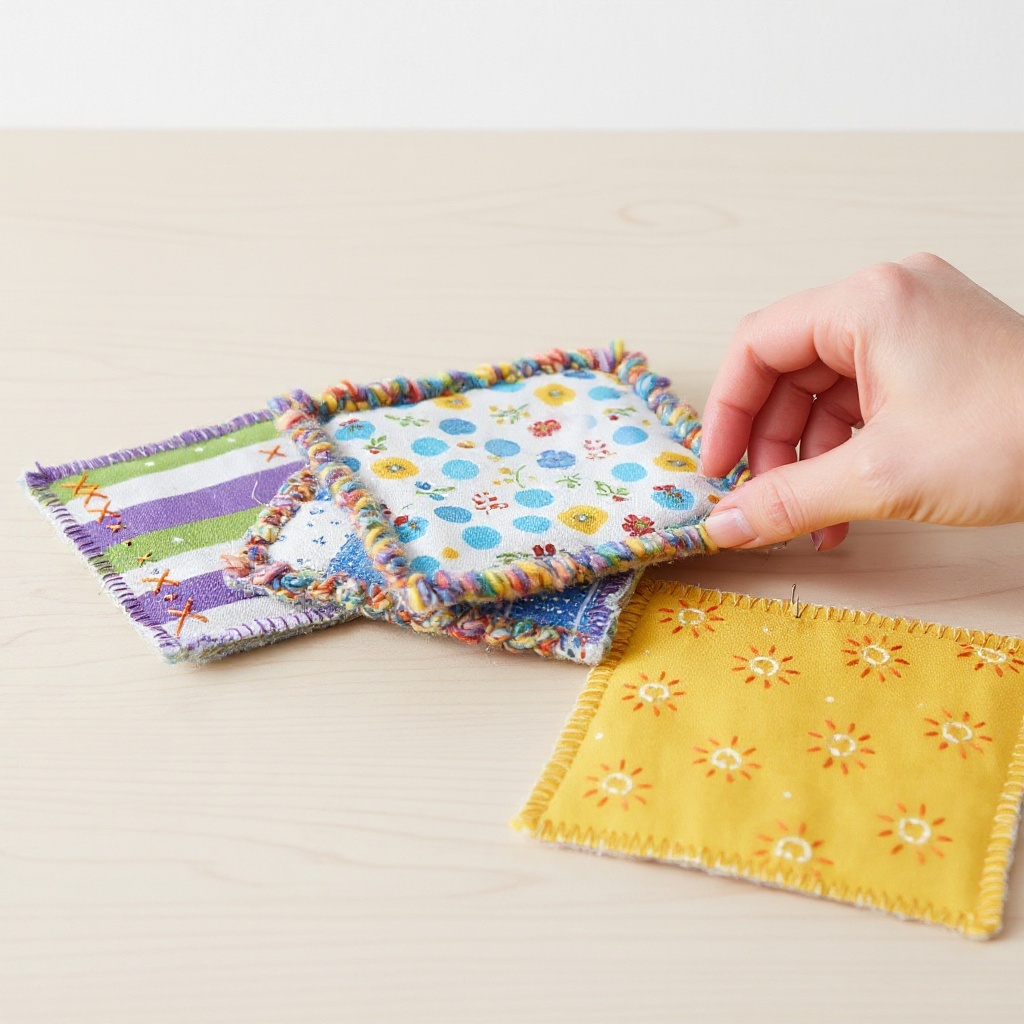
Pin all three layers together around the edges. Use several pins, spaced about 1-2 inches apart, to secure all three layers firmly. This prevents them from shifting during the sewing process, which is crucial for achieving straight seams.
- 7
Repeat steps 3-6 for the second coaster. By making two coasters at a time, you can efficiently work through the process and end up with a matching set.
- 8
Using your sewing machine, stitch around the pinned fabric layers, leaving a 2-inch opening on one side for turning. Select a straight stitch and a medium stitch length, sewing about 1/4 inch from the raw edge. Remember to backstitch at the beginning and end of your seam to secure the stitches.
- 9
Trim the corners of the sewn squares diagonally, being careful not to cut the stitching. This crucial step reduces bulk in the corners, allowing them to turn out sharply and neatly. A small, angled cut is all that's needed.
- 10
Turn both coasters right-side out through the opening. Gently pull the fabric through the gap you left, and use a pointed tool like a chopstick or a seam ripper (carefully!) to push out the corners from the inside, ensuring they are crisp and defined.
- 11
Tuck in the raw edges of the opening and press the coasters flat with an iron. Use your iron to create a crisp edge along the opening, making it ready for the final topstitching. Pressing the entire coaster will also help to flatten the seams and give it a professional look.
- 12
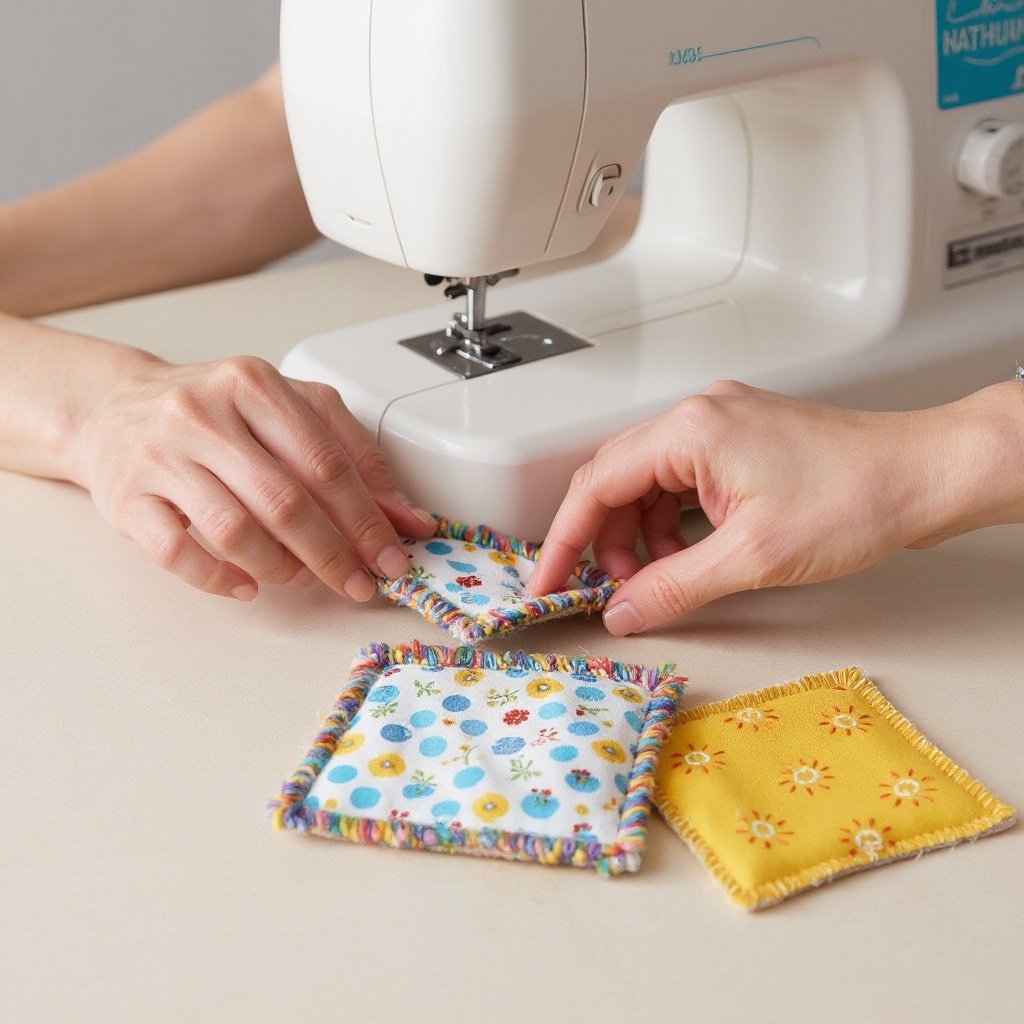
Topstitch around the entire edge of each coaster, about 1/8 inch from the seam, closing the opening as you go. This secures the opening and adds a decorative element. Ensure your stitching is consistent and close to the edge for a polished appearance.
- 13
Stitch a decorative pattern or simply stitch across the coaster in a few lines to secure the batting if desired. This step is optional but adds extra stability to the batting and can enhance the visual appeal. You can quilt it with straight lines, a simple cross-hatch, or even free-motion quilting if you're feeling adventurous.
- 14
Your easy fabric coasters are now complete and ready to be gifted! Admire your handiwork and prepare to protect surfaces in style.
Tips & Troubleshooting
- 1Ensure your fabric scraps are pre-washed and ironed to prevent shrinkage after sewing. This is a vital step for any fabric project, as pre-washing mimics the laundering process and ensures your finished coasters won't warp or shrink unevenly when they eventually need to be cleaned.
- 2For a more professional finish, use a walking foot on your sewing machine to help feed the layers evenly. A walking foot distributes the fabric layers more uniformly, preventing the top layer from stretching or puckering, which is especially helpful when sewing through multiple layers like fabric and batting.
- 3Experiment with different fabric combinations – quilting cottons work best for durability and ease of sewing. Quilting cottons are tightly woven, stable, and come in an endless array of beautiful prints, making them ideal for projects like coasters where both aesthetics and longevity are important.
- 4If you don't have batting, you can use a thicker fabric like flannel or even a few layers of cotton fabric. Flannel provides good absorbency and a soft feel, while layering standard cotton fabric can create a similar effect to batting, offering structure and padding.
- 5Consider adding a loop of ribbon or fabric to one corner for hanging. This is a practical addition that allows you to store your coasters neatly on a hook or peg, keeping them accessible and adding a decorative touch to your kitchen or craft space.
- 6When cutting your fabric, ensure you are using a rotary cutter and mat or sharp fabric scissors for the most accurate results. Precise cuts will lead to perfectly aligned seams and a more professional-looking finished product, making the entire sewing process smoother.
- 7Don't be afraid to mix and match patterns and colors for a truly unique set of coasters. Combining a bold print with a subtle solid or a contrasting color can create a visually dynamic and eye-catching collection that reflects your personal style.
- 8If you find turning the corners a bit tricky, try clipping the corners even closer to the stitching line (but still being careful not to cut the stitches). This will further reduce bulk and make it easier to achieve sharp, defined corners.
Related Activities You Might Enjoy
Frequently Asked Questions
What are the easiest sewing projects for beginners?
Simple fabric coasters, tote bags, pillow covers, and scrunchies are excellent beginner sewing projects. They require basic stitches and minimal fabric, making them quick and rewarding for new sewers. These projects help build fundamental skills like cutting accurately, sewing straight lines, and finishing seams. They also provide a sense of accomplishment early on, encouraging further exploration into more complex sewing endeavors. The low material cost also makes them ideal for practicing without significant financial investment.
Can kids make fabric coasters?
Yes, with adult supervision, children aged 8 and up can definitely make fabric coasters! They can help with cutting fabric, pinning, and even operating the sewing machine under close guidance. This project is a fantastic way to introduce children to sewing, teaching them valuable skills while creating something tangible and useful. Ensure they understand safety precautions around the sewing machine and sharp tools. The satisfaction of completing their own handmade item can be incredibly empowering for young crafters.
What materials do I need for easy sewing projects?
For most easy sewing projects, you'll need fabric scraps, thread, a sewing machine (or needle for hand-sewing), scissors, pins, and an iron. Specific projects might require batting, elastic, or zippers. Having a good pair of fabric scissors is essential for clean cuts, and pins are crucial for holding fabric pieces together before sewing. An iron is indispensable for pressing seams and achieving a crisp, professional finish. For beginners, a basic sewing machine that can handle straight stitches is perfectly adequate.
How long does it take to sew fabric coasters?
Sewing a set of four fabric coasters typically takes about 30-45 minutes, depending on your sewing speed and experience. It's a quick project perfect for an afternoon. This timeframe includes cutting the fabric and batting, sewing the pieces together, turning them right-side out, and topstitching. For absolute beginners, it might take a little longer as they familiarize themselves with each step, but the project is designed to be completed in a single crafting session.
What are the benefits of making fabric coasters?
Making fabric coasters offers numerous benefits, both practical and creative. They are an excellent way to protect your furniture from moisture rings and heat damage, extending the life of your tables and surfaces. Creatively, they provide a fantastic opportunity to use up fabric scraps, reducing waste and allowing you to experiment with different color and pattern combinations. Furthermore, handmade coasters make thoughtful and personalized gifts for friends and family, showcasing your crafting skills and adding a unique touch to their homes. They are also a low-cost way to refresh your home decor.
Can I hand-sew fabric coasters?
Absolutely! While a sewing machine makes the process faster, fabric coasters can certainly be hand-sewn. You would use a sturdy stitch like a backstitch for the main seam and a whipstitch or ladder stitch to close the opening and for topstitching. Hand-sewing requires a bit more patience and time, but it's a wonderful option if you don't have a sewing machine or want to practice your hand-stitching skills. The result can be just as beautiful and functional as machine-sewn coasters.
What Next?
Congratulations on creating your beautiful new fabric coasters! This project is a fantastic starting point for exploring the world of sewing and fabric crafts. Feel free to experiment further by using different fabric types, adding decorative stitching, or even creating larger placemats using the same technique. Store your finished coasters neatly stacked on a shelf, in a decorative basket, or even hang them using a small loop added during the process. For your next sewing adventure, consider tackling simple tote bags, pillow covers, or even fabric bookmarks – all projects that build upon the skills you've just mastered.
Free: 10 Paper Crafts Anyone Can Make in 5 Minutes
Get our beginner guide + new craft ideas weekly.
No spam. Unsubscribe anytime.
Did you complete this activity?
Related