How to Make Soap for Beginners — Easy Step-by-Step Guide
Discover the joy of soap making with this beginner-friendly melt and pour tutorial. Create custom soaps with your family, perfect for gifts or everyday use. This easy activity has 10 steps and is perfect for families with kids aged 8+.

Quick answer
To make soap for beginners, you need melt-and-pour soap base, fragrance oil, and colorant, taking about 30 minutes to make. Start by melting the soap base. This easy activity has 10 steps and is perfect for families with kids aged 8+.
What you need
Shop on Amazon · As an Amazon Associate we earn from qualifying purchases. Links above are affiliate links — we may earn a commission at no extra cost to you.
Embark on a delightful crafting journey with melt and pour soap making, an incredibly accessible and rewarding hobby for all ages. This method bypasses the complexities of traditional soap making, allowing you to dive straight into the creative process of designing beautiful, personalized soaps. It's a fantastic way to bond with family, create thoughtful handmade gifts, or simply elevate your daily bathing routine with luxurious, custom-scented bars. Get ready to transform simple ingredients into artisanal creations that smell and look amazing!
On this page
Step-by-Step Instructions
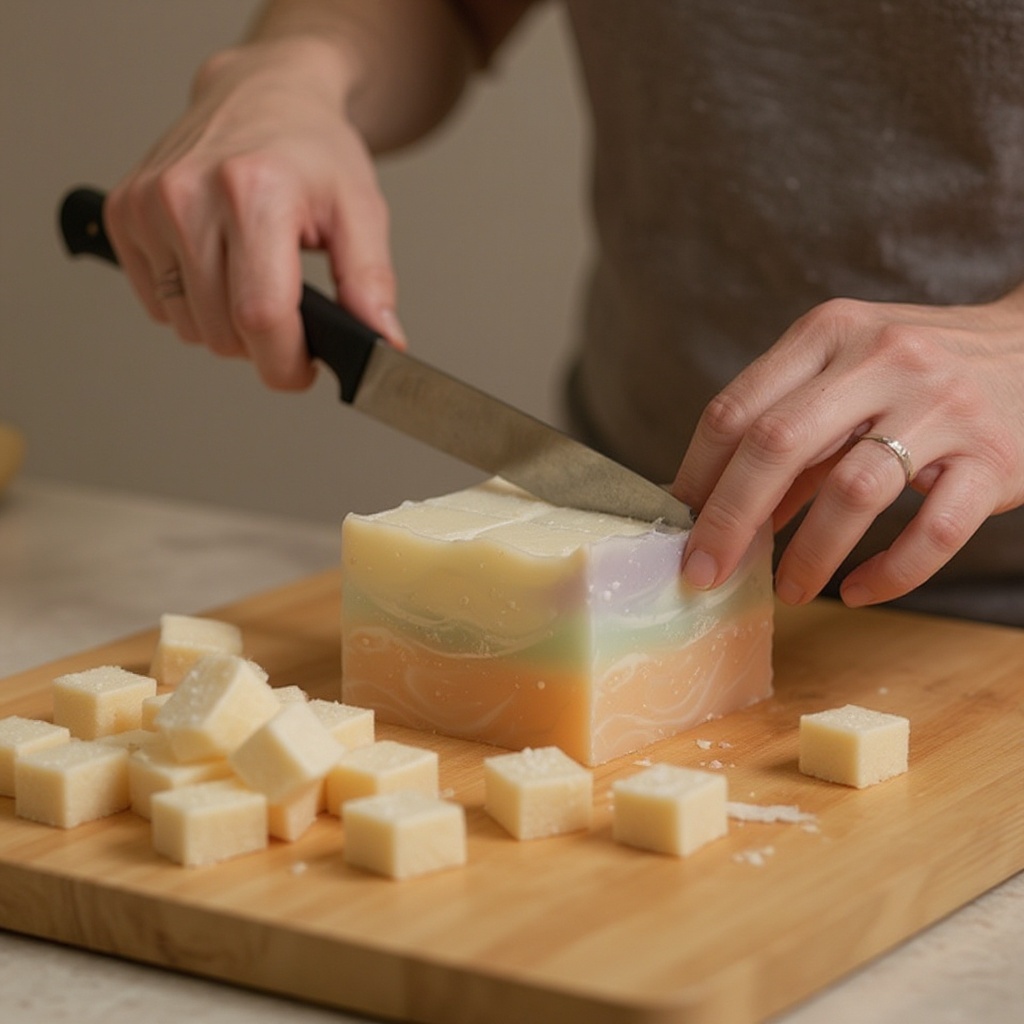
- 1
Begin by preparing your melt-and-pour soap base. Using a sharp knife or soap cutter, carefully chop the soap base into small, uniform cubes, approximately 1-inch in size. This ensures even and efficient melting, preventing some parts from overheating while others remain solid.
- 2
Transfer the cubed soap base into your microwave-safe pouring pitcher. Ensure the pitcher is large enough to accommodate the melted soap without overflowing, especially as it expands slightly when heated.
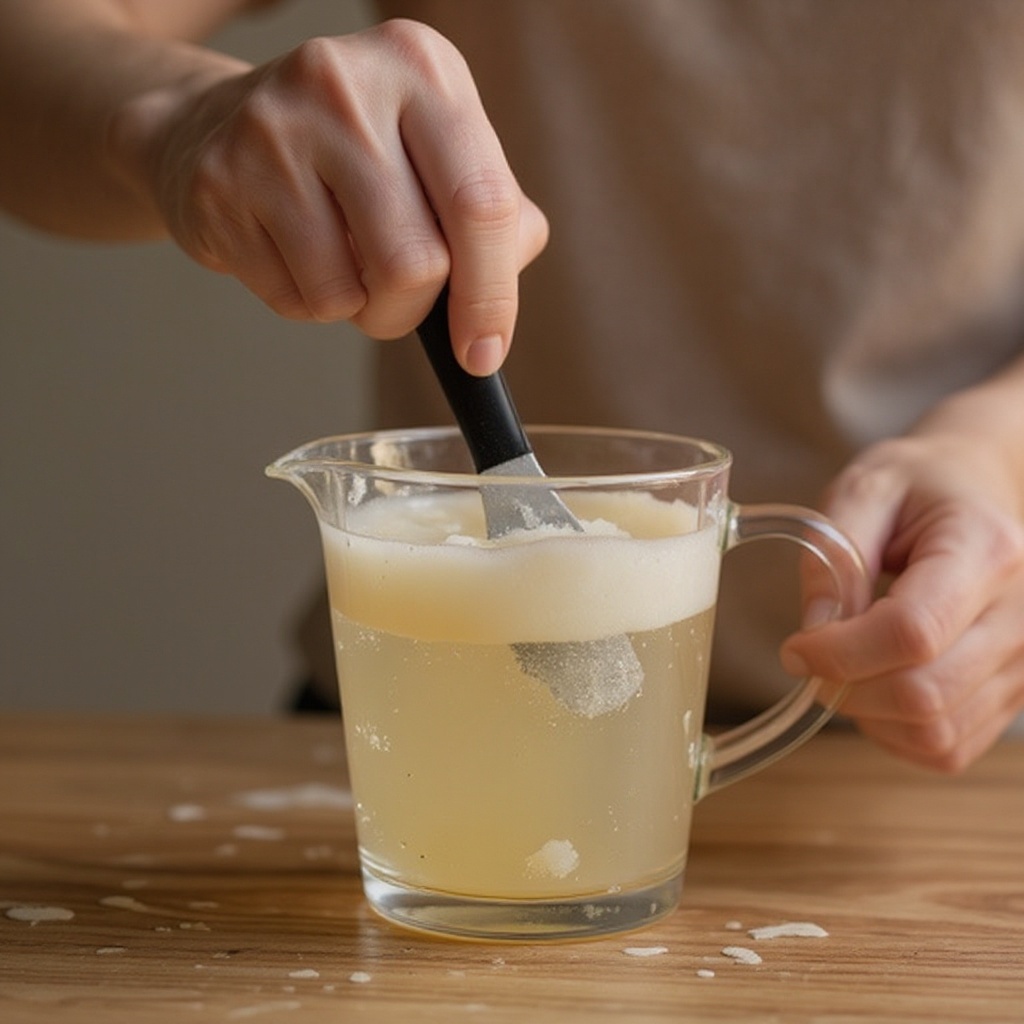
- 3
Melt the soap base in the microwave using short intervals. Start with 30-second bursts, removing the pitcher to stir gently between each interval. Continue this process until the soap base is completely liquid and smooth, resembling a clear or opaque syrup. It's crucial to avoid boiling the soap base, as this can cause it to lose moisture, become brittle, or develop an undesirable texture.
- 4
Once the soap base is fully melted and smooth, carefully remove the hot pitcher from the microwave. It's advisable to wear heat-resistant gloves during this step to protect your hands from the heat.
- 5
Now it's time to add your chosen fragrance. Start with the recommended amount of soap-safe fragrance oil, typically 1 teaspoon per pound of soap base, and gently stir it into the melted soap. You can add more to achieve your desired scent strength, but always add gradually and stir well to ensure it disperses evenly throughout the mixture.
- 6
If you desire colored soap, add 1-2 drops of liquid soap colorant at this stage. Stir gently but thoroughly until the color is evenly distributed and no streaks remain. For more intense colors, add another drop, but be cautious as a little colorant goes a long way.
- 7
Before pouring, give your melted soap mixture a final gentle stir to ensure the fragrance and color are fully incorporated. If you notice any solidified bits at the bottom, give it another quick, gentle stir to re-melt them.
- 8
Carefully pour the melted soap mixture into your prepared soap mold. Fill each cavity to your desired level, ensuring you don't overfill, which can lead to overflow and messy edges. Pour slowly and steadily to minimize the introduction of air bubbles.
- 9
Immediately after pouring, lightly spritz the surface of the soap in the mold with rubbing alcohol. This simple step is highly effective in breaking the surface tension of the soap, eliminating any unsightly air bubbles that may have formed during pouring, resulting in a smooth, professional finish.
- 10
Allow the soap to cool and harden completely at room temperature. This process typically takes 2-4 hours, but can vary depending on the size of your mold and the ambient temperature. Resist the urge to move or touch the molds during this time; the soap needs undisturbed time to solidify properly.
- 11
Once the soap is completely firm to the touch and no longer feels soft or pliable, it's time to unmold. Gently push from the bottom of the silicone mold, or carefully peel the edges away from the soap. If you encounter any resistance, ensure the soap is fully hardened before attempting to unmold again.
- 12
Inspect your newly created soaps for any imperfections. If there are small rough edges, you can gently buff them with a soft cloth or a small piece of sandpaper designed for crafting. This is an optional step for achieving an even more polished look.
Tips & Troubleshooting
- 1If your soap base begins to solidify in the pouring pitcher before you've finished filling all your molds, don't worry! You can gently reheat it in the microwave for very short bursts (10-15 seconds at a time), stirring between each interval, until it reaches a pourable consistency again. Be careful not to overheat it.
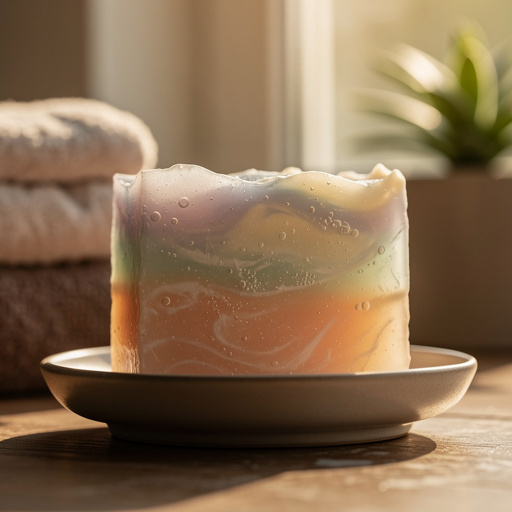
- 2Experiment with creating beautiful layered effects by pouring one color or scent into the mold, letting it set slightly (until a skin forms on top but it's still tacky), and then carefully pouring a second layer on top. This technique allows for stunning visual designs.
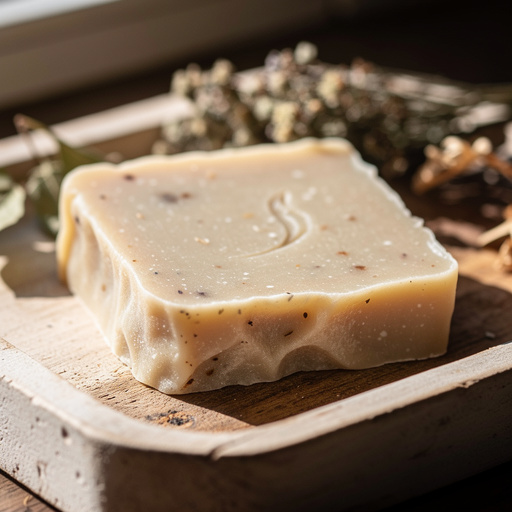
- 3For a more advanced and visually appealing soap, consider embedding small, pre-made soap embeds or dried botanicals into the soap before it fully hardens. Ensure that any botanicals used are completely dry and soap-safe, as moisture can cause them to degrade or discolor within the soap.
- 4Proper storage is key to maintaining the quality of your finished soaps. Store them in airtight containers or wrap them tightly in plastic wrap to prevent 'sweating,' which is the formation of glycerin dew on the surface of the soap due to humidity. This ensures your soaps look as good as they smell.
- 5When selecting fragrance oils, always opt for those specifically formulated for soap making. These are designed to be skin-safe and to hold up well in the saponification process (even though melt and pour bypasses traditional saponification, the stability is still important). Essential oils can also be used, but research their flashpoints and potential for skin irritation, and always use them at the recommended usage rates.
- 6To achieve a truly professional finish, ensure your workspace is clean and free of dust. Cover your work area with newspaper or a craft mat to protect surfaces from any spills. Having all your materials pre-measured and ready before you start melting will make the process smoother and more enjoyable.
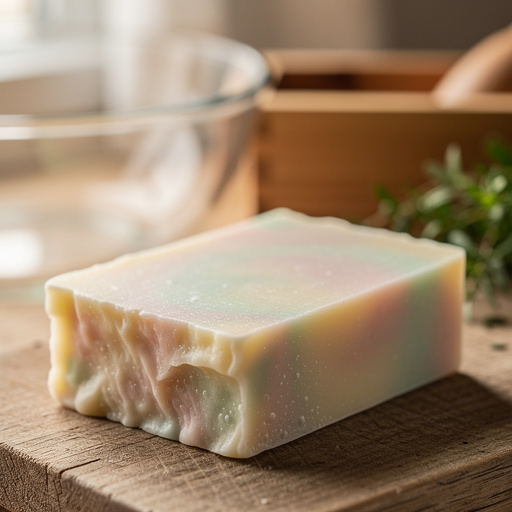
- 7If you're using clear melt-and-pour soap base, you can achieve vibrant, jewel-like colors. For opaque bases like goat's milk or shea butter, colors will appear softer and more pastel. Consider how the base will affect the final color of your soap.
- 8Don't be afraid to get creative with your molds! Beyond standard bar shapes, you can find molds in fun shapes like animals, flowers, or even holiday themes. This adds an extra layer of personality to your handmade soaps, making them even more special.
Related Activities You Might Enjoy
Frequently Asked Questions
Is melt and pour soap safe for beginners?
Absolutely! Melt and pour soap making is renowned for its safety and beginner-friendliness. The primary reason for this is that it completely bypasses the need to handle lye (sodium hydroxide), which is a caustic substance used in traditional cold-process or hot-process soap making. With melt and pour, the soap base has already undergone the saponification process, meaning it's safe to melt, add your desired scents and colors, and pour. This makes it an ideal starting point for individuals of all ages, including families looking for a fun and safe crafting activity.
How long does it take to make melt and pour soap?
The actual hands-on time for making melt and pour soap is remarkably quick, typically ranging from 15 to 20 minutes for the melting, adding of ingredients, and pouring stages. However, the total project time needs to include the crucial cooling and hardening phase. This period can last anywhere from 2 to 4 hours, and sometimes longer for larger or thicker soaps, to ensure they are completely firm and ready to unmold. So, while the active crafting is brief, patience is required for the soap to fully set.
Can kids help with melt and pour soap making?
Yes, melt and pour soap making is a fantastic activity for kids to participate in, with appropriate adult supervision. Children can enthusiastically help with measuring out the soap base cubes, stirring the melted soap (under close adult guidance due to the heat), carefully adding pre-measured fragrance oils and colors, and enthusiastically pouring the mixture into the molds. It's essential that an adult handles all aspects involving the microwave and the hot melted soap to ensure safety. This shared activity provides a wonderful opportunity for learning and creative expression.
What kind of scents can I use in homemade soap?
You have a wide array of scent options for your melt and pour soaps! The most common and recommended choice is using fragrance oils specifically formulated for soap making. These are designed to be skin-safe and to maintain their scent profile when incorporated into soap. You can also explore using essential oils, which are natural plant extracts. However, it's important to be mindful of their potency, as some essential oils are very strong and may require lower usage rates. Always research the specific essential oil you plan to use for its safety in cosmetic applications and its recommended usage percentage in soap.
Can I use essential oils instead of fragrance oils?
Yes, you can absolutely use essential oils in your melt and pour soaps! Essential oils offer a natural way to scent your creations and often come with therapeutic benefits. However, there are a few key considerations. Firstly, essential oils can be more expensive than fragrance oils. Secondly, their scent strength can vary significantly, and some may fade more quickly in soap. Thirdly, some essential oils can be sensitizing or irritating to the skin if used at too high a concentration. It's crucial to research the specific essential oil you intend to use, understand its recommended usage rate for soap making, and be aware of any potential skin sensitivities. Always start with a lower amount and test for scent throw and skin reaction.
What is 'sweating' and how do I prevent it?
'Sweating' in melt and pour soap refers to the appearance of small beads of moisture on the surface of the finished soap bar. This phenomenon occurs when the glycerin in the soap base attracts moisture from the air, especially in humid environments. To prevent this, it's crucial to store your finished soaps properly. Once completely hardened, wrap each soap bar tightly in plastic wrap or place them in airtight containers. This creates a barrier that prevents the glycerin from absorbing moisture from the surrounding air, keeping your soaps looking smooth and dry.
What Next?
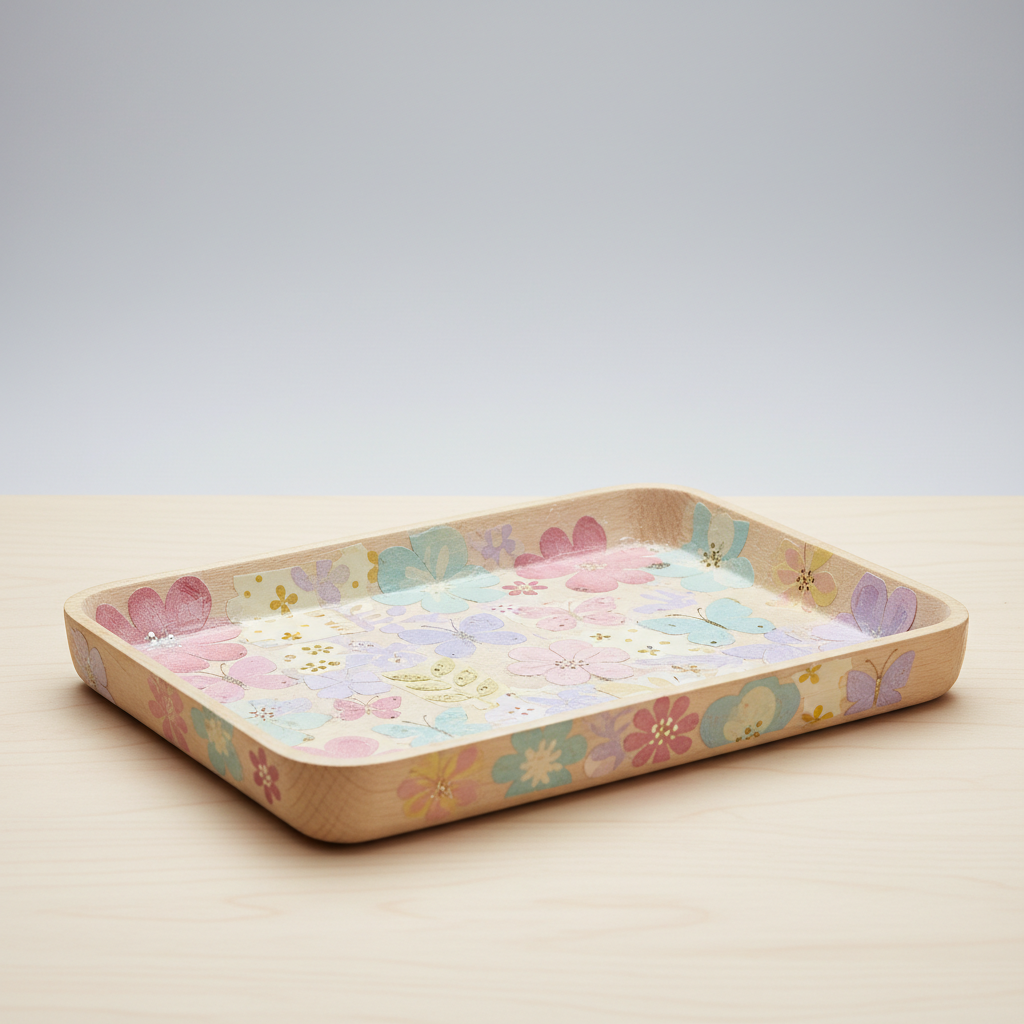
Congratulations on creating your first batch of melt and pour soap! You've unlocked a world of creative possibilities. Don't stop here; explore different soap bases like oatmeal or avocado for added skin benefits, or try incorporating natural exfoliants like coffee grounds or poppy seeds. For a truly unique touch, consider creating layered soaps with distinct colors and scents, or even embedding small, pre-made soap figures. Display your beautiful creations in a decorative soap dish or package them elegantly in cellophane or decorative boxes for the perfect handmade gift. Happy soap making!
Free: 10 Paper Crafts Anyone Can Make in 5 Minutes
Get our beginner guide + new craft ideas weekly.
No spam. Unsubscribe anytime.
Did you complete this activity?