How to Make Handmade Soap with Natural Ingredients — Easy Step-by-Step Guide
Create beautiful, all-natural soaps from scratch! This guide walks you through making your own gentle, fragrant bars using simple, natural ingredients, perfect for family crafting.

Quick answer
To make handmade soap with natural ingredients, you need oils, lye, and water, taking about 2-3 hours plus curing time. Start by carefully mixing lye and water, ensuring proper safety precautions. This beginner-friendly activity has 12 steps and is perfect for families with adult supervision, culminating in a wonderfully natural and customizable soap.
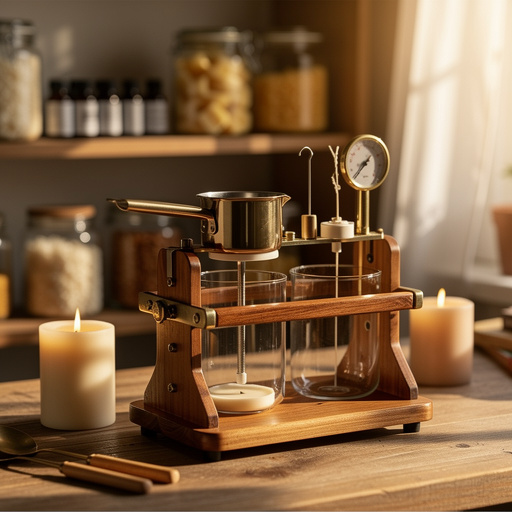
What you need
Shop on Amazon · As an Amazon Associate we earn from qualifying purchases. Links above are affiliate links — we may earn a commission at no extra cost to you.
Embark on a rewarding journey into the world of artisanal soap making with this beginner-friendly guide to creating your own natural bars. Moving beyond commercial products, you'll harness the power of simple, wholesome ingredients to craft soaps that are gentle on your skin and kind to the environment. This project is not only a fantastic way to create personalized gifts or pamper yourself but also a wonderful educational activity for families, fostering creativity and an appreciation for natural processes, all under careful adult supervision.
On this page
Step-by-Step Instructions
- 1
Prioritize safety by putting on your safety goggles, rubber gloves, and long-sleeved shirt and pants. Ensure your workspace is well-ventilated, ideally with a window open or an exhaust fan running, as the lye mixing process releases fumes.
- 2
Carefully weigh the distilled water into one of your designated heat-resistant containers. Using distilled water is important as tap water can contain minerals that interfere with the saponification process.
- 3
In a separate heat-resistant container, meticulously weigh the lye (sodium hydroxide). It is critical to be precise with lye measurements as it is the chemical that transforms oils into soap.
- 4
Slowly and gradually add the lye to the water, stirring gently with a silicone spatula until it is completely dissolved. This process is exothermic, meaning it generates significant heat and releases fumes; avoid inhaling these fumes directly by keeping your face away from the container.
- 5
Allow the lye solution to cool down to a temperature range of approximately 100-120°F (38-49°C). You can speed this up by placing the container in an ice bath, stirring occasionally, but be patient as it needs to reach the correct temperature.
- 6
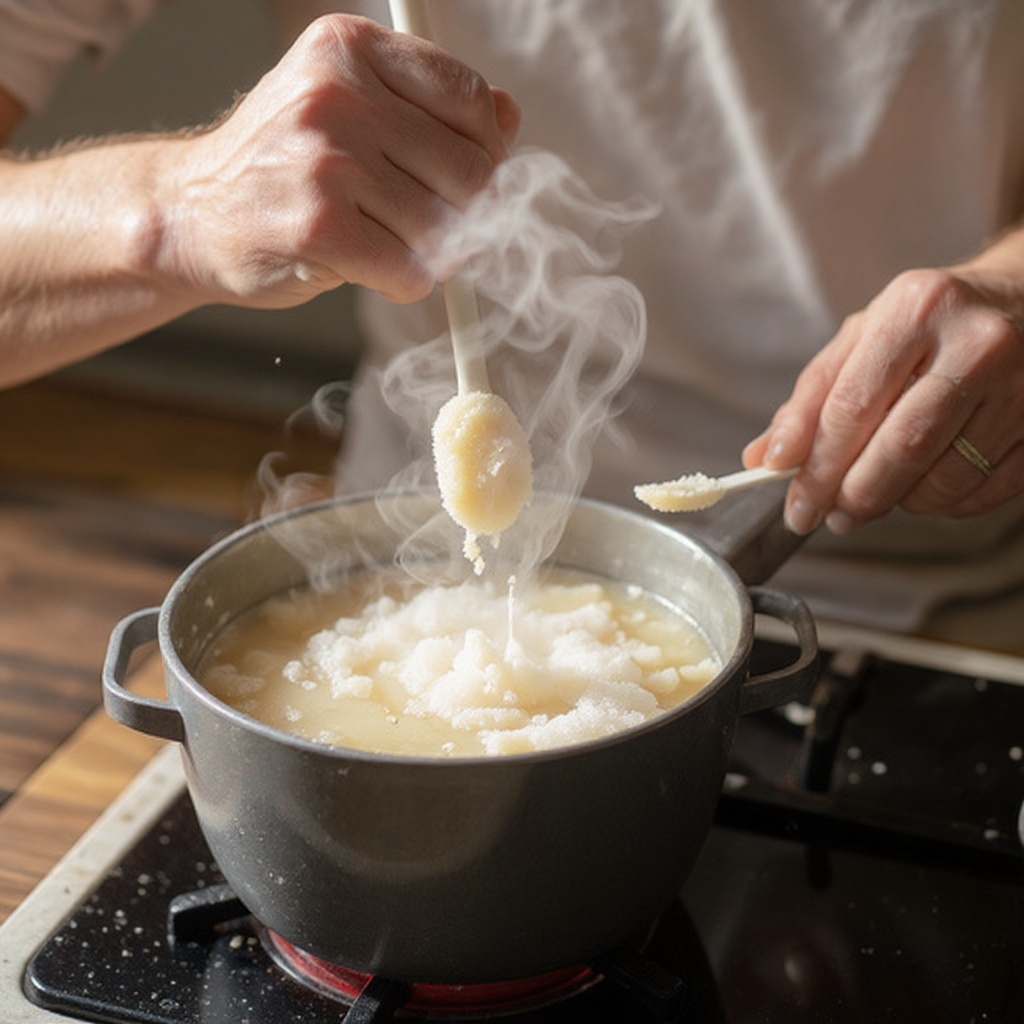
While the lye solution is cooling, weigh your solid and liquid oils (olive oil, coconut oil, and shea butter) into a large pot or another heat-resistant container. If using solid butters like shea butter, they will need to be melted.
- 7
Gently heat the oils over low heat, stirring occasionally, until they are fully melted and combined into a uniform liquid. Once melted, remove from heat and let them cool down to a similar temperature range as the lye solution, around 100-120°F (38-49°C).
- 8
Once both the lye solution and the oils are within 10°F of each other and within the target temperature range of 100-120°F, it's time to combine them. Slowly and carefully pour the lye solution into the melted oils, avoiding splashing.
- 9
Begin mixing the oils and lye solution using an immersion blender. Blend in short bursts of 15-30 seconds, alternating with stirring the mixture with the blender head or a spatula. Continue this process until the mixture reaches 'trace,' which is a pudding-like consistency where a drizzle of the soap batter left on the surface stays visible for a few seconds.
- 10
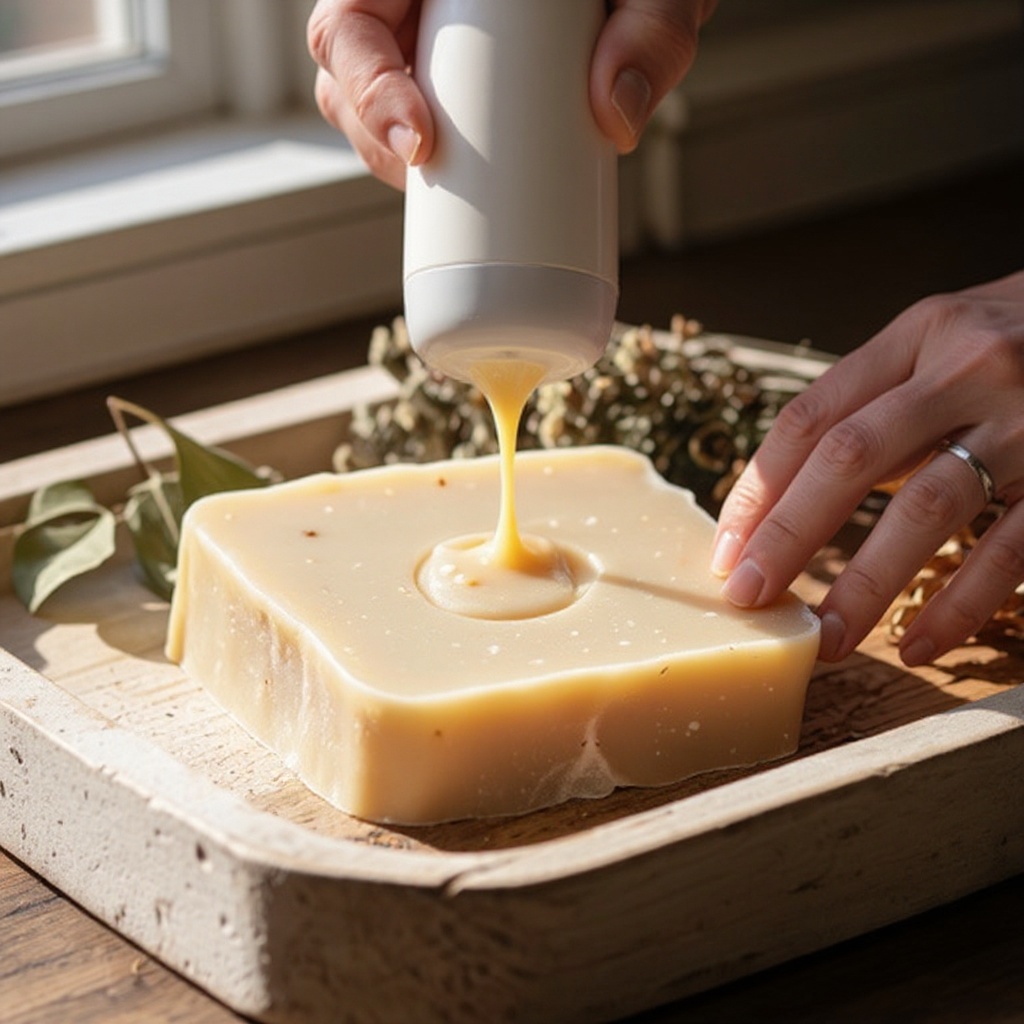
Once you've reached a light trace, it's time to add your fragrance and any optional botanicals. Gently stir in your chosen essential oils and any dried herbs or petals until they are evenly distributed throughout the soap batter.
- 11
Carefully pour the thickened soap mixture into your prepared soap mold. If using a loaf mold, ensure it's on a stable surface. Tap the mold gently on your work surface a few times to release any trapped air bubbles that could create voids in your finished bars.
- 12
Cover the mold with a lid or plastic wrap to prevent impurities from entering and to help insulate the soap. Then, wrap the entire mold in old towels or blankets to maintain a consistent temperature, which is crucial for the saponification process. Let it sit undisturbed for 24-48 hours.
- 13
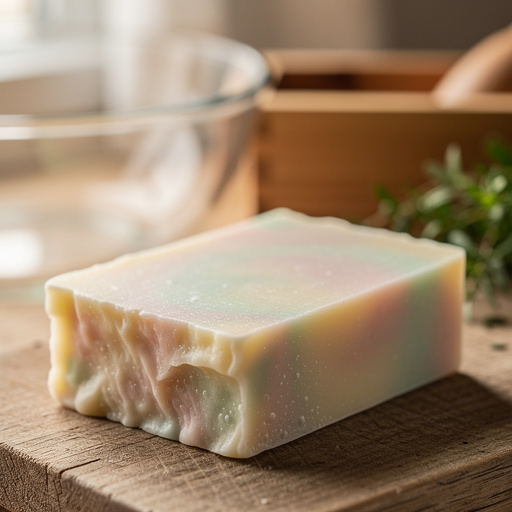
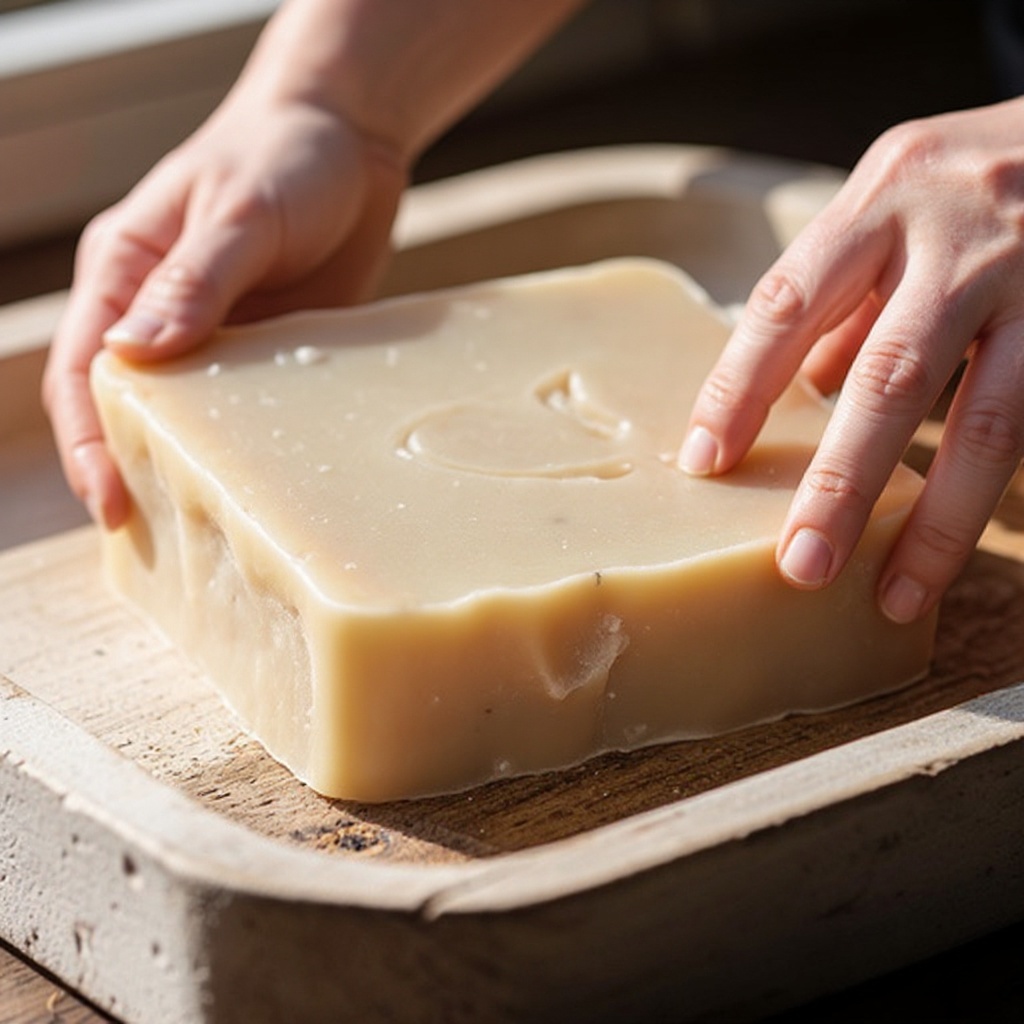
After 24-48 hours, the soap should have solidified enough to be unmolded. Carefully remove the soap from the mold. If you used a loaf mold, use a sharp knife or a soap cutter to slice it into individual bars of your desired thickness.
- 14
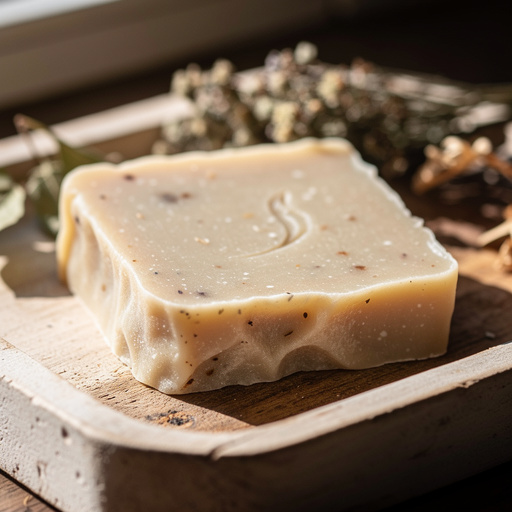
Arrange the cut soap bars on a drying rack or a clean, flat surface in a well-ventilated area. Allow them to cure for a minimum of 4-6 weeks, flipping them every few days to ensure even drying and hardening. This curing period is essential for the soap to become milder and for excess water to evaporate, resulting in a longer-lasting bar.
Tips & Troubleshooting
- 1Always add lye to water, never water to lye, as this can cause a dangerous, explosive reaction due to the rapid heat generation. The correct order ensures a controlled and safer dissolution of the lye.
- 2Ensure your oils and lye solution are at similar temperatures (within 10°F of each other) before combining to prevent separation and ensure a smooth emulsification. This temperature matching is key to achieving a stable soap batter.
- 3If you desire colored soap, incorporate natural colorants like mica powders, clays, or activated charcoal at the trace stage. Mix them with a small amount of water or oil before adding to the main batch to prevent clumping and ensure even distribution.
- 4Experiment with different oil combinations to achieve varying lather qualities and bar hardness. For instance, increasing coconut oil can boost lather, while adding a butter like cocoa butter can enhance moisturizing properties. Always research the properties of oils before substituting.
- 5Proper curing is absolutely crucial for mild, long-lasting soap. Don't rush this step; the 4-6 week curing period allows the saponification process to fully complete and excess water to evaporate, resulting in a harder, gentler bar.
- 6Always wear protective gear when working with lye, even when adding it to water. The fumes can be irritating, and direct contact with the solution can cause burns. Ensure good ventilation throughout the entire process.
- 7If you are new to soap making, it's advisable to start with a simple recipe like this one before venturing into more complex formulations with multiple oils or additives. Mastering the basics will build your confidence.
- 8Keep a notebook to record your recipes, temperatures, and any observations. This will be invaluable for replicating successful batches and troubleshooting any issues you might encounter in future soap-making endeavors.
Related Activities You Might Enjoy
Frequently Asked Questions
Is making handmade soap with natural ingredients safe for kids?
With strict adult supervision, yes! The lye is a caustic substance and requires careful handling by adults only. Children can be involved in the safer aspects of the process, such as weighing out the oils, measuring out botanicals once the soap is at trace, or decorating the mold before pouring. It's essential to explain the safety precautions to children and ensure they understand that the lye mixing and pouring stages are strictly for adults.
What are the essential natural ingredients for handmade soap?
The core natural ingredients for handmade soap are a fat or oil source, lye (sodium hydroxide), and water. The oils, such as olive oil, coconut oil, or shea butter, provide the base for the soap and contribute to its properties like lather and conditioning. Lye is the alkali that reacts with the oils through a process called saponification to create soap. Water is necessary to dissolve the lye and facilitate the reaction. Essential oils are commonly used for natural fragrance, and botanicals can be added for visual appeal and mild exfoliating properties.
How long does it take to make handmade soap?
The active making process, from weighing ingredients to pouring the soap into the mold, typically takes about 2 to 3 hours. This includes the time needed for melting oils, mixing the lye solution, waiting for temperatures to equalize, and blending to trace. However, the soap is not ready for use immediately after pouring. It requires a crucial curing period of 4 to 6 weeks in a well-ventilated area. During this time, excess water evaporates, and the saponification process fully completes, making the soap harder, milder, and longer-lasting.
Can I use essential oils in my handmade soap?
Yes, essential oils are a wonderful natural way to scent your handmade soap. They offer a wide array of fragrances derived from plants and can also provide therapeutic benefits. It's important to add essential oils at the 'trace' stage, which is when the soap batter has thickened to a pudding-like consistency. Adding them earlier might cause them to evaporate during the heating process of saponification, reducing their scent. Ensure you use them in appropriate concentrations, as some essential oils can be potent.
What is 'trace' in soap making?
'Trace' is a critical stage in the cold-process soap making process. It refers to the point where the mixture of oils and lye solution has emulsified and thickened enough that when you lift your blender or spatula and let the batter drizzle back onto the surface, it leaves a visible trail or 'trace' for a few seconds before sinking back in. This pudding-like consistency indicates that the saponification process has begun and the soap batter is ready for the addition of fragrances, colorants, or other additives before being poured into the mold.
Why is curing so important for handmade soap?
Curing is an essential step for handmade soap, particularly cold-process soap, as it allows the saponification process to fully complete and excess water to evaporate. When soap is first made, it still contains a significant amount of water and the saponification reaction is ongoing. During the 4-6 week curing period, the soap hardens considerably, becomes milder on the skin, and develops a longer shelf life. Skipping or shortening the curing time can result in soft, mushy bars that may be too harsh for immediate use.
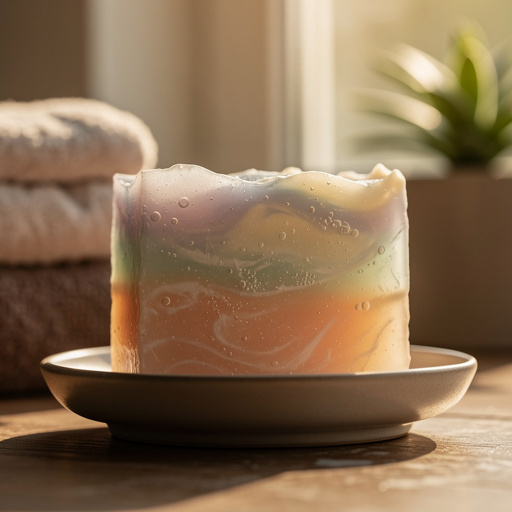
What Next?
Congratulations on creating your first batch of beautiful, handmade natural soap! You've unlocked a world of creative possibilities. Consider experimenting with different essential oil blends for unique scents, or explore natural colorants like activated charcoal for a dramatic effect. Once cured, display your artisanal soaps in a decorative basket or on a wooden soap dish. Store any extra bars in a cool, dry place, wrapped in breathable material like linen or kraft paper, to preserve their fragrance and quality for future use. Your next project could involve melt-and-pour soap bases for quicker results or exploring more complex cold-process techniques.
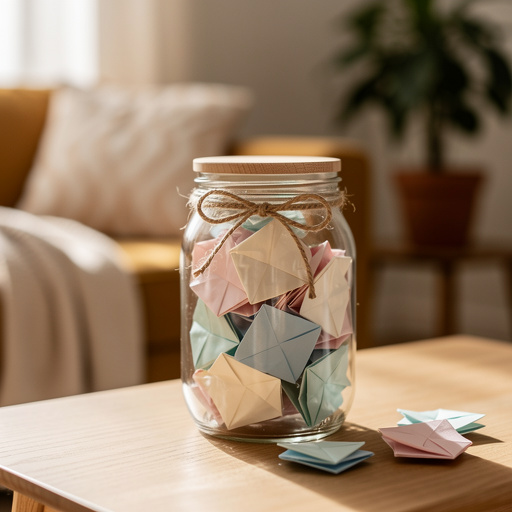
Free: 10 Paper Crafts Anyone Can Make in 5 Minutes
Get our beginner guide + new craft ideas weekly.
No spam. Unsubscribe anytime.
Did you complete this activity?