How to Create Beautiful Decoupage Wood Trays — Easy Step-by-Step Guide
Transform plain wood into stunning decorative pieces with decoupage! This guide shows you how to create a beautiful wooden tray, perfect for adding a personal touch to your home decor.
Quick answer
To make decoupage wood trays, you need wood pieces, decorative paper, Mod Podge, and brushes, taking about 60 minutes. Start by preparing your wood surface. This beginner-friendly activity has 10 steps and is perfect for families.
What you need
Shop on Amazon · As an Amazon Associate we earn from qualifying purchases. Links above are affiliate links — we may earn a commission at no extra cost to you.
Unleash your inner artist and breathe new life into a simple wooden tray with the magical art of decoupage! This incredibly accessible craft allows you to transform ordinary wood into a personalized masterpiece, perfect for serving guests or simply adding a unique decorative element to your home. Whether you're a seasoned crafter or dipping your toes into DIY for the first time, this project is designed for ease and enjoyment. It's a fantastic way to upcycle materials, express your style, and create a functional piece of art that’s both beautiful and practical, making it ideal for families and solo crafters alike.
On this page
Step-by-Step Instructions
- 1
Prepare your workspace by laying down plastic wrap or parchment paper to protect your surface from paint and Mod Podge.
- 2
Begin by thoroughly cleaning your wood surface with a damp cloth to remove any dust, dirt, or oils that could interfere with adhesion. Allow the wood to dry completely before proceeding to the next step.
- 3
If you've chosen to use a base coat of acrylic paint, apply a thin, even layer to the entire wood surface using your foam brush or paintbrush. Ensure complete coverage and allow this layer to dry thoroughly according to the paint manufacturer's instructions.
- 4
Once the base coat is completely dry, you can lightly sand the surface if needed to create a smoother finish for your paper application. Wipe away any dust with a dry cloth or tack cloth.
- 5
Select your decorative paper and plan your design layout on the wood surface. If using multiple pieces, consider how the patterns will align and flow together to create a cohesive look.
- 6
Carefully cut your decorative paper into pieces that will fit your wood surface, allowing for a slight overlap if you plan to wrap the edges. For intricate designs or curved edges, a craft knife might offer more precision than scissors.
- 7
Apply a thin, even layer of Mod Podge to a small section of the wood where you intend to place your first piece of decorative paper. Work in manageable sections to prevent the Mod Podge from drying out before you can adhere the paper.
- 8
Gently lay your cut paper onto the wet Mod Podge, starting from one edge and slowly smoothing it down. Use your fingers, a clean brush, or a brayer to carefully smooth out any wrinkles, creases, or air bubbles, working from the center outwards.
- 9
Continue applying Mod Podge to adjacent sections of the wood and adhering your decorative paper pieces, ensuring that each piece is smoothed down thoroughly. Overlap edges slightly if desired for a seamless appearance.
- 10
Once the entire surface of the wood is covered with your decorative paper, apply another thin, even layer of Mod Podge over the entire papered surface. This crucial step seals the paper and protects it from damage.
- 11
Allow the Mod Podge to dry completely. This initial drying period typically takes 30-60 minutes, but can vary depending on humidity and the thickness of the Mod Podge layer.
- 12
After the first coat of Mod Podge has dried, inspect the surface for any rough edges or areas where excess Mod Podge may have pooled. Lightly sand these areas with your medium-grit sandpaper to achieve a smoother finish.
- 13
Apply a second, thin, and even coat of Mod Podge over the entire papered surface. This second layer enhances durability and provides a more polished, finished look. Ensure you cover all edges and corners.
- 14
Allow this second coat of Mod Podge to dry completely. Again, this may take 30-60 minutes, but patience is key for a professional result.
- 15
For added durability and a professional sheen, consider applying a third coat of Mod Podge, especially if the tray will be used frequently or handled often. Ensure each coat is completely dry before applying the next.
- 16
If you desire an even smoother finish or extra protection, once all Mod Podge layers are fully dry and cured (at least 24 hours), you can lightly sand the entire surface again with fine-grit sandpaper and then apply a clear acrylic spray sealer or a final coat of Mod Podge.
- 17
Allow the final sealer or Mod Podge coat to cure completely according to the product's instructions before using or displaying your beautiful decoupage wood tray.
Tips & Troubleshooting
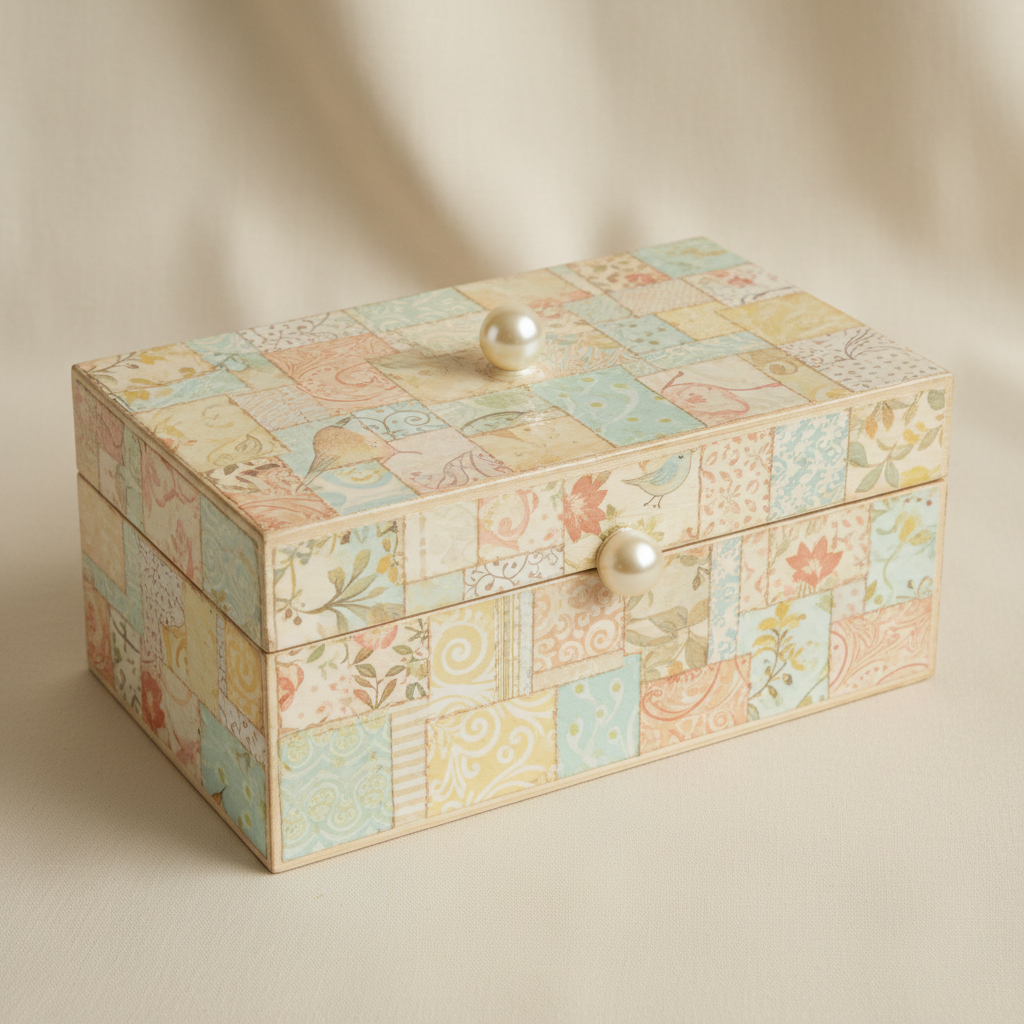
- 1When working with patterned paper, take the time to carefully align the patterns across different pieces. This attention to detail will make your decoupage look much more professional and intentional, rather than pieced together.
- 2If you're using paper napkins, remember to gently separate the printed ply from the plain white plies before decoupaging. The single printed ply is what you'll use, as it's thin enough to adhere smoothly without excessive bulk.
- 3Avoid overloading your brush with Mod Podge, as this can lead to excess moisture that might tear delicate paper or create an uneven, sticky surface. Thin, even coats are always best for achieving a smooth and durable finish.
- 4For a truly glass-like smooth finish, you can apply multiple thin coats of Mod Podge, allowing each to dry completely in between applications. Lightly sanding between coats can further enhance the smoothness.
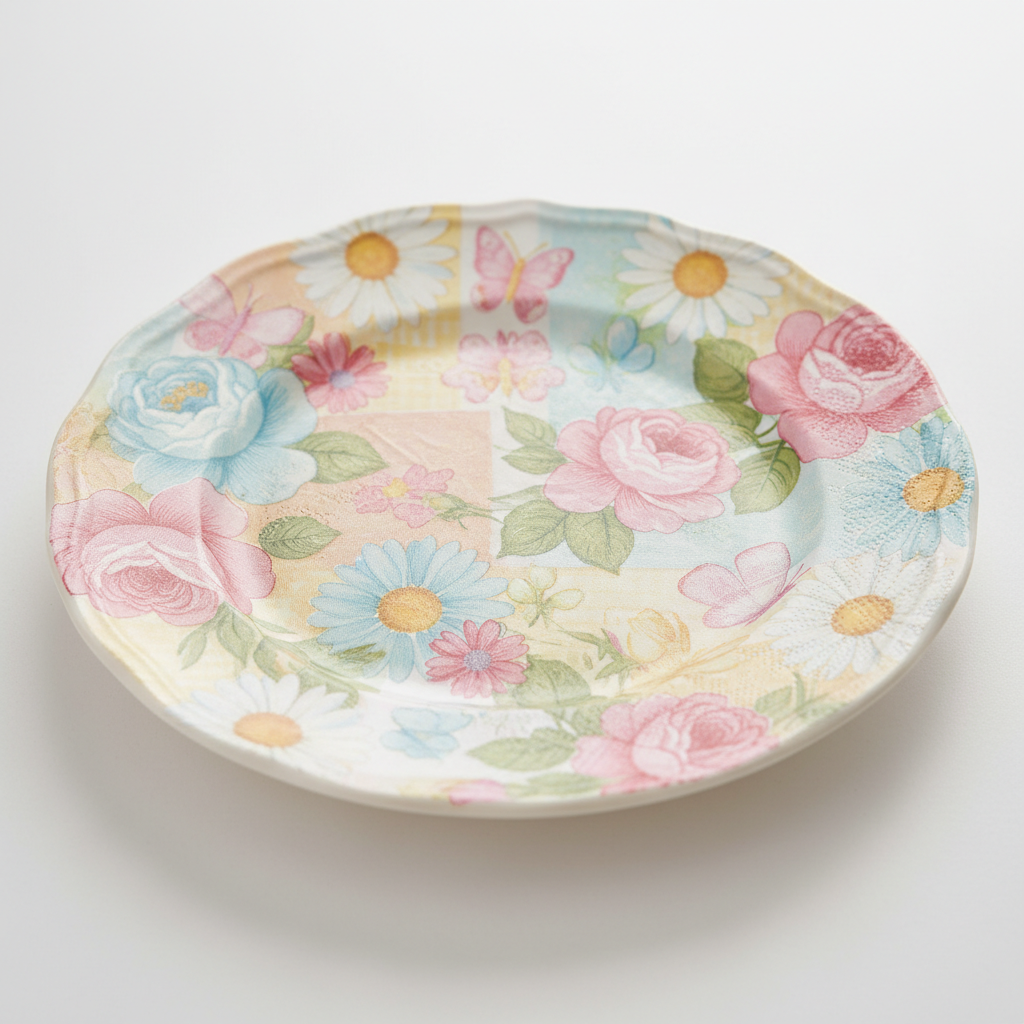
- 5Consider using a clear acrylic spray sealer or a water-based varnish once the Mod Podge is fully cured for added protection, especially if your tray will be used for serving food or drinks, or if it will be handled frequently. This will make it more resistant to spills and wear.
- 6Don't be afraid to experiment with different types of paper! Old book pages can lend a vintage charm, while maps can create a travel-themed piece. Even fabric scraps can be decoupaged for a unique textured effect.
- 7If you encounter stubborn wrinkles or air bubbles, try gently lifting the paper edge and reapplying Mod Podge underneath before smoothing it down again. Sometimes a little patience and careful manipulation can save the piece.
- 8Ensure all edges of the paper are thoroughly sealed with Mod Podge. This prevents the paper from peeling up over time and gives your tray a clean, finished look.
Related Activities You Might Enjoy
Frequently Asked Questions
What kind of paper is best for decoupage on wood?
The beauty of decoupage lies in its versatility, allowing you to use a wide array of papers. For a smooth, seamless finish, thinner papers like decorative napkins, tissue paper, or thin scrapbook paper are excellent choices as they conform easily to the wood surface and minimize the appearance of wrinkles. Thicker papers such as cardstock or construction paper can also be used, but they may require more careful application, potentially more Mod Podge to adhere, and might result in a slightly more textured finish. Old maps, book pages, magazine clippings, and even thin fabric scraps can add unique character and personality to your project, so feel free to experiment with what inspires you.
How do I get a smooth finish with decoupage on wood?
Achieving a smooth finish with decoupage on wood is all about technique and patience. Start by applying thin, even coats of Mod Podge to the wood surface, working in small sections so it doesn't dry out before you can adhere your paper. As you lay down your paper, immediately smooth out any wrinkles or air bubbles by gently pressing from the center outwards with your fingers, a soft cloth, or a brayer. After the initial application and drying, a light sanding with fine-grit sandpaper can help to smooth out any minor imperfections or raised edges. Applying multiple thin layers of Mod Podge over the paper, allowing each to dry completely between coats, will build up a smooth, protective surface that can further enhance the finish.
Can I put decoupage on wood that will be used outdoors?
While Mod Podge provides a good seal for indoor use, it is not inherently waterproof, making it unsuitable for direct outdoor exposure without additional protection. If you intend to use your decoupage wood tray outdoors or in areas prone to moisture, it is highly recommended to apply a robust, waterproof outdoor sealer or a marine-grade varnish over your finished decoupage project. These specialized sealants will create a durable barrier against rain, humidity, and UV rays, significantly extending the life and preserving the beauty of your creation. Always ensure the Mod Podge is fully cured before applying any additional sealers for optimal adhesion and protection.
How long does decoupage on wood take to dry?
The drying time for decoupage on wood can vary depending on several factors, including the thickness of the Mod Podge application, humidity levels, and temperature. Typically, a single coat of Mod Podge will feel dry to the touch within 30 to 60 minutes. However, this is just the initial drying phase. For the Mod Podge to fully cure and achieve maximum durability and water resistance, it's essential to allow the project to sit for a longer period, generally between 24 to 72 hours. Avoid heavy use, cleaning, or exposing the decoupaged item to moisture until it has fully cured to prevent damage and ensure a long-lasting finish.
Can I repair a mistake in my decoupage project?
Absolutely! Mistakes are a natural part of the crafting process, and decoupage is quite forgiving. If you notice a significant wrinkle or air bubble shortly after applying the paper, you can often gently lift the edge of the paper while the Mod Podge is still wet and carefully smooth it down again. If the Mod Podge has already started to dry, you might be able to carefully peel back the affected section, add more Mod Podge underneath, and re-smooth it. For dried mistakes, you can sometimes carefully sand down raised areas or even cut out and replace a small section of paper if necessary, then reapply Mod Podge to blend it in. Patience and a bit of extra Mod Podge are often all you need for repairs.
How do I seal the edges of my decoupage wood tray?
Sealing the edges of your decoupage wood tray is crucial for a professional and durable finish. After you've applied your decorative paper to the top surface, you'll want to decide if you're wrapping the paper around the edges or painting them. If wrapping, apply Mod Podge to the side edges and carefully smooth the paper down, ensuring it adheres well. Trim any excess paper neatly. Once the paper is adhered, apply a generous, even coat of Mod Podge over the entire edge, ensuring it's fully covered and sealed. This prevents the paper from lifting and protects the raw wood edge. For a cleaner look, you can also paint the edges before decoupaging the top surface and then seal them with Mod Podge or a clear topcoat.
What Next?
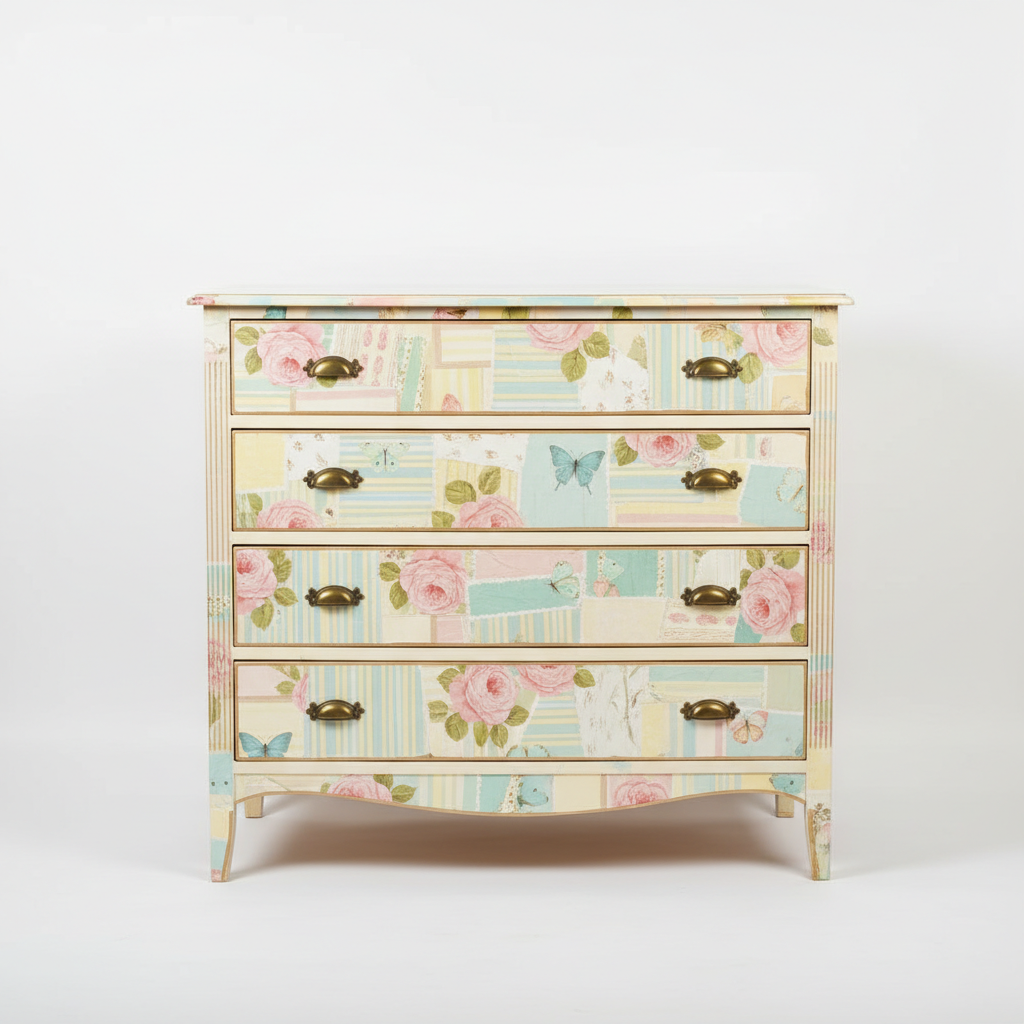
Once your decoupage wood tray is complete and fully cured, it’s ready to be showcased! Display it on your coffee table, kitchen counter, or entryway console. For a cohesive look, consider creating matching coasters or decorative boxes using the same paper and technique. Store your tray away from direct sunlight and excessive moisture to preserve its beauty. This project is just the beginning; explore different papers, tray styles, and finishes to craft a whole collection of personalized decor that truly reflects your unique taste and adds a handcrafted charm to your living space.
Free: 10 Paper Crafts Anyone Can Make in 5 Minutes
Get our beginner guide + new craft ideas weekly.
No spam. Unsubscribe anytime.
Did you complete this activity?