How to Make Cold Process Soap — Easy Step-by-Step Guide
Discover the art of soap making with our easy-to-follow guide to creating your own cold process soap. A fun, screen-free activity for the whole family! This comprehensive tutorial breaks down the process into manageable steps, ensuring you can create beautiful, high-quality soap bars right in your own home. Dive into the world of natural ingredients and custom scents for a truly personalized experience.

Quick answer
To make cold process soap, you need lye (sodium hydroxide), distilled water, and a carefully measured blend of oils and fats, along with essential safety gear and a soap mold. This process requires about 2-3 hours of active preparation time, followed by a crucial curing period of 4-6 weeks. Begin by meticulously weighing your ingredients and then safely combining the lye with water, followed by mixing with your melted oils until 'trace' is achieved. This beginner-friendly activity, when done with adult supervision, involves 12 core steps and is perfect for families looking for a creative and practical project.
What you need
Shop on Amazon · As an Amazon Associate we earn from qualifying purchases. Links above are affiliate links — we may earn a commission at no extra cost to you.
Embark on a delightful journey into the world of artisanal soap making with this comprehensive guide to creating your own cold process soap. Far more than just a cleaning product, homemade soap is a testament to creativity, a connection to natural ingredients, and a rewarding screen-free activity perfect for individuals and families alike. Imagine the satisfaction of crafting beautiful, custom bars that are gentle on your skin and tailored to your preferences, all while learning a valuable skill. This project offers a tangible outcome that can be gifted, used, or even sold, making it a truly enriching endeavor.
On this page
Step-by-Step Instructions
- 1
**1. Prioritize Safety First:** Before you begin any mixing, put on your safety goggles, chemical-resistant gloves, and long-sleeved shirt and pants. Ensure your workspace is well-ventilated, ideally near an open window or with a fan running, and keep children and pets completely out of the area. Lye is caustic and requires utmost respect and caution.
- 2
**2. Accurately Weigh Your Distilled Water:** Using your digital kitchen scale, carefully measure out exactly 10 oz (283g) of distilled water into a heat-resistant container. Using distilled water is crucial as tap water can contain minerals that interfere with the saponification process and affect your final soap's quality.
- 3
**3. Precisely Weigh Your Sodium Hydroxide (Lye):** In a separate, completely dry heat-resistant container, meticulously weigh out 3.8 oz (108g) of sodium hydroxide (lye) pellets or flakes. It's vital to weigh lye accurately, as too much or too little can result in soap that is either too harsh or won't fully saponify.
- 4
**4. Safely Combine Lye and Water:** With extreme care, slowly and gradually add the weighed lye to the distilled water, stirring gently with a heat-resistant spatula or stirring rod until fully dissolved. **NEVER add water to lye**, as this can cause a dangerous, explosive reaction; always add lye to water. The mixture will generate significant heat and release fumes, so continue stirring until no solid lye particles remain visible and set this container aside in a safe, well-ventilated spot to cool.
- 5
**5. Measure and Combine Your Oils:** Weigh out your olive oil, coconut oil, and shea butter into a large, heat-resistant pot or bowl. If using solid butters or oils like shea butter or coconut oil, you'll need to melt them down to a liquid state before proceeding.
- 6
**6. Gently Melt Solid Oils:** Gently heat the combined oils until all solids are completely melted and the mixture is uniform. This can be achieved on the stovetop over very low heat, stirring occasionally, or by using a microwave in short, 30-second bursts, stirring between each interval. Once melted, allow the oils to cool down to the target temperature range.
- 7
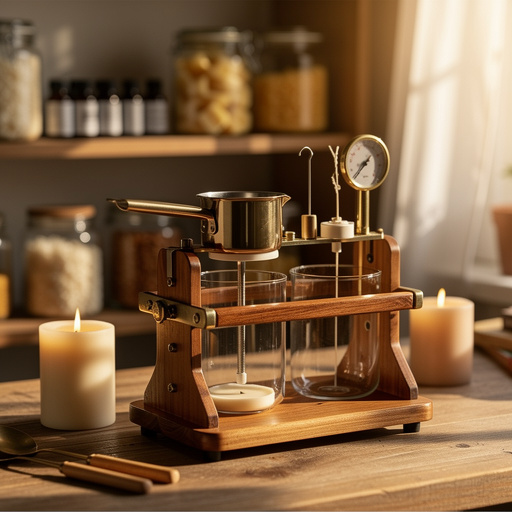
**7. Monitor Temperatures Diligently:** Using your thermometer(s), begin monitoring the temperatures of both the cooled lye solution and the melted oils. The ideal temperature range for combining them is typically between 100°F (38°C) and 130°F (54°C) for both mixtures. Having both at a similar temperature helps ensure a smooth and successful emulsification.
- 8
**8. Carefully Combine Lye Solution and Oils:** Once both the lye solution and the oils are within your target temperature range (ideally within 10°F of each other), slowly and carefully pour the lye solution into the pot or bowl containing the melted oils. Pouring slowly helps to minimize splashing and allows for a controlled initial mix.
- 9
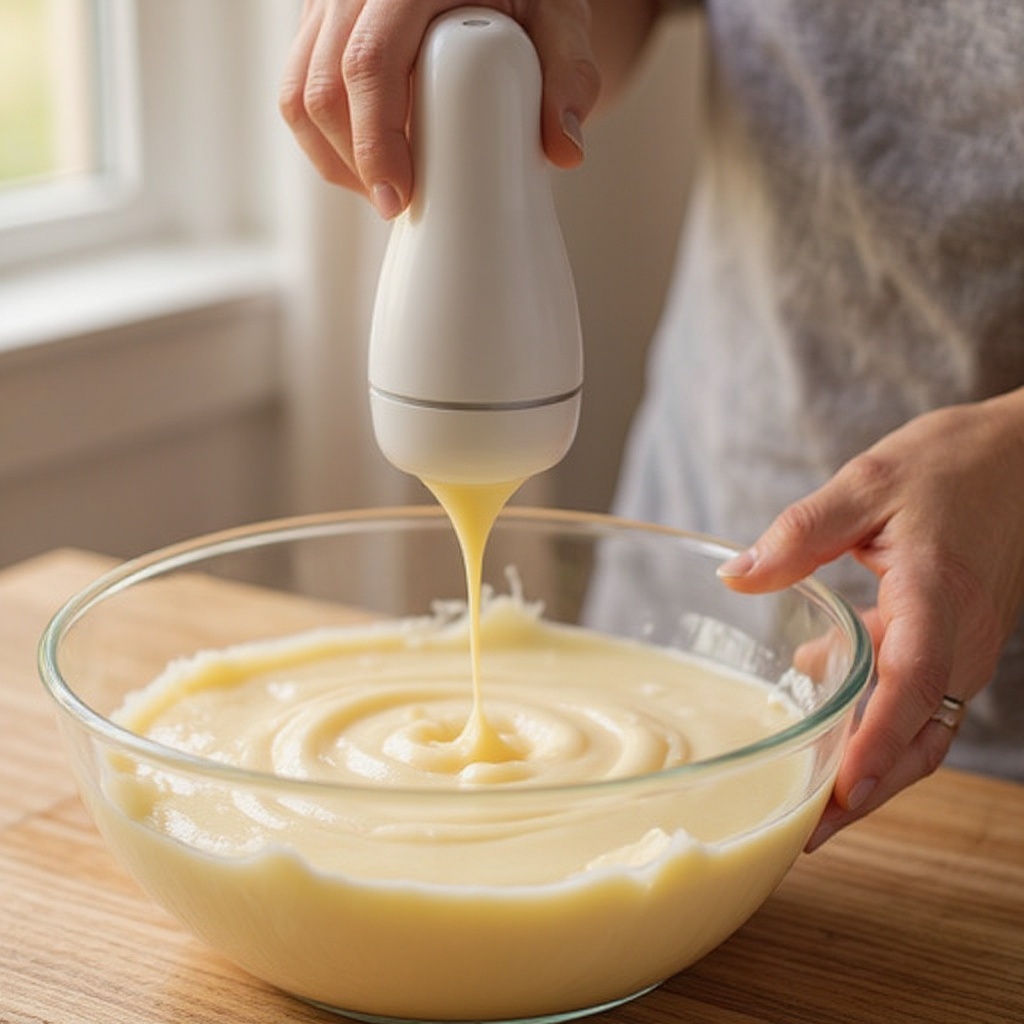
**9. Begin Blending to Emulsify:** Insert your immersion blender into the mixture, ensuring the head is fully submerged before turning it on to avoid splashing. Begin blending the mixture in short bursts, alternating with stirring the mixture with the blender head still submerged. This process helps to break down the oils and water molecules and begin the emulsification process.
- 10
**10. Achieve 'Trace':** Continue the process of alternating short bursts of blending with stirring until the soap batter reaches 'trace.' Trace is the point where the mixture has thickened to the consistency of a thin pudding, and when you lift the blender or spatula, a drizzle of batter will leave a visible trail on the surface before sinking back in. This indicates that the oils and lye have emulsified and saponification has begun.
- 11
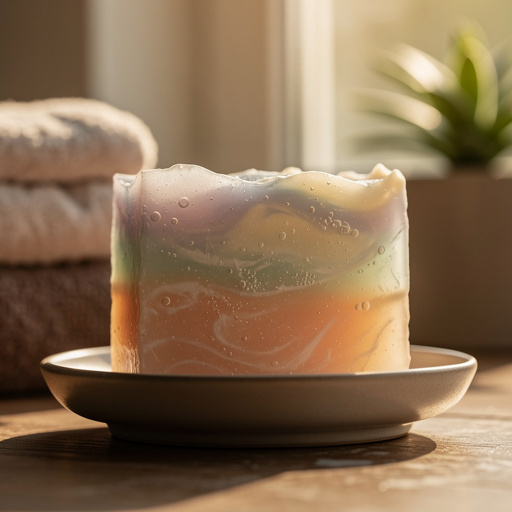
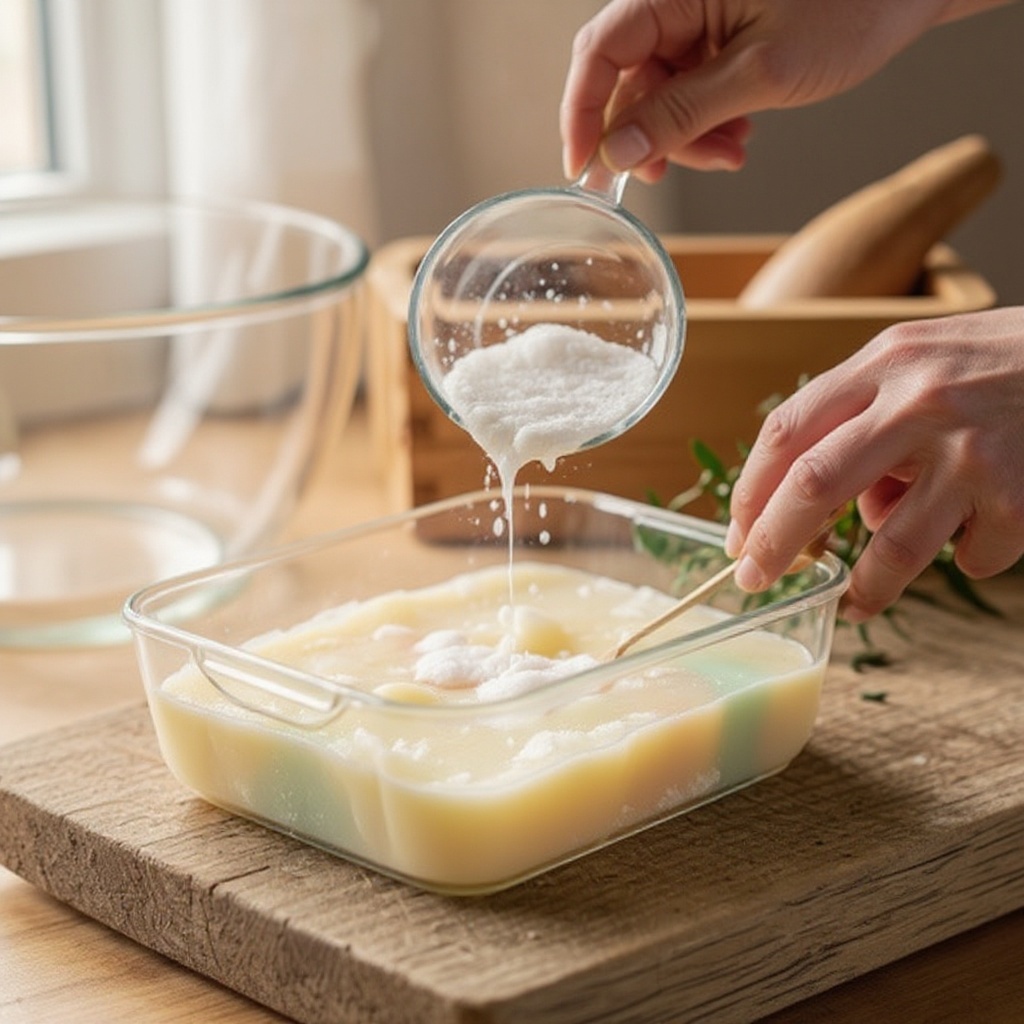
**11. Incorporate Additives (Optional):** If you wish to add fragrance oils, essential oils, or colorants like mica powders or natural clays, this is the stage to do it. Stir them in quickly and thoroughly at light trace, ensuring they are evenly distributed throughout the batter before it thickens further.
- 12
**12. Pour into Your Mold:** Once trace is achieved and any additives are incorporated, carefully pour the soap batter into your prepared soap mold. If you notice any surface bubbles, you can lightly spray the top with rubbing alcohol to help them dissipate for a smoother finish.
- 13
**13. Insulate and Allow Saponification:** Cover the mold securely with a lid or plastic wrap, then wrap the entire mold in old towels or blankets to insulate it. This insulation helps the soap to heat up and complete the saponification process, which is crucial for turning the lye and oils into actual soap. Let the mold sit undisturbed in a safe place for 24 to 48 hours.
- 14
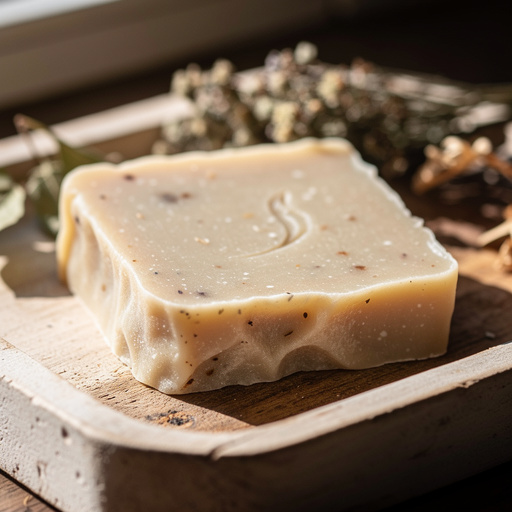
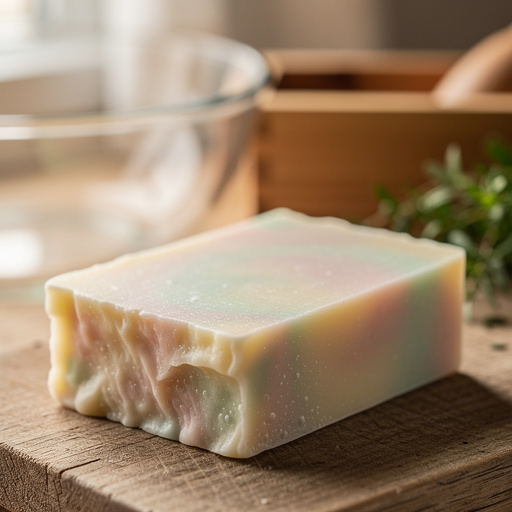
**14. Unmold the Soap:** After the initial 24-48 hour period, the soap should be firm enough to handle and unmold. Carefully remove the soap from the mold. If using a loaf mold, gently invert it onto a clean surface and push the soap out, or if using individual molds, pop the bars out.
- 15
**15. Cut into Bars (if necessary):** If you used a loaf mold, use a sharp, non-serrated knife or a soap cutter to carefully cut the large soap loaf into individual bars of your desired size. Ensure the soap is firm enough to cut cleanly without deforming.
- 16
**16. Begin the Curing Process:** Arrange the cut soap bars on a drying rack or a piece of parchment paper in a well-ventilated area, ensuring there is space between each bar for air circulation. This curing process allows excess water to evaporate, resulting in a harder, milder, and longer-lasting bar of soap. Flip the bars every few days to ensure even drying on all sides.
- 17
**17. Cure for 4-6 Weeks:** Allow the soap to cure for a minimum of 4 to 6 weeks. During this time, the saponification process fully completes, and the pH of the soap lowers, making it safe and gentle for use on the skin. Patience is key during this final, essential stage of soap making.
Tips & Troubleshooting
- 1**Safety is Paramount:** Always prioritize safety when working with lye. Wear your full protective gear – goggles, gloves, and long sleeves – and ensure excellent ventilation. Keep children and pets away from the work area at all times, and have a bottle of vinegar handy to neutralize any lye spills on skin (rinse with water afterward).
- 2**Temperature Matters:** Aim for your lye solution and oils to be within 10°F (5.5°C) of each other when you combine them, ideally between 100°F (38°C) and 130°F (54°C). If temperatures are too far apart, the emulsification can be difficult or fail, leading to a lye-heavy or oily batch.
- 3**Achieving Trace:** 'Trace' is the critical stage where the soap batter thickens enough to hold a shape. If your batter isn't reaching trace after a reasonable amount of blending, don't panic; ensure your temperatures were correct and continue blending, stirring occasionally. Sometimes it simply takes a bit longer, especially with softer oils.
- 4**Customizing Your Soap:** For custom scents and colors, add high-quality fragrance oils or essential oils and cosmetic-grade mica powders or natural colorants at light trace, just before pouring into the mold. Mix them in quickly and thoroughly to ensure even distribution throughout the batter.
- 5**The Importance of Curing:** Curing is not an optional step; it's essential for the soap to become mild, hard, and long-lasting. During the 4-6 week cure, excess water evaporates, and the saponification process fully completes, lowering the pH and making the soap gentle on your skin. Don't rush this vital stage!
- 6**Troubleshooting Lye Addition:** If you accidentally add oils to the lye solution instead of lye to water, or if you miscalculate your lye amount, it's safest to discard the mixture safely according to local regulations and start over. Attempting to fix a lye-heavy or oily batch can be dangerous and often results in poor-quality soap.
- 7**Stick Blender Technique:** To effectively use your immersion blender, submerge the head completely before turning it on to avoid splashing. Alternate between short bursts of blending (10-15 seconds) and stirring with the blender head still in the mixture. This method creates a stable emulsion and helps reach trace efficiently.
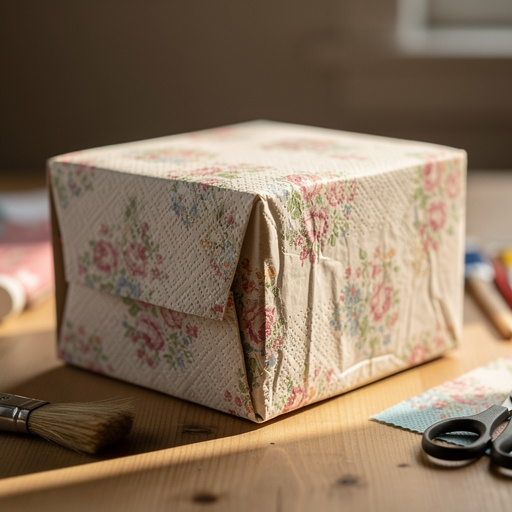
- 8**Mold Preparation:** Ensure your mold is clean and dry before pouring. For silicone molds, no preparation is usually needed. If using a wooden mold, line it thoroughly with freezer paper, ensuring the paper overlaps to prevent leaks. This makes unmolding much easier and cleaner.
Related Activities You Might Enjoy
Frequently Asked Questions
What is the basic soap making formula?
The fundamental soap making formula revolves around the chemical reaction known as saponification, where a specific amount of alkali (lye, typically sodium hydroxide for bar soap) reacts with fats and oils. The precise ratio of lye to oils is absolutely critical for creating a safe and effective bar of soap. This ratio is determined by the 'saponification value' of each individual oil or fat used, which indicates how much lye is needed to saponify a given amount of that specific oil. Online lye calculators are indispensable tools for accurately determining these precise measurements based on your chosen oils and desired superfatting percentage.
How much lye do I need for soap making?
The exact amount of lye (sodium hydroxide) required for soap making is not a one-size-fits-all measurement; it is entirely dependent on the specific types and quantities of oils and fats you are using in your recipe. Each oil has a unique saponification value. Soap recipes almost always incorporate a 'superfatting' percentage, which means using slightly less lye than is theoretically needed to saponify all the oils. This ensures there's always a small amount of free-moisturizing oil left in the final bar, making it gentler on the skin. Utilizing an online lye calculator is essential for accurately calculating the precise amount of lye needed for your specific recipe, taking into account your chosen oils and desired superfat level.
Can I make soap without lye?
While you cannot create true soap from scratch without the chemical process of saponification, which requires lye (sodium hydroxide for bar soap or potassium hydroxide for liquid soap), you can certainly create wonderful handmade soaps using pre-made melt-and-pour soap bases. These bases have already undergone the saponification process, meaning the lye has been fully reacted and is no longer present in a caustic form. This makes them a much safer and simpler option for beginners who want to experiment with adding their own custom scents, colors, and exfoliants without dealing with the handling of raw lye. It's a fantastic way to get started in soap making.
What are the best oils for cold process soap?
A good cold process soap recipe typically utilizes a blend of oils, as each oil contributes different qualities to the final bar. Olive oil is a classic choice, known for its mildness and conditioning properties, though using 100% olive oil results in a very soft bar that takes a long time to cure. Coconut oil is excellent for creating a bubbly, cleansing lather and a hard bar, but too much can be drying. Shea butter, cocoa butter, or even lard and tallow are often used to add hardness, creaminess to the lather, and superior conditioning benefits. Experimenting with different oil combinations allows you to tailor the properties of your soap to your preferences.
What is 'trace' in soap making?
'Trace' is a critical visual indicator in cold process soap making that signifies the mixture has reached the correct emulsion point, meaning the oils and the lye-water solution have bonded together. When you lift your immersion blender or spatula out of the soap batter, it should leave a visible trail or 'trace' on the surface that doesn't immediately disappear, much like the consistency of thin pudding. Reaching trace is essential before adding any fragrance or colorants and before pouring the batter into the mold, as it ensures the saponification process will continue correctly and result in a solid bar of soap.
How long does it take to make cold process soap?
The active preparation time for making cold process soap is surprisingly short, typically ranging from 2 to 3 hours. This includes the time spent meticulously weighing ingredients, safely mixing the lye solution and allowing it to cool, melting and cooling the oils, and then blending everything together until trace is achieved. However, this is just the beginning of the soap's journey. After pouring into the mold and allowing it to saponify for 24-48 hours, the soap must then undergo a crucial curing period of 4 to 6 weeks. This curing time allows excess water to evaporate and the saponification process to fully complete, resulting in a harder, milder, and longer-lasting bar of soap.
What Next?
Congratulations on creating your own beautiful cold process soap! Once cured, these bars are ready to be enjoyed or shared as thoughtful, handmade gifts. Consider displaying them in a decorative basket or on a wooden tray to showcase their unique beauty. For storage, keep them in a cool, dry place, ideally on a slatted shelf or soap dish that allows for air circulation to prevent softening. As you gain confidence, explore variations by experimenting with different oil blends, natural colorants like clays and botanicals, and a wider array of essential or fragrance oils to create truly signature scents and stunning visual effects for your next soap-making adventure.
Free: 10 Paper Crafts Anyone Can Make in 5 Minutes
Get our beginner guide + new craft ideas weekly.
No spam. Unsubscribe anytime.
Did you complete this activity?