How to Sculpt Custom Game Pieces — Easy Step-by-Step Guide
Unleash your creativity by sculpting your own custom game pieces! This fun and easy craft is perfect for adding a personal touch to any board game.
Quick answer
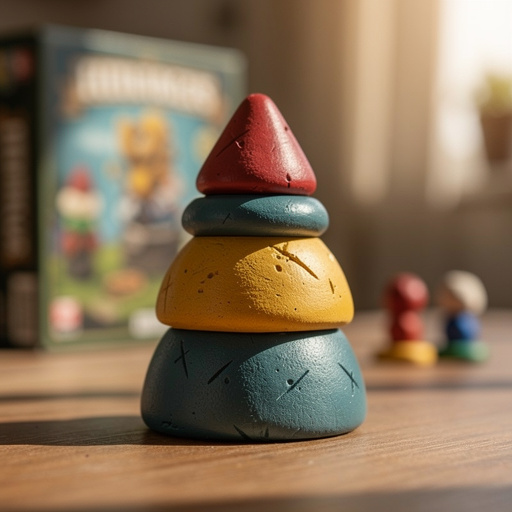
To sculpt custom game pieces, you need air-dry clay, acrylic paints, and about 60 minutes of active crafting time. Start by shaping your clay into your desired game piece form. This beginner-friendly activity has 10 steps and is perfect for families with kids aged 6+.
What you need
Shop on Amazon · As an Amazon Associate we earn from qualifying purchases. Links above are affiliate links — we may earn a commission at no extra cost to you.
Elevate your board game experience with custom-sculpted game pieces! This rewarding DIY project allows you to transform ordinary tokens into unique works of art, perfectly tailored to your favorite games or your own imagination. It's an accessible and enjoyable craft for all ages, fostering creativity and providing a tangible connection to your gaming adventures. Whether you're a seasoned crafter or a complete beginner, this guide will walk you through creating personalized pieces that will make every game night feel extra special and visually engaging.
On this page
Step-by-Step Instructions
- 1
Gather all your materials on a protected surface, like a table covered with wax paper or an old newspaper. This ensures easy cleanup and prevents accidental staining of your furniture, setting a clean and organized workspace for your creative endeavors.
- 2
Take a portion of air-dry clay and knead it until it's soft and pliable. Kneading removes air bubbles and makes the clay easier to mold, much like kneading dough; if the clay feels a bit stiff, dip your fingertips in water and continue kneading to rehydrate it.
- 3
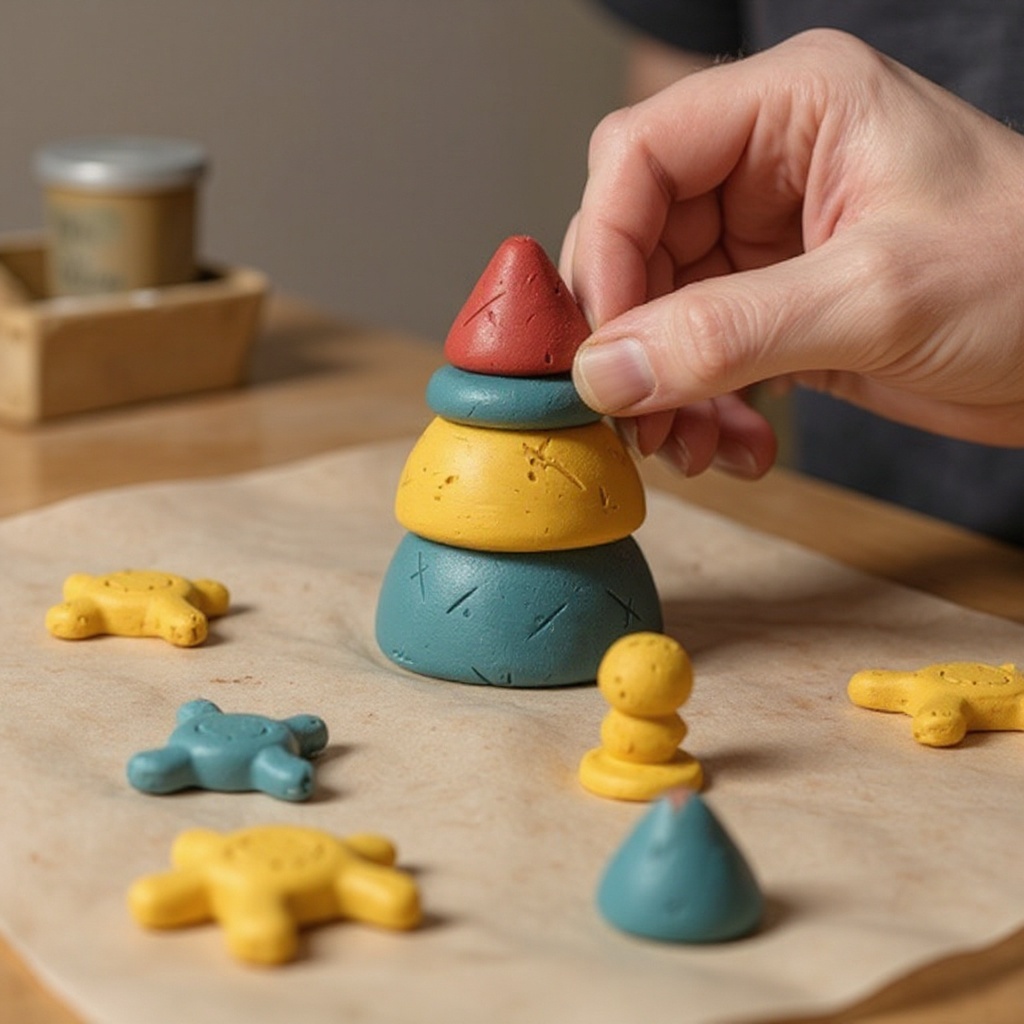
Begin shaping the clay into your desired game piece. Think about characters, tokens, unique markers, or even abstract shapes that represent game elements. Start with a basic form and build upon it, considering the overall silhouette and function of the piece within the game.
- 4
Use your fingers or optional sculpting tools to add details like eyes, textures, specific shapes, or patterns. For example, a toothpick can create small dots for eyes, while a butter knife can carve lines for fabric texture or fur; a needle tool is excellent for fine lines and piercing small holes.
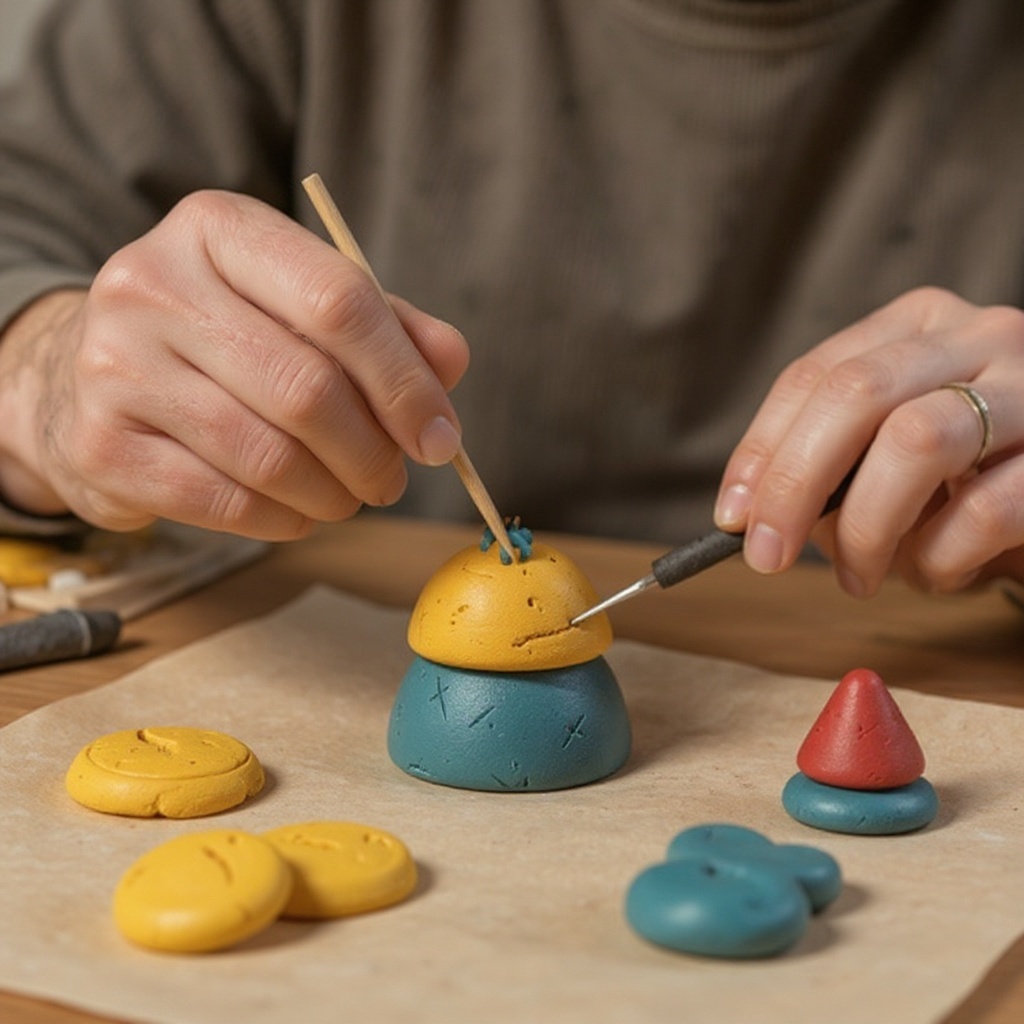
- 5
Ensure the base of your game piece is flat enough to stand on its own. A wobbly piece can be frustrating during gameplay, so take a moment to create a stable foundation by gently pressing the bottom of the piece onto your work surface to flatten it.
- 6
If you're creating multiple pieces, try to keep them roughly the same size and scale to maintain balance within your game. This consistency will ensure fair play and a visually cohesive set of game pieces.
- 7
For more complex shapes or to attach separate parts, moisten the joining surfaces with a little water and gently press them together. You can then use a sculpting tool or your finger to blend the seam, ensuring a strong bond.
- 8
Once you're happy with the shape and details of your sculpted piece, place it on the wax paper to dry. Avoid touching it too much at this stage to preserve the sculpted details and prevent any accidental smudging or distortion.
- 9
Allow the clay to air dry completely according to the package instructions, which usually takes 24-48 hours. The drying time can vary depending on the thickness of the piece and humidity levels; ensure good air circulation around the pieces.
- 10
Once fully dry, inspect your game piece for any rough edges or imperfections. If desired, you can lightly sand these areas with fine-grit sandpaper for a smoother finish, but be gentle to avoid damaging the sculpted details; a damp cloth can also help smooth minor imperfections.
- 11
Prepare your acrylic paints and brushes. Pour small amounts of paint onto your palette or paper plate, and have your water cup ready for rinsing; ensure you have enough space to work comfortably.
- 12
Begin painting your game piece with acrylic paints. Start with the largest areas or base colors, applying one color at a time and allowing it to dry completely before moving to the next to prevent muddying the colors.
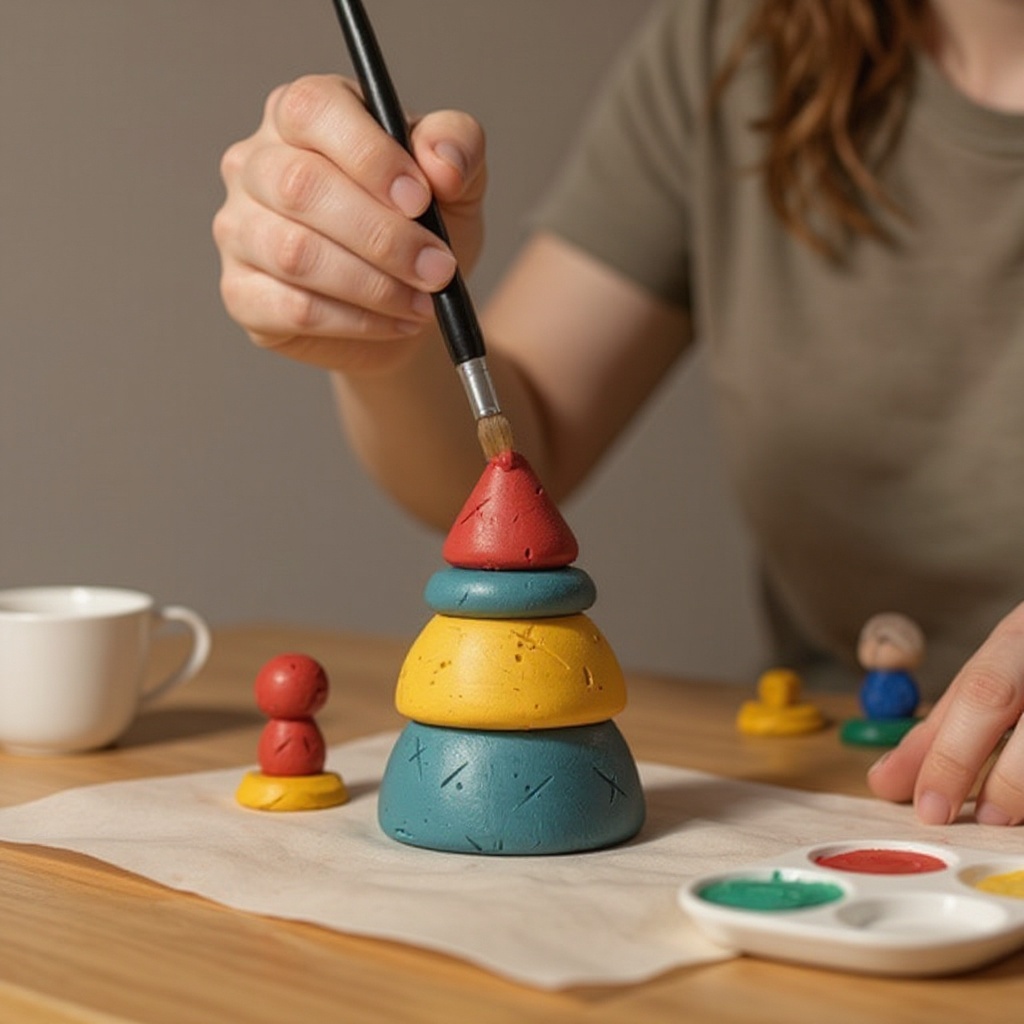
- 13
Use smaller brushes to add finer details and highlights. This is where you can bring your piece to life with intricate patterns, shading, or small accents; consider using a dry-brush technique for textured effects.
- 14
Allow the paint to dry completely between coats and after adding details. Applying a second coat of paint can provide richer color saturation and better coverage, especially for lighter colors over darker clay, ensuring vibrant results.
- 15
Once the paint is completely dry, you can optionally apply a clear acrylic sealant or varnish. This will protect the paintwork from chipping and wear during gameplay, and can add a matte or glossy finish, enhancing the longevity and appearance of your custom pieces.
- 16
Let the sealant dry thoroughly according to its instructions before using your custom game pieces in play. This final step ensures the protective layer is fully cured and ready to withstand the rigors of game night.
Tips & Troubleshooting
- 1If the clay starts to dry out while you're working, dip your fingers in a little water and continue kneading. This will rehydrate the clay and make it pliable again, preventing cracks and allowing you to continue sculpting smoothly.
- 2For smoother finishes on your sculpted pieces, you can lightly sand the dried clay before painting, but be gentle. Use a fine-grit sandpaper and work slowly to avoid removing sculpted details; a damp cloth can also be used to smooth surfaces before painting.
- 3Experiment with different clay colors before painting, or mix colors to create unique base shades. This can save you painting time and create interesting undertones for your pieces, adding depth and character from the very beginning.
- 4Consider making a set of matching pieces for a specific game, or create unique pieces for each player. This adds a personalized touch to your gaming sessions and can enhance thematic immersion, making each player feel more connected to their in-game avatar.
- 5Don't be afraid to experiment with textures. You can press fabric, leaves, or even small objects into the clay before it dries to create interesting surface patterns; this can add a unique tactile quality to your game pieces.
- 6If you make a mistake while sculpting, don't worry! Air-dry clay is forgiving. You can often gently reshape it or add more clay to correct errors before it dries; for minor errors on dried clay, you can sometimes carefully carve away excess material.
- 7For very small or intricate details, consider using a needle tool or a sharpened toothpick. These can help you carve fine lines, create tiny dots, or add delicate textures that would be difficult to achieve with larger tools or fingers.
- 8When painting, think about light and shadow to give your pieces depth. Lighter colors on raised areas and darker colors in crevices can make your sculptures pop; this simple shading technique can dramatically improve the visual impact of your game pieces.
Related Activities You Might Enjoy
Frequently Asked Questions
What kind of clay is best for sculpting game pieces?
Air-dry clay is an excellent choice for beginners and for projects where you don't have access to a kiln. It's readily available, easy to work with, and dries to a hard finish that can be painted. Polymer clay is another fantastic option, especially if you want to achieve very fine details or a more durable, ceramic-like finish, as it requires baking in a home oven to cure. For this project, air-dry clay is perfect due to its simplicity and accessibility, making it ideal for family crafting sessions and for those new to sculpting.
How long does it take to sculpt and paint a set of game pieces?
The active sculpting time for a few game pieces might only take about 30-60 minutes, depending on their complexity. However, the drying time for air-dry clay is the most significant factor, typically ranging from 24 to 48 hours. Painting can take an additional hour or two per piece, spread out over multiple sessions to allow for drying between coats and colors. So, while the hands-on crafting is relatively quick, plan for a few days from start to finish to ensure everything is fully dry and set before sealing or playing.
Can I make my game pieces waterproof or more durable?
Yes, you can significantly improve the durability and water resistance of your painted game pieces by applying a clear acrylic sealant or varnish once the paint is completely dry. These sealants come in various finishes, such as matte, satin, or gloss, allowing you to customize the look of your pieces. Applying 2-3 thin coats will provide a protective layer against moisture, scuffing, and general wear and tear from frequent gameplay, ensuring your custom creations last for years to come.
What are some ideas for custom game pieces?
The possibilities are endless! For classic board games like Monopoly, you could sculpt miniature versions of the game's iconic items (a top hat, a thimble, a race car). For fantasy games, create unique character figures like dragons, wizards, or knights. You could also design abstract tokens that represent resources, power-ups, or special abilities. Consider the theme of your game and let that inspire your designs. Even simple geometric shapes in unique colors can add a lot of personality to your game, making it uniquely yours.
How do I prevent air-dry clay from cracking as it dries?
Cracking in air-dry clay often occurs when it dries too quickly or unevenly. To prevent this, ensure you're working with properly kneaded clay that doesn't have air bubbles. Avoid making pieces too thin, especially at the joints or extremities, as these areas are more prone to stress. When drying, keep the pieces away from direct heat sources like radiators or direct sunlight. If you live in a very dry climate, you can place the drying pieces in a slightly humid environment, like a loosely covered container, to slow down the drying process.
Can kids participate in this project, and what age is appropriate?
Absolutely! This is a fantastic project for kids, with adult supervision. Children aged 6 and up can easily participate in the sculpting and painting stages. Younger children might need more help with the initial shaping and detailed sculpting, but they can have a blast with basic forms and applying colors. It's a wonderful way to foster creativity, fine motor skills, and patience. Just ensure they use non-toxic paints and supervise them during the painting process to avoid any accidental ingestion.
What if I want to create very small and detailed game pieces?
For very small and intricate game pieces, consider using polymer clay instead of air-dry clay, as it holds detail exceptionally well and becomes very durable after baking. You'll also want to invest in a set of fine sculpting tools, such as needle tools, dental picks, and small loop tools, which allow for precise carving and shaping. Working on a smooth, non-stick surface and using magnification can also be incredibly helpful for achieving those tiny, perfect details.
What Next?
Once your custom game pieces are complete and sealed, they're ready to embark on countless gaming adventures! Consider displaying your creations on a shelf when not in use, showcasing your artistic flair. For future projects, explore different types of clay like polymer clay for more intricate designs, or try adding embellishments like beads or small found objects to your air-dry creations. You could also sculpt entire game boards or thematic accessories to complement your new pieces, further immersing yourself in the world of your favorite games. The possibilities for personalized gaming are truly boundless!
Free: 10 Paper Crafts Anyone Can Make in 5 Minutes
Get our beginner guide + new craft ideas weekly.
No spam. Unsubscribe anytime.
Did you complete this activity?
Related