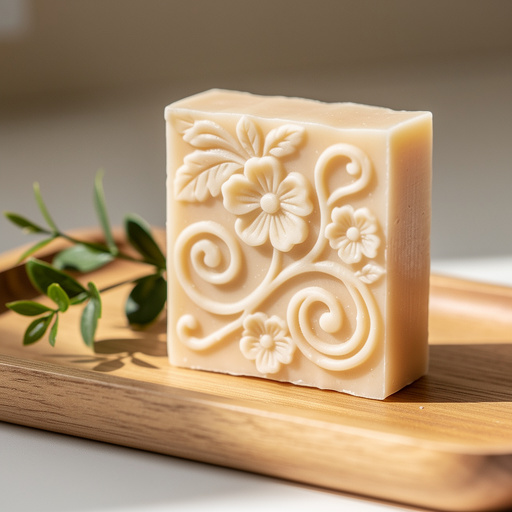
How to Carve Soap Critters — Easy Step-by-Step Guide
Discover the joy of soap carving! This easy tutorial guides you through creating adorable little critters from a simple bar of soap, perfect for screen-free family fun. Unleash your inner sculptor with this delightful and accessible craft that transforms everyday soap into charming works of art. Ideal for all ages, from curious kids to adults seeking a relaxing creative escape, this project requires minimal materials and offers maximum satisfaction. Get ready to bring tiny, delightful creatures to life with just a few simple tools and a bit of imagination.

Quick answer
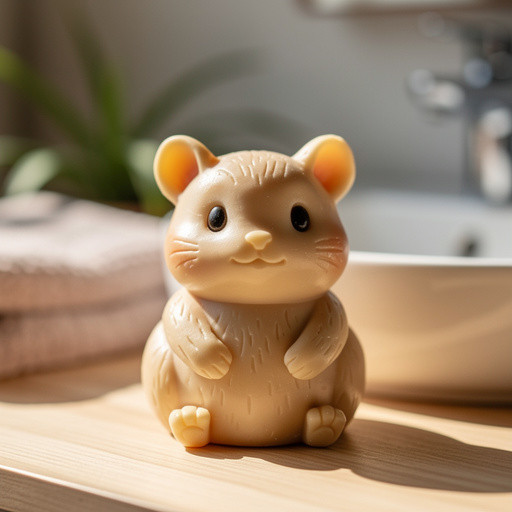
To make soap critters, you need 1 bar of plain, unscented bar soap (like Ivory or Dove), 1 child-safe plastic knife, and about 30 minutes. Start by lightly sketching your design on the soap with a pencil or marker. This easy activity has 12 steps and is perfect for kids aged 8+ and adults looking for a simple craft that encourages creativity and fine motor skills.
What you need
Shop on Amazon · As an Amazon Associate we earn from qualifying purchases. Links above are affiliate links — we may earn a commission at no extra cost to you.
Embark on a delightful journey into the world of soap carving, a wonderfully accessible and rewarding craft that transforms ordinary bars of soap into charming miniature sculptures. This project is perfect for anyone seeking a screen-free activity that sparks creativity and provides a tangible sense of accomplishment. Whether you're looking for a fun family project, a way to de-stress after a long day, or simply a unique way to decorate your bathroom, carving soap critters offers a delightful blend of simplicity and artistic expression. Prepare to be amazed at what you can create with just a few basic tools and a bit of imagination!
On this page
Step-by-Step Instructions
- 1
Choose a simple bar of soap. Rectangular bars work well for most critter shapes because they offer a stable base and predictable surfaces to work with. Avoid highly textured or oddly shaped bars for your first few attempts.
- 2
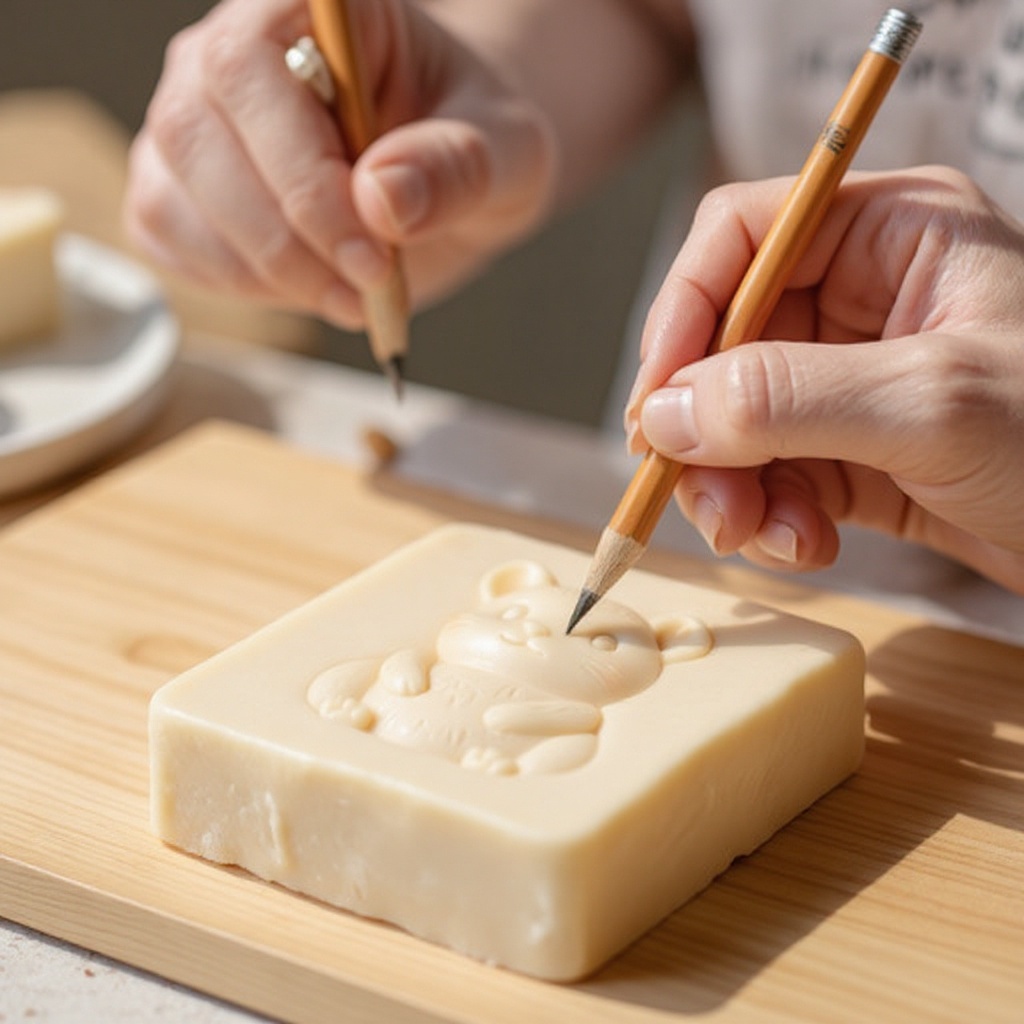
If desired, lightly sketch your critter design onto the soap with a pencil or marker. Think simple shapes like a ladybug, a snail, a basic animal head, or even a small, rounded creature. Lightly sketching helps guide your carving and prevents you from removing too much soap initially.
- 3
Prepare your workspace by placing a paper towel or a small tray beneath your soap to catch the shavings. This makes cleanup much easier and keeps your crafting area tidy.
- 4
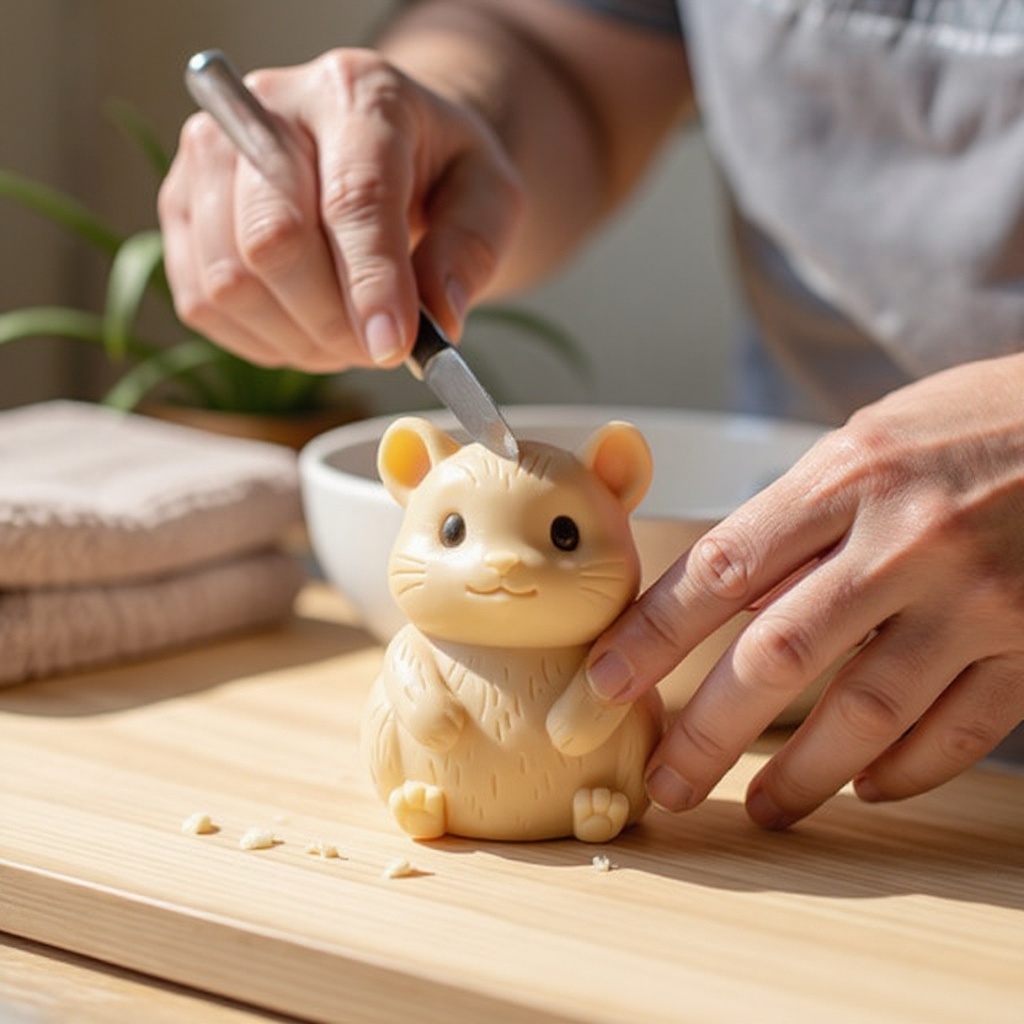
Begin to carefully shave away excess soap to create the basic form of your critter. Hold the soap firmly in one hand and use the plastic knife in the other, making gentle, controlled strokes. Work slowly and remove small amounts of soap at a time to avoid over-carving.
- 5
Focus on establishing the main silhouette of your chosen critter. For example, if you're making a ladybug, start by rounding the top of the bar to form the body. If you're making a snail, begin by creating a rounded base and a conical shell shape.
- 6
Round off any sharp edges to give your critter a softer, more organic look. Use the flat side of the plastic knife or gentle scraping motions to smooth out any harsh lines, making your critter appear more natural and less blocky.
- 7
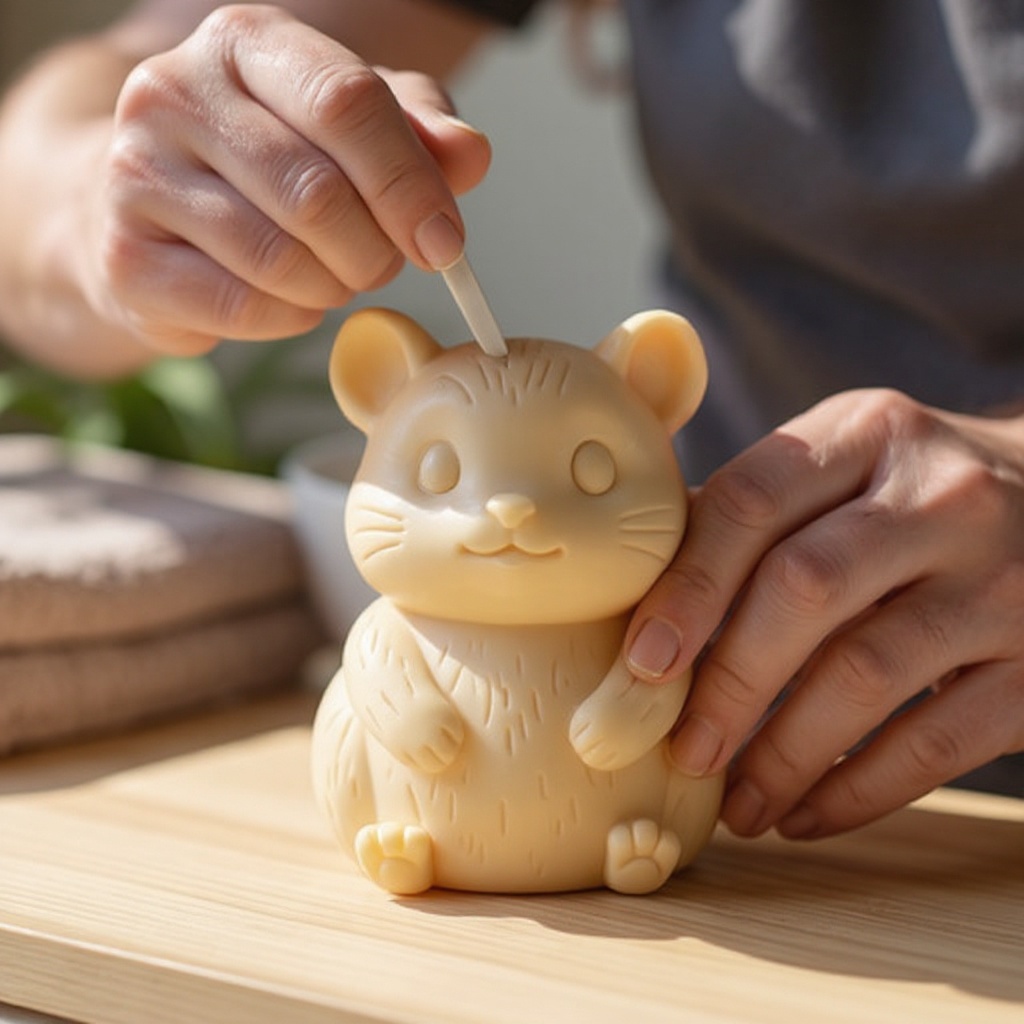
Begin to carve out simple details like eyes, a mouth, or antennae. Remember to keep the details shallow and easy to achieve with the plastic knife. For eyes, a small indentation is sufficient. For antennae, thin, delicate lines are best.
- 8
If you're carving a ladybug, use the knife to gently score a line down the center of its back to represent the division of its wings. This adds a touch of realism without requiring complex techniques.
- 9
For a snail, carefully carve a spiral pattern onto the shell. You can achieve this by making a series of curved cuts, gradually working your way from the center outwards.
- 10
If you wish to add very fine details, such as whiskers or tiny dots for texture, you can carefully use the tip of a toothpick or a blunt skewer. Apply gentle pressure and work slowly to avoid breaking the soap or making the details too deep.
- 11
Gently brush away any loose soap shavings with your fingers or a dry paper towel. Ensure all loose particles are removed before proceeding to the next step to achieve a clean finish.
- 12
Wipe the finished soap critter with a slightly damp paper towel to clean up any remaining dust and reveal its smooth surface. Be careful not to use too much water, as this can start to dissolve the soap. A light wipe is all that's needed to bring out the shine.
Tips & Troubleshooting
- 1Start with very simple shapes. Overly complex designs can be frustrating for beginners and may lead to disappointment. Focus on mastering basic forms like spheres, cylinders, and simple curves before attempting more intricate creatures.
- 2If you make a mistake, you can often shave away the area and try to reshape it. Soap is forgiving! Minor errors can usually be corrected by carefully carving around the mistake or by gently smoothing the area with the knife.
- 3Experiment with different bar soap brands. Some are softer and easier to carve than others. Ivory soap is known for its softness and ease of carving, making it an excellent choice for beginners. Other brands may have different textures and densities.
- 4Consider making a set of matching critters or a whole critter family! Once you've mastered a few basic designs, try creating a collection of related animals or a scene. This can be a fun way to develop your carving skills further.
- 5Safety first! Always supervise younger children when using any kind of carving tool, even a plastic one. Ensure they understand the importance of slow, deliberate movements and keeping fingers away from the blade.
- 6Don't be afraid to get creative with your designs. While simple shapes are recommended for beginners, don't hesitate to let your imagination run wild. You can create fantastical creatures or even abstract forms.
- 7If you find your soap is too hard to carve, try leaving it out in a slightly humid environment for a short period (e.g., in the bathroom during a shower, but not in direct water). This can soften it slightly, making it easier to work with.
- 8For a smoother finish on larger surfaces, you can very gently use fine-grit sandpaper after carving. However, this should be done with extreme caution and adult supervision, as it can easily wear away your details if not handled carefully.
Related Activities You Might Enjoy
Frequently Asked Questions
Is soap carving difficult for beginners?
Soap carving can be very easy for beginners! Using a simple bar of soap and a plastic knife allows for safe and forgiving carving, making it an accessible craft for all ages. The material itself is soft and cooperative, meaning you don't need a lot of strength or specialized skills to get started. The key is to begin with simple designs and to work slowly and deliberately. As you gain confidence, you can gradually explore more complex shapes and details. The forgiving nature of soap means that minor mistakes can often be easily corrected, reducing frustration and making the learning process enjoyable.
What kind of soap is best for carving?
Plain, unscented bar soaps like Ivory or Dove are ideal for carving. They are generally softer and easier to work with than glycerin soaps or heavily fragranced bars. Softer soaps yield to the knife more readily, allowing for smoother cuts and less resistance. Glycerin soaps can sometimes be too hard or brittle, while heavily fragranced soaps might crumble or have an inconsistent texture. Look for a basic, solid bar soap that feels slightly yielding when you press it. Experimenting with different brands can help you discover your personal preference for carving texture and ease of use.
What tools do I need for easy soap carving?
For easy soap carving, you only need a bar of soap and a plastic knife. This combination is safe and effective for creating simple shapes and details. The plastic knife is crucial because it provides a safe cutting edge that is less likely to cause injury, especially for younger crafters. Ensure the plastic knife is sturdy enough to shave away soap without bending or breaking. Beyond these essentials, a pencil or marker for sketching and paper towels for cleanup are also very helpful. For more advanced techniques, toothpicks or blunt skewers can be used for finer details, but always with caution.
Can kids do soap carving?
Yes, kids aged 8 and up can enjoy soap carving with adult supervision. Using a plastic knife makes it a safe and fun way for them to explore their creativity. It's a fantastic activity for developing fine motor skills, hand-eye coordination, and artistic expression. Always ensure that an adult is present to guide the child, demonstrate proper techniques, and ensure the plastic knife is used safely. Starting with very simple designs, like a basic animal shape or a rounded form, will help build their confidence and make the experience enjoyable for everyone involved.
How long does it take to carve a soap critter?
Carving a simple soap critter typically takes about 30 minutes to an hour, depending on the complexity of the design and the carver's experience. For beginners, it's best to start with very simple shapes that can be achieved quickly, allowing you to get a feel for the process without feeling rushed. As you become more comfortable with the tools and techniques, you can tackle more intricate designs that might take a bit longer. The joy of soap carving lies not just in the finished product, but also in the relaxing and meditative process of creation itself, so take your time and enjoy each step.
What are some good beginner critter ideas for soap carving?
Excellent beginner critter ideas for soap carving include simple shapes like ladybugs, snails, fish, basic animal heads (like a bear or cat), or even abstract rounded forms. These designs typically involve rounding off corners, creating simple indentations for features, and perhaps a single carved line or two for detail. For a ladybug, focus on creating a rounded dome and adding spots. For a snail, a simple spiral on a conical shell is effective. These shapes are forgiving and allow you to practice basic carving techniques without getting bogged down in complex anatomy or intricate patterns.
What Next?
Congratulations on creating your very own sculpted soap critters! These charming little creations can serve as delightful bathroom decorations, unique handmade gifts, or even as a fun way to make bath time more exciting for children. For variations, consider using different colored soaps to create a vibrant critter family or experimenting with more intricate designs as your confidence grows. For your next project, you might explore carving more complex animal shapes or even miniature scenes. To display your finished critters, place them in a small dish or on a shelf where they can be admired. Store them in a cool, dry place to preserve their shape and scent.
Free: 10 Paper Crafts Anyone Can Make in 5 Minutes
Get our beginner guide + new craft ideas weekly.
No spam. Unsubscribe anytime.
Did you complete this activity?