How to Make Adorable Felted Wool Charms — Easy Step-by-Step Guide
Discover the magic of needle felting and create your own unique felted wool charms. These adorable creations are perfect for decorating bags, keychains, or as thoughtful handmade gifts.

Quick answer
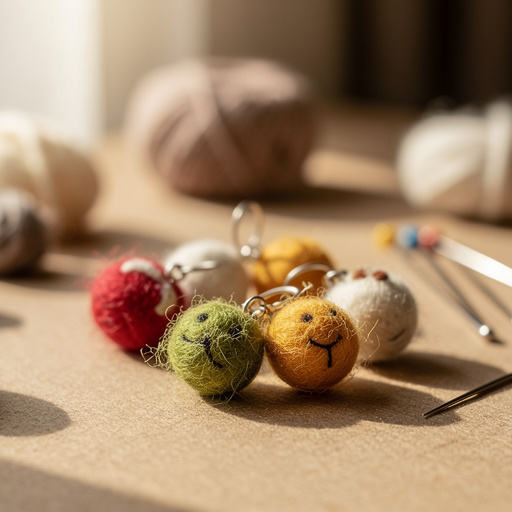
To make felted wool charms, you need wool roving, felting needles, and a foam pad, taking about 30 minutes. Start by forming a loose ball of wool. This beginner-friendly activity has 10 steps and is perfect for families with kids aged 8+.
What you need
Shop on Amazon · As an Amazon Associate we earn from qualifying purchases. Links above are affiliate links — we may earn a commission at no extra cost to you.
Embark on a delightful crafting journey with this easy-to-follow guide to making adorable felted wool charms. Needle felting is a wonderfully tactile and rewarding craft that transforms fluffy wool roving into charming, three-dimensional creations. These miniature masterpieces are incredibly versatile, perfect for adding a personal touch to your accessories, adorning gifts, or even creating a unique set of decorative elements for your home. Whether you're a seasoned crafter or a complete beginner, this project offers a satisfying and accessible way to explore your creativity and produce something truly special.
On this page
Step-by-Step Instructions
- 1
Gather your materials: Ensure you have your wool roving in your chosen colors, your felting needles (it's often helpful to start with one or two), and a sturdy foam pad or mat to protect your work surface and your fingers.
- 2
Select a color of wool roving and pull off a small piece, about the size of a marble or slightly larger depending on your desired charm size. The amount you pull off will directly influence the final size of your charm.
- 3
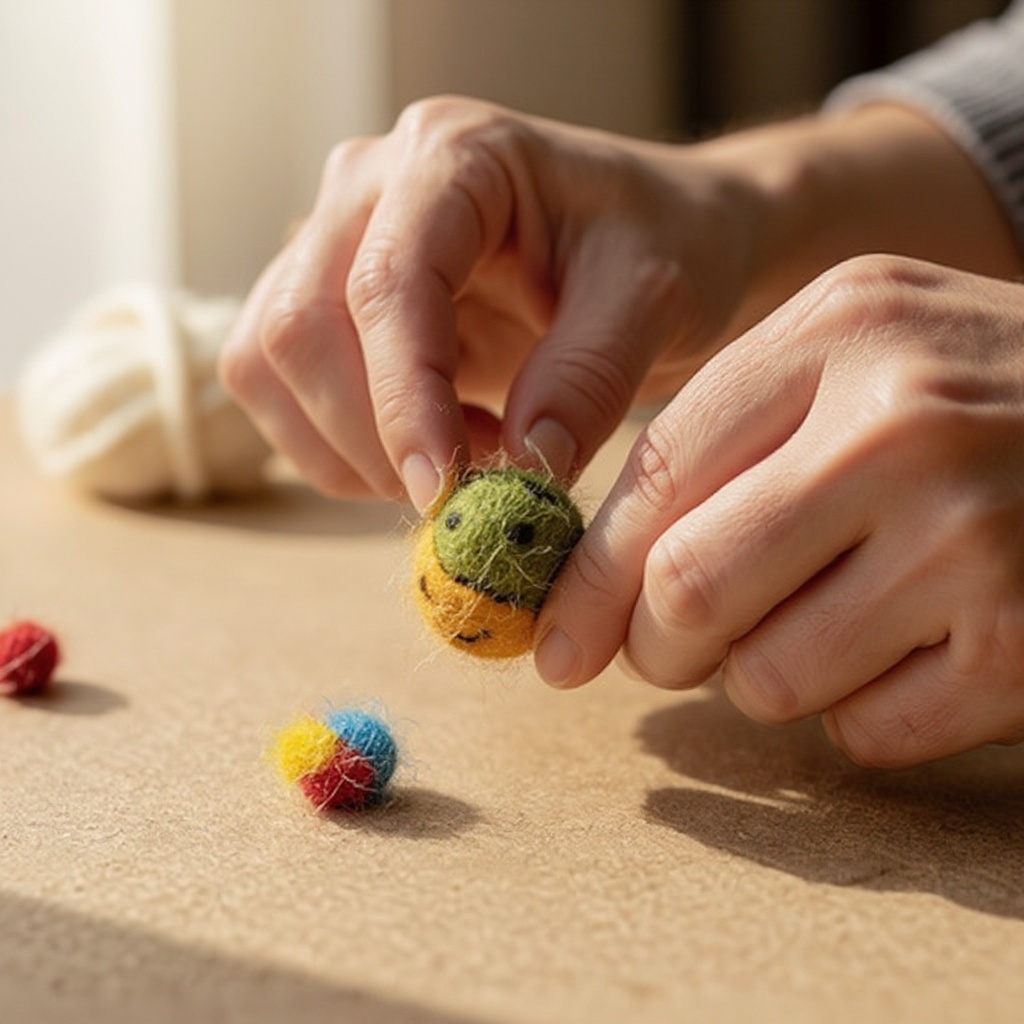
Loosely twist and shape the wool into a rough ball or the basic desired charm shape. Don't pack it too tightly at this stage; the fibers need to be loose to allow the needle to penetrate and felt effectively.
- 4
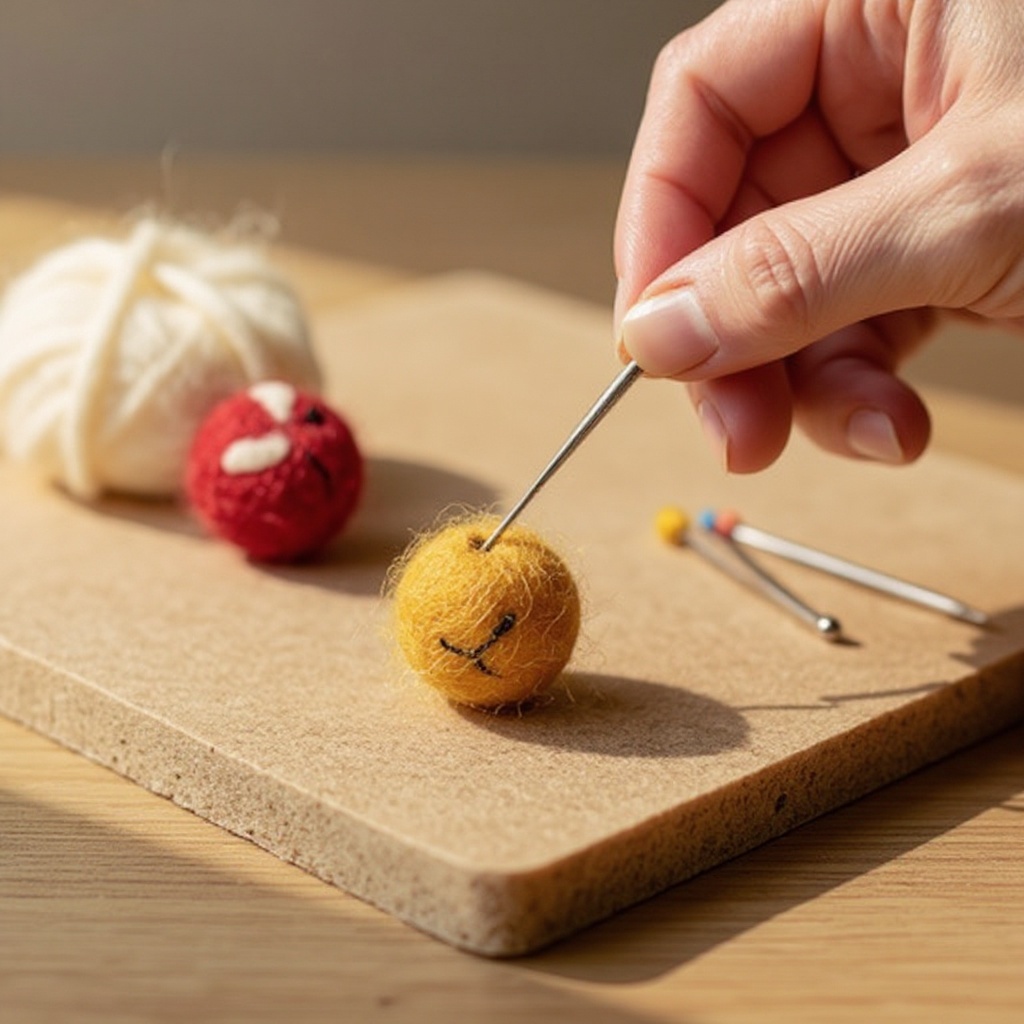
Place the shaped wool onto the foam pad. Make sure the wool is resting flat on the pad, providing a stable base for your felting work.
- 5
Carefully insert a felting needle into the wool, pushing it in and pulling it out repeatedly. Aim to poke straight down, perpendicular to the wool's surface, to encourage the fibers to interlock.
- 6
Continue poking the wool with the needle, rotating the shape as you go, to compact and firm it. As you poke, you'll notice the wool becoming denser and more solid. Rotate the charm frequently to ensure even felting on all sides.
- 7
Add more wool roving if you want to make the charm larger or incorporate different colors. For multi-colored charms, lay a thin wisp of the new color over the existing shape and continue felting it into place, blending the edges as you go.
- 8
Continue felting until the charm is firm and holds its shape well. A good test is to gently squeeze the charm; it should feel solid and not easily collapse or distort.
- 9
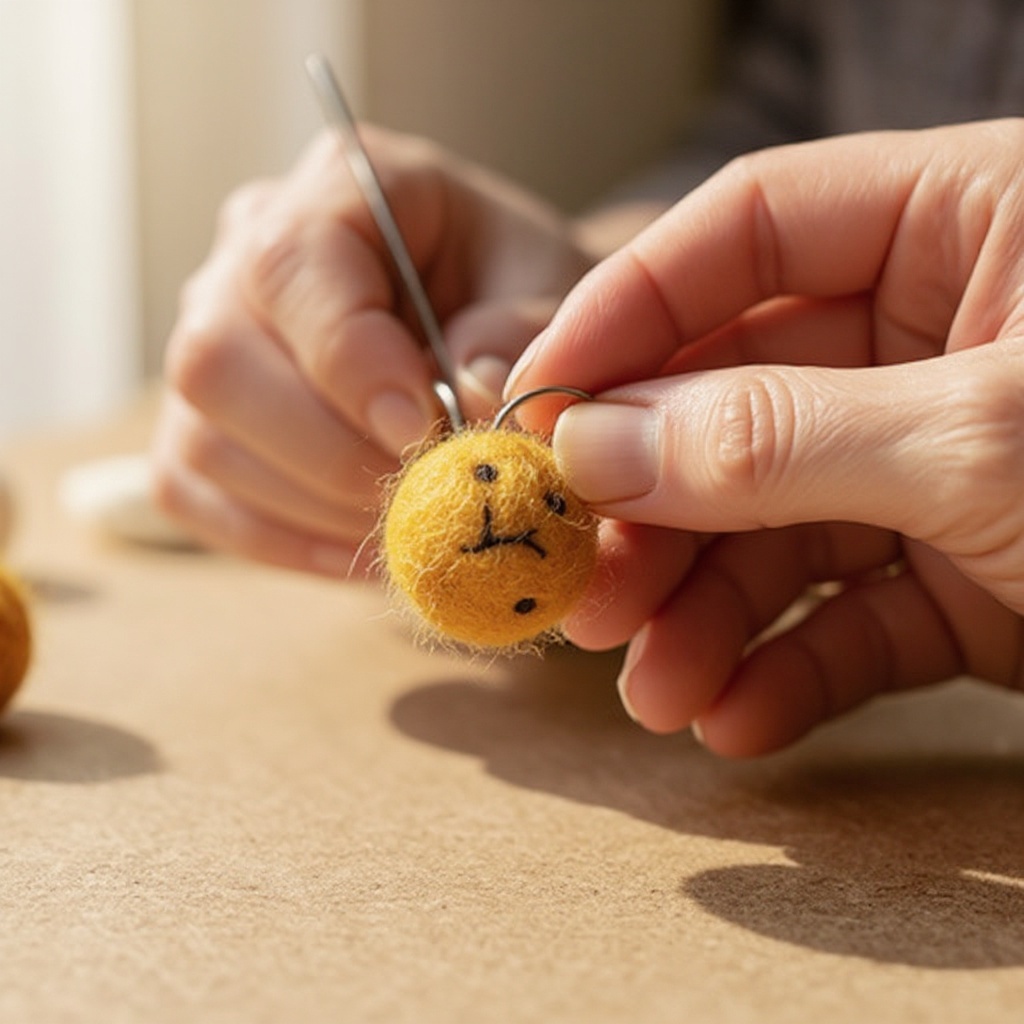
If adding details like eyes or patterns, use small wisps of different colored wool and felt them into place. For eyes, small dots of black or brown wool can be carefully poked onto the surface, or you can sew on tiny beads.
- 10
Once satisfied with the shape and firmness, carefully remove the charm from the foam pad. Inspect it for any loose fibers and gently poke them in to secure them.
- 11
To create a hanging loop for a keychain or zipper pull, take a small strand of wool, fold it in half to create a loop, and felt the raw ends securely into the top of your charm. Ensure the loop is firmly attached by poking it thoroughly.
- 12
If you prefer to add a loop after felting, you can carefully poke a small hole through the top of the charm using a single felting needle. Then, thread embroidery floss or a jump ring through this hole to create your hanging point.
- 13
Trim any stray fibers with small scissors for a neat finish. This step helps to refine the overall appearance of your charm and gives it a polished look.
- 14
Allow your charm to air out for a few minutes after felting. This helps to dissipate any residual static and ensures it's completely dry and ready for use or gifting.
Tips & Troubleshooting
- 1Be patient! Felting takes time to firm up. Don't rush the poking process; consistent, even poking is key to achieving a well-felted and durable charm. Each poke helps the wool fibers to bind together more tightly.
- 2If your charm feels too loose, keep poking. The more you poke, the firmer it will become. Focus on the areas that feel softest, ensuring you're getting the needle deep enough to entangle the fibers effectively.
- 3Experiment with different shapes! Try making tiny animals, fruits, or abstract designs. Don't be afraid to get creative with your initial wool shaping; you can always add or remove wool as you felt to refine the form.
- 4For a keychain or zipper pull, you can felt a small loop of wool into the top of the charm, or thread embroidery floss through it after it's finished. Ensure the loop is securely felted in place to prevent it from detaching with use.
- 5Always supervise children when using felting needles, as they are sharp. Teach them to always poke away from their fingers and to keep their fingers clear of the needle's path. Using a finger guard can also add an extra layer of safety.
- 6Start with simple shapes like balls or cylinders before attempting more complex designs. This allows you to get a feel for how the wool responds to the felting needle and how to build up density.
- 7If you find your needle sticking too much or breaking, try using a different gauge needle or a multi-needle tool. Sometimes, the angle of your poke can also affect how easily the needle penetrates the wool.
- 8To create smooth surfaces, you can use a finer gauge needle for the final stages of felting. This helps to push any remaining fuzzy fibers into the charm, giving it a more polished and professional appearance.
Related Activities You Might Enjoy
Frequently Asked Questions
What is needle felting?
Needle felting is a craft technique where wool roving, which is unspun wool fibers, is repeatedly poked with barbed needles. These needles have tiny notches or barbs along their shaft that catch the wool fibers and cause them to tangle and interlock. As you repeatedly stab the wool with the needle, the fibers become more matted and condensed, gradually transforming the loose fluff into a firm, solid shape. It's a process that requires patience and consistent poking, but the result is a unique, handcrafted item that feels wonderfully tactile and durable.
Is needle felting safe for kids?
Needle felting can be safe for children aged 8 and up, provided there is constant and attentive adult supervision. The felting needles are very sharp and can cause injury if not handled properly. It's crucial to teach children the correct way to hold the needle, to always poke straight down, and to keep their fingers well away from the needle's path. Using a foam pad is essential to protect fingers and surfaces. Emphasizing safety rules and demonstrating proper technique before allowing them to begin will ensure a positive and secure crafting experience.
What kind of wool is best for DIY charms?
Wool roving is the ideal material for needle felting charms. It's specifically prepared for this craft, meaning the fibers are carded and aligned in a way that makes them easy to felt. Wool roving comes in an extensive array of vibrant colors and textures, allowing for incredible versatility in design and detail. For beginners, a medium-grade merino wool roving is often recommended as it's soft, easy to work with, and felts relatively quickly. Avoid using yarn or pre-felted wool, as these materials will not felt effectively with needles.
How do I make my felted charms more durable?
To make felted charms more durable, the key is thorough felting. Ensure you continue poking the wool until the charm is very firm and dense, with minimal give when squeezed. This thorough matting of the fibers creates a strong structure. For an extra layer of protection, especially if the charm will be handled frequently or exposed to moisture, you can apply a protective sealant once the charm is complete and completely dry. Options include a clear acrylic spray, a fabric stiffener, or even a thin coat of Mod Podge, applied carefully with a brush.
What are the basic tools needed for needle felting charms?
The essential tools for needle felting charms are wool roving, felting needles, and a felting foam pad or mat. Wool roving is the raw material that you'll shape and felt. Felting needles are specially designed with barbs that catch and tangle the wool fibers; they come in various gauges, with coarser needles for initial shaping and finer needles for detail work. A felting foam pad provides a safe and stable surface to work on, protecting your fingers and work area from the sharp needles. Optional tools include a multi-needle tool for faster felting, a needle-puller for safely removing stuck needles, and small scissors for trimming stray fibers.
How long does it typically take to make one felted wool charm?
The time it takes to make one felted wool charm can vary significantly depending on its size, complexity, and the felter's experience. For a very simple, small charm, such as a basic ball or a small fruit shape, it might take as little as 15-30 minutes. However, if you're creating a more intricate design with multiple colors, small details like eyes or patterns, or a larger charm, it could easily take an hour or more. The process of firming up the wool requires consistent poking, which is time-consuming but crucial for a well-made charm. Beginners will generally take longer as they learn the technique.
What Next?
Congratulations on creating your charming felted wool charms! You've unlocked the satisfying world of needle felting, a craft that offers endless possibilities for creativity. Consider making a whole collection of themed charms – perhaps a set of fruits for a summery vibe, or a menagerie of tiny animals for a whimsical touch. These charms can be attached to zippers, used as unique gift toppers, or even strung together to form a delicate garland. Store your creations in a small box to keep them safe and dust-free, ready to bring a smile to your face or to be gifted to someone special.
Free: 10 Paper Crafts Anyone Can Make in 5 Minutes
Get our beginner guide + new craft ideas weekly.
No spam. Unsubscribe anytime.
Did you complete this activity?
Related