How to Make Salt Dough for Sculpting — Easy Step-by-Step Guide
Discover the magic of salt dough! This simple, three-ingredient recipe is perfect for creating amazing sculptures and figures, offering hours of creative, screen-free fun for the whole family.
Quick answer
To make salt dough for sculpting, you need flour, salt, and water, taking about 15 minutes to prepare. Start by mixing the dry ingredients, then gradually add water. This beginner-friendly activity has 8 steps and is perfect for families and kids aged 4+.
What you need
Shop on Amazon · As an Amazon Associate we earn from qualifying purchases. Links above are affiliate links — we may earn a commission at no extra cost to you.
Embark on a creative journey with the timeless art of salt dough sculpting! This incredibly versatile and budget-friendly medium is a gateway to imaginative expression for all ages. Unlike more complex sculpting materials, salt dough requires just a few pantry staples, making it an accessible and enjoyable project for families, classrooms, or solo artists. Its pliable nature allows for intricate detailing, while its ability to harden makes it a lasting keepsake. Get ready to unleash your inner artist and transform simple ingredients into stunning three-dimensional masterpieces!
On this page
Step-by-Step Instructions
- 1
In a large mixing bowl, combine 2 cups of all-purpose flour and 1 cup of salt. Ensure you are using standard measuring cups for accuracy, as the ratio of dry ingredients is crucial for the dough's consistency.
- 2
Stir the dry ingredients together thoroughly with a spoon or whisk. This step is important to ensure the salt is evenly distributed throughout the flour, which helps prevent any pockets of saltiness and contributes to a uniform dough texture.
- 3
Gradually add 3/4 cup of water to the flour and salt mixture. It's best to add the water slowly, a little at a time, rather than all at once, to better control the dough's moisture level.
- 4
Begin mixing with a spoon until a shaggy dough forms. At this stage, the mixture will look crumbly and uncohesive, but you should start to see it coming together into larger clumps.
- 5
Once the mixture is too stiff to stir effectively with a spoon, turn the dough out onto a clean, lightly floured surface. Lightly flour your hands as well to prevent sticking.
- 6
Knead the dough for 5-10 minutes until it is smooth and elastic. Push the dough away from you with the heel of your hand, then fold it back towards you, rotating it as you go. Continue this process until the dough feels smooth, pliable, and no longer sticky.
- 7
If the dough is too dry and crumbly, add water a teaspoon at a time, kneading well after each addition until it reaches the desired consistency. Conversely, if the dough is too sticky and difficult to handle, add flour a tablespoon at a time, kneading thoroughly until it becomes manageable.
- 8
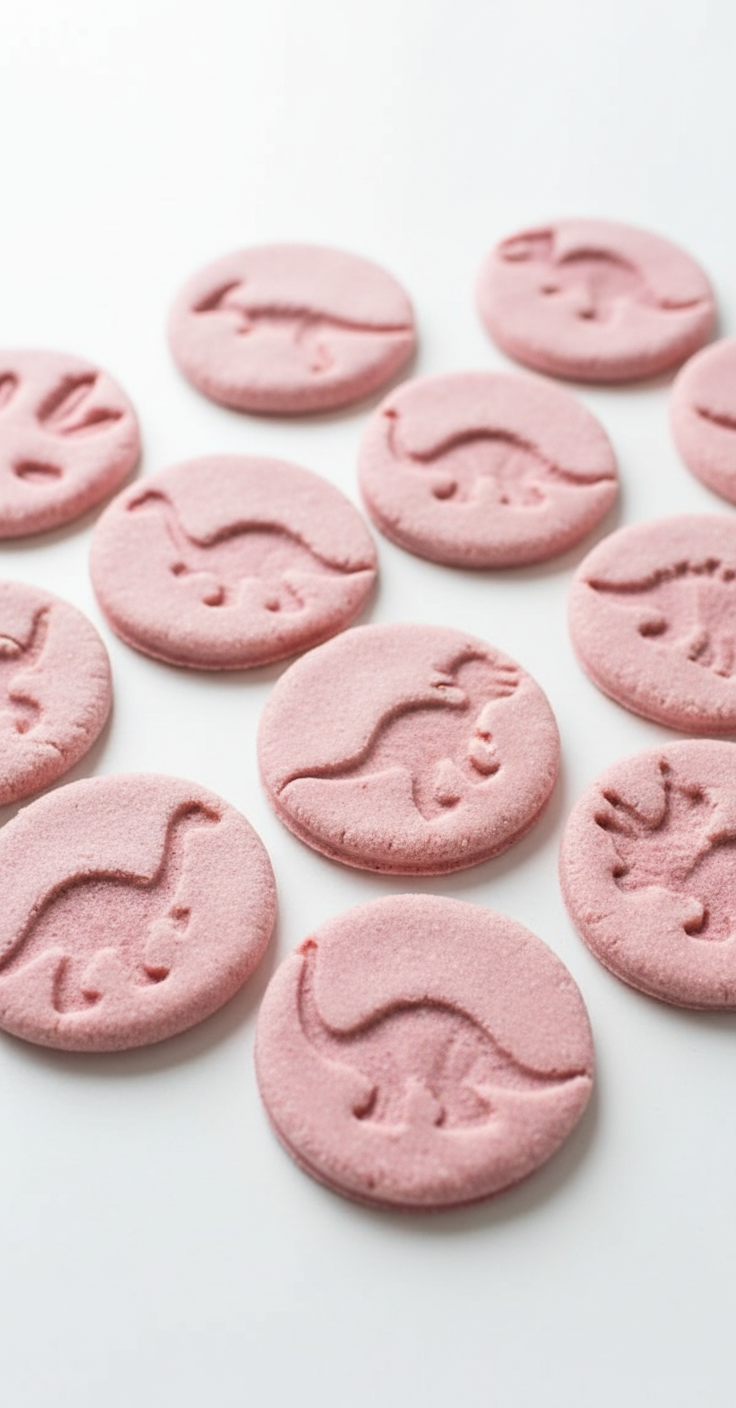
Once your salt dough is smooth, elastic, and has a consistent texture, it is now ready for sculpting! You can begin shaping your creations as desired, whether you're rolling, cutting, or molding.
- 9
Prepare your sculpting area by ensuring your work surface is clean and lightly dusted with flour. This prevents the dough from sticking and allows for easier manipulation.
- 10
Begin shaping your salt dough. You can roll it out with a rolling pin to create flat surfaces for cutting out shapes with cookie cutters, or you can sculpt freehand by molding and shaping the dough with your hands.
- 11
For more detailed work, use sculpting tools, toothpicks, or even the edge of a butter knife to add texture, lines, and fine details to your sculptures. Be gentle to avoid tearing the dough.
- 12
If you are creating multiple pieces, ensure they are of relatively uniform thickness. This will help them dry or bake more evenly, preventing some pieces from cracking while others remain soft.
- 13
When you've finished sculpting your pieces, carefully transfer them to a baking sheet lined with parchment paper or a drying rack. This will make them easier to move once hardened.
- 14
Allow your sculptures to air dry completely for 24-48 hours in a well-ventilated area, or bake them at a low temperature (250°F / 120°C) until hardened. Baking is a faster method, but requires careful monitoring to prevent burning.
- 15
If baking, flip your sculptures halfway through the baking process to ensure even drying and hardening on all sides. This also helps prevent warping.
- 16
Once completely dry and hardened, your salt dough sculptures are ready for decoration. You can paint them with acrylic paints, markers, or even decoupage them with paper.
Tips & Troubleshooting
- 1For smoother dough, sift your flour before measuring. Sifting removes any lumps and aerates the flour, leading to a finer, more consistent dough texture that is easier to work with and results in a smoother finished product.
- 2If you plan to paint your sculptures, let them air dry completely for 24-48 hours, or bake them at a low temperature (250°F / 120°C) until hardened. Ensuring the dough is thoroughly dry prevents paint from cracking or peeling and allows for better adhesion of paint and other decorative elements.
- 3Store unused salt dough tightly wrapped in plastic wrap in the refrigerator for up to 2 days. This keeps the dough fresh and pliable, preventing it from drying out, so you can continue your sculpting projects later without needing to make a new batch.
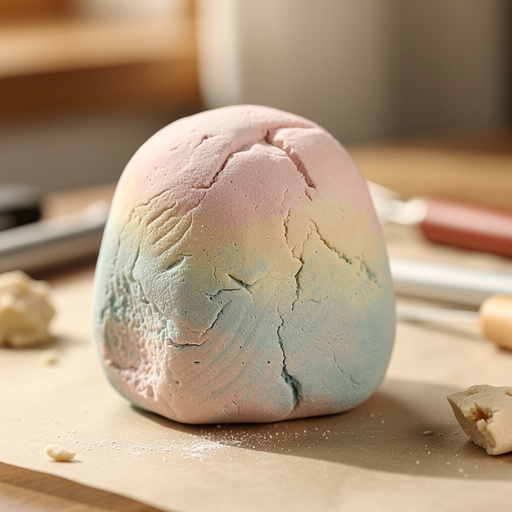
- 4Add food coloring to the water before mixing for colored dough, or paint your finished pieces. Incorporating color into the dough itself offers a vibrant, consistent hue throughout the sculpture, while painting provides more control over the final look and allows for intricate designs.
- 5To achieve a stronger, more durable sculpture, ensure you knead the dough thoroughly until it is smooth and elastic. Proper kneading develops the gluten in the flour, which is essential for the dough's structure and strength once dried or baked.
- 6For very detailed or delicate sculptures, consider using a toothpick or a fine sculpting tool to create intricate patterns or textures. These tools allow for precision and can add a professional touch to your creations.
- 7When baking salt dough, use the lowest oven temperature possible (around 250°F or 120°C) and be patient. High heat can cause the dough to puff up unevenly or even burn before it hardens through, so low and slow is the key to success.
- 8If your salt dough cracks during drying or baking, don't despair! You can often fill small cracks with a bit of extra salt dough paste (made from flour and water) and then re-dry or re-bake the area once the paste has set.
Related Activities You Might Enjoy
Frequently Asked Questions
What is the best salt dough recipe for sculpting?
The classic 2 cups flour, 1 cup salt, and 3/4 cup water recipe is ideal for sculpting. This ratio is carefully balanced to create a firm, pliable dough that is perfect for shaping intricate details and holding its form once dried or baked. The high salt content acts as a preservative and helps to draw out moisture, contributing to its hardening properties. Using all-purpose flour provides a good gluten structure, which is essential for the dough's elasticity and ability to be molded without tearing. Always measure your ingredients accurately for the best results.
How long does salt dough take to dry for sculpting?
Salt dough sculptures can take 24-48 hours to air dry completely, depending on the thickness of the piece and the humidity levels in your environment. For faster drying and hardening, you can bake your sculptures at a low temperature, typically around 250°F (120°C), for 2-3 hours. It's crucial to flip the pieces halfway through the baking process to ensure even drying and to prevent warping or cracking. Thicker sculptures will naturally take longer to dry, so patience is key for achieving a solid, durable result.
Can I add food coloring to salt dough for sculpting?
Yes! You can absolutely add food coloring to salt dough for sculpting to create vibrant, colored creations right from the start. The best way to do this is to add the food coloring to the water before you mix it with the flour and salt. Start with a few drops and gradually add more until you achieve your desired shade. Knead the dough thoroughly after adding the colored water to ensure the color is distributed evenly throughout. This method results in a consistent, rich color that permeates the entire sculpture, rather than just being a surface layer.
How do I make salt dough stronger for sculpting?
To make salt dough stronger for sculpting, ensure you knead the dough thoroughly until it's smooth and elastic. Proper kneading develops the gluten structure, which is vital for strength. Baking the finished sculptures at a low temperature until completely hardened also significantly increases their strength and durability compared to air drying alone. For extra reinforcement, especially for larger or more delicate pieces, you can embed a thin wire armature within the dough before sculpting, or apply a strong sealant like Mod Podge or a clear acrylic varnish once the sculpture is fully dry.
What are common problems when making salt dough and how can I fix them?
A common problem is dough that is too sticky. This usually means too much water was added. To fix it, gradually add more flour, a tablespoon at a time, kneading well after each addition until the dough is no longer sticky but still pliable. Conversely, if the dough is too dry and crumbly, it needs more moisture. Add water very slowly, a teaspoon at a time, kneading thoroughly until it comes together smoothly. Another issue can be cracking during drying or baking; this often happens if the dough is too thin or dries too quickly. Ensure even thickness and consider a slower drying process if cracks appear.
Can I use salt dough for outdoor decorations?
While salt dough is a wonderful medium for indoor crafts, it is not inherently weather-resistant and is not recommended for permanent outdoor decorations. The salt content can attract moisture, and the dough itself can degrade when exposed to rain, humidity, and extreme temperatures. If you wish to use your salt dough creations outdoors for a temporary display, ensure they are thoroughly dried and baked, then sealed with multiple layers of a waterproof sealant, such as an exterior-grade varnish or a strong decoupage medium. Even with sealing, it's best to bring them inside during inclement weather to prolong their lifespan.
What Next?
With your salt dough creations hardened and ready, the artistic possibilities are endless! Consider painting them with vibrant acrylics, adding glitter for sparkle, or even sealing them with a clear varnish for a glossy finish. For a rustic look, leave them unpainted to showcase the natural texture. These sculptures make wonderful handmade gifts, charming home decor, or personalized ornaments. Don't be afraid to experiment with different sculpting techniques and try creating a series of related pieces for a cohesive display. Happy sculpting!
Free: 10 Paper Crafts Anyone Can Make in 5 Minutes
Get our beginner guide + new craft ideas weekly.
No spam. Unsubscribe anytime.
Did you complete this activity?
Related