How to Make Potato Stamp Art — Easy Step-by-Step Guide
Discover the simple magic of potato stamp art! This classic craft is perfect for creating unique prints on paper, fabric, or cards with just a few household items. It's an accessible and rewarding way to explore printmaking and unleash your creativity. Get ready to transform everyday potatoes into beautiful works of art!
Quick answer
To make potato stamp art, you need potatoes, carving tools, and paint, taking about 30 minutes to create a single stamp. Start by cutting a potato in half and carving a design into the cut surface. This beginner-friendly activity has 15 detailed steps and is perfect for families and kids aged 5+ with adult supervision for carving.
What you need
Shop on Amazon · As an Amazon Associate we earn from qualifying purchases. Links above are affiliate links — we may earn a commission at no extra cost to you.
Step back in time and rediscover the joy of a truly classic craft: potato stamp art! This wonderfully simple yet profoundly creative activity taps into a primal form of printmaking, allowing anyone to transform humble kitchen staples into unique artistic expressions. It’s a fantastic way to engage with tactile art, perfect for sparking imagination in young children, providing a relaxing creative outlet for adults, and fostering quality family time. With just a few basic materials, you can embark on a colorful journey of pattern-making and design, proving that art can be found and made from the most unexpected places.
On this page
Step-by-Step Instructions
- 1
Begin by selecting your potatoes. Choose firm, blemish-free potatoes that feel heavy for their size, as these will have the densest flesh, making them ideal for carving and holding their shape.
- 2
Wash and dry the potatoes thoroughly under cool running water, gently scrubbing away any dirt or debris. Ensure they are completely dry before proceeding, as moisture can affect the carving process and the paint adhesion.
- 3
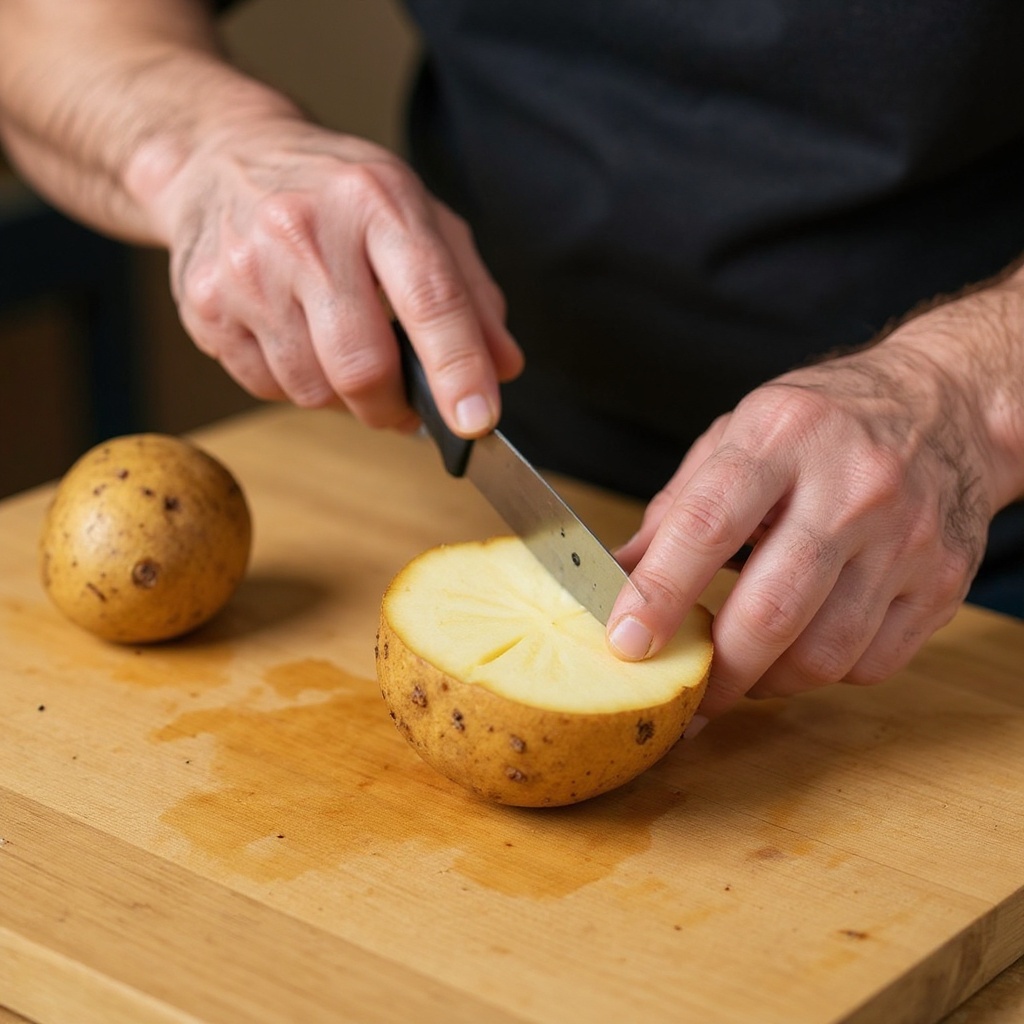
With adult supervision, carefully cut one of the potatoes in half horizontally using a sharp paring knife or a dedicated carving tool. Aim for a clean, flat cut across the widest part of the potato to create a stable surface for your stamp.
- 4
Place one of the potato halves cut-side down onto your cutting board. This flat surface will be where you create your design, ensuring it's stable and easy to work with.
- 5
Now comes the creative part: carving your design! You can either sketch your desired shape directly onto the cut surface of the potato with a pencil or marker, or you can carve freehand. Think about simple, bold shapes that will transfer well.
- 6
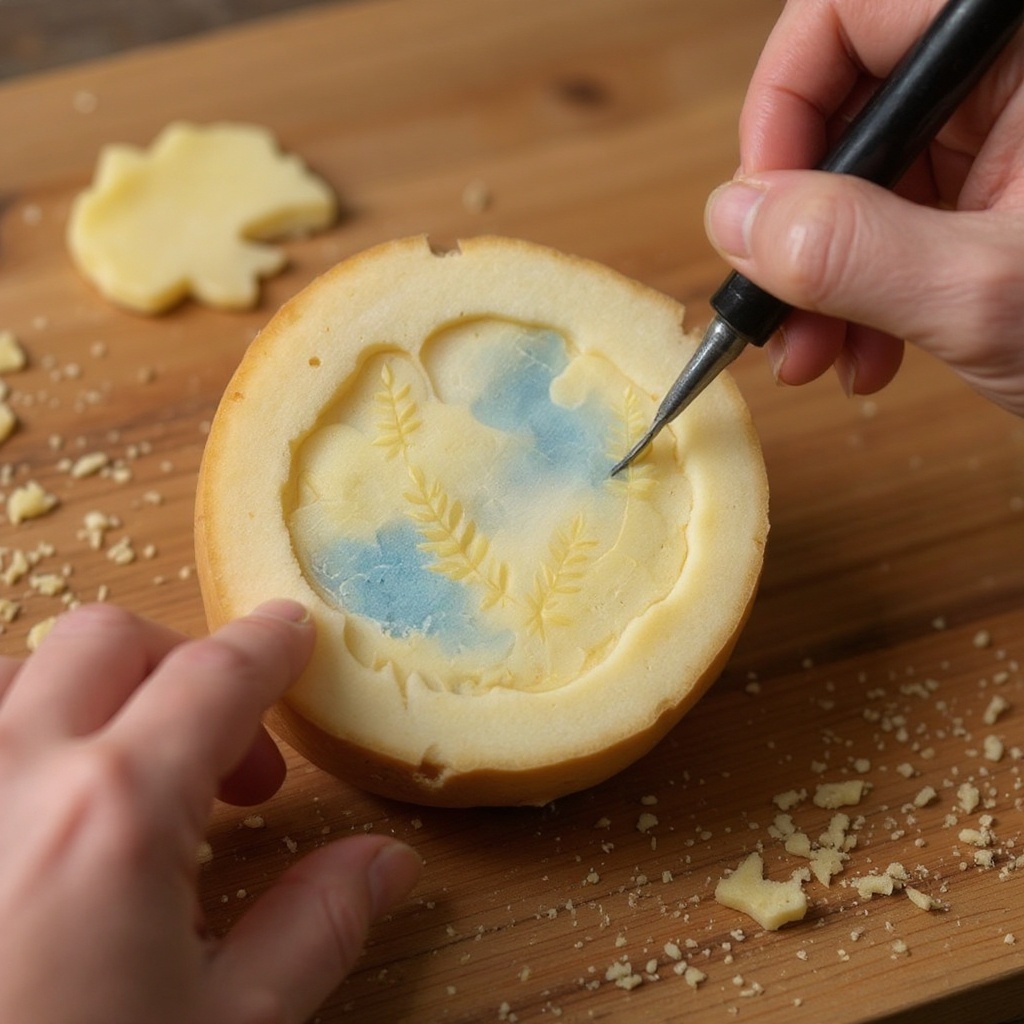
Carefully begin carving away the potato flesh around your drawn design or freehand sketch. The goal is to leave your desired shape raised from the surface, like a relief sculpture. Remove excess potato material from the edges and background, ensuring the raised design is clean and well-defined.
- 7
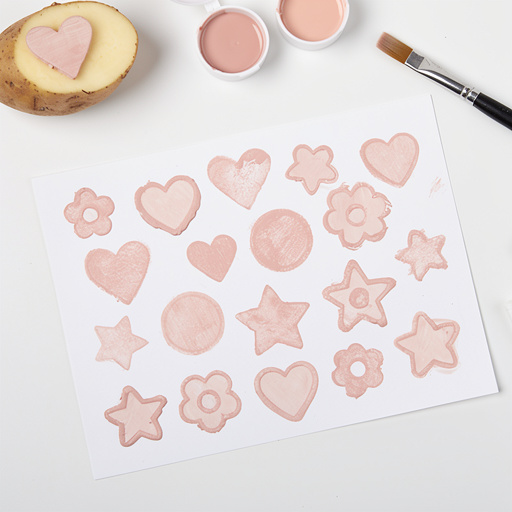
For simpler, geometric, or iconic shapes, consider using cookie cutters. Press a cookie cutter firmly into the cut surface of the potato to create a clear outline. Once the impression is made, carefully carve away the potato flesh surrounding the cookie cutter shape, leaving the impressed design as your raised stamp.
- 8
Continue carving until you are satisfied with the depth and clarity of your design. Ensure there are no loose potato fragments attached to your raised design, as these can create unwanted smudges during printing.
- 9
Prepare your printing surface and paints. Lay out your paper, cardstock, or fabric on a flat, protected surface. Pour a small amount of your chosen paint color onto a paper plate or into a shallow tray, creating a thin, even layer.
- 10
Dip your carved potato stamp lightly into the paint. The key here is to only get paint on the raised design, not the sides or background. Gently dab the stamp into the paint, ensuring an even coating on the raised areas.
- 11
Before pressing the stamp onto your printing surface, gently blot any excess paint from the edges of the stamp using a paper towel or a clean rag. This step is crucial for achieving crisp, clean prints and avoiding muddy edges.
- 12
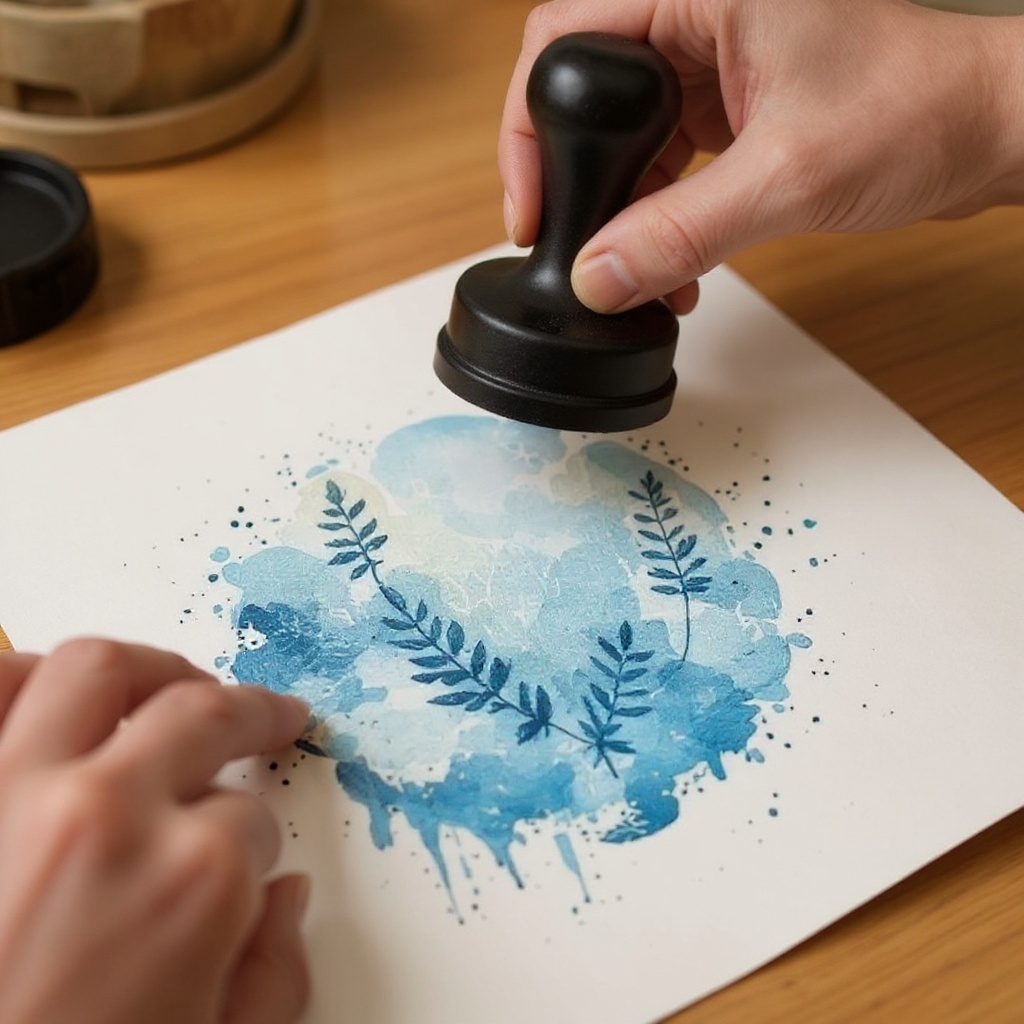
Position your inked potato stamp carefully onto your paper, cardstock, or fabric. Apply firm, even pressure across the entire surface of the raised design. You can gently rock the stamp slightly to ensure all parts of the design make contact with the surface.
- 13
Lift the stamp carefully and straight up from the printing surface to reveal your beautiful print. Take a moment to admire your creation! If you notice any areas that didn't transfer well, you can try re-inking and pressing again, perhaps with slightly more pressure.
- 14
Repeat the inking and stamping process to build your artwork. Continue dipping your stamp in paint, blotting excess, and pressing onto your surface to create patterns, borders, or fill your entire page with your unique design.
- 15
If you wish to change colors or switch to a different potato stamp, it's a good idea to clean your current stamp. Gently rinse it under cool water, removing all paint residue, and pat it dry with a paper towel before storing or using a new stamp. This prevents color contamination and ensures cleaner prints.
- 16
For intricate designs or to add finer details, you can use fine-tip permanent markers to draw in elements or outline your potato prints once they are completely dry. This adds another layer of personalization and complexity to your artwork.
- 17
Experiment with different pressures and amounts of paint to see how it affects the print. Sometimes a lighter touch or less paint can create a more delicate, textured effect, while a firmer press with more paint yields a bolder, more solid image.
- 18
Consider creating a series of stamps with different designs and sizes. This allows for a wider range of patterns and compositions in your final artwork, making your prints even more dynamic and interesting.
Tips & Troubleshooting
- 1For the cleanest and most defined prints, it's essential to blot excess paint off the stamp before pressing it onto your surface. A thin, even layer of paint on the raised design is key; too much paint will bleed and obscure your carefully carved details.
- 2Don't be afraid to experiment with different potato shapes and sizes for varied stamp designs. Larger potatoes are excellent for creating big, bold prints, while smaller ones are perfect for more intricate patterns or repeating motifs. You can even cut potatoes into different geometric shapes before carving to create unique stamp bases.
- 3If your carved design is too intricate or has very fine lines, it might not transfer well to the printing surface. Stick to simpler, bolder shapes and designs, especially when working with younger children or if you're new to carving. This ensures the best possible results and a more satisfying printing experience.
- 4After you've finished your printing session, wash your potato stamps thoroughly under cool running water to remove all traces of paint. Gently pat them dry with a paper towel and allow them to air dry completely before storing them in a cool, dry place. This will help them last for many future art projects.
- 5To achieve a more textured or distressed look, try dabbing the paint onto the stamp rather than spreading it evenly. You can also experiment with using slightly drier paint or pressing the stamp with varying degrees of pressure to create unique visual effects.
- 6Consider creating a 'color palette' of your potato stamps. Carve a few different designs on separate potato halves, and then use them together to create layered patterns or complementary designs on your artwork. This opens up a world of creative possibilities.
- 7If you find your potato stamps are becoming a bit soft or mushy after repeated use, it's a sign they've absorbed some moisture. You can try drying them out thoroughly in a warm, dry place for a day or two, or simply accept that they are temporary art tools and enjoy the process while they last.
- 8For printing on fabric, ensure the fabric is pre-washed and dried to remove any sizing that might interfere with paint adhesion. Once your fabric prints are dry, you can often heat-set them with an iron (follow paint manufacturer's instructions) to make them more permanent and washable.
Related Activities You Might Enjoy
Frequently Asked Questions
What kind of paint is best for potato stamps?
Washable tempera or acrylic paints are the ideal choices for potato stamp art due to their vibrant colors, ease of cleanup, and good adhesion to various surfaces. Tempera paints are particularly well-suited for younger children as they are non-toxic and wash out easily from skin and clothing. Acrylic paints offer a bit more durability and a wider range of finishes once dry. It's important to ensure the paint is not too watery; a slightly thicker consistency will yield clearer, more defined prints. Avoid oil-based paints as they can be more difficult to clean from the stamps and surfaces.
How do I make different shapes with potato stamps?
You can create a wide variety of shapes with potato stamps through several methods. The most direct way is to carve various shapes directly into the potato's surface, leaving the desired design raised. For simpler, consistent shapes like stars, hearts, or geometric forms, use cookie cutters to press an outline into the potato's cut surface, then carefully carve away the potato around this impressed shape. You can also cut potatoes into different geometric shapes (squares, rectangles, triangles) before carving a design onto those bases, offering a unique starting point for your stamps.
Can I reuse potato stamps?
Yes, potato stamps can absolutely be reused multiple times, making this a very economical and sustainable craft! After carving your design, gently rinse the stamp under cool water to remove all paint residue. Pat it dry thoroughly with a paper towel and allow it to air dry completely in a cool, dry place. While they may become a bit softer or slightly less defined over time with repeated use and moisture exposure, they will still be perfectly usable for many printing sessions, allowing you to create countless artworks.
What surfaces can I use for potato stamp art?
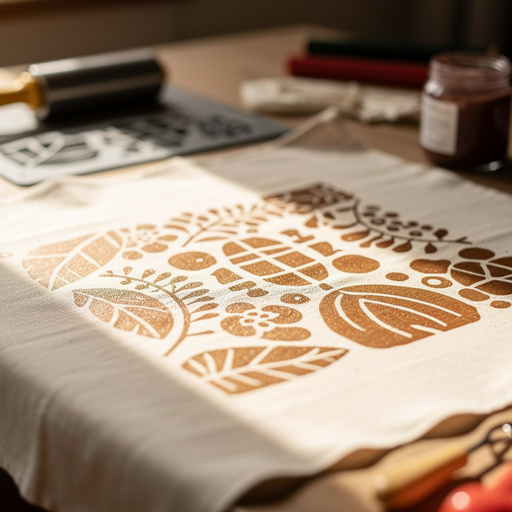
Potato stamps are wonderfully versatile and can be used on a variety of surfaces, opening up a world of creative possibilities. They work exceptionally well on paper, cardstock, and construction paper for creating drawings, cards, and decorative papers. You can also achieve great results on fabric items like plain t-shirts, tote bags, pillowcases, or tea towels, transforming them into personalized creations. Ensure the fabric surface is dry before stamping for the best adhesion. Additionally, potato stamps can be used on plain wooden items or even on craft surfaces like unstained cardboard.
How long do potato stamps last?
The lifespan of a potato stamp depends on several factors, including the type of potato used, how deeply it's carved, and how it's cared for. Generally, a well-carved and properly dried potato stamp can be reused for several printing sessions, perhaps 5-10 times or even more if handled gently. As the potato is a natural, organic material, it will eventually start to soften, dry out, or even develop mold if not stored correctly. For best longevity, ensure they are thoroughly dried after each use and stored in a cool, dry environment away from direct sunlight and humidity.
What are some simple design ideas for beginner potato stamps?
For beginners, simple, bold designs are the most effective and easiest to carve. Think about basic geometric shapes like circles, squares, triangles, and stars. You can also carve simple outlines of hearts, diamonds, or even basic floral shapes with large petals. Animals like a simple cat face or a fish outline can also work well. For a more abstract approach, consider carving lines, dots, or checkerboard patterns. Using cookie cutters to create these initial impressions can greatly simplify the carving process and ensure a clean, recognizable shape.
Can I combine potato stamps with other art techniques?
Absolutely! Potato stamp art is a fantastic base for further artistic exploration. Once your potato prints are dry, you can enhance them with other mediums. Use fine-tip permanent markers to add details, outlines, or fill in areas of your prints. Watercolors can be used to add washes of color over or around your stamped designs, creating a beautiful blended effect. You can also use colored pencils or crayons to add shading and texture. Combining potato stamps with collage elements or even fabric paints can lead to incredibly unique and multi-dimensional artworks.
What Next?
Once your potato stamp art is complete, the possibilities for display and further creation are endless! Frame your finished prints as unique wall art, turn them into personalized greeting cards, or embellish plain fabric items like tote bags and t-shirts for a custom touch. Remember to store your dried potato stamps in a cool, dry place for future projects. For even more artistic exploration, consider experimenting with different types of paint, layering colors, or combining your potato prints with other art mediums like markers or watercolors for added detail and depth. This simple craft is just the beginning of your printmaking adventure!
Free: 10 Paper Crafts Anyone Can Make in 5 Minutes
Get our beginner guide + new craft ideas weekly.
No spam. Unsubscribe anytime.
Did you complete this activity?
Related