How to Make Cardboard Tube Seed Starters — Easy Step-by-Step Guide
Transform empty toilet paper rolls into biodegradable seed starters for your garden. A fun and sustainable way to get kids involved in planting!
Quick answer
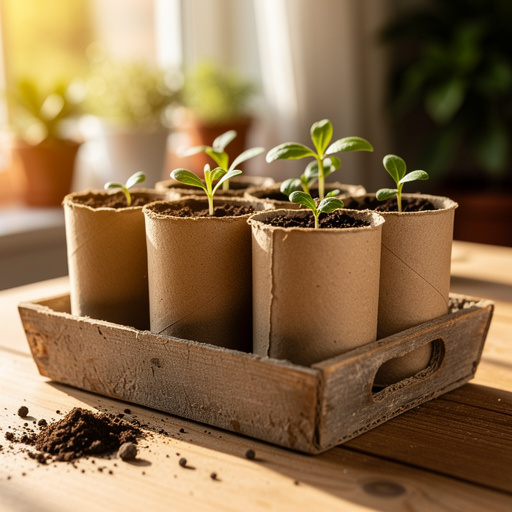
To make cardboard tube seed starters, you need empty toilet paper rolls, scissors, good quality potting soil, and your chosen seeds. Begin by creating a secure base for each tube by cutting and folding the bottom. Fill them with soil, plant your seeds according to packet instructions, and water gently. This beginner-friendly activity has 7 core steps, expandable to around 15-20 for more detail, and is perfect for families and young gardeners looking for a sustainable way to start their plants.
What you need
Shop on Amazon · As an Amazon Associate we earn from qualifying purchases. Links above are affiliate links — we may earn a commission at no extra cost to you.
Embarking on the journey of growing your own plants from seed is incredibly rewarding, and starting with recycled materials makes it even more special. These cardboard tube seed starters offer a fantastic, eco-friendly way to kickstart your gardening adventure. Not only do they repurpose common household items, but they also provide a biodegradable pot that can be planted directly into the ground, minimizing transplant shock for delicate seedlings. This project is exceptionally well-suited for families with young children, offering a hands-on, educational, and fun introduction to the wonders of nature and sustainable living.
On this page
Step-by-Step Instructions
- 1
Gather your empty toilet paper rolls and scissors. Ensure the rolls are clean and dry. You can use a ruler to measure and mark your cuts for more precise results, but freehand is perfectly acceptable for this project.
- 2
Prepare the base of each toilet paper roll by making 1-inch slits around one end. Aim for 4 to 6 evenly spaced cuts, ensuring they go about one-third of the way up the tube. These cuts will form the flaps you'll fold to create the bottom.
- 3
Carefully fold the cut flaps inward, overlapping them to create a secure, closed bottom for each tube. Press the folds firmly to ensure they hold their shape and prevent soil from escaping. If a flap seems loose, you can gently tuck it under another or reinforce it with a small piece of tape.
- 4
Stand the prepared cardboard tubes upright on a sturdy tray or within a shallow container. This will catch any excess water and keep your workspace clean. Ensure the tubes are standing straight and are stable before proceeding.
- 5
Fill each tube about two-thirds full with your chosen potting soil. Gently tap the bottom of the tube on your work surface to help the soil settle, but avoid compacting it too much, as roots need air circulation. Leave enough space at the top for watering and for the seedling to grow.
- 6
Plant 1-2 seeds in the center of the soil in each tube. Refer to your seed packet for the recommended planting depth for your specific seeds. Planting two seeds per tube increases your chances of germination, and you can thin out the weaker seedling later if both sprout.
- 7
Gently cover the seeds with a thin layer of soil, again referring to your seed packet for the correct depth. Lightly pat the soil down to ensure good seed-to-soil contact, which is crucial for germination. Avoid pressing too hard, as this can hinder the seedling's emergence.
- 8
Lightly water the soil until it is moist but not waterlogged. A spray bottle is excellent for this stage, as it allows for gentle watering without disturbing the seeds. You want the soil to be evenly damp, similar to a wrung-out sponge.
- 9
Place the tray of seed starters in a warm location that receives adequate light for germination. Most seeds require warmth to sprout, and some may need darkness initially. Check your seed packet for specific light and temperature requirements.
- 10
Monitor the soil moisture daily. The soil should remain consistently moist throughout the germination process. If the surface appears dry, mist it lightly with your spray bottle or use the watering can with a fine rose.
- 11
Once the seeds have sprouted and seedlings are visible, ensure they are receiving sufficient light. A sunny windowsill is often ideal, but if natural light is insufficient, consider using a grow light to prevent leggy growth.
- 12
As the seedlings grow, continue to water them as needed, always aiming for moist but not soggy soil. You can gradually increase the amount of water as the plants get larger and their root systems develop.
- 13
When your seedlings have developed a few sets of true leaves and the weather is suitable for transplanting outdoors (after the last frost date for your region), they are ready for their next stage.
- 14
To transplant, carefully remove the entire cardboard tube from the tray. You can gently squeeze the sides of the tube to loosen the soil and roots if needed.
- 15
Dig a hole in your garden bed or container that is slightly larger than the cardboard tube. Place the entire tube into the hole, ensuring the top edge of the tube is level with or slightly below the surrounding soil.
- 16
Backfill the hole with soil, gently firming it around the base of the tube. Water thoroughly to help settle the soil and encourage root establishment into the surrounding garden soil. The cardboard will naturally break down over time, providing nutrients to the developing plant.
Tips & Troubleshooting
- 1If you find that the bottoms of your toilet paper rolls aren't holding the soil securely, you can reinforce them. Gently fold the flaps inward as usual, and then add a small, circular piece of cardboard cut to fit inside the base, or secure the flaps with a small piece of masking tape. This extra layer will prevent soil from leaking out during the watering process.
- 2Don't be afraid to experiment with a wide variety of seeds! Herbs like basil, parsley, cilantro, and mint are excellent choices for beginners and grow well in these small starters. Small, quick-blooming flowers such as marigolds, zinnias, and cosmos are also fantastic options that add color to your garden and attract pollinators.
- 3The beauty of these cardboard tube seed starters lies in their biodegradability. Once your seedlings have grown a few inches tall and are ready to be transplanted outdoors, you can plant the entire cardboard tube directly into the ground. This method minimizes root disturbance, significantly reducing transplant shock and giving your young plants a stronger start in their new environment.
- 4Maintaining consistent soil moisture is key to successful germination and healthy seedling growth. Aim for the soil to be consistently moist but never waterlogged, as this can lead to root rot and fungal diseases. A spray bottle is an excellent tool for young children to use, as it allows for gentle watering without the risk of overwatering or dislodging the delicate seeds.
- 5Labeling your seed starters is a crucial step, especially when planting multiple varieties. Use waterproof markers or plant labels to clearly indicate the type of seed planted in each tube. This will save you confusion later on, particularly when seedlings look similar in their early stages, and helps you track their growth and care needs.
- 6Consider the light requirements for your specific seeds. Some seeds germinate best in darkness, while others need light. Once sprouted, most seedlings require ample bright light to grow strong and prevent them from becoming 'leggy' or weak. A south-facing windowsill is often ideal, or you may need to supplement with a grow light.
- 7When planting multiple seeds per tube, it's a good practice to thin out the weaker seedling once they have both sprouted. This ensures that the stronger seedling has all the resources it needs to thrive without competition. Gently snip the weaker seedling at the soil line with scissors rather than pulling it out, to avoid disturbing the roots of the remaining seedling.
- 8If you're using paper towel rolls, remember to cut them in half. This creates tubes of a more manageable size, similar to toilet paper rolls, making them easier to handle and fill with soil. The same folding and planting techniques apply, making them a versatile alternative.
Related Activities You Might Enjoy
Frequently Asked Questions
Can I use paper towel rolls for seed starters?
Absolutely! Paper towel rolls are an excellent alternative to toilet paper rolls for creating seed starters. The primary difference is their length, so you'll want to cut them in half to create tubes of a similar size to toilet paper rolls. This makes them easier to handle, fill with soil, and manage on your tray. The folding and planting techniques remain the same, ensuring you can still achieve fantastic biodegradable seed starters using this readily available recycled material. Just ensure the cut edges are neat for easier folding.
How long will it take for the seeds to sprout?
The time it takes for seeds to sprout, or germinate, varies significantly depending on the type of seed. Some fast-germinating seeds, like radishes or lettuce, may show signs of life in as little as 3-7 days. Others, such as peppers or tomatoes, can take anywhere from 7-14 days, and some slower-growing varieties might even take longer. Always refer to your seed packet for the most accurate germination time estimates for your specific seeds. Factors like temperature, moisture, and light can also influence sprouting speed.
What kind of soil should I use?
For optimal results with your cardboard tube seed starters, it's highly recommended to use a good quality potting mix specifically formulated for seed starting. These mixes are designed to be light, airy, and well-draining, which is crucial for delicate seedling roots. They typically contain ingredients like peat moss, perlite, and vermiculite to provide excellent aeration and moisture retention without becoming waterlogged. Avoid using heavy garden soil, as it can compact too easily in the small tubes, hindering root growth and air circulation, and may also contain weed seeds or diseases.
When can I transplant the seedlings outdoors?
The ideal time to transplant your seedlings outdoors is when they have developed a few sets of 'true leaves' (the leaves that appear after the initial seedling leaves, or cotyledons) and the danger of frost has completely passed in your region. It's also important to ensure the soil temperature is warm enough for the specific plant you are growing. Before transplanting, it's a good practice to 'harden off' your seedlings by gradually exposing them to outdoor conditions over a week or two. This acclimates them to sunlight, wind, and temperature fluctuations, making the transition smoother and reducing shock.
How do I prevent my seedlings from getting leggy?
Leggy seedlings, characterized by long, thin, weak stems, are usually a sign that they aren't receiving enough light. To prevent this, ensure your seed starters are placed in a location that receives ample bright light. A south-facing windowsill is often ideal. If natural light is insufficient, especially during shorter days or cloudy periods, consider using a grow light. Position the grow light a few inches above the seedlings and keep it on for 12-16 hours a day. Gentle air circulation, like from a small fan on a low setting, can also help strengthen stems.
Can I reuse the cardboard tubes?
While the primary advantage of these seed starters is their biodegradability, meaning they are designed to be planted directly into the ground and decompose, you technically *could* try to reuse them. However, it's generally not recommended for hygiene and structural integrity reasons. Once planted, the cardboard breaks down, and attempting to extract it for reuse would likely damage the roots of the plant. For future seed starting, it's best to collect new toilet paper rolls or use other reusable seed starting trays.
What Next?
Congratulations on creating your own biodegradable seed starters! This simple project opens the door to a world of gardening possibilities. Consider experimenting with different plant varieties or even decorating your tubes before planting for a personalized touch. Once your seedlings are thriving, you can explore companion planting techniques or learn about natural pest control. For future projects, you might try making larger seed starters from paper towel rolls or even explore building a small greenhouse from recycled materials. Display your growing seedlings on a sunny windowsill, and watch with pride as they flourish!
Free: 10 Paper Crafts Anyone Can Make in 5 Minutes
Get our beginner guide + new craft ideas weekly.
No spam. Unsubscribe anytime.
Did you complete this activity?
Related
You might also like
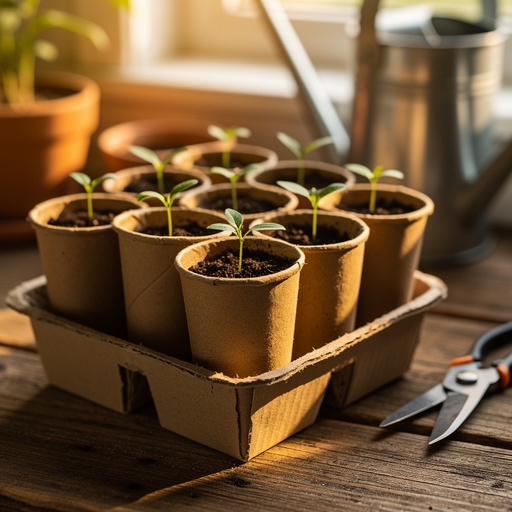
Cardboard Tube Seedling Starters
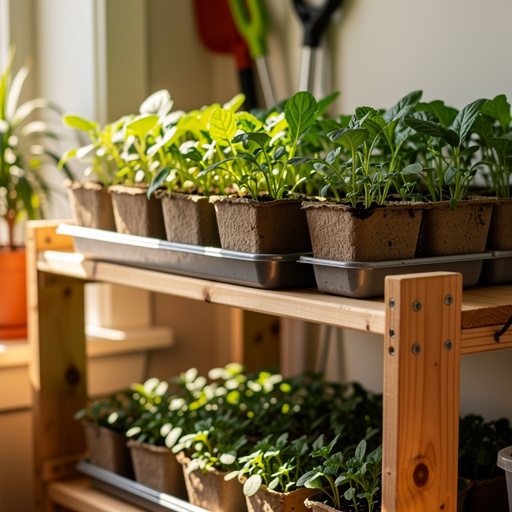
Indoor Seedling Station Setup
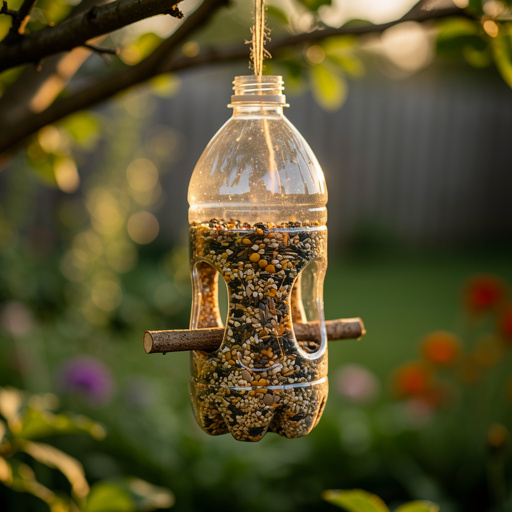
Plastic Bottle Bird Feeder
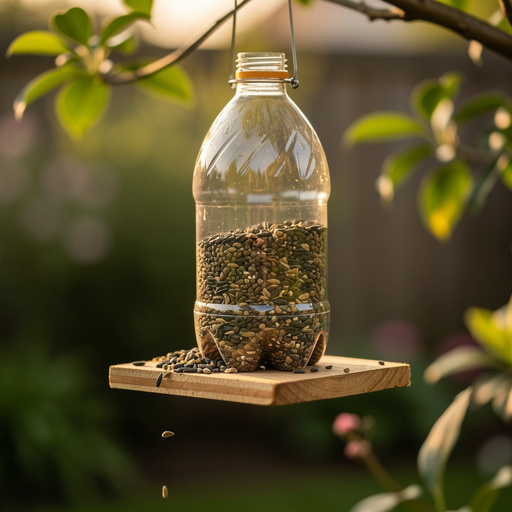
Recycled Bottle Bird Feeder
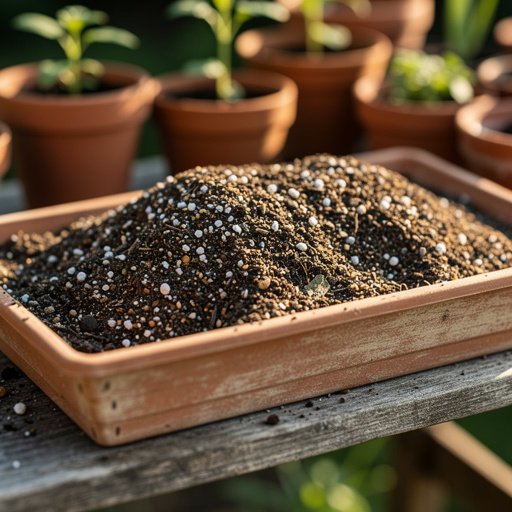
DIY Seed Starting Mix