DIY Cardboard Box Accordion: A Playable Masterpiece from Recycled Boxes!
Get ready to make some noise with this incredible DIY Cardboard Box Accordion! We're going beyond the basic craft to bring you a project packed with originality, from troubleshooting common issues to adapting it for even the youngest crafters. This tutorial is your guide to creating a unique, playable instrument that's as fun to build as it is to 'play'.
Quick answer
To create a Cardboard Box Accordion, you'll need two small, sturdy cardboard boxes (approx. 15cm x 10cm x 5cm), a sheet of corrugated cardboard (approx. 30cm x 20cm) for the bellows, sturdy cardstock for keys, packing tape, masking tape, craft glue or hot glue, scissors, a craft knife (adult use), and a ruler. This project takes about 60 minutes and is suitable for ages 6-12, with specific adaptations for ages 4-5 and even younger.
What you need
Shop on Amazon · As an Amazon Associate we earn from qualifying purchases. Links above are affiliate links — we may earn a commission at no extra cost to you.
Remember the sheer joy of making something with your own hands? I certainly do! My kids and I once spent a rainy afternoon transforming old delivery boxes into a surprisingly loud and fun accordion. It’s truly amazing what you can create from humble materials. This Cardboard Box Accordion project is a fantastic way to repurpose common household items, engage your imagination, and even make a little music. We're going to dive deep into making this project extra special, with unique twists and tips to ensure success for everyone. Let's build something wonderful together!
On this page
Step-by-Step Instructions
- 1
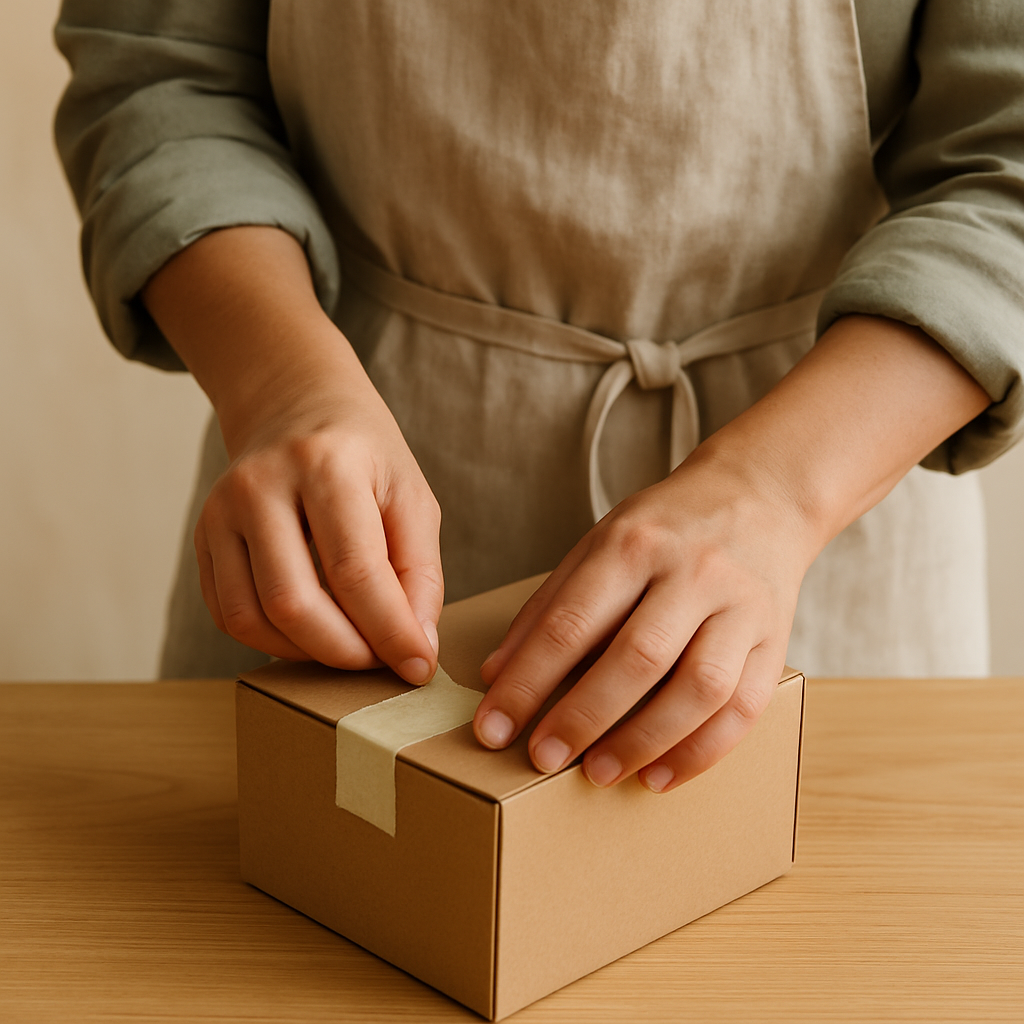
Prepare your boxes: Ensure both small cardboard boxes are empty and clean. Fold all flaps inwards and secure them with masking tape to create a flat, closed surface on both the top and bottom of each box. This provides a stable base for attaching the bellows and prevents any unwanted openings.
- 2
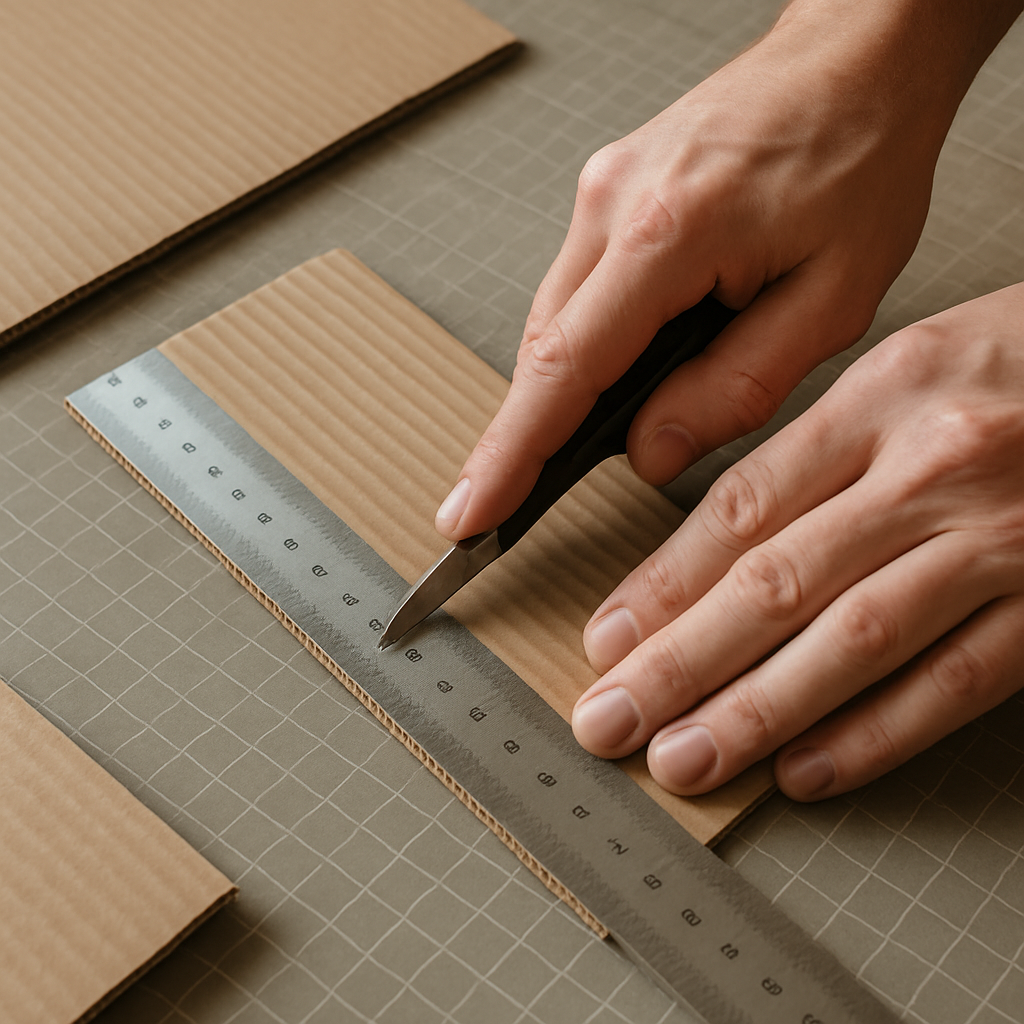
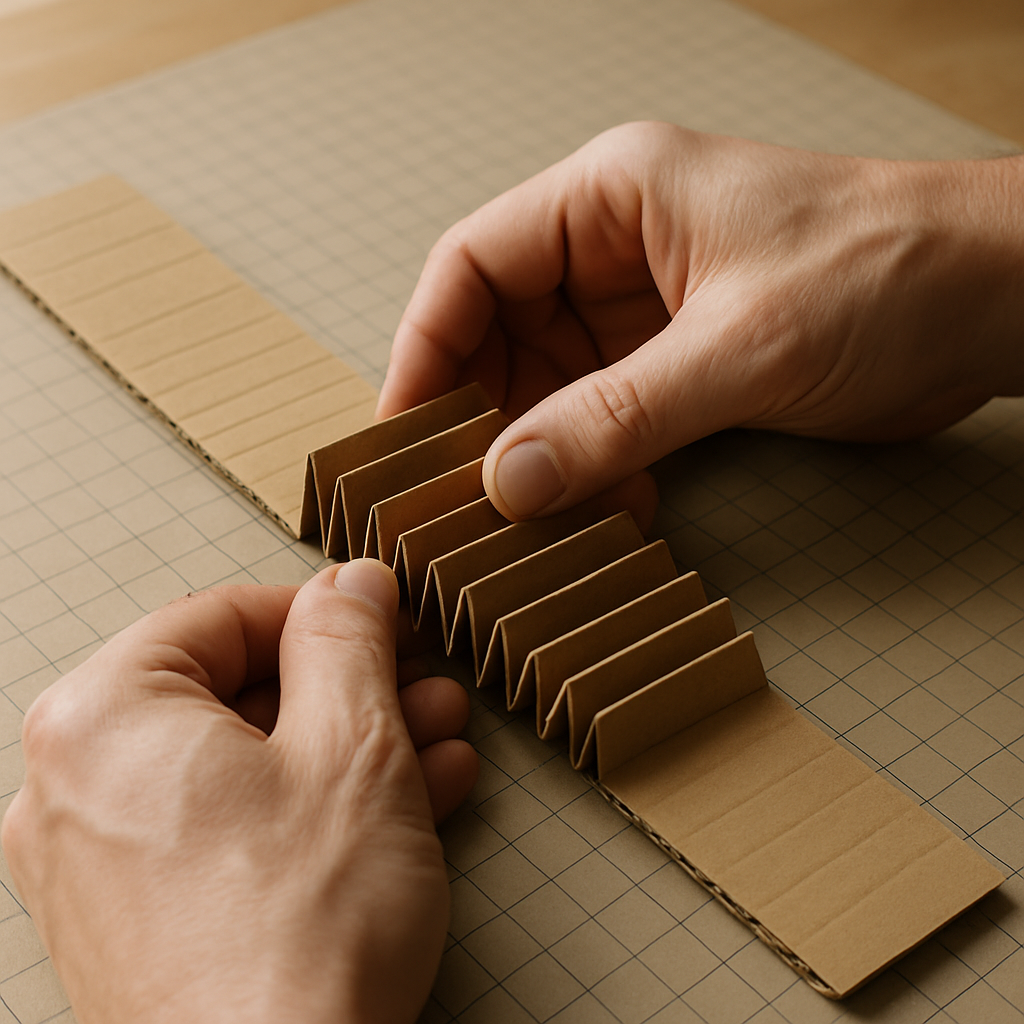
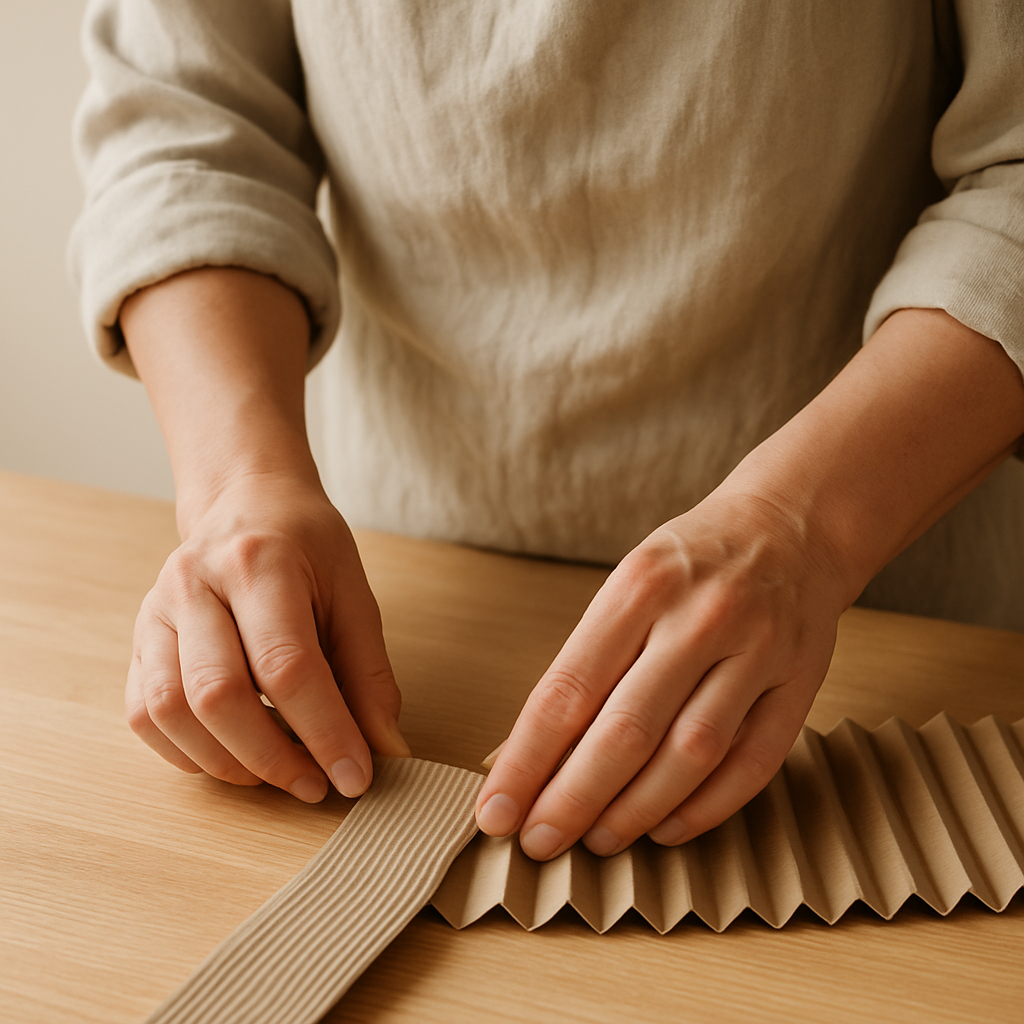
Cut the bellows connector: From your corrugated cardboard sheet, measure and cut a strip that is 10cm wide and 20cm long. Ensure the corrugations run parallel to the 20cm length, as this orientation will allow for smoother, more flexible folding of the bellows.
- 3
Score the bellows connector: Using your ruler and pencil, lightly score lines across the 20cm length of the corrugated cardboard strip at 2cm intervals. You should have 10 scored lines, creating 9 sections that will form the accordion pleats. The scoring should create a visible indentation without cutting through the cardboard.
- 4
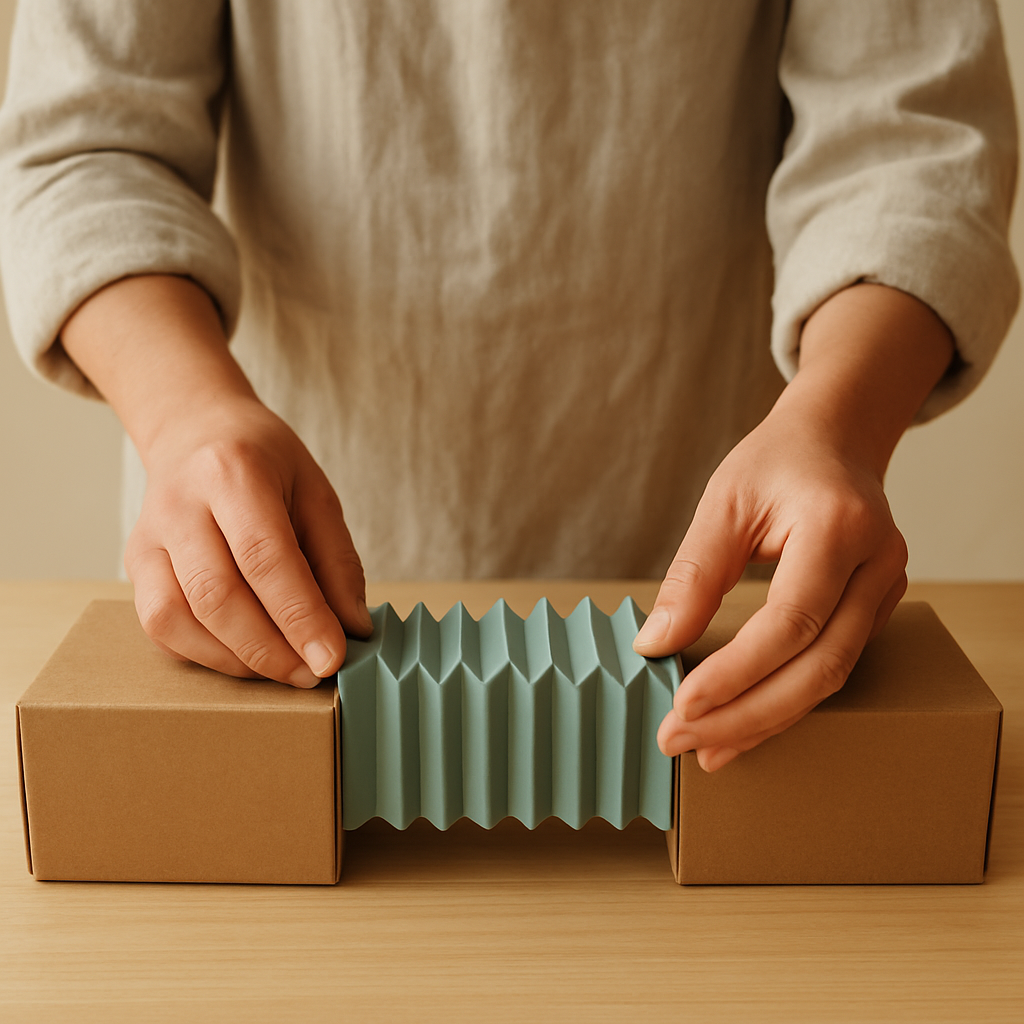
Fold the bellows connector: Carefully fold along each scored line, alternating the direction of the fold (mountain, valley, mountain, valley). Press each fold firmly with your thumbnail or the edge of your ruler to create crisp pleats for smooth expansion and contraction. If a fold isn't crisp, run your thumbnail along it firmly to create a sharper crease.
- 5
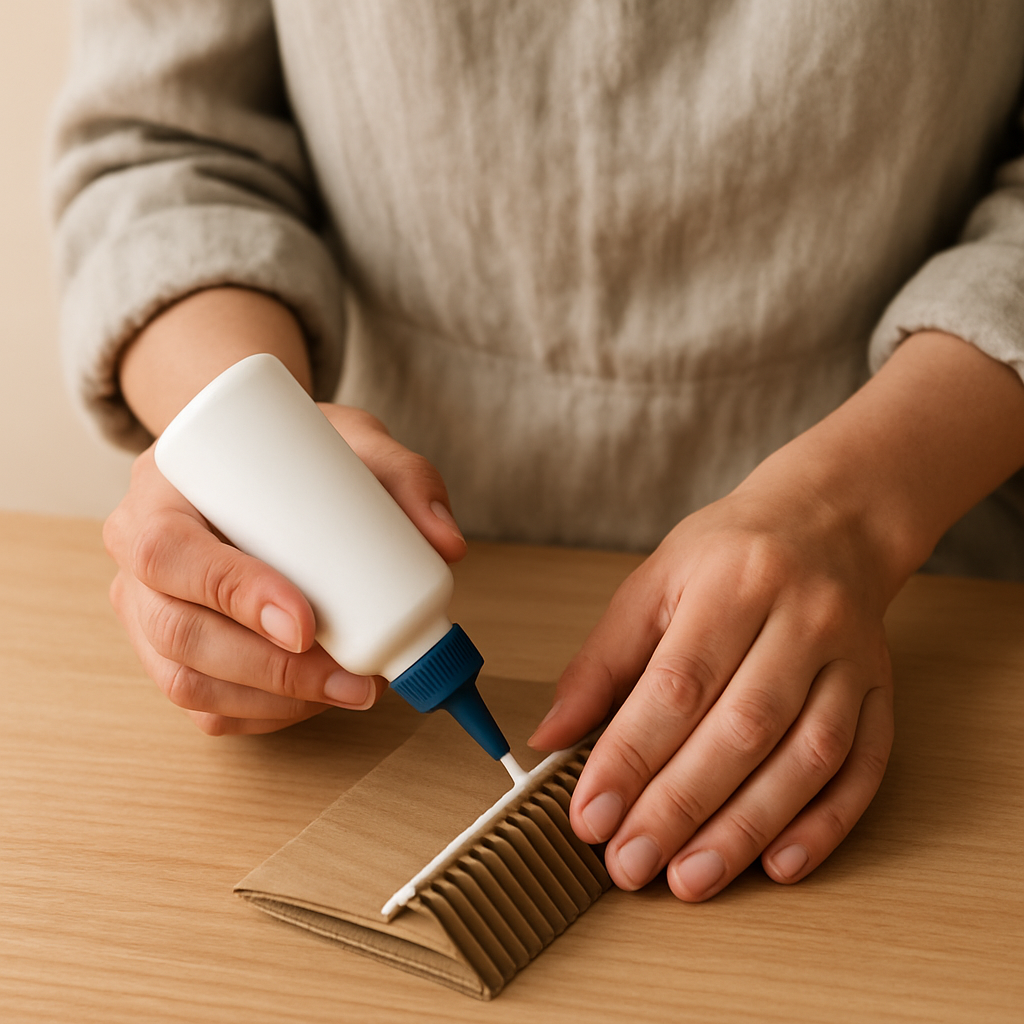
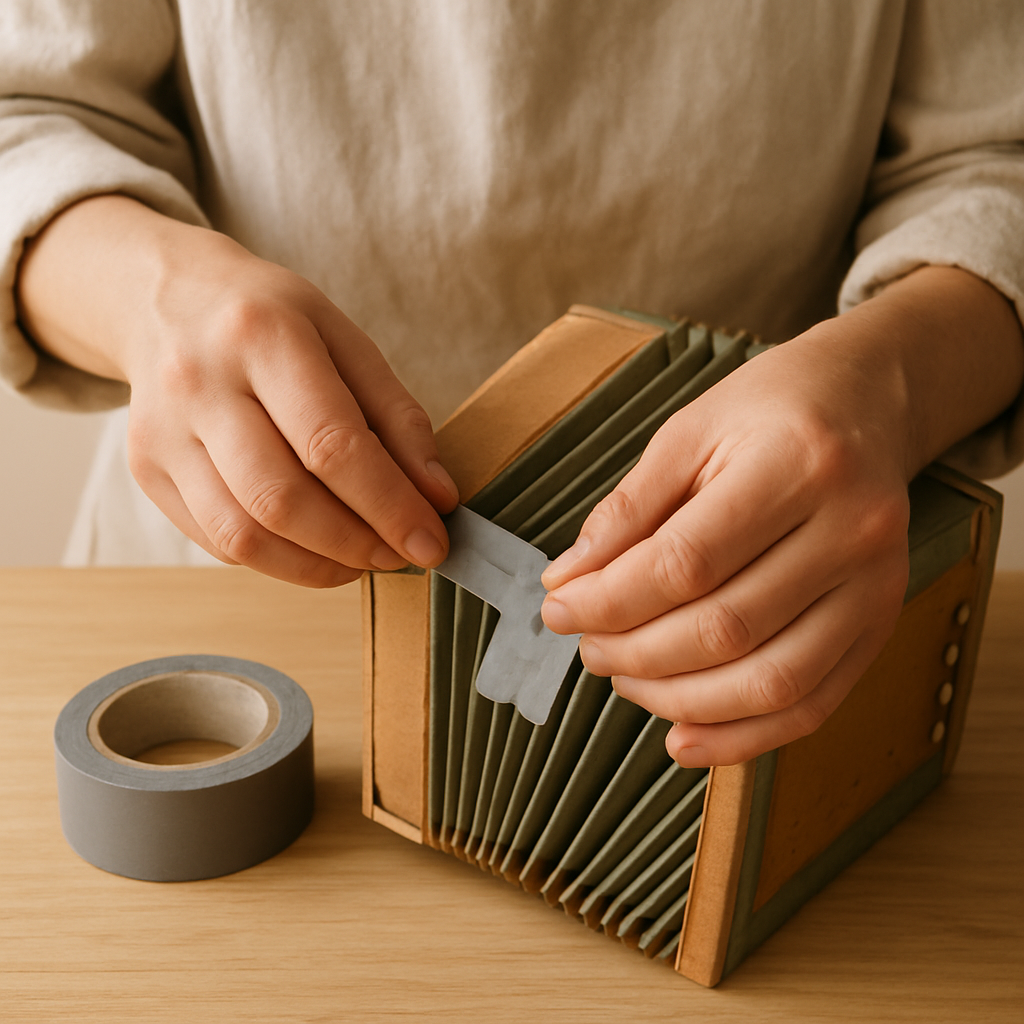
Attach the bellows to the first box: Apply a consistent bead of craft glue or hot glue, approximately 1cm wide, along one of the 10cm edges of the bellows connector. Ensure the glue covers the entire 1cm width of the edge, then press this glued edge firmly onto the center of the top surface of one of your closed cardboard boxes.
- 6
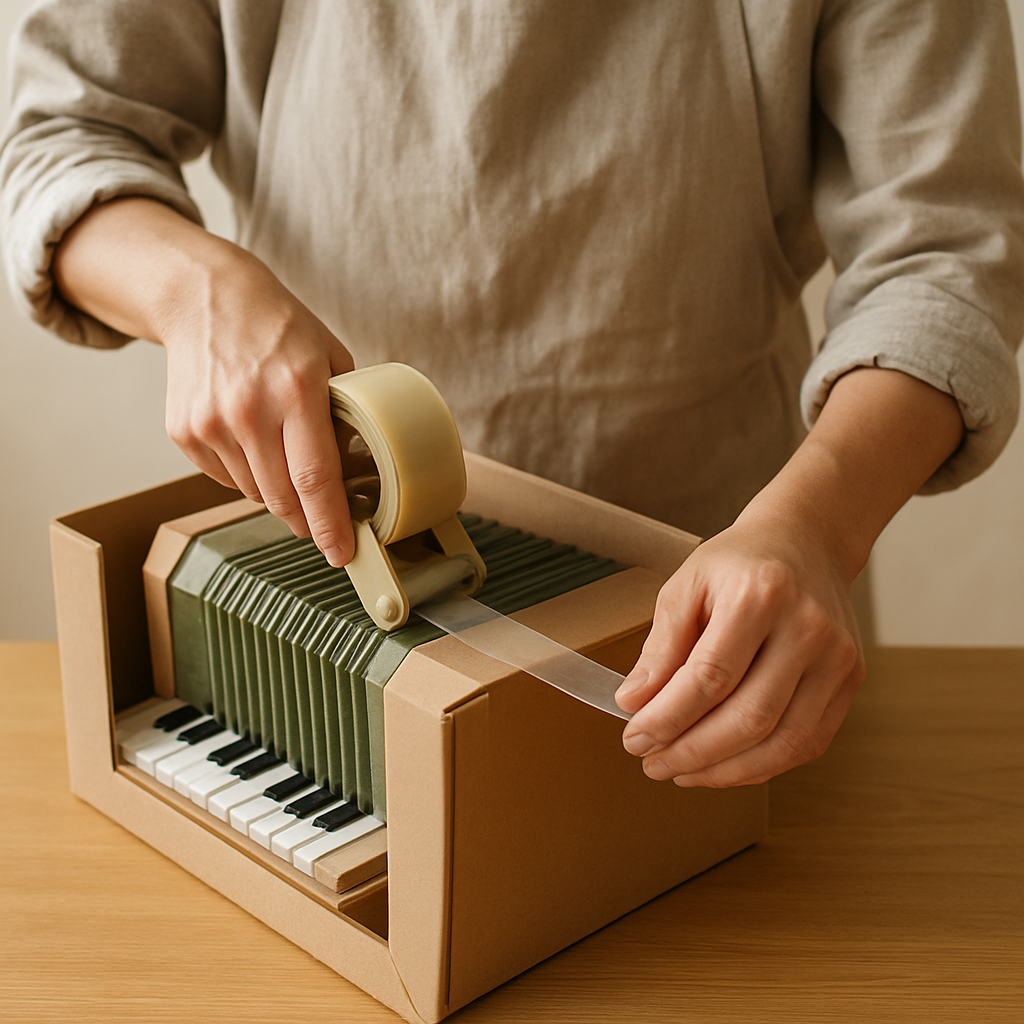
Reinforce the bellows attachment: Once the glue has set slightly, use strong packing tape to further secure the bellows to the box. Wrap the tape around the edge of the bellows and onto the box top, ensuring a strong, airtight bond that will withstand pulling and pushing.
- 7
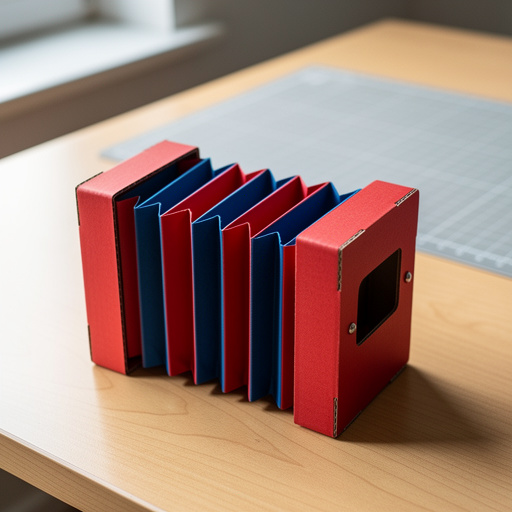
Attach the bellows to the second box: Repeat steps 5 and 6 for the other end of the bellows connector, attaching it to the center of the top surface of your second cardboard box. Ensure the boxes are parallel and the bellows are centered for balanced play and a more aesthetically pleasing accordion.
- 8
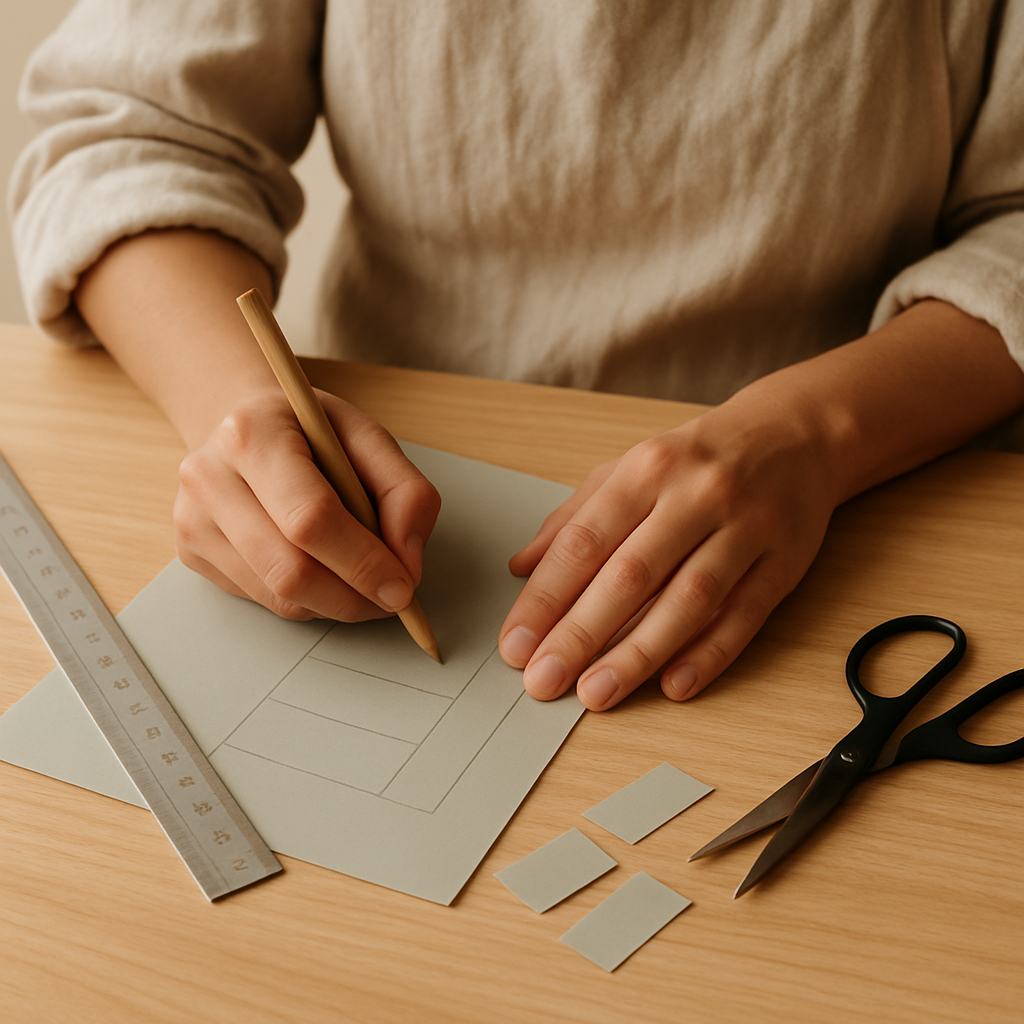
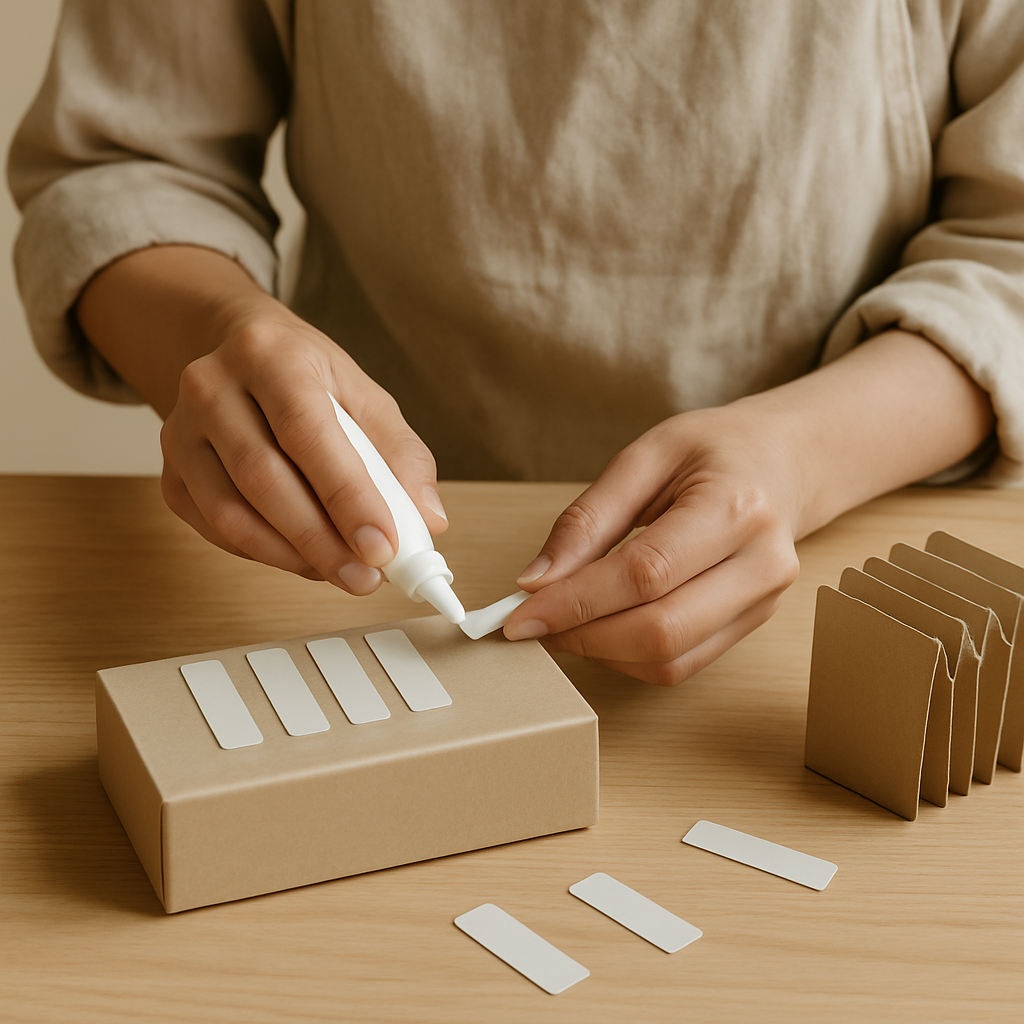
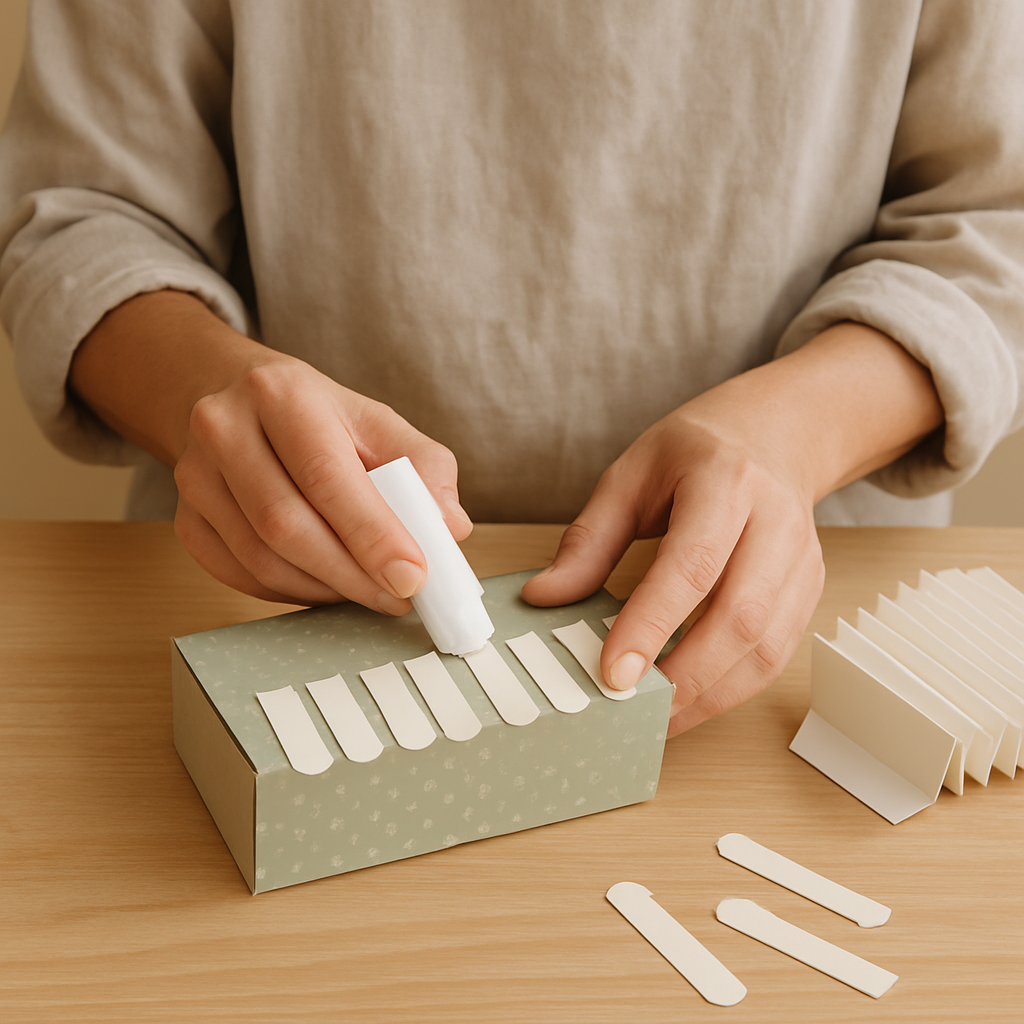
Create the 'keys': On your A4 cardstock, draw and cut out 5-7 small rectangular shapes, approximately 5cm x 2cm each. These will represent the keys of your accordion and can be decorated later. For a more realistic look, consider cutting them in slightly different widths.
- 9
Attach the keys: Glue or tape these 'keys' onto the top surface of one of the cardboard boxes, arranging them in a line. You can use different colored cardstock or draw on them to make them look like real keys, adding a personalized touch.
- 10
Reinforce box edges: For added durability and a cleaner finish, run a continuous strip of packing tape along each of the exposed outer edges of the cardboard boxes. Ensure the tape overlaps slightly at the corners for maximum durability and to prevent the cardboard from fraying.
- 11
Test the bellows: Gently pull the two boxes apart and push them together. The bellows should expand and contract smoothly, creating a 'whooshing' sound. If it sticks, check your folds and tape for any obstructions or misalignments, ensuring the folds are not too tight or too loose.

- 12
Troubleshooting for tears: If your corrugated cardboard bellows tear during folding or use, don't despair! You can often patch small tears with a strip of strong tape. For larger tears, it's best to cut a new bellows piece, ensuring you score and fold it carefully.
- 13
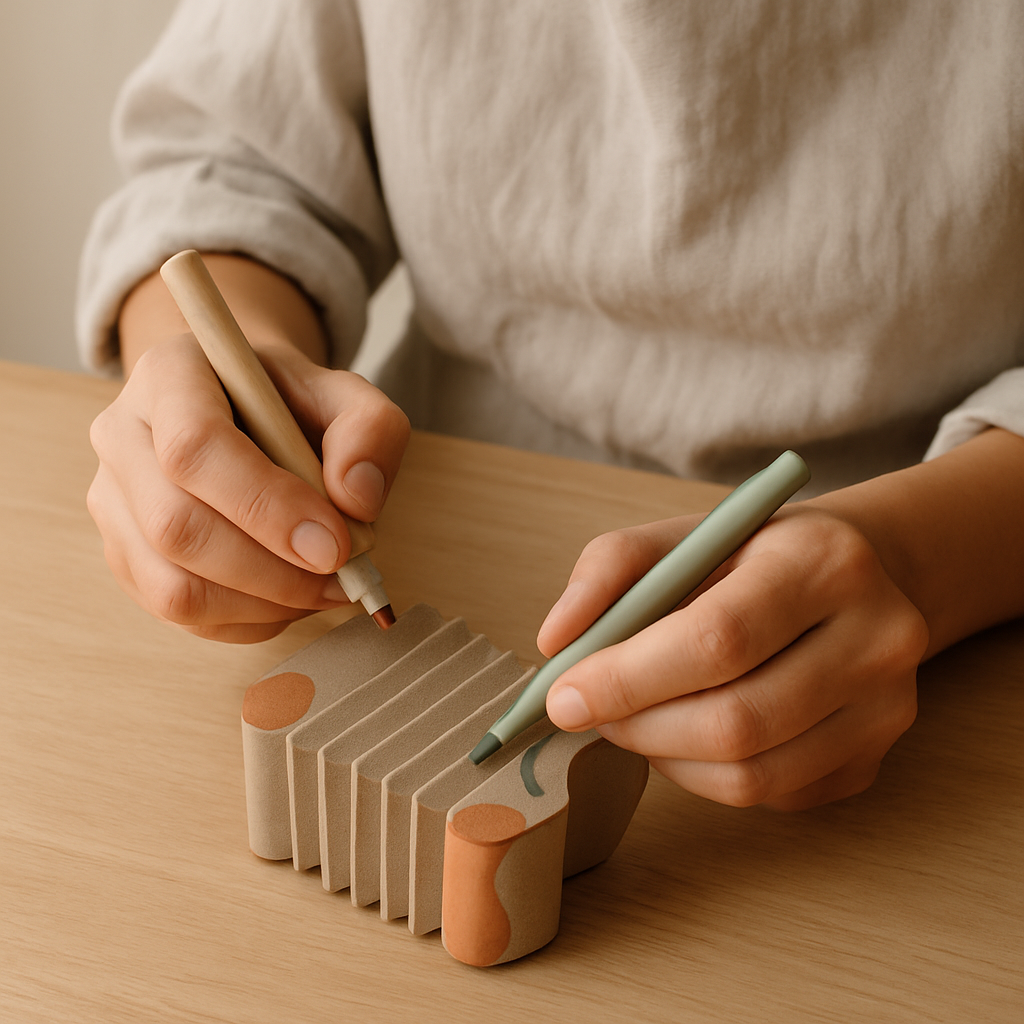
Decorate your accordion: Now for the fun part! Use paint, markers, stickers, or any other craft supplies to decorate your accordion. You can make it look realistic or go wild with a unique design. Let your personality shine through and make it truly your own!
- 14
Age Adaptation for 4-5 Year Olds: For younger children (ages 4-5), pre-cut all the cardboard pieces (boxes, bellows connector, and keys). Have them focus on decorating the boxes and gluing on the pre-cut keys. Adult help will be needed for all cutting and taping steps, ensuring their safety and a successful outcome.
- 15
Age Adaptation for 3-4 Year Olds: For even younger crafters (ages 3-4), simplify the bellows by using a single, wider strip of paper folded into fewer, larger pleats. Focus on decorating the boxes and gluing on large, colorful shapes for 'keys.' Adult supervision is essential for all steps, and the goal is sensory exploration and fine motor skill development.
- 16
Troubleshooting for weak bonds: If the boxes don't stay together when you pull them apart, you might need to add more tape to the bellows attachment points or ensure the initial glue bond is very strong. Consider using a stronger adhesive like hot glue for the initial attachment if craft glue isn't holding, but always with adult supervision.
Tips & Troubleshooting
- 1Box Selection is Key: For a better sound and easier construction, opt for boxes with thicker cardboard. Cereal boxes are generally too flimsy for the main body, but can be used for decorative elements. Sturdy shipping boxes cut down to size work well for the main body, providing a solid foundation.
- 2Crisp Folds for Smooth Sound: The secret to a good bellows is perfectly crisp folds. Take your time scoring and folding the corrugated cardboard. If a fold isn't sharp, gently press it down with the edge of your ruler or a bone folder to ensure it's well-defined.
- 3Secure Connections are Crucial: Don't skimp on the tape! Use strong packing tape or duct tape to secure the bellows to the boxes. A weak connection will mean your accordion falls apart during play, which is frustrating for everyone. Ensure the tape creates an airtight seal.
- 4Hot Glue vs. Craft Glue: Hot glue provides a very strong and fast bond, but requires adult supervision. Craft glue is safer for kids to use but takes longer to dry. You can use a combination: hot glue for initial tacking, then packing tape for reinforcement, or use craft glue for all steps with younger children.
- 5Troubleshooting Tears: If your corrugated cardboard bellows tear during folding or use, don't despair! You can often patch small tears with a strip of strong tape. For larger tears, it's best to cut a new bellows piece, ensuring you score and fold it carefully.
- 6Sound Enhancement: While this accordion won't produce complex musical notes, the 'whooshing' sound of the bellows is the primary effect. Experiment with different types of paper for the bellows – slightly thicker paper might create a deeper sound. You can even try a thin, flexible plastic sheet for a different acoustic quality.
- 7Making it Playable: Encourage kids to experiment with pushing and pulling the boxes at different speeds to create varied sounds. You can even add a small bead or two inside one of the boxes before sealing it to create a subtle rattling sound effect when the accordion is moved.
- 8Unusual Variations: Try using different sizes of boxes to create a larger or smaller accordion. For instance, using two larger boxes will result in a wider bellows and potentially a deeper sound. You could also experiment with different materials for the bellows, like heavy-duty paper or even fabric, though corrugated cardboard is generally the easiest to work with for crisp folds and durability. For a fabric bellows, consider using a strong, flexible interfacing to maintain structure.
Related Activities You Might Enjoy
Frequently Asked Questions
What kind of cardboard boxes are best for this accordion craft?
For the main body of the accordion, you'll want sturdy, small-to-medium sized boxes, ideally around 15cm x 10cm x 5cm. Think shoe boxes, small gift boxes, or even sturdy product packaging. Avoid very thin cardboard like cereal boxes for the main structure, as they won't hold up well to repeated pulling and pushing. For the bellows, corrugated cardboard is essential for creating the flexible folds. You can often find this by cutting open a larger shipping box, ensuring the corrugations run in the correct direction.
How can I make the accordion sound better or more musical?
This craft focuses on the 'whooshing' sound of the bellows, which is achieved by the air moving through the folds. While it's not a traditional musical instrument, you can experiment with materials. Using a slightly thicker or different type of paper for the bellows might alter the sound. Some crafters add a few small beads or dried beans inside one of the boxes before sealing it to create a subtle rattling sound when the accordion is moved, adding another layer of auditory interest. You can also experiment with the tightness of the bellows folds.
My bellows aren't folding properly. What can I do?
The key to smooth bellows is scoring the cardboard accurately and folding it correctly. Ensure you're scoring lightly with a pencil and ruler, just enough to create a crease without cutting through. When folding, alternate between 'mountain' and 'valley' folds consistently. If a fold isn't crisp, gently run your thumbnail or the edge of your ruler along it firmly to create a sharper crease. If the cardboard is very stiff, you might need to score it a second time, being careful not to tear it.
Can I make this accordion for a younger child?
Absolutely! For toddlers and preschoolers (ages 4-5), you'll need to do all the cutting and taping yourself. They can then focus on the decorating aspect. Pre-cut the 'keys' and have them glue or stick them onto the boxes. You can also simplify the bellows by using a single, wider strip of paper folded into fewer, larger pleats. For ages 3-4, focus on decorating and gluing, with adult assistance for all cutting and assembly. The main goal for this age group is the sensory experience of decorating and manipulating the boxes.
What are some other unique variations I can try?
Beyond different box sizes, consider experimenting with the bellows material. While corrugated cardboard is easiest, you could try a heavy-duty paper or even a flexible fabric like felt, though this will require a different approach to achieve crisp folds. For a more decorative touch, try covering the boxes in patterned paper or fabric before assembly. You could also add a small handle or strap to one of the boxes for easier manipulation.
What Next?
And there you have it – your very own Cardboard Box Accordion! It’s a testament to how simple materials can lead to hours of creative play and discovery. Don't stop here; this is just the beginning of your cardboard crafting adventures. Perhaps your next project could be a cardboard guitar or a set of maracas? The possibilities are endless when you start looking at everyday items with a maker's eye. So, gather your supplies, embrace the process, and let the joyful making continue!
Free: 10 Paper Crafts Anyone Can Make in 5 Minutes
Get our beginner guide + new craft ideas weekly.
No spam. Unsubscribe anytime.
Did you complete this activity?
Related
You might also like
Cardboard Critter Masks
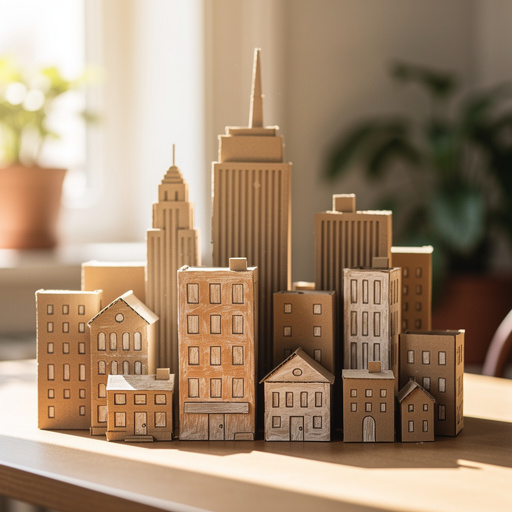
Cardboard City Skyline
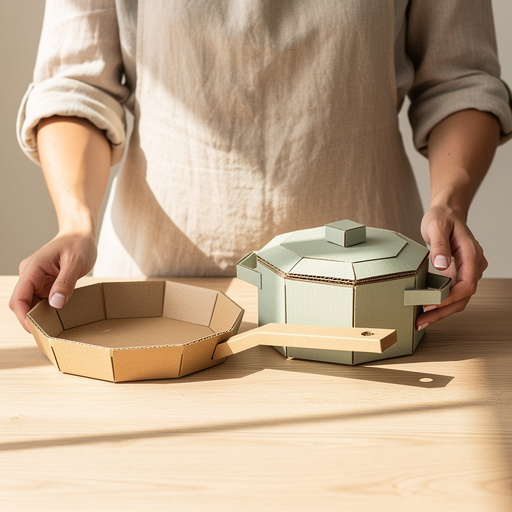
Cardboard Kitchen Creations
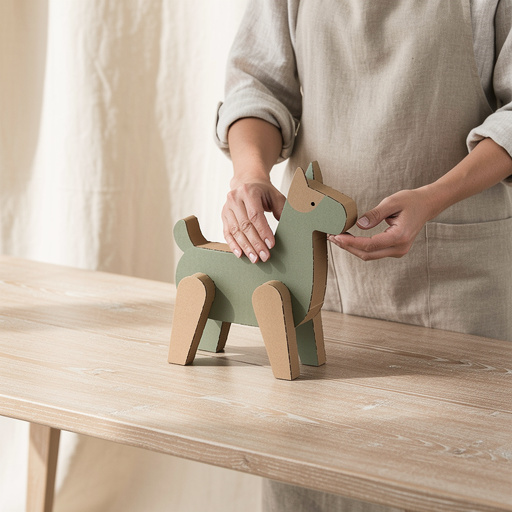
Upcycled Cardboard Sculptures
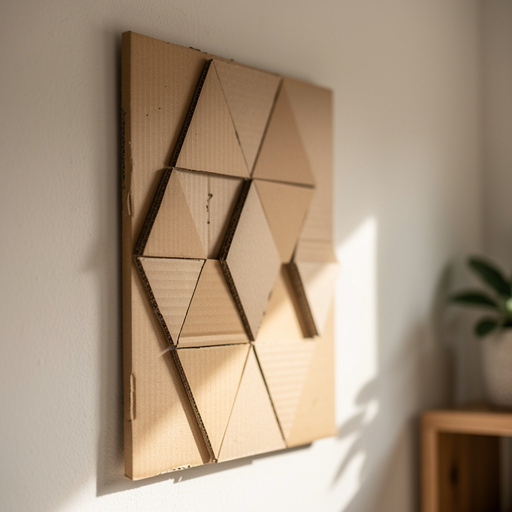
Cardboard Geometric Wall Art