The Best Way to Make Upcycled Cardboard Sculptures — Methods, Materials & Tips Compared
Transform everyday cardboard into amazing 3D sculptures with this step-by-step guide. A fun, screen-free activity for the whole family, with tips for all skill levels.
Quick answer
To make upcycled cardboard sculptures, you need assorted cardboard scraps, craft scissors, a utility knife (adults only), white craft glue, a pencil, ruler, and about 2-3 hours. This project is great for families and encourages creativity with recycled materials, offering advanced options for experienced crafters.
What you need
Shop on Amazon · As an Amazon Associate we earn from qualifying purchases. Links above are affiliate links — we may earn a commission at no extra cost to you.
When embarking on creative projects, the possibilities feel endless! From intricate drawings to elaborate sewing projects, there's a craft for everyone. However, for families seeking accessible, screen-free fun, upcycling common household items into art offers a fantastic blend of creativity and sustainability. While many approaches exist, I highly recommend focusing on cardboard sculptures. It's incredibly forgiving, requires minimal specialized tools, and the results can be surprisingly sophisticated, making it ideal for a wide range of ages and skill levels. Plus, it's a brilliant way to teach kids about repurposing materials, and we'll even explore some advanced techniques to push your creations further.
On this page
Step-by-Step Instructions
- 1
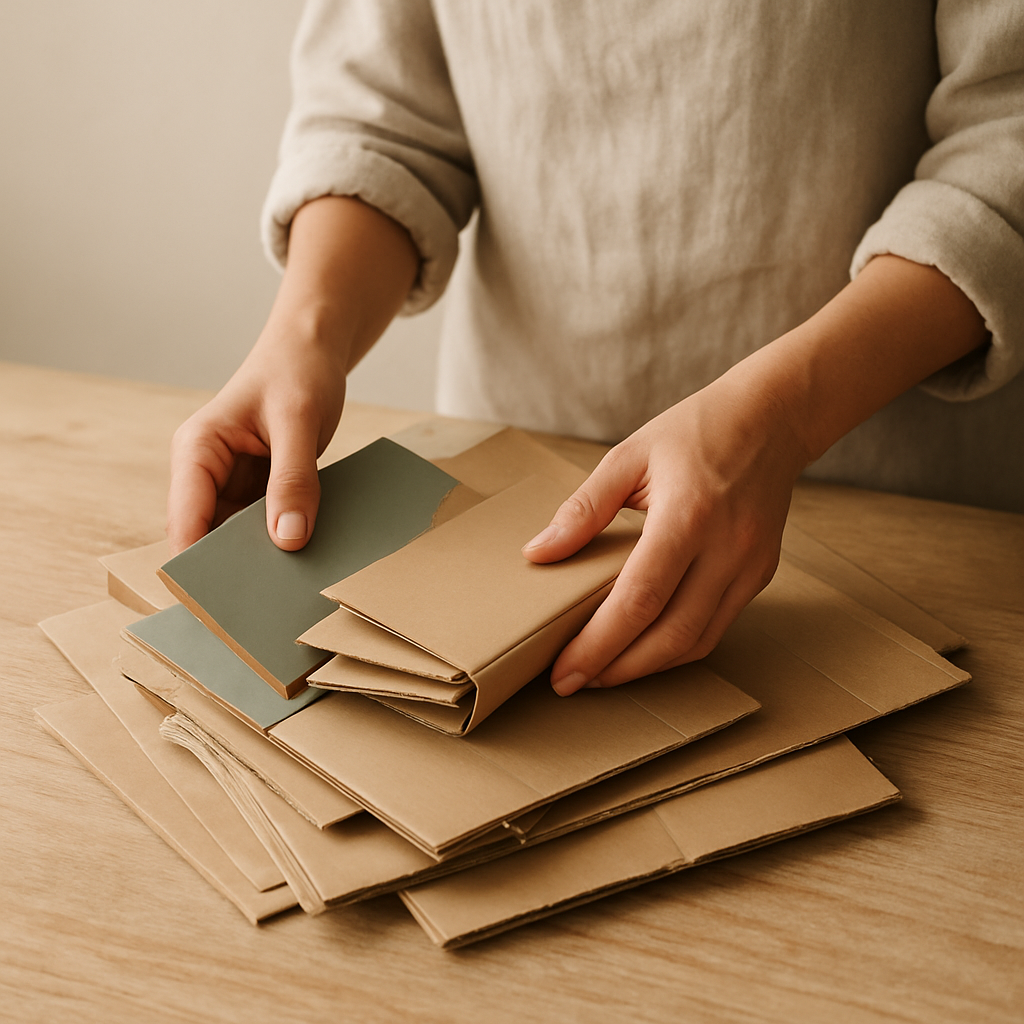
Gather and prepare your cardboard: Collect a variety of cardboard types, from thin cereal boxes to thicker corrugated shipping boxes, aiming for at least 1-2 square feet in total. Clean off any tape or labels, as these can interfere with gluing and painting.
- 2
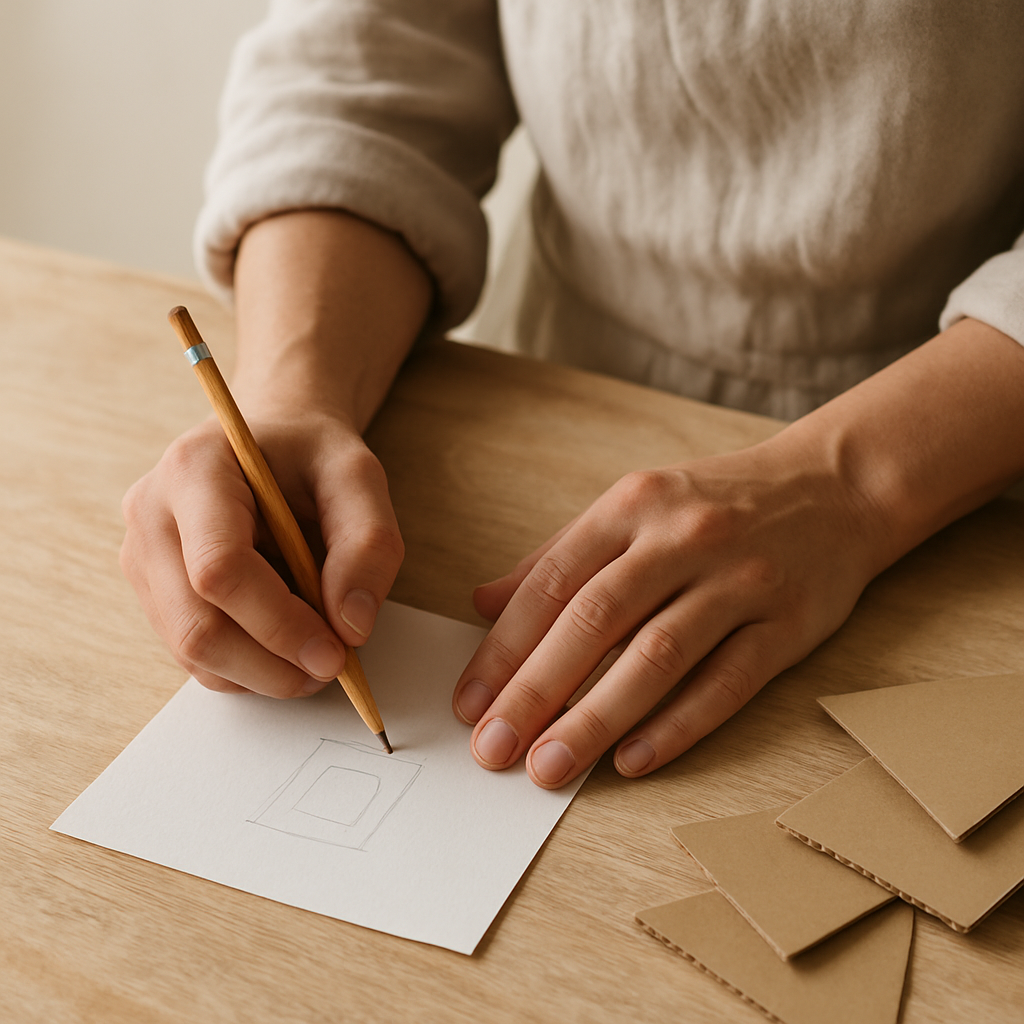
Plan your sculpture: Lightly sketch a basic idea on a piece of scrap paper, considering simple shapes like animals, abstract forms, or buildings. For a beginner sculpture, aim for a design that uses no more than 3-4 main components.
- 3
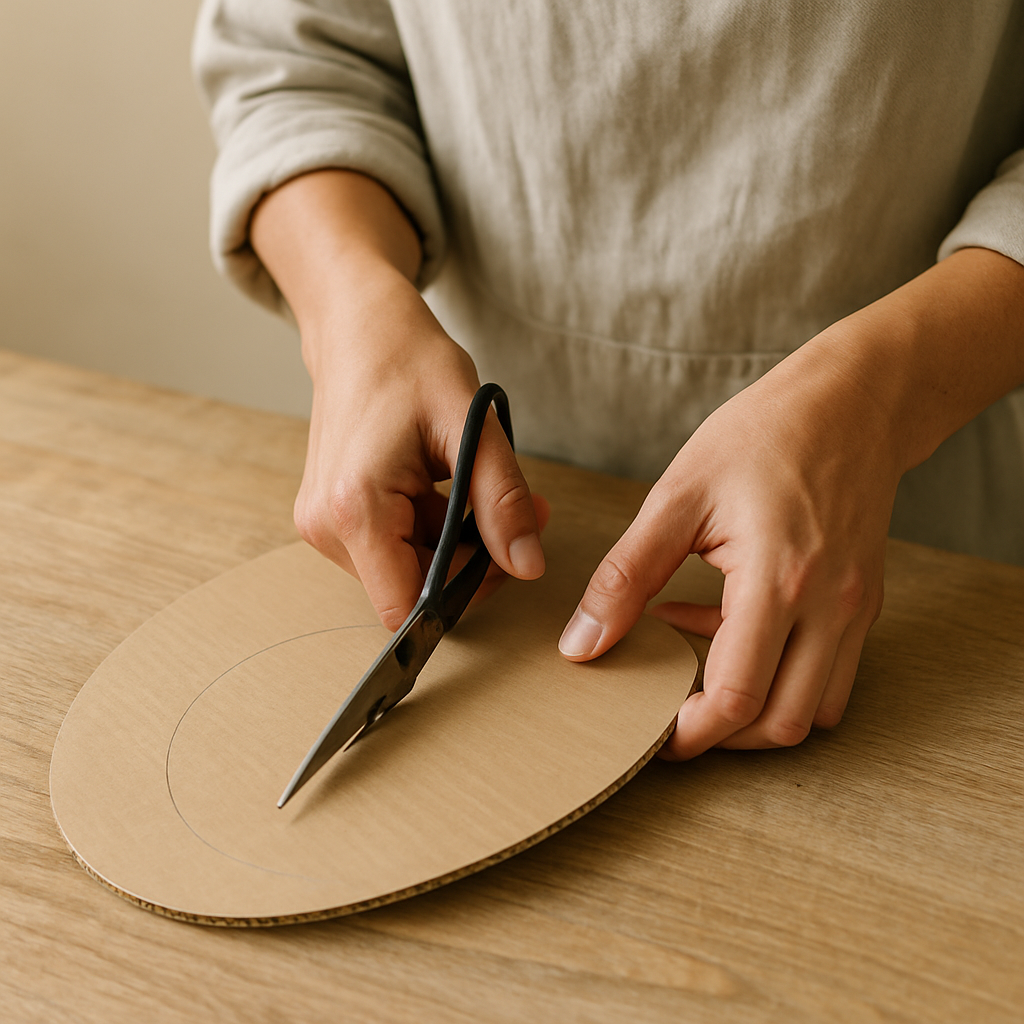
Cut basic shapes: Using craft scissors, cut out large, flat shapes from your cardboard that will form the main body of your sculpture. For example, cut two identical oval shapes, approximately 6 inches long and 4 inches wide, from corrugated cardboard for a body.
- 4
Score and fold for dimension: For curved or angled pieces, use a ruler and the dull side of your scissors or a craft knife (adults only) to score a shallow line about 1mm deep on the cardboard where you want to fold. Gently fold along the scored line to create clean bends; if the fold isn't crisp, run your thumbnail along it firmly.

- 5
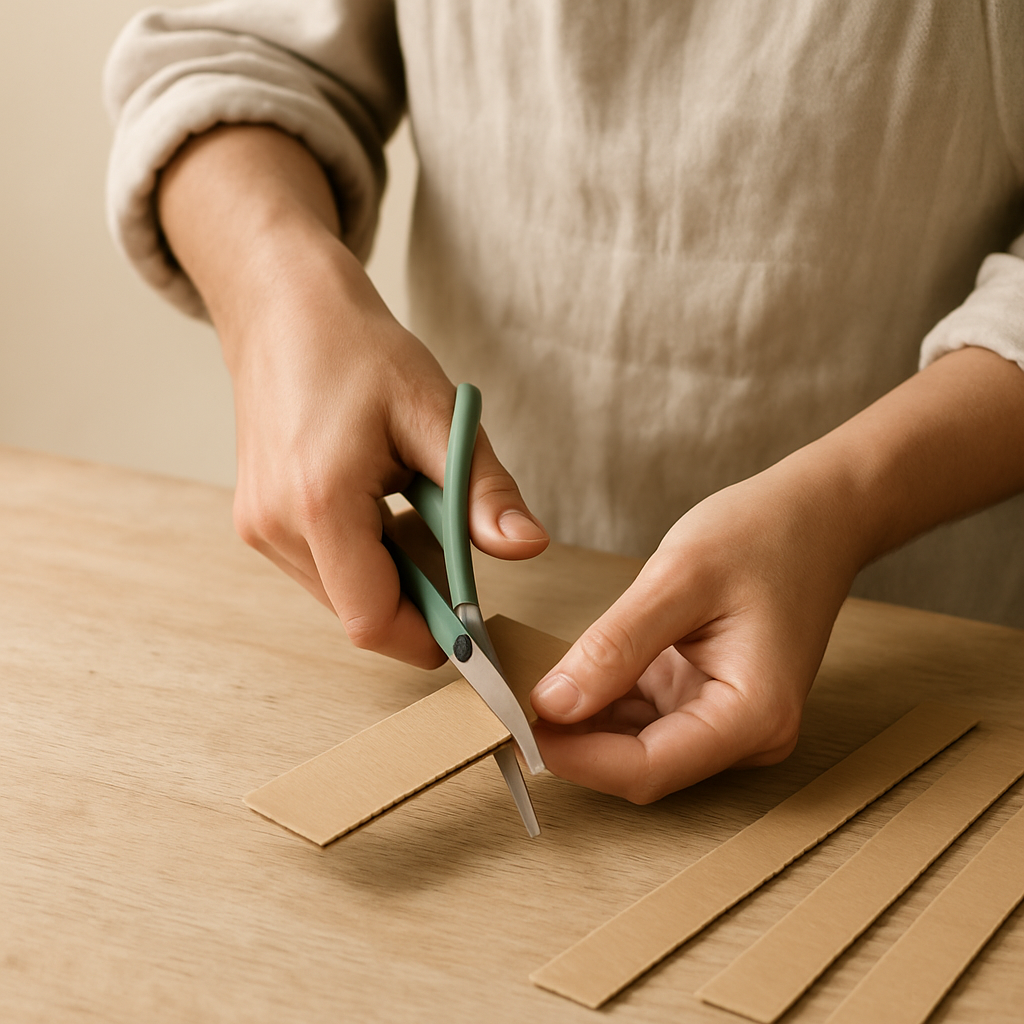
Create structural elements: Cut strips of cardboard, about 1 inch wide, to act as supports or connecting pieces. These can be glued between larger shapes to add depth and stability, or to create internal framing for more complex designs.
- 6
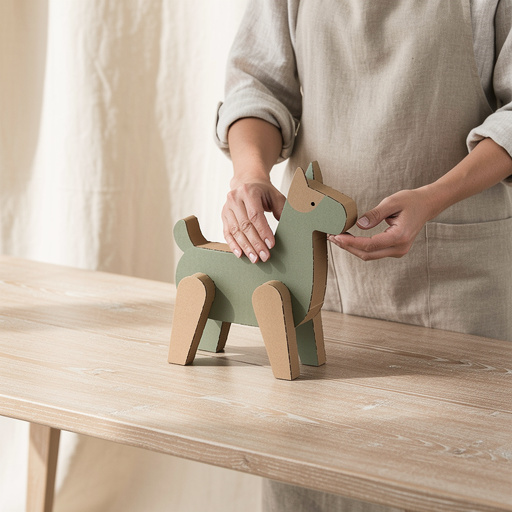
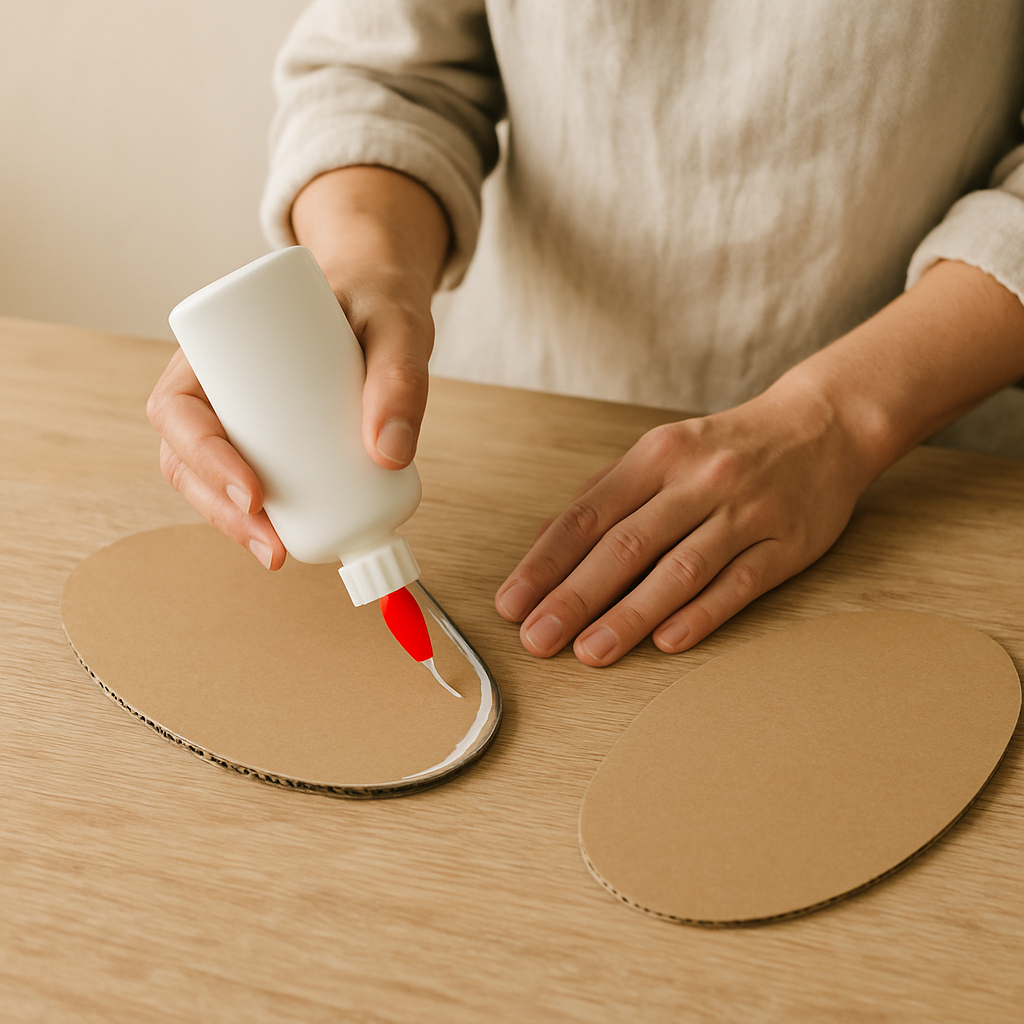
Assemble the base and main body: Glue your main body shapes together using white craft glue. Apply a bead of white craft glue approximately 1/8 inch thick along the edges and press firmly for at least 30 seconds. If using hot glue, hold for 10 seconds; if a joint feels weak, reinforce it with a small piece of tape while the glue dries.
- 7
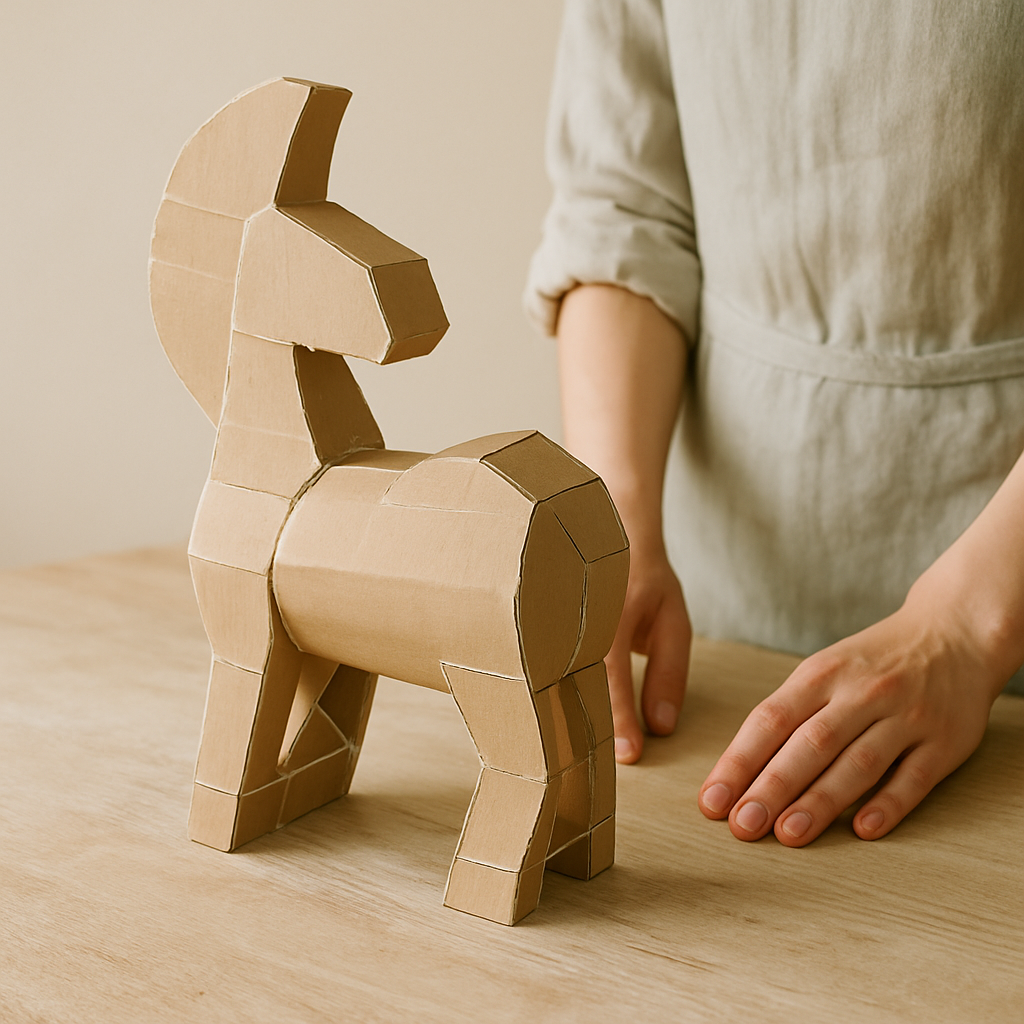
Add primary features: Cut smaller shapes for features like legs, wings, or windows, aiming for pieces around 1-2 inches in size. These can be layered or attached at angles to create a more dynamic sculpture; for example, attach legs at a slight outward angle for better balance.

- 8
Reinforce joints for stability: For any areas that feel wobbly, add small triangular cardboard supports (about 1x1 inch) in the inside corners using glue. This is especially important for taller or more complex structures to prevent collapse.
- 9
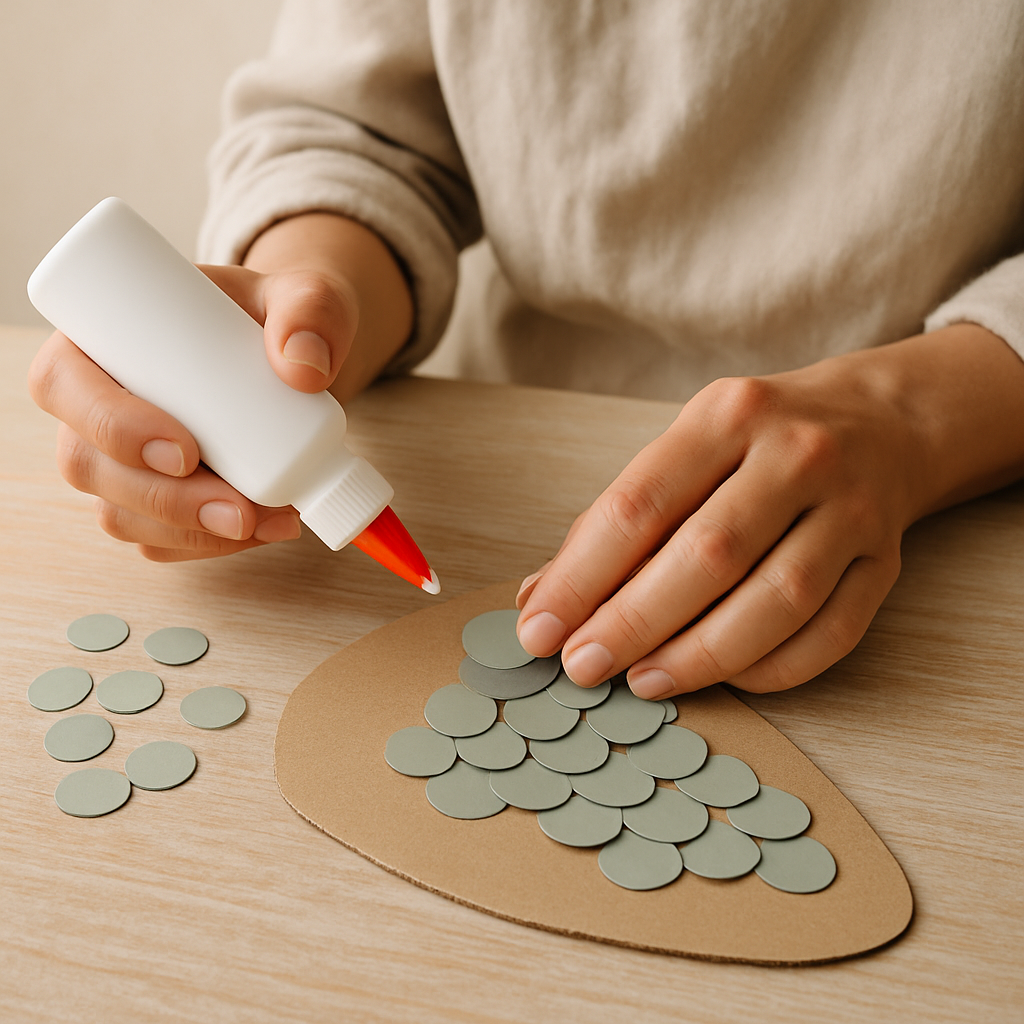
Incorporate layering for texture: Glue smaller shapes on top of larger ones to create texture and visual interest. For instance, glue small circles, about 0.5 inches in diameter, onto a larger shape to represent scales or decorative patterns.
- 10
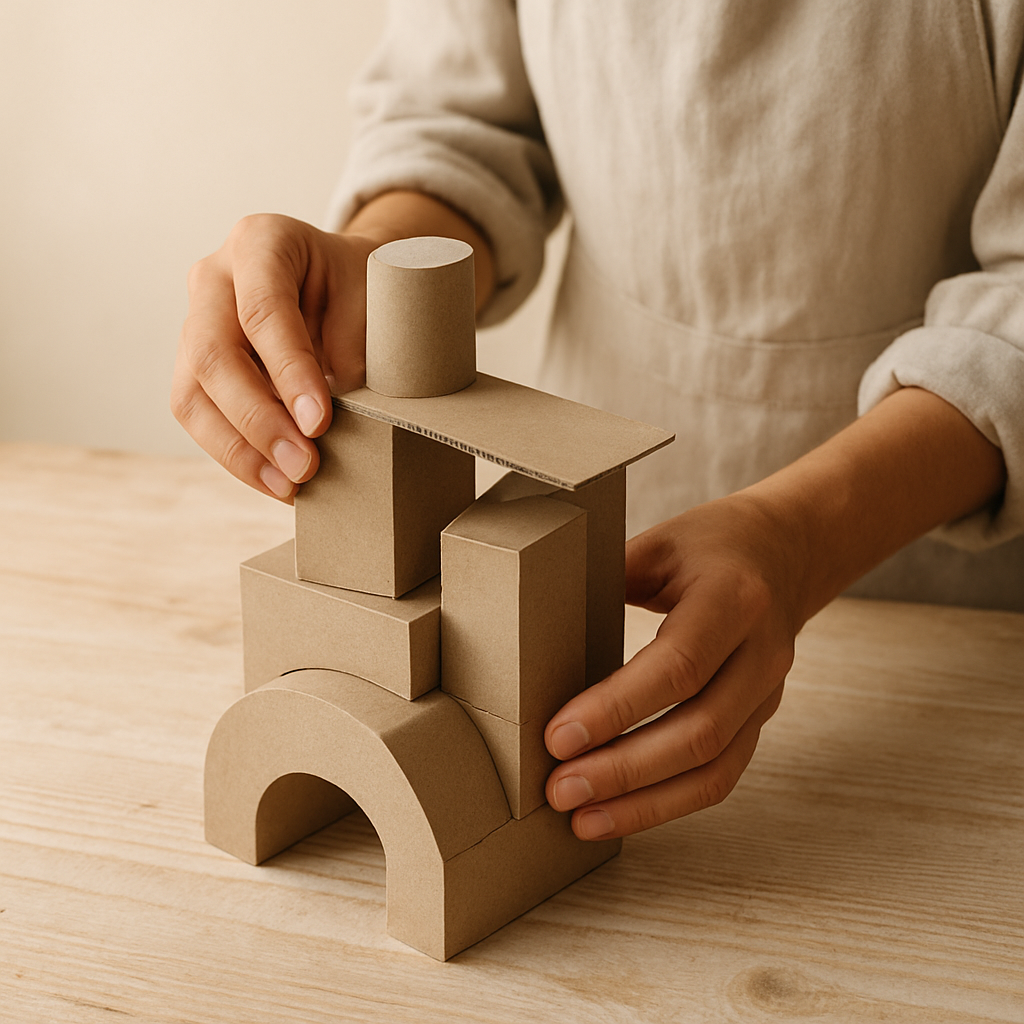
Build upwards or outwards carefully: If your design involves multiple tiers or extends significantly, ensure each layer is securely glued and has had time to dry before adding the next. This prevents collapse and ensures structural integrity.
- 11
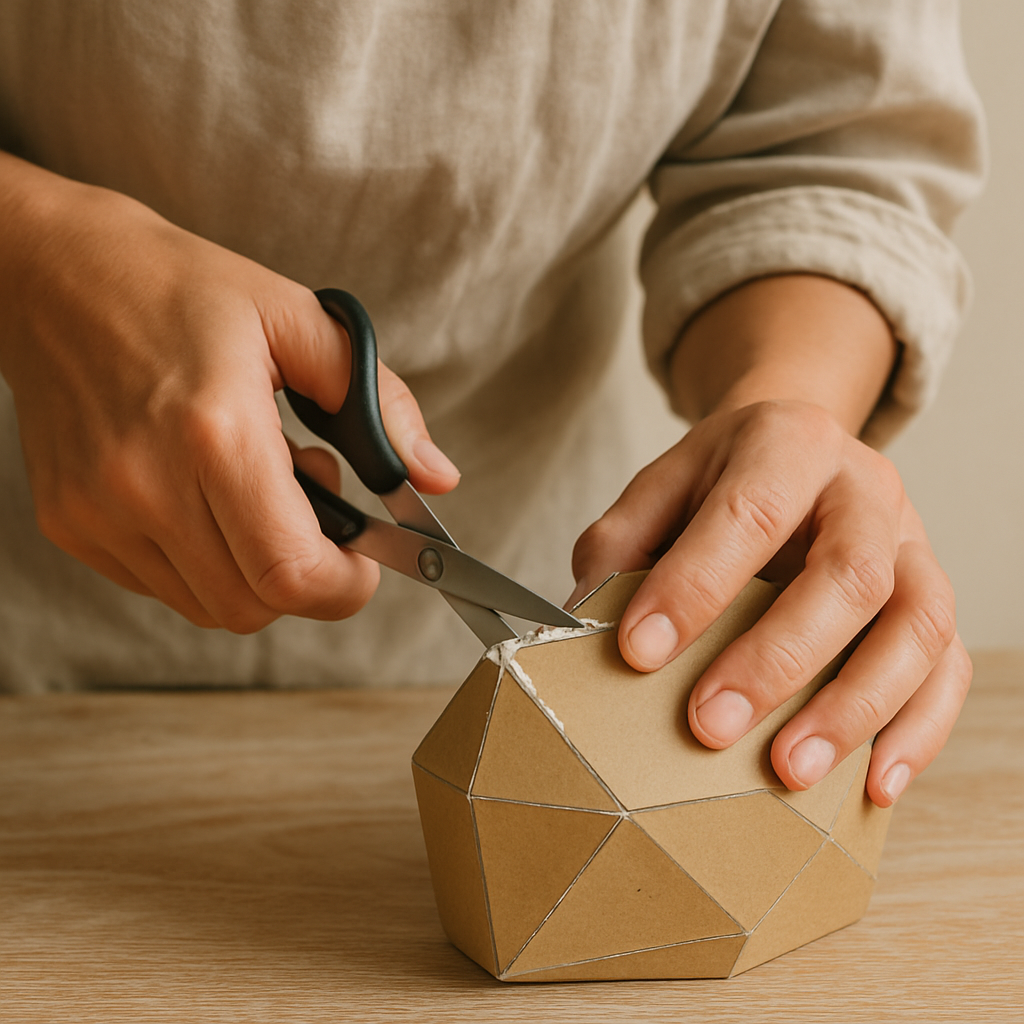
Trim excess glue: Once the glue is mostly dry, carefully trim away any large, unsightly glue drips with your scissors or craft knife. Small amounts of dried glue are usually fine and can even add texture.
- 12
Prepare for painting: Ensure all glued parts are completely dry before painting. This might take a few hours for white glue, or just a minute for hot glue, but a full 24 hours is best for white glue for maximum bond strength.
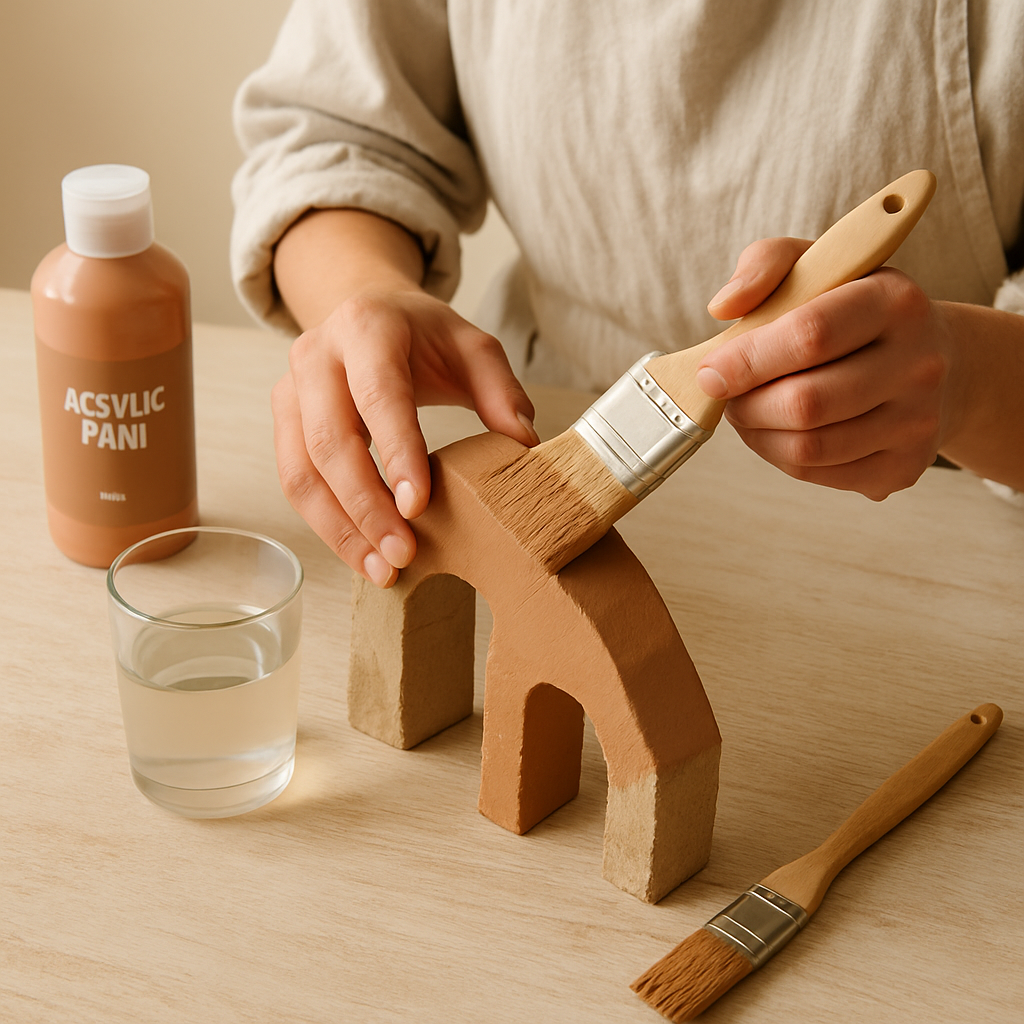
- 13
Apply a base coat: Using a larger paintbrush (size 1/2 inch or larger), apply a base coat of acrylic paint to your entire sculpture. This helps unify the different cardboard textures and colors; let it dry completely, which may take 30-60 minutes.
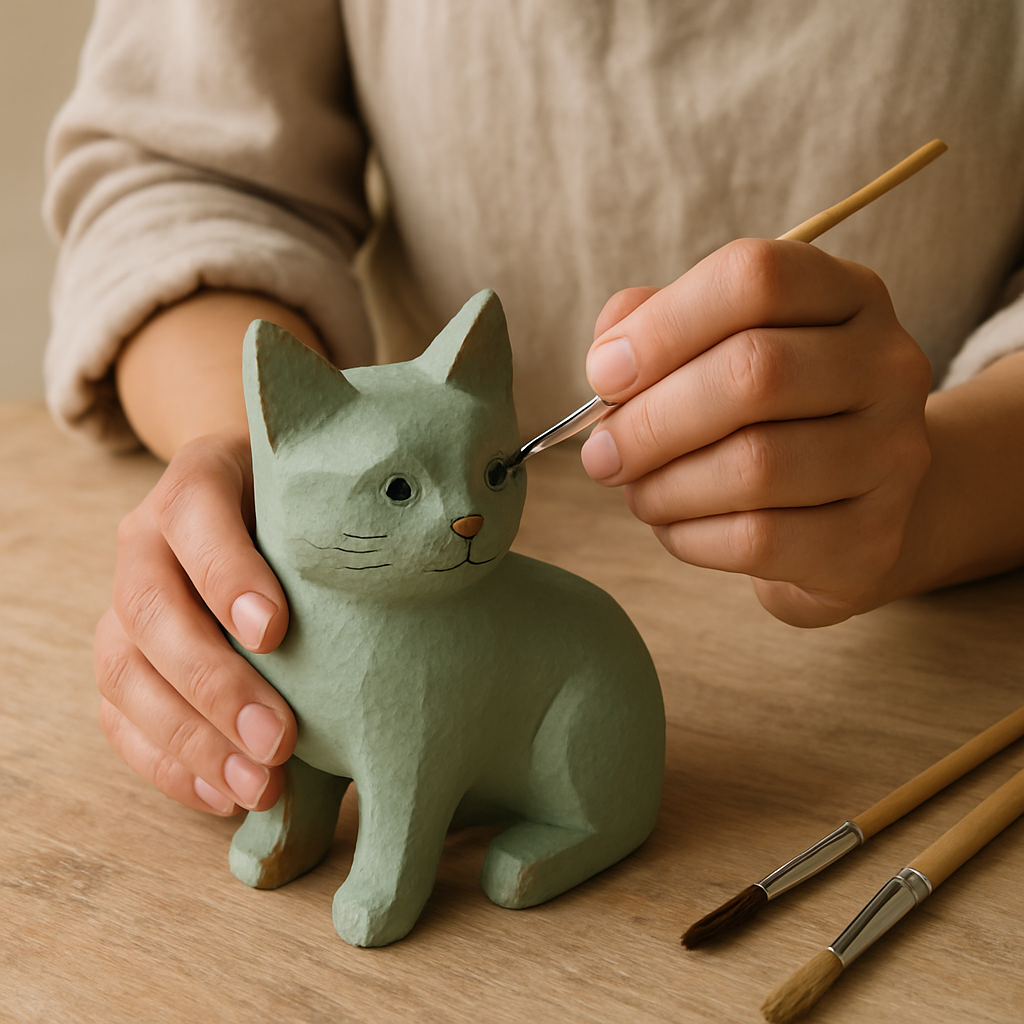
- 14
Add details and shading: Use smaller brushes (size 1/8 to 1/4 inch) to add details like eyes, patterns, or highlights. For eyes, cut small circles from a different color of cardboard (approx. 1 inch diameter) and glue them on, or paint them directly onto the sculpture. You can also use darker colors to create shadows and add depth, painting a thin line under ledges or where pieces join.
- 15
Seal your work (optional): Once the paint is dry, you can apply a clear sealant (like Mod Podge or a spray varnish) to protect the paint and give it a finished sheen. Let it dry fully according to product instructions, typically 1-2 hours.
Tips & Troubleshooting
- 1Troubleshooting wobbly pieces: If a section of your sculpture feels unstable after gluing, try adding small cardboard 'gussets' – tiny triangles of cardboard (about 1x1 inch) glued into the inside corners of the joint. This significantly increases strength.
- 2Age adaptation for younger kids (ages 5-7): Pre-cut all the basic shapes for them, such as simple cubes or animal silhouettes, and let them focus on the fun part: decorating! Provide larger, easier-to-handle pieces of cardboard and focus on simple gluing techniques.
- 3Achieving smooth curves: For very smooth, rounded shapes, try using thinner cardboard like cereal boxes. You can also gently roll the cardboard around a cylindrical object (like a paper towel tube) for a few minutes before cutting and folding to help it hold a curve.
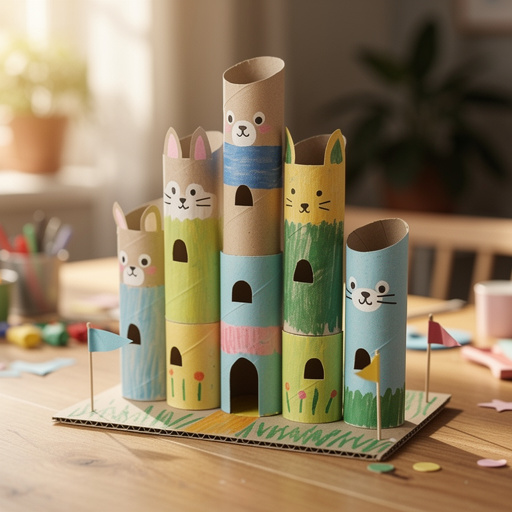
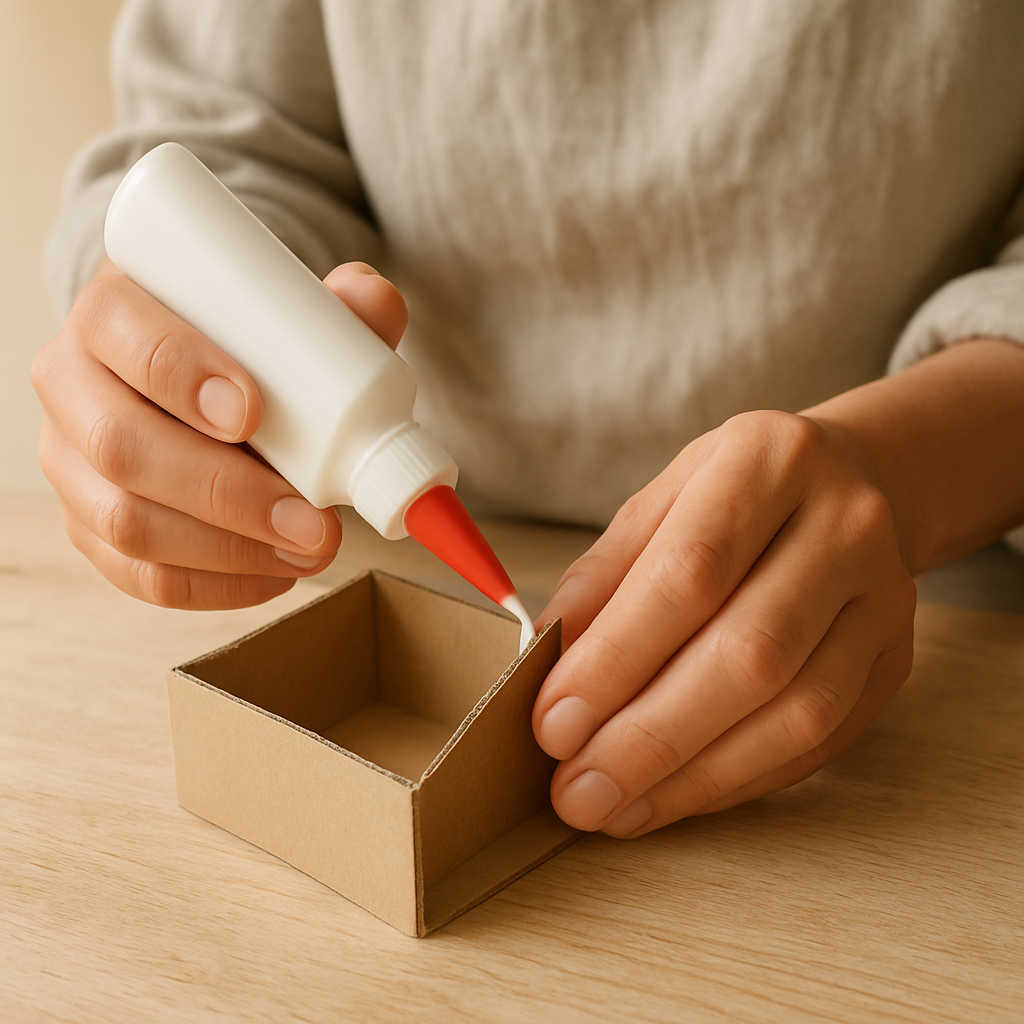
- 4Upcycling specific items: Paper towel tubes make excellent legs or necks for animals, and can be cut into 1-inch segments for wheels. Small boxes can become houses or robot bodies; for a robot, glue a small box (approx. 4x4x4 inches) onto a larger base box (approx. 6x6x6 inches).
- 5Mistakes happen: If you accidentally cut a leg too short, you can glue a small cardboard disc (approx. 1-inch diameter) to the end to extend it, or attach a decorative element like a 'boot' to cover the discrepancy. If you glue something in the wrong place, try to carefully pry it apart while the glue is still wet, or strategically glue another element over the 'mistake' to incorporate it into the design.
- 6Faster drying tips: To speed up drying time for white glue, you can use a hairdryer on a low, cool setting for a few minutes. For paint, ensure you're not applying it too thickly, as this will increase drying time.
- 7Advanced Techniques: Combining Materials: For added visual interest and durability, consider incorporating other recycled materials. Small plastic bottle caps can be glued on as decorative buttons or eyes. Fabric scraps can be glued on for texture or to create clothing elements. Even small pieces of wire can be used for antennae or delicate structural supports.
- 8Failure Troubleshooting: If your sculpture collapses, it's usually due to weak joints or insufficient drying time. Re-glue any broken sections, ensuring you use enough glue and allow adequate drying time (at least 12-24 hours for white glue). Consider adding more internal supports or a wider base for better stability.
- 9Unusual Variations: Try creating a 'cardboard automaton' by incorporating simple moving parts. This could involve levers made from cardboard strips and pivot points, allowing a figure's arm to move when a lever is pushed.
Related Activities You Might Enjoy
Frequently Asked Questions
What kind of cardboard is best for sculptures?
The best cardboard for sculptures is a mix! Corrugated cardboard (like from shipping boxes) is strong and great for structural elements and larger pieces. Thinner cardboard, such as from cereal boxes or food packaging, is easier to cut and bend, making it ideal for details, layering, and achieving smoother curves. Avoid very flimsy cardboard unless you plan to reinforce it heavily. Experimenting with different types will give your sculpture interesting textures and varying levels of rigidity.
How do I make my cardboard sculpture stand up securely?
Stability is key! Start with a wide, flat base. Ensure your main structural pieces are well-glued and consider adding internal supports – think of them like the 'bones' of your sculpture. Small triangles of cardboard glued into corners where pieces meet can add significant strength. For taller sculptures, a heavier base or even embedding a small weight (like a few pebbles secured with glue) at the bottom can prevent tipping. Allow ample drying time for all glued connections before adding more weight or height.
Can I make detailed features on my cardboard sculpture?
Absolutely! The detail you can achieve depends on the type of cardboard and your tools. For fine lines or small shapes, use thinner cardboard and a sharp craft knife (with adult supervision) or precision scissors. You can also layer small pieces of cardboard on top of each other to create raised details, like eyelids, buttons, or decorative patterns. Scoring and folding thin cardboard allows for intricate angles and shapes. Don't forget that painting is also a powerful tool for adding fine details and visual complexity.
What's the difference between using white glue and hot glue for cardboard sculptures?
White craft glue (PVA) is excellent for a strong, permanent bond and allows you time to adjust pieces before they set. It's generally safer for younger children to use under supervision. However, it requires drying time, which can slow down the building process significantly. Hot glue provides an instant bond, allowing you to assemble pieces much faster and build more complex structures quickly. It's ideal for immediate reinforcement. The downside is that it's hot and requires careful handling (adults only recommended), and mistakes are harder to correct once the glue sets.
What Next?
Exploring creative projects offers diverse paths, from the focused precision of embroidery to the expansive nature of gardening. For those new to making, cardboard sculpting stands out due to its low barrier to entry and high creative reward. While advanced makers might enjoy the challenge of complex woodworking or detailed sewing, beginners will find immense satisfaction in transforming simple boxes into art. Experienced crafters can push boundaries by combining techniques or experimenting with intricate designs. Ultimately, the best approach is the one that sparks joy and encourages continuous learning, whether you're a seasoned pro or just starting your making journey.
Free: 10 Paper Crafts Anyone Can Make in 5 Minutes
Get our beginner guide + new craft ideas weekly.
No spam. Unsubscribe anytime.
Did you complete this activity?
Related