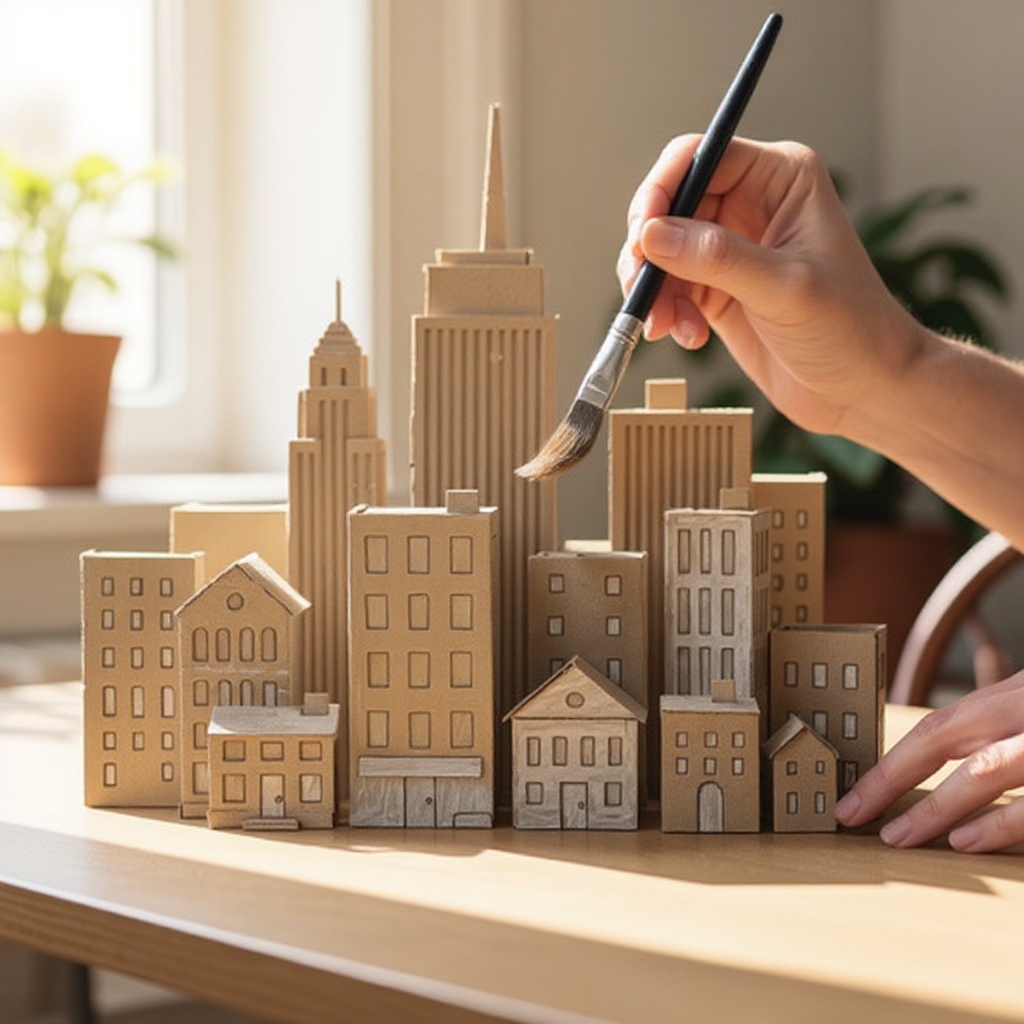
How to Build a Cardboard City Skyline — Easy Step-by-Step Guide
Transform recycled cardboard into a magnificent city skyline! This fun and engaging craft lets kids design and build their own miniature metropolis. It's an excellent way to encourage creativity, spatial reasoning, and environmental consciousness.

Quick answer
To make a cardboard city skyline, you need assorted cardboard boxes (at least 5-10 of varying sizes), a craft knife or sturdy scissors, white craft glue or a hot glue gun (with adult supervision), a ruler, pencil, acrylic paints in various colors, and paintbrushes. This project takes approximately 90 minutes to 2 hours, depending on complexity. Start by cutting out building shapes from your cardboard. This intermediate activity has 10 core steps, expandable to 15-20 for more detail, and is perfect for 10-year-olds and up.
What you need
Shop on Amazon · As an Amazon Associate we earn from qualifying purchases. Links above are affiliate links — we may earn a commission at no extra cost to you.
Embark on a creative journey and transform everyday recycled materials into a breathtaking miniature metropolis! Building a cardboard city skyline is more than just a craft; it's an imaginative adventure that encourages problem-solving, artistic expression, and a deeper appreciation for urban landscapes. This project is perfect for families looking for an engaging weekend activity, educators seeking hands-on learning opportunities, or anyone who enjoys the satisfaction of creating something tangible from humble beginnings. Get ready to design, build, and paint your very own urban masterpiece!
On this page
Step-by-Step Instructions
- 1
Gather a variety of cardboard boxes of different sizes and shapes. This initial collection will form the foundation of your city, so aim for a diverse range to create visual interest and varying building heights.
- 2
Using a ruler and pencil, sketch out simple building shapes on the cardboard. Think basic geometric forms like rectangles, squares, and taller, thinner shapes to represent skyscrapers, but don't be afraid to experiment with more complex outlines for unique structures.
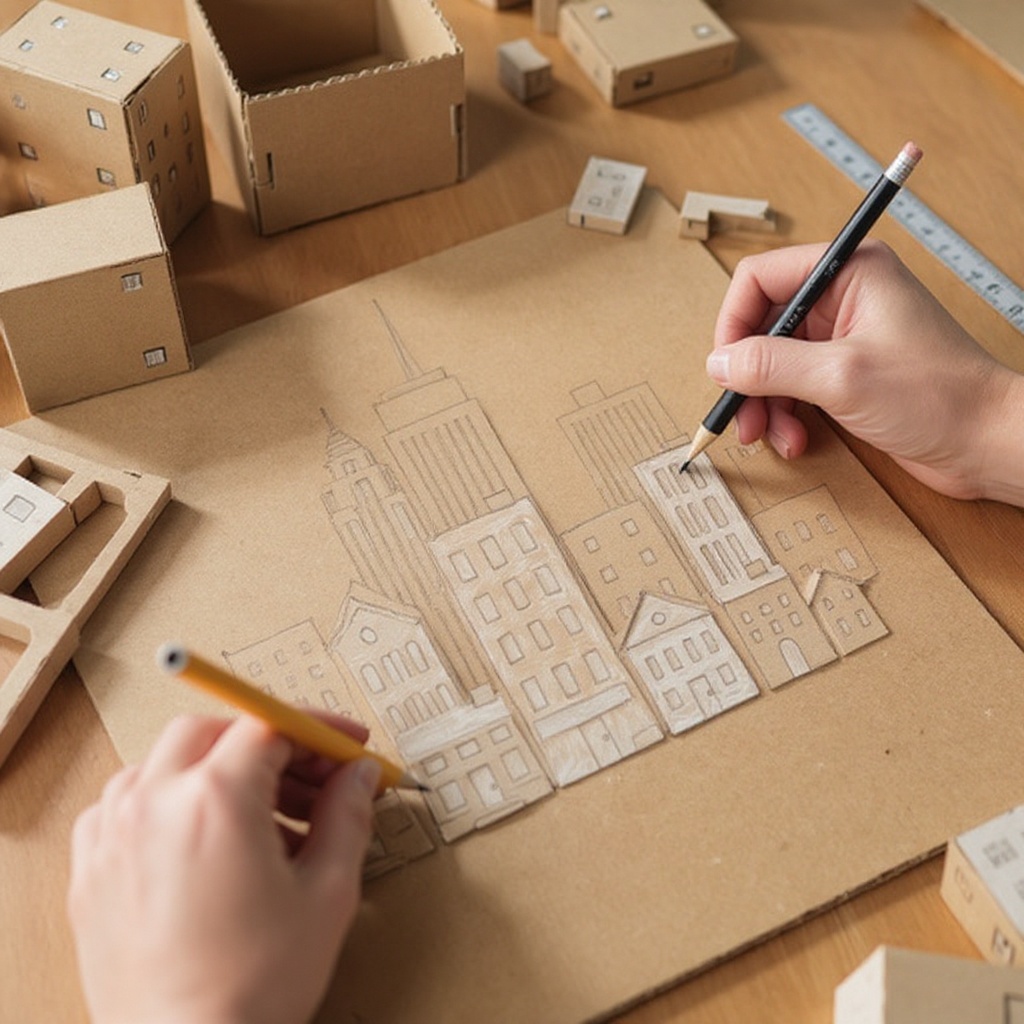
- 3
Carefully cut out your building shapes using a craft knife or sturdy scissors. For taller buildings, you might cut out multiple identical rectangular or square shapes to glue together to create a more substantial structure. Ensure your cuts are as straight as possible for a cleaner finish.
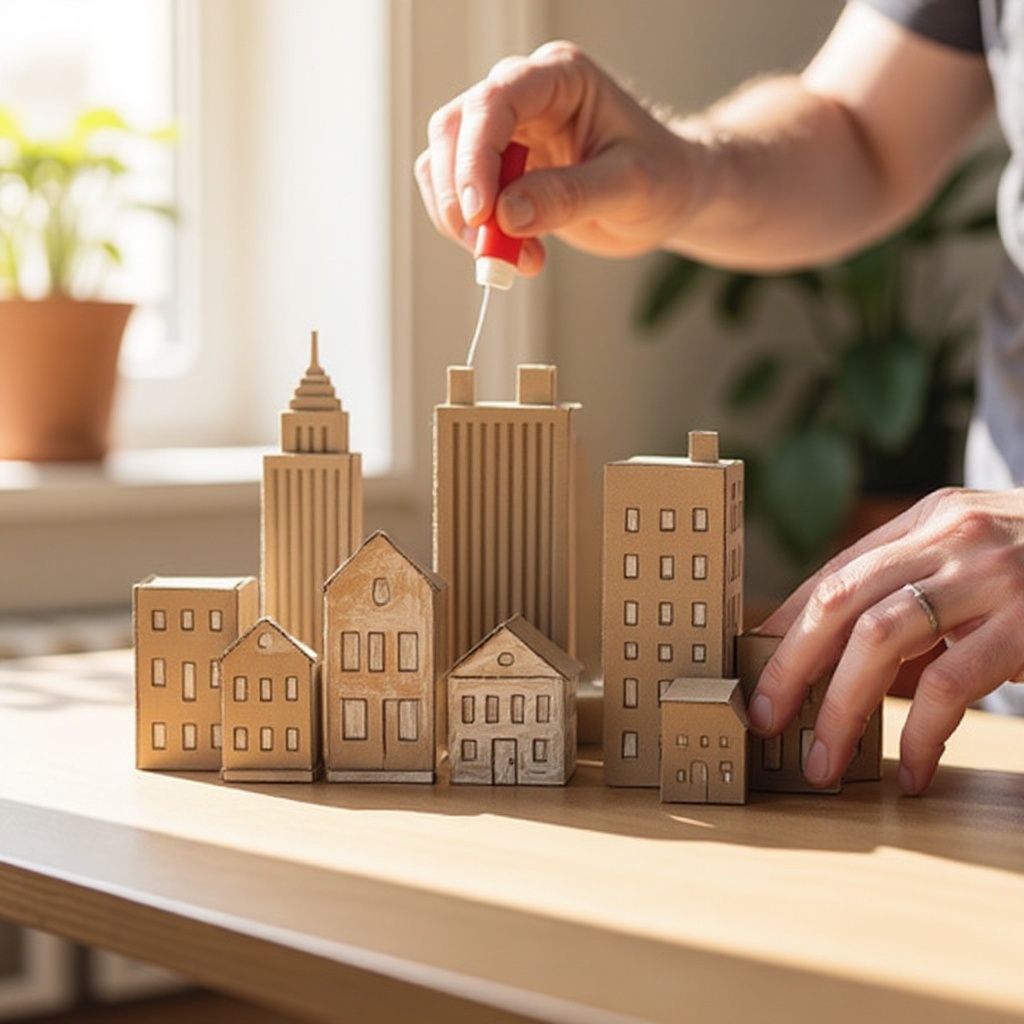
- 4
If creating multi-sided buildings, cut out corresponding sides and glue them together to form 3D structures. Apply glue along the edges and hold them in place until the glue begins to set; let the glue dry completely before proceeding to the next step to ensure sturdy construction.
- 5
For more complex buildings, cut out small squares or rectangles for windows and doors. You can either cut these all the way through for a more realistic effect, allowing light to pass through if you add lights later, or simply draw them on with markers or paint after the main structure is assembled.
- 6
Consider adding a roof to your buildings. This can be as simple as a flat piece of cardboard glued on top, or you can create pitched roofs by cutting triangles or folding cardboard pieces. This adds another layer of architectural detail and completeness to each structure.
- 7
If you want to create depth or unique architectural features, cut out small pieces of cardboard to add balconies, awnings, or decorative elements. Glue these onto the main building structures, ensuring they are securely attached.
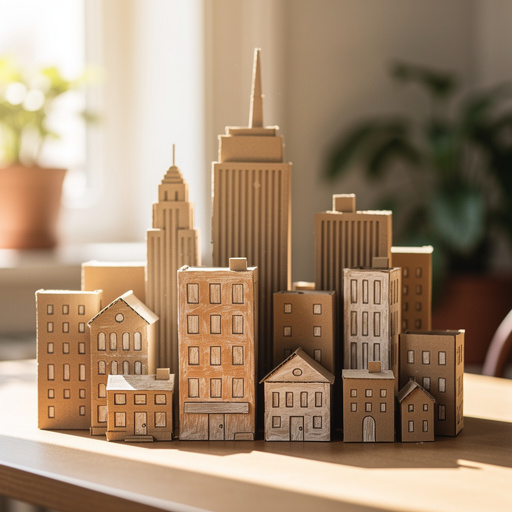
- 8
Arrange your buildings on a flat surface to plan your city layout. Experiment with different heights, depths, and arrangements to create a dynamic and visually appealing skyline. Consider placing taller buildings towards the back and shorter ones in the front for a sense of perspective.
- 9
Once you're happy with the layout, begin painting your buildings. Use a base coat of your chosen colors for each building. Allow the base coat to dry completely before adding any further layers or details.
- 10
Add details like window frames, doors, and roof lines with contrasting paint colors or markers. Use fine-tipped brushes or markers to create crisp lines and intricate designs, bringing your buildings to life.
- 11
Consider adding texture or embellishments to your buildings. You could glue on small pieces of corrugated cardboard for a brick-like texture, use glitter for a starry night effect on windows, or attach toothpicks for antennas on skyscrapers.
- 12
If you plan to add lights, now is the time to prepare. Carefully poke small holes where you want windows to be illuminated and thread battery-operated fairy lights through the back of the buildings. Ensure the battery pack is accessible for easy on/off switching.
- 13
Paint the base of your city if desired. A dark color like black or deep blue can represent the ground or a night sky, providing a dramatic foundation for your urban landscape. This step helps unify the entire city.
- 14
Once all the paint and glue are completely dry, your cardboard city skyline is ready to be displayed! Ensure all elements are secure and dry before handling or moving your creation.
- 15
Review your city for any areas that need touch-ups or additional details. Sometimes, stepping back and looking at the whole creation reveals opportunities for small improvements that can make a big difference.
Tips & Troubleshooting
- 1For cleaner cuts, use a ruler as a guide when using a craft knife. Always cut away from yourself and have adult supervision, as a sharp blade can easily slip and cause injury.
- 2Experiment with different types of cardboard for varied textures and visual interest. Corrugated cardboard can add an interesting dimension to building facades, mimicking brickwork or concrete, while thinner cardstock can be used for delicate details.
- 3Don't be afraid to mix and match box sizes and shapes to create a dynamic skyline. Taller, thinner boxes can represent modern skyscrapers, while wider, shorter boxes can form the base of older, more established structures.
- 4Consider painting the base of your city with a dark color to represent the ground or a night sky before adding buildings. This provides a cohesive backdrop and makes your buildings stand out more prominently.
- 5If using a hot glue gun, ensure an adult is present to supervise and prevent burns. Hot glue dries quickly and can create strong bonds, but it also poses a burn risk.
- 6Layering paint colors can add depth and realism. For instance, use a darker shade of grey for shadows and a lighter shade for highlights on building walls.
- 7Don't limit yourself to just painting; consider using other recycled materials for unique textures. Small pieces of fabric, foil, or even dried pasta can be glued on to create interesting architectural elements.
- 8When cutting windows, consider making some slightly different sizes or shapes to avoid a repetitive look. Even small variations can contribute to a more believable urban environment.
Related Activities You Might Enjoy
Frequently Asked Questions
What kind of cardboard is best for making a city skyline?
A variety of cardboard works exceptionally well for building a cardboard city skyline, offering different textures and structural possibilities. Cereal boxes are fantastic for creating smaller, more detailed buildings or for cutting out intricate window shapes due to their thinner material. Shoeboxes provide a good medium size for mid-rise structures. For larger, more imposing skyscrapers or sturdy bases, shipping boxes are ideal. Don't overlook corrugated cardboard; its ridged texture can be used creatively to mimic brickwork, concrete, or even add a rustic charm to your buildings. Experimenting with different types will lead to a more visually rich and dynamic city.
How can I make my cardboard city look more realistic?
To enhance the realism of your cardboard city, focus on architectural details and color variations. You can add details like window frames, doors, and even tiny balconies by cutting out small shapes from scrap cardboard or drawing them on with markers. Painting different shades of grey, brown, and beige can also enhance realism, mimicking concrete, brick, and stone. Consider adding subtle weathering effects by dry-brushing lighter colors over darker ones to suggest age or wear. For a more sophisticated look, you can research real-world architectural styles and try to replicate some of their key features on your cardboard structures.
Can I add lights to my cardboard city skyline?
Absolutely! Adding lights can transform your cardboard city skyline into a magical, illuminated spectacle, especially for a nighttime display. For a safe and effective way to add illumination, carefully poke small holes in the buildings where you want windows to glow. Then, thread battery-operated fairy lights through these holes from the back of the buildings. Ensure the battery pack is easily accessible for turning the lights on and off. This technique creates a warm, inviting glow that makes your miniature metropolis come alive, mimicking the bustling lights of a real city.
What if I don't have many boxes?
Don't worry if you have a limited number of boxes; creativity thrives on constraints! You can get incredibly creative with fewer boxes by focusing on clever cutting and stacking techniques. Cut your existing boxes into different shapes and sizes, then strategically stack and glue them together to create taller, more complex buildings. For example, a single cereal box can be cut and reassembled into multiple smaller structures or used as a base for a taller tower. Even simple rectangular prisms, when varied in height and width and arranged thoughtfully, can form an impressive and dynamic skyline.
What age group is this project best suited for?
This cardboard city skyline project is wonderfully versatile and can be enjoyed by a wide range of ages, with the core activity being particularly well-suited for children aged 10 and up. At this age, children typically have the fine motor skills required for cutting and gluing, as well as the cognitive ability to plan and execute more complex designs. Younger children can certainly participate with adult assistance, focusing on simpler tasks like painting or gluing pre-cut shapes. Adults will also find this project engaging, offering a relaxing and rewarding way to create something visually appealing from recycled materials.
How long does it typically take to complete a cardboard city skyline?
The time it takes to complete a cardboard city skyline can vary significantly depending on the complexity of your design, the number of buildings you create, and the level of detail you wish to incorporate. For a basic skyline with a few simple structures, you might be able to complete it in about 90 minutes to 2 hours. However, if you aim for a more elaborate city with numerous buildings, intricate windows, decorative elements, and detailed painting, the project could easily extend to several hours or even be spread across multiple crafting sessions. Allowing ample drying time for glue and paint is also crucial and will add to the overall duration.
What Next?
Your cardboard city skyline is now a testament to your creativity and resourcefulness! Consider adding a backdrop of painted night sky or a green landscape to further enhance its visual appeal. For future projects, explore different architectural styles, create a themed city (like a futuristic metropolis or a historical town), or even build a complete neighborhood with roads and parks. Store your masterpiece carefully on a shelf or use it as a unique centerpiece for a party or display. This project is a fantastic springboard for more ambitious cardboard constructions!
Free: 10 Paper Crafts Anyone Can Make in 5 Minutes
Get our beginner guide + new craft ideas weekly.
No spam. Unsubscribe anytime.
Did you complete this activity?
Related
You might also like
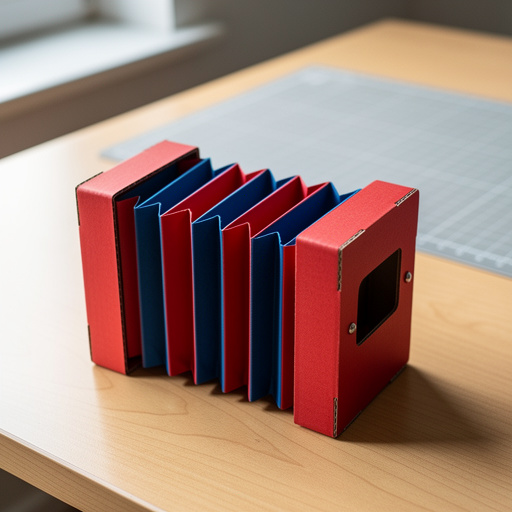
Cardboard Box Accordion
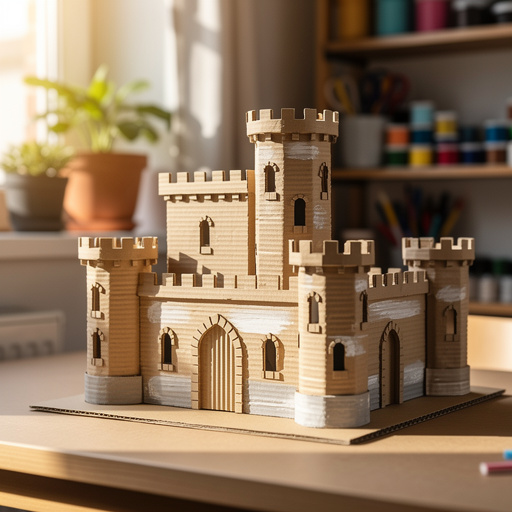
Cardboard Castle Diorama
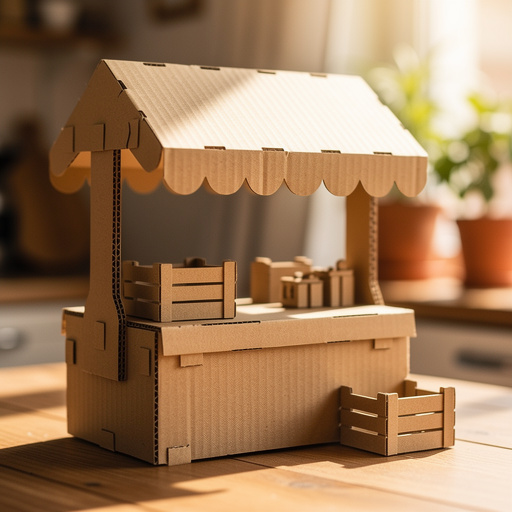
Cardboard Market Stall
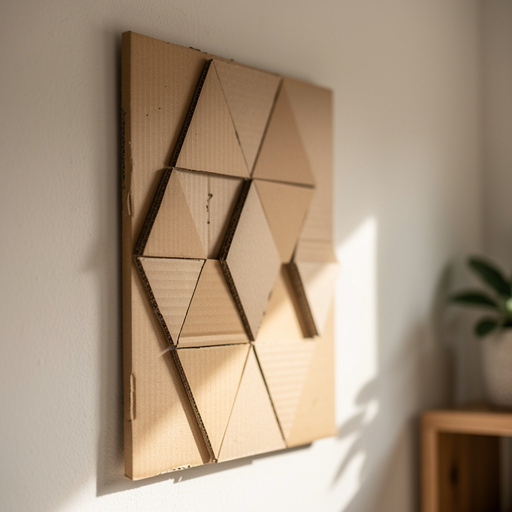
Cardboard Geometric Wall Art
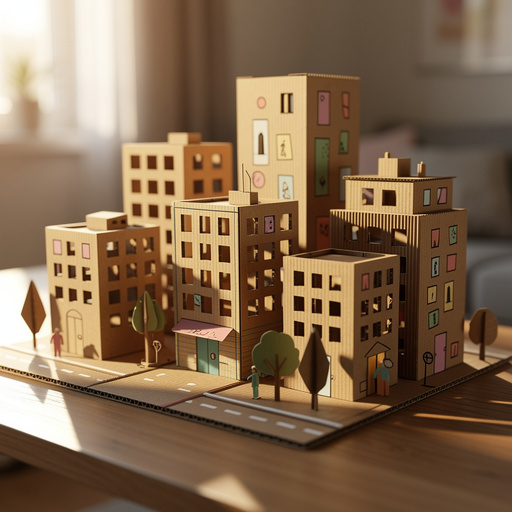
Cardboard Cityscape Diorama