How to Build Simple Birdhouses — Easy Step-by-Step Guide
Learn how to build charming and simple birdhouses using basic materials. This rewarding project is perfect for a weekend of family fun and helps support local wildlife.
Quick answer
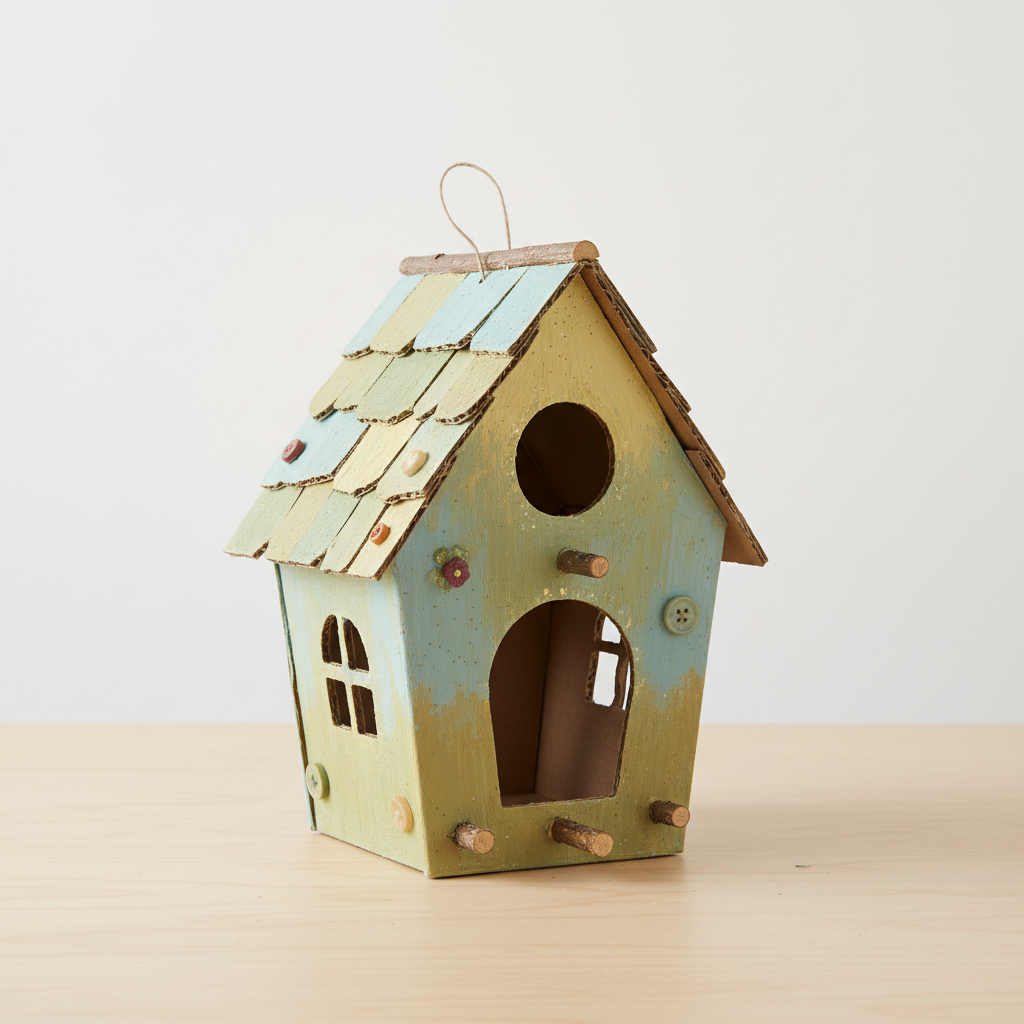
To make simple birdhouses, you need wood scraps, screws/nails, and about 60 minutes. Start by cutting your wood pieces. This beginner-friendly activity has 10 steps and is perfect for families with children aged 6+.
What you need
Shop on Amazon · As an Amazon Associate we earn from qualifying purchases. Links above are affiliate links — we may earn a commission at no extra cost to you.
Embark on a delightful DIY adventure that benefits both your family and your local feathered friends! Building a simple wooden birdhouse is an incredibly rewarding project, offering a tangible way to connect with nature and provide essential shelter for birds. It’s a fantastic activity for all ages, fostering creativity, teaching basic woodworking skills, and creating a charming addition to your garden or yard. This guide breaks down the process into easy-to-follow steps, making it accessible even for absolute beginners, and the satisfaction of seeing birds make your creation their home is truly unparalleled.
On this page
Step-by-Step Instructions
- 1
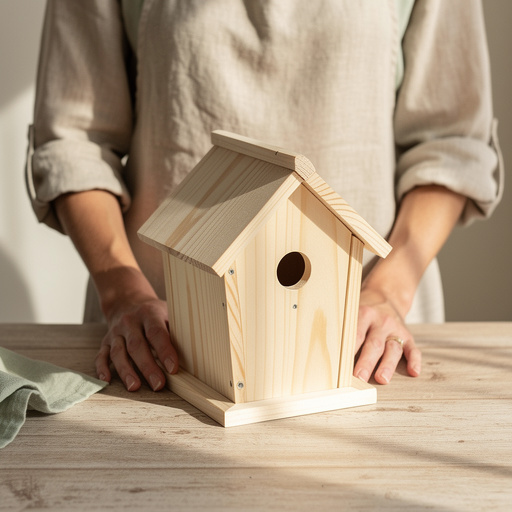
Measure and mark the 1x6 board for the following pieces: two sides (8 inches long, with one end angled at 45 degrees for the roof slope), one front (6 inches long), one back (7.5 inches long), one floor (4.5 inches long), and two roof pieces (7 inches long). Ensure your measurements are precise to guarantee a good fit between the pieces.
- 2
Carefully cut out all the marked pieces using your saw. Always wear safety glasses and gloves when cutting, and if using a power saw, ensure you are familiar with its operation and safety features. Take your time to make straight cuts.
- 3
Sand all the cut edges smooth to prevent splinters and create a cleaner finish. Pay special attention to the edges that will be joined together, as a smooth surface will allow for a tighter fit and better adhesion if you're using glue.
- 4
On the front piece, measure and mark the center about 4 inches from the bottom. Drill a 1.25-inch diameter entrance hole for small birds. Using a spade bit or hole saw will give you a clean, round opening; ensure the drill is held steady to avoid wobbling.
- 5
Prepare the floor piece by drilling a few small drainage holes (about 1/4 inch diameter) in the corners. This is a crucial step to prevent water from accumulating inside the birdhouse, which can be harmful to nesting birds and their young.
- 6
Begin assembly by attaching the two side pieces to the floor piece, ensuring the bottom edges are flush. Apply a thin bead of wood glue along the edges for added strength if desired, then secure with screws or nails. Pre-drilling pilot holes is highly recommended here to prevent the wood from splitting.
- 7
Attach the front piece to the assembled sides and floor, aligning the bottom edge with the floor. Make sure the entrance hole is facing outwards and that the sides are square before securing. Use glue and screws/nails for a robust connection.
- 8
Attach the back piece to the assembled sides and floor, ensuring it extends slightly above the sides to support the roof. The extra height on the back piece is designed to create a stable surface for attaching the roof panels securely.
- 9
Position one roof piece so it overhangs the front and sides slightly. This overhang helps protect the entrance from rain. Secure it to the angled tops of the side pieces and the back piece with screws or nails, ensuring it sits flush against the angled cuts.
- 10
Overlap the second roof piece over the first, creating a peak that will shed water effectively. Ensure it also overhangs the sides to provide maximum protection. Secure it firmly to the angled tops of the side pieces and the back piece.
- 11
Inspect your birdhouse for any sharp edges or loose parts. Ensure the entrance hole is smooth and free of splinters. A final light sanding can be done if needed to achieve a polished look.
- 12
If you plan to paint or stain your birdhouse, do so now using only non-toxic, exterior-grade products. Focus on the exterior surfaces and avoid painting the interior or directly around the entrance hole, as fumes can be harmful to birds. Allow ample drying time.
- 13
Consider adding a small ventilation gap at the top of the side pieces, just below the roofline, by drilling a couple of small holes. This helps with air circulation, keeping the interior cooler during hot weather.
- 14
If you wish to make cleaning easier, you can attach one of the roof panels or the floor with hinges or small latches, allowing for easy access to the interior after nesting season.
- 15
Once fully assembled and any finishes are dry, your simple birdhouse is ready to be mounted! Choose a suitable location that offers some protection from predators and harsh weather conditions.
Tips & Troubleshooting
- 1If using screws, pre-drilling pilot holes slightly smaller than your screws will prevent the wood from splitting, especially near the edges. This is a crucial step for ensuring the longevity of your birdhouse and preventing frustration.
- 2Consider adding a few small drainage holes (1/4 inch) in the floor piece to prevent water from accumulating inside. This simple addition is vital for the health of nesting birds, preventing mold and rot.
- 3For a more durable finish, you can paint or stain the exterior of the birdhouse with non-toxic, outdoor-safe products. Avoid painting the interior or around the entrance hole, as the chemicals can be harmful to birds and their young.
- 4Mount your birdhouse in a safe location, away from predators and strong winds, ideally facing away from prevailing weather. A height of 5-10 feet is generally recommended, and placing it near natural cover like trees or shrubs can provide additional security.
- 5When choosing a location, consider the sun's exposure. A spot that gets morning sun but is shaded during the hottest part of the afternoon is ideal to prevent overheating.
- 6Avoid adding a perch below the entrance hole. While it might seem like a nice addition, perches can actually make it easier for predators like squirrels or larger birds to access the nest, posing a danger to the chicks.
- 7If you're using reclaimed wood, ensure it hasn't been treated with harmful chemicals. Natural, untreated wood is always the safest choice for birdhouses.
- 8Periodically check your birdhouse for any signs of damage or wear and tear, especially after harsh weather. Prompt repairs will ensure it remains a safe and welcoming home for birds.
Related Activities You Might Enjoy
Frequently Asked Questions
What is the best wood for building birdhouses?
Untreated pine, cedar, or redwood are excellent choices for birdhouses. They are durable, weather-resistant, and safe for birds. Pine is the most budget-friendly and easiest to work with, making it ideal for beginners. Cedar and redwood offer superior natural resistance to rot and insects, meaning your birdhouse will last longer. Avoid treated lumber as the chemicals can be harmful to birds, and never use plywood as it can delaminate and contain glues that are toxic. The key is to choose wood that is natural, untreated, and can withstand the elements.
How big should the entrance hole be for a birdhouse?
The size of the entrance hole is critical as it determines which birds can use the house and helps deter larger, more aggressive species or predators. For common small cavity-nesting birds like wrens, chickadees, titmice, and nuthatches, a 1.25-inch diameter hole is ideal. For slightly larger birds like bluebirds, a 1.5-inch hole is appropriate. A hole that is too large can invite predators or invasive species like house sparrows. Always research the specific birds you hope to attract in your area to determine the optimal entrance hole size.
Should I add a perch to my birdhouse?
It's generally not recommended to add a perch below the entrance hole of a birdhouse. While it might seem like a helpful feature for birds, perches can actually make it easier for predators like squirrels, cats, or larger birds to access the nest, posing a significant danger to the chicks. Small songbirds that use birdhouses are perfectly capable of clinging directly to the entrance hole or the wood surface to enter and exit. Therefore, omitting a perch is a safer design choice for the well-being of the nesting birds.
How do I clean a birdhouse?
After nesting season has concluded, typically in late fall or early winter, it's important to clean out old nesting material. This prevents the buildup of parasites and diseases. Wear gloves and use a stiff brush or scraper to remove all debris. For disinfection, you can use a mild bleach solution (1 part bleach to 9 parts water), but it's crucial to rinse the interior thoroughly with clean water and allow the birdhouse to dry completely in the sun before birds return in the spring. Ensure good ventilation during the drying process.
Can I paint or stain my birdhouse?
Yes, you can paint or stain the exterior of your birdhouse, but it's essential to use non-toxic, exterior-grade products specifically designed for outdoor use. Light, natural colors like muted greens, browns, or grays are best as they blend in with the surroundings and don't attract excessive heat. Crucially, avoid painting the interior of the birdhouse or directly around the entrance hole, as the fumes can be harmful to birds and their young. Allow the paint or stain to cure completely for several days before mounting the birdhouse.
How do I mount my birdhouse?
Mounting your birdhouse correctly is vital for attracting birds and ensuring their safety. Ideally, it should be placed on a pole with a predator baffle, or securely attached to a tree trunk or sturdy fence post. The height recommendation is typically between 5 to 10 feet off the ground, depending on the species you wish to attract. Face the entrance hole away from prevailing winds and direct, harsh afternoon sun. Placing it near natural cover like shrubs or trees can provide a sense of security for the birds, but ensure it's not too close to branches that predators can easily use to access the house.
What Next?
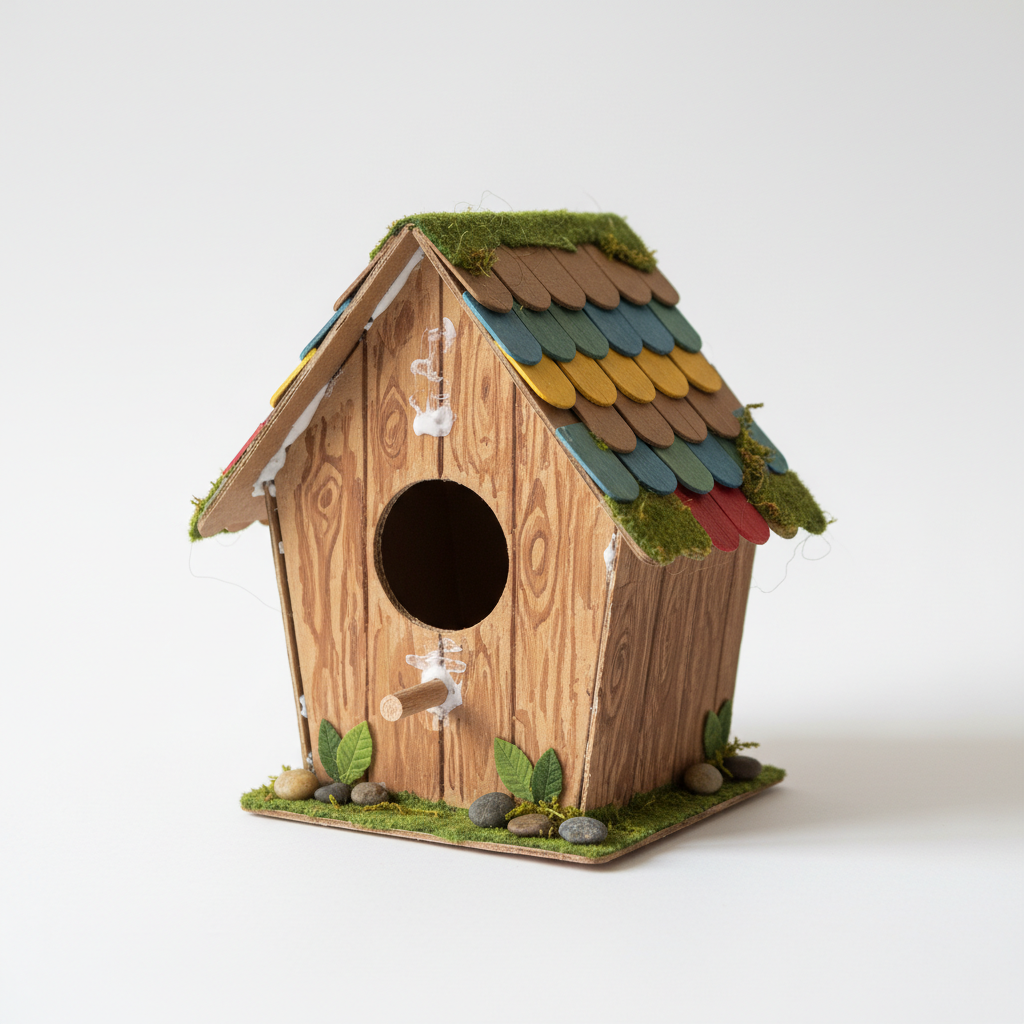
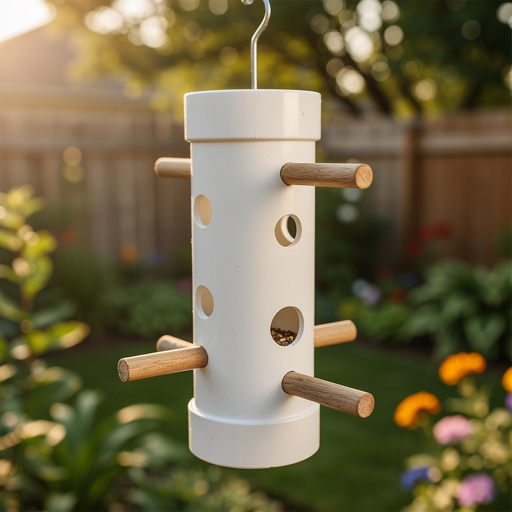
Congratulations on building your very own simple birdhouse! This project is just the beginning of a wonderful journey into woodworking and wildlife appreciation. Consider adding decorative touches like non-toxic paint or natural embellishments, or even building a small bird feeder to complement your new birdhouse. For storage, ensure the birdhouse is dry and free of debris before putting it away during the off-season. You can also explore building more elaborate designs or different types of bird shelters as your skills grow. Enjoy watching your new avian residents settle in!
Free: 10 Paper Crafts Anyone Can Make in 5 Minutes
Get our beginner guide + new craft ideas weekly.
No spam. Unsubscribe anytime.
Did you complete this activity?