How to Paint Watercolor Landscapes — Easy Step-by-Step Guide for Beginners
Discover the joy of watercolor painting with this beginner-friendly tutorial. Create stunning landscape art with simple techniques, perfect for a screen-free family activity.
Quick answer
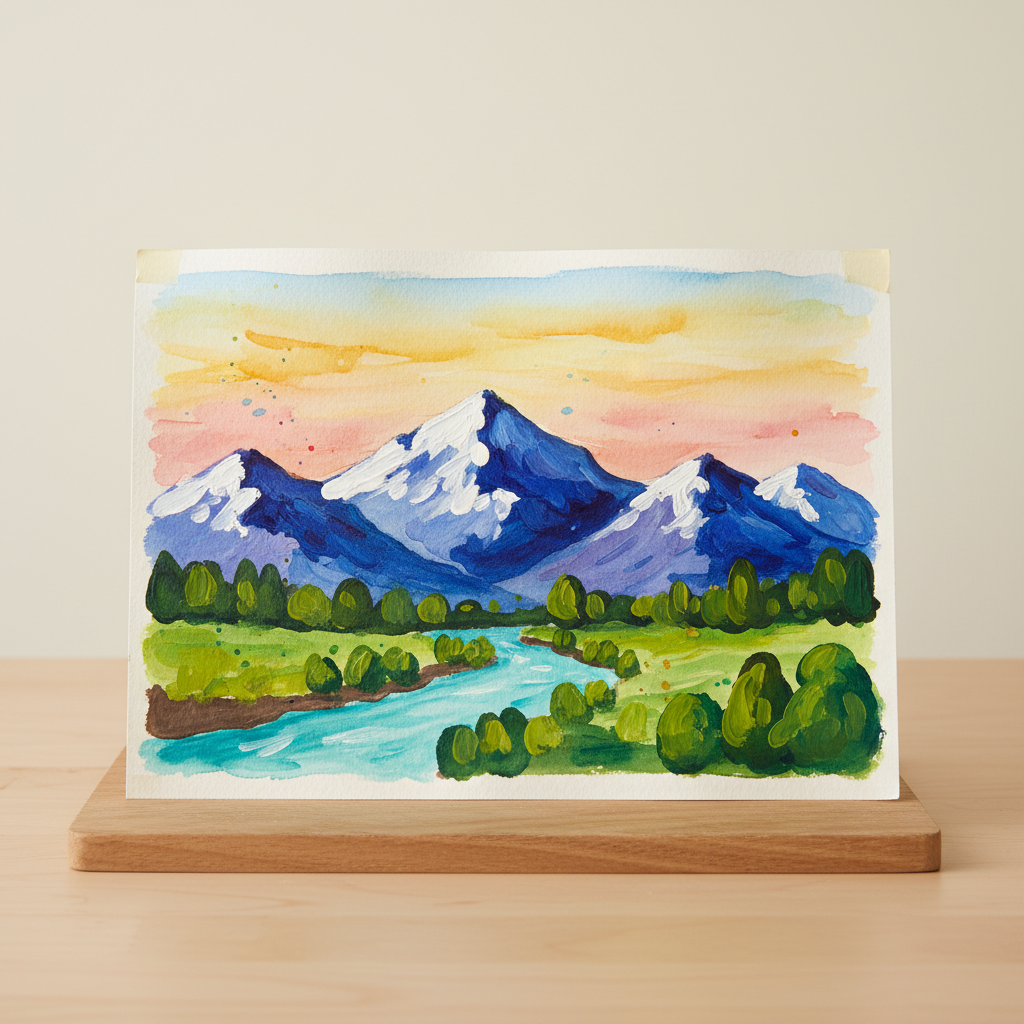
To paint watercolor landscapes, you need watercolor paints, brushes, watercolor paper, water, and a palette, taking about 30-45 minutes. Start by sketching your scene lightly. This beginner activity has 10 steps and is perfect for families and kids aged 6+.
What you need
Shop on Amazon · As an Amazon Associate we earn from qualifying purchases. Links above are affiliate links — we may earn a commission at no extra cost to you.
Embark on a creative journey and discover the serene beauty of watercolor landscapes! This tutorial is designed with absolute beginners in mind, making it an accessible and rewarding project for all ages. Unplug from screens and reconnect with nature's artistry as you learn simple yet effective techniques to bring your paper to life. It's the perfect way to spend quality time with family, fostering creativity and a sense of accomplishment, all while creating a beautiful piece of art you'll be proud to display.
On this page
Step-by-Step Instructions
- 1
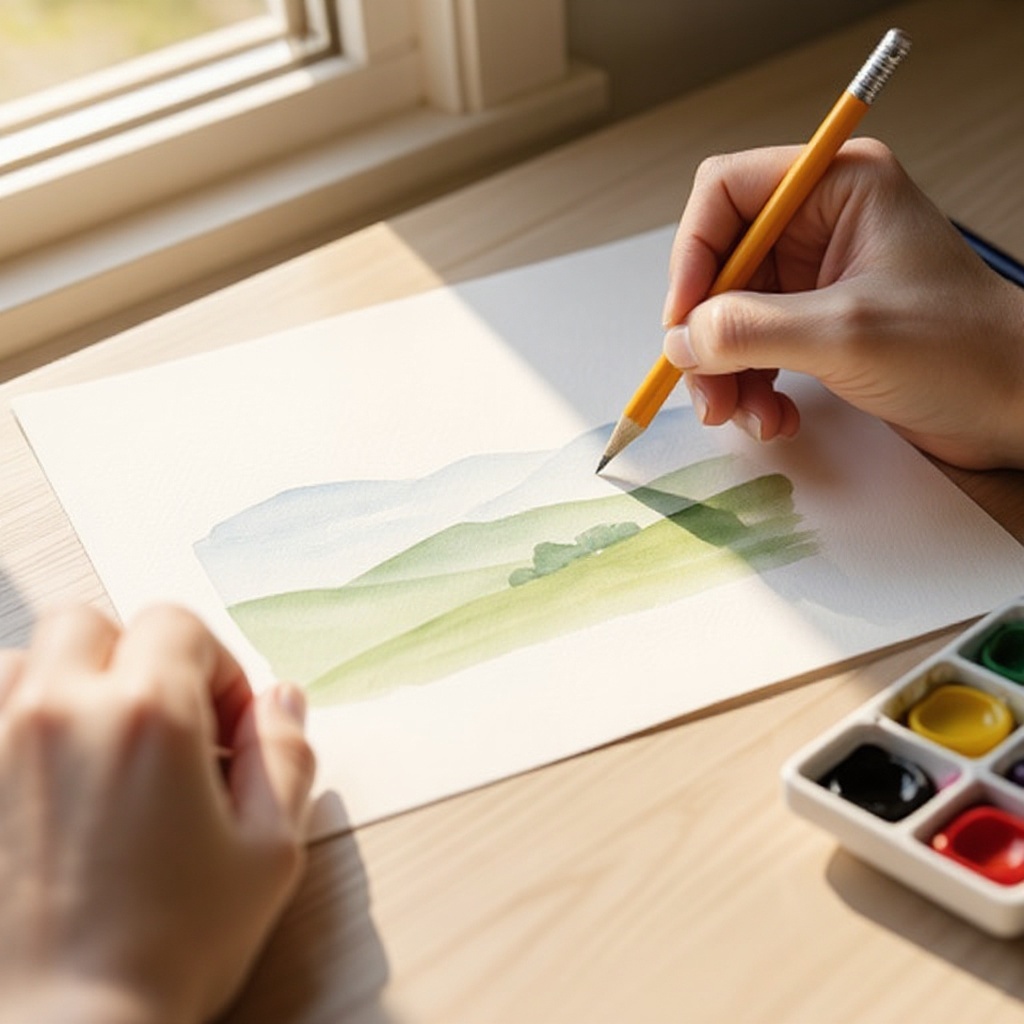
Lightly sketch a simple landscape scene on your watercolor paper with a pencil. Think of a horizon line, a few hills or mountains, and maybe a simple tree or cloud shape. Keep your lines very faint, as dark pencil marks can show through the translucent watercolor. A gentle horizon line is key to establishing your scene's perspective.
- 2
Prepare your water stations: fill one jar with clean water for rinsing your brushes and the other with fresh water for diluting your paints. Having separate jars prevents muddy water from contaminating your colors and ensures you have clean water readily available for smooth paint application.
- 3
Squeeze a small amount of your desired paint colors onto your palette or plate. If using pan paints, simply wet your brush and swirl it in the desired color. For tube paints, a pea-sized amount is usually sufficient to start, allowing you to add more as needed without wasting paint.
- 4
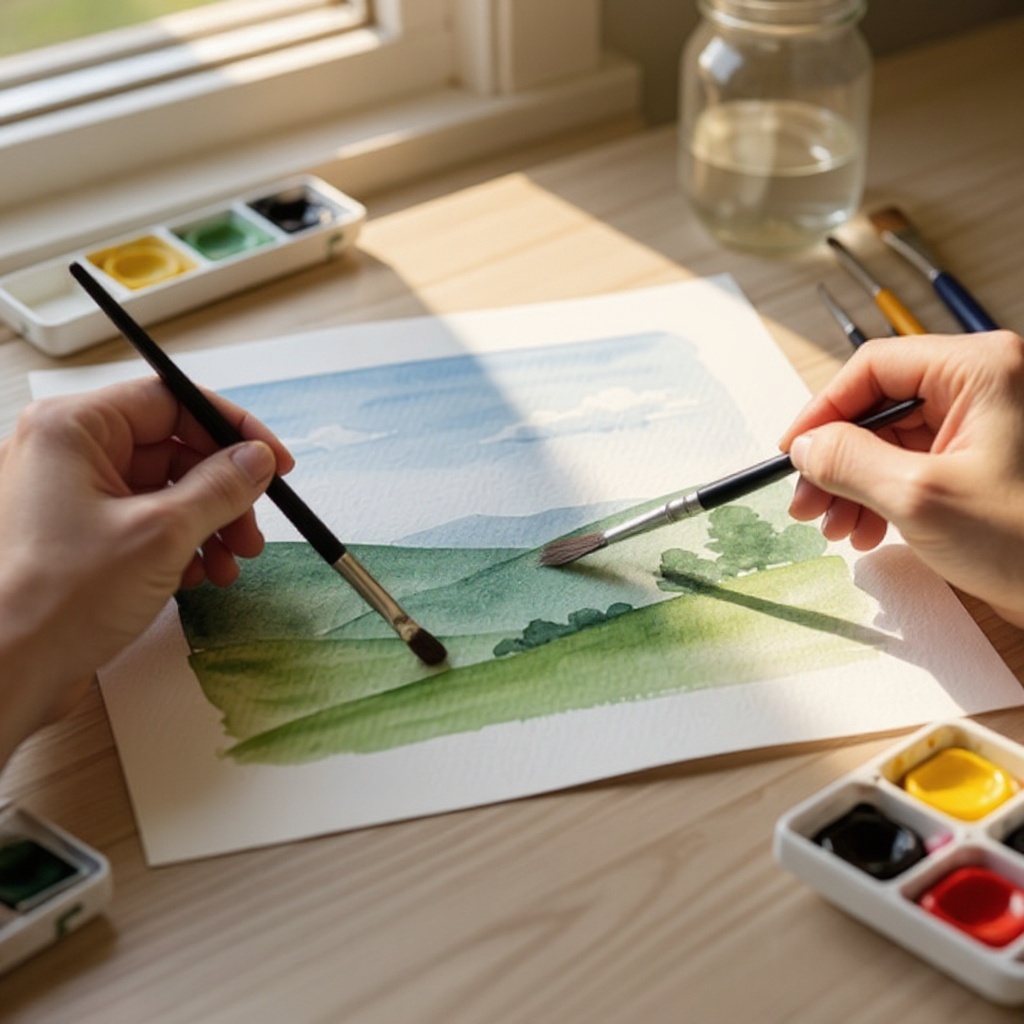
Begin with the sky. Dip your larger brush (size 10) into the water jar, then lightly touch it to your chosen sky color (like blue or yellow). Mix the paint and water on your palette until you achieve a translucent, watery consistency. You want the color to flow easily.
- 5
Gently sweep the diluted paint across the top section of your paper for the sky, letting the colors blend naturally. You can create a gradient by starting with a lighter wash and gradually adding more color as you move down, or blend two colors like yellow and blue for a sunset effect. Avoid scrubbing, which can damage the paper's surface.
- 6
Rinse your brush thoroughly in the first water jar, ensuring all pigment is removed. Then, dip it into a green or brown color for the land. Mix the paint with water on your palette to achieve the desired opacity for your land masses. A slightly more concentrated mix might be good for foreground elements.
- 7
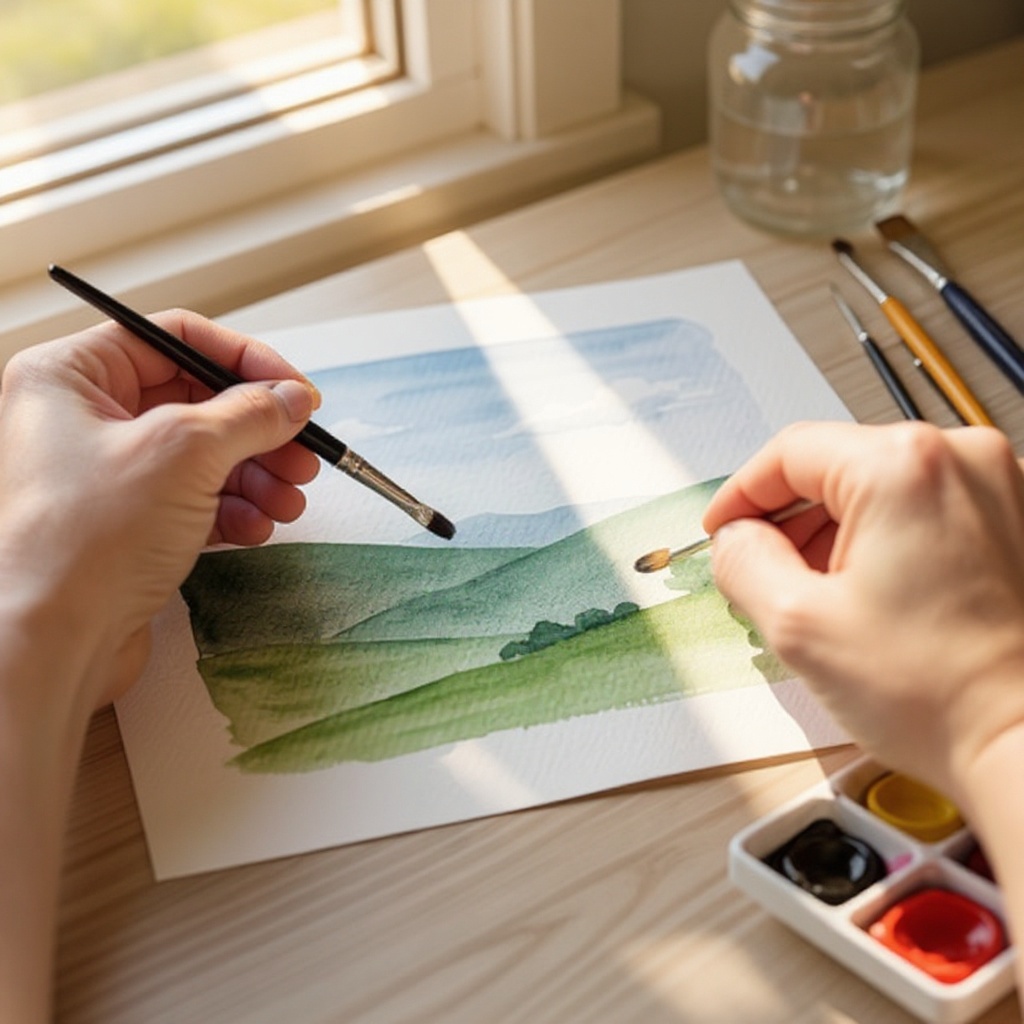
Paint the hills or mountains below the sky, varying the pressure on your brush to create different textures. For distant mountains, use lighter, softer strokes with more water. For closer hills, you can use slightly darker, more defined strokes. Allow the sky to dry slightly before painting the land to prevent colors from bleeding unintentionally.
- 8
Allow the paint to dry completely before adding further layers or details. This is a crucial step in watercolor to prevent muddying of colors and to build depth. You can use a hairdryer on a cool setting to speed this up, but be sure to hold it at a distance to avoid blowing the paint around.
- 9
Once the initial layers are dry, you can add more depth and detail. For instance, if you painted distant mountains, you can now add closer hills with slightly darker shades of green or brown. Consider adding subtle variations in color to make the landscape more dynamic.
- 10
Use your smaller brush (size 6) to add finer details like tree trunks, leaves, or distant features, using more concentrated paint. This brush allows for precision. For tree leaves, you can use a dabbing motion or small strokes. For distant trees, keep the shapes simple and less defined.
- 11
Consider adding a focal point. This could be a solitary tree, a small house, or a winding path. Use slightly bolder colors or darker tones for your focal point to draw the viewer's eye. Ensure it's placed thoughtfully within your composition.
- 12
If you're aiming for a sunny effect, you can use a very light yellow or even leave some white areas of the paper showing to represent highlights. For clouds, you can use a damp brush to lift color from the sky wash, or paint soft, wispy shapes with diluted white or grey paint.
- 13
Add subtle shadows to give your landscape form and dimension. For example, if the sun is coming from one side, add darker shades on the opposite side of hills or trees. This adds a sense of realism and depth to your painting.
- 14
Once dry, you can add a few final touches, like a sun or more defined clouds, with a lighter touch. This is also the time to refine any areas that feel unfinished. Remember, less is often more with watercolor; avoid overworking the painting.
- 15
If you used masking tape, carefully peel it off once the painting is completely dry to reveal clean, crisp edges. This step adds a professional finish to your artwork and makes it ready for display.
- 16
Step back and evaluate your work. Look for areas that could benefit from a touch more color, contrast, or detail. Sometimes, a small adjustment can make a big difference. Don't be afraid to add a few final glazes of color to unify the composition.
Tips & Troubleshooting
- 1Don't be afraid to let colors blend on the paper; this is part of watercolor's charm and creates beautiful, organic transitions. If a color becomes too intense or you make a mistake, you can often lift some of it off with a damp brush and a paper towel while the paint is still wet.
- 2Experiment with different color combinations for your sky and land. Try warm colors like oranges and reds for dramatic sunsets, or cool blues and purples for serene twilight scenes. Mixing your own greens from blues and yellows can also create more nuanced and natural-looking foliage.
- 3If your paper starts to buckle significantly, it might not be heavy enough for watercolor. Ensure you're using paper specifically designed for watercolors, ideally 140lb (300gsm) or heavier, as this will withstand the water content much better and prevent warping.
- 4For a softer, more ethereal look, try the 'wet-on-wet' technique: apply a wet brush with color to an already damp area of paper. This allows the colors to spread and mingle beautifully, creating soft edges and dreamy effects, perfect for skies or misty landscapes.
- 5Control the amount of water on your brush and paper. A brush loaded with too much water will cause colors to spread uncontrollably, while a brush that's too dry will create streaky marks. Practice finding the right balance for different effects.
- 6Build up your colors in layers. Watercolor is transparent, so applying lighter washes first and then gradually adding darker tones will create depth and luminosity. Allow each layer to dry completely before applying the next to avoid muddying your colors.
- 7Consider the light source in your landscape. Think about where the sun is and how it would cast shadows. This will help you decide where to place your darker tones and add a sense of volume and realism to your hills, trees, and other elements.
- 8Don't aim for perfection on your first try. Watercolor is a fluid medium, and happy accidents often lead to beautiful results. Embrace the process and enjoy the journey of learning and creating.
Related Activities You Might Enjoy
Frequently Asked Questions
What kind of paper is best for beginner watercolors?
For beginners, it's best to use watercolor paper that is at least 140lb (300gsm). This thicker paper can handle the water without buckling or tearing as easily as regular drawing paper. Cold-press watercolor paper is a good all-around choice, offering a slight texture that holds paint well. Avoid using standard printer paper or sketch paper, as they are too thin and will warp and tear when wet, making painting a frustrating experience.
How do I avoid making my watercolor paintings muddy?
To avoid muddy colors, rinse your brush thoroughly between colors, especially when switching from dark to light hues. Ensure your water jars are clean and change the water if it becomes discolored. Also, try not to overwork the paint; let layers dry when needed before adding new ones. Using a limited palette and understanding color mixing can also help prevent muddiness by ensuring you're combining colors intentionally rather than just mixing everything together.
Can I use regular paintbrushes for watercolor?
While you can technically use regular paintbrushes, watercolor brushes are designed to hold more water and release paint smoothly, which is essential for watercolor techniques. Watercolor brushes are typically made from synthetic fibers or natural animal hair (like sable or squirrel) that have excellent absorbency and spring. Round brushes are excellent for beginners as they can be used for both broad washes and fine details by varying the pressure and angle.
What are the basic colors I need for watercolor landscapes?
For landscapes, a basic set with blues (like cerulean blue or ultramarine blue for skies and water), greens (like sap green or viridian green for foliage), yellows (like cadmium yellow or lemon yellow for sunlight and highlights), and browns (like burnt sienna or raw umber for earth and tree trunks) will get you started. You can mix many other colors from these essentials, such as purples from blue and red, and a wide range of greens and browns.
How long does a simple watercolor landscape take to paint?
A simple watercolor landscape, like the one described in this tutorial, can typically be completed in about 30 to 45 minutes. This timeframe includes the initial sketching, painting the basic washes for the sky and land, adding some simple details, and allowing for drying time between layers. Of course, this can vary depending on your pace, the complexity of the scene you choose, and how much detail you decide to add.
What is the 'wet-on-wet' technique and how do I use it?
The 'wet-on-wet' technique involves applying wet paint onto a wet surface of the paper. To do this, you would first dampen an area of your watercolor paper with clean water using a brush. Then, you apply your colored paint onto this damp area. The colors will spread and blend softly into each other, creating beautiful, diffused edges and a dreamy effect. This technique is excellent for skies, misty backgrounds, or creating soft, atmospheric effects in your landscapes.
What Next?
Congratulations on creating your first watercolor landscape! Don't stop here; experiment with different times of day, seasons, or even abstract interpretations of nature. Consider framing your masterpiece to preserve it and add a touch of handmade beauty to your home decor. For your next project, try painting a seascape or a forest scene, perhaps incorporating more advanced techniques like dry brush or splattering. Remember, practice is key, and each painting will bring you closer to mastering this delightful medium.
Free: 10 Paper Crafts Anyone Can Make in 5 Minutes
Get our beginner guide + new craft ideas weekly.
No spam. Unsubscribe anytime.
Did you complete this activity?