How to Build a Simple Acoustic Guitar — Easy Step-by-Step Guide
Learn to build your own acoustic guitar with our free PDF plans. This rewarding project is perfect for families looking for a screen-free creative outlet.
Quick answer
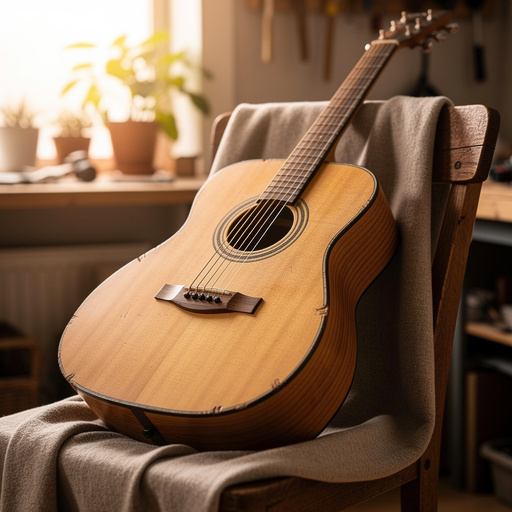
To build a simple acoustic guitar, you'll need wood, glue, and basic tools, taking about 8-10 hours. Start by cutting the wood pieces according to the plans. This intermediate activity has 15 steps and is perfect for families with adult supervision.
What you need
Shop on Amazon · As an Amazon Associate we earn from qualifying purchases. Links above are affiliate links — we may earn a commission at no extra cost to you.
Embark on a truly rewarding DIY journey by building your very own acoustic guitar! This project offers a fantastic opportunity to engage with a hands-on craft, fostering creativity and patience. It's an ideal activity for families seeking a screen-free way to bond and learn together, providing a tangible and playable result. Imagine the pride of strumming a tune on an instrument you meticulously crafted with your own hands – a truly unique and memorable experience.
On this page
Step-by-Step Instructions
- 1
Download and print the free acoustic guitar plans PDF, ensuring it's scaled correctly to 100% to guarantee accurate dimensions for all components.
- 2
Carefully transfer the dimensions from the plans onto your 1/4 inch plywood, marking out the soundboard, back, and side pieces with a pencil and ruler.
- 3
Using your chosen saw, meticulously cut out all the wooden pieces for the guitar body, taking your time to ensure clean, straight edges that will fit together precisely.
- 4
Prepare the 1/2 inch plywood for the neck by cutting it to the specified length and width according to the plans, ensuring it's a solid piece for structural integrity.
- 5
Begin assembling the guitar body by applying a generous but not excessive amount of wood glue to the edges of the back piece where the side pieces will attach.
- 6
Carefully position the side pieces onto the glued edges of the back piece, ensuring they are flush and square, then secure them firmly with clamps while the glue dries completely.
- 7
Once the sides are securely attached to the back, apply wood glue to the remaining exposed edges of the side pieces and the bottom edge of the back piece where the soundboard will sit.
- 8
Gently place the soundboard onto the glued edges, aligning it perfectly with the sides and back, and then apply clamps to hold it in place until the glue has fully cured.
- 9
Using the circular template provided in the plans, carefully mark the center of the soundboard for the soundhole, then use a drill with an appropriate-sized bit to create a clean, circular opening.
- 10
Shape the neck by carefully sanding and filing any rough edges, ensuring a comfortable grip and smooth surface for the player's hand.
- 11
Prepare the neck joint by either creating a pocket in the guitar body that precisely fits the neck heel or by shaping the end of the neck to match the body contour, as indicated in the plans.
- 12
Apply wood glue to the prepared joint area and securely attach the neck to the guitar body, using clamps to hold it firmly in place while the glue dries, ensuring it's aligned straight with the body.
- 13
Cut and shape the bridge from the 1/2 inch plywood, meticulously following the dimensions and angles specified in the plans to ensure proper string height and intonation.
- 14
Apply wood glue to the underside of the bridge and carefully position it onto the soundboard, aligning it precisely with the markings on the plans to ensure optimal sound projection and playability.
- 15
If you are creating your own tuning pegs, drill small, straight holes in the headstock of the neck at the designated locations and insert short wooden dowels, ensuring a snug fit.
- 16
If using pre-made tuning machines, carefully mark and drill the appropriate holes in the headstock according to the tuning machine manufacturer's instructions and the guitar plans.
- 17
Begin the sanding process by starting with 80-grit sandpaper to remove any rough spots or imperfections, working your way up to 120-grit and then 220-grit sandpaper for a smooth, polished finish.
- 18
Apply your chosen wood finish, such as varnish or paint, to all wooden surfaces, ensuring even coverage and allowing each coat to dry completely according to the product's instructions.
- 19
Once the finish is thoroughly dry, carefully attach the strings, threading them through the tuning machines or tying them securely to the bridge and then to the tuning pegs/machines.
- 20
Tune the guitar to a standard tuning (e.g., EADGBe) by gently turning the tuning pegs or machines until the desired pitch is achieved for each string.
- 21
Your DIY acoustic guitar is now complete! Gently strum to test its sound and enjoy the fruits of your labor.
Tips & Troubleshooting
- 1Ensure your printed plans are scaled to 100% to get accurate measurements for all pieces; double-check key dimensions with a measuring tape before making any cuts to avoid costly mistakes.
- 2When gluing, use enough glue to create a strong bond, but avoid excessive amounts that will squeeze out and create a messy finish; wipe away any excess glue immediately with a damp cloth before it dries.
- 3If you're new to woodworking, consider using a jigsaw for cleaner and more precise cuts on the plywood, especially for curved sections; always wear safety glasses and a dust mask when cutting and drilling to protect yourself.
- 4Experiment with different types of wood for the soundboard to subtly alter the guitar's tone; lighter woods like spruce or pine often produce brighter, more resonant sounds, while darker woods can offer a warmer tone.
- 5For a more professional and aesthetically pleasing look, consider adding a thin strip of contrasting wood around the soundhole or body edges as binding; this not only enhances the visual appeal but also adds structural reinforcement.
- 6Take your time with the sanding process; thorough sanding is crucial for a smooth finish and a comfortable playing experience, so progress through the grits gradually to achieve a glass-like surface.
- 7When attaching the neck, ensure it is perfectly straight and aligned with the body; a crooked neck will make the guitar difficult to play and tune, so use a straight edge to check alignment before gluing.
- 8Don't be discouraged if your first attempt isn't perfect; woodworking is a skill that improves with practice, and each project will teach you valuable lessons for future builds.
Related Activities You Might Enjoy
Frequently Asked Questions
Where can I find free acoustic guitar plans PDF?
You can find free acoustic guitar plans PDF downloads on various DIY and woodworking websites. Many guitar-building communities and forums also share links to reputable sources. When searching, look for sites that offer printable templates and step-by-step instructions specifically designed for beginners or intermediate builders. It's crucial to ensure the plans are well-documented and include clear diagrams to guide you through the construction process, as a good set of plans is the foundation of a successful build.
What are the basic materials needed to build a guitar?
To build a basic acoustic guitar, you'll primarily need wood for the body, soundboard, back, and neck, with plywood being a common and accessible choice for this project. Essential supplies include a good quality wood glue for strong bonds, and sandpaper in various grits (80, 120, 220) for smoothing. Basic tools are also a must: a saw for cutting wood, a drill with drill bits for holes, and clamps to hold pieces together while the glue dries. Optional items that enhance the instrument include a wood finish like varnish or paint, and of course, strings and tuning machines.
Is building a guitar difficult for beginners?
Building a simple acoustic guitar is generally considered an intermediate project. It requires some basic woodworking skills, precision in cutting and assembly, and a good amount of patience. While it might be challenging for absolute beginners with no prior experience in woodworking, it is definitely achievable with careful attention to the plans, a willingness to learn, and ideally, adult supervision for younger builders. Breaking down the project into smaller, manageable steps can make it feel less daunting and more rewarding.
How long does it take to build a DIY acoustic guitar?
The time it takes to build a DIY acoustic guitar can vary significantly depending on your skill level, the complexity of the design, and the tools you have available. For a simple design like the one outlined in these plans, you can expect around 8-10 hours of active work. This estimate does not include the drying time for glue and finishes, which can add several days to the overall project timeline. Rushing the process can compromise the quality and structural integrity of the instrument.
Can I make a playable acoustic guitar from these plans?
Yes, these plans are designed to help you build a functional, albeit simple, acoustic guitar. While it may not possess the complex tonal nuances and resonance of a professionally crafted, high-end instrument made from tonewoods, it will certainly be playable and a deeply rewarding creation. The sound will be influenced by the materials used, particularly the plywood, but with careful construction and proper stringing, you'll have an instrument capable of producing music and a great sense of accomplishment.
What kind of wood is best for a DIY acoustic guitar?
For a simple DIY acoustic guitar, plywood is a practical and cost-effective choice, especially for beginners. For the soundboard (the top of the guitar), a lighter plywood or even a solid piece of spruce or pine can offer a brighter tone. The back and sides can also be made from plywood, or if you want to experiment, consider hardwoods like mahogany or maple for a warmer, richer sound. The neck is typically made from a more stable hardwood like maple or poplar for strength and durability.
What Next?
Congratulations on completing your DIY acoustic guitar! This project is just the beginning of your musical instrument-building adventure. You can explore variations by using different wood types for unique tonal qualities or even adding decorative inlays. Consider displaying your creation proudly on a wall mount or storing it in a custom-made case. For your next project, perhaps try building a ukulele or a simple cigar box guitar to further hone your skills and expand your musical repertoire.
Free: 10 Paper Crafts Anyone Can Make in 5 Minutes
Get our beginner guide + new craft ideas weekly.
No spam. Unsubscribe anytime.
Did you complete this activity?
Related
You might also like
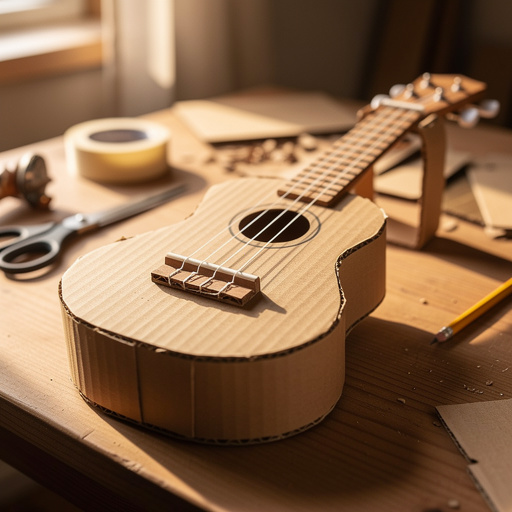
Cardboard Box Ukulele

Printable Music Note Garland
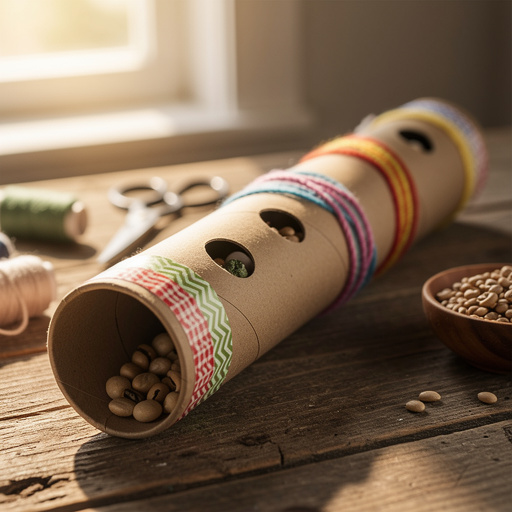
DIY Sound Tube Rain Stick

Cardboard Box Accordion

Cardboard Cityscape Diorama