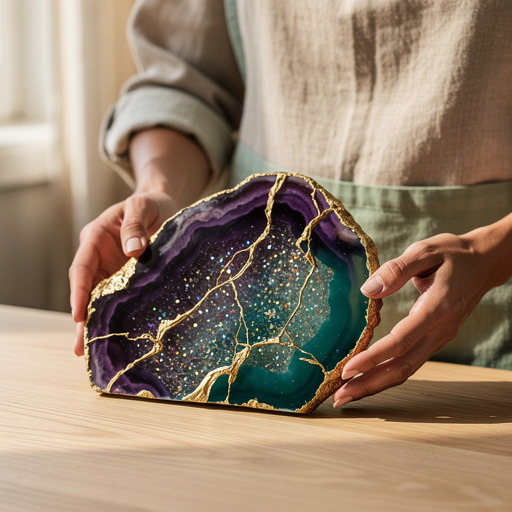
Crystal Resin Geode Slices: A Pro Crafter's Guide to Stunning Results
Go beyond basic resin pouring and craft truly show-stopping Crystal Resin Geode Slices. This guide offers expert insights, brand comparisons, and advanced techniques for a professional finish.
Quick answer
To make Crystal Resin Geode Slices, you'll need a high-quality casting epoxy resin (like ArtResin or Counter Culture DIY), silicone geode molds, mica powders, and resin dyes. Expect about 2-3 hours of active work, plus 24-48 hours for full curing.
What you need
Shop on Amazon · As an Amazon Associate we earn from qualifying purchases. Links above are affiliate links — we may earn a commission at no extra cost to you.
I've been absolutely captivated by the beauty of geode slices lately, and I'm so excited to share my most comprehensive guide with you on creating these dazzling Crystal Resin Geode Slices! We're going to move beyond the typical beginner tutorials and really dive deep into the art of working with epoxy resin. You'll learn not just the basics of mixing and pouring, but also advanced layering, how different resin brands perform, and how to troubleshoot those frustrating mistakes. Get ready to unlock your creativity and craft professional-looking geode slices that will impress!
On this page
Step-by-Step Instructions
- 1
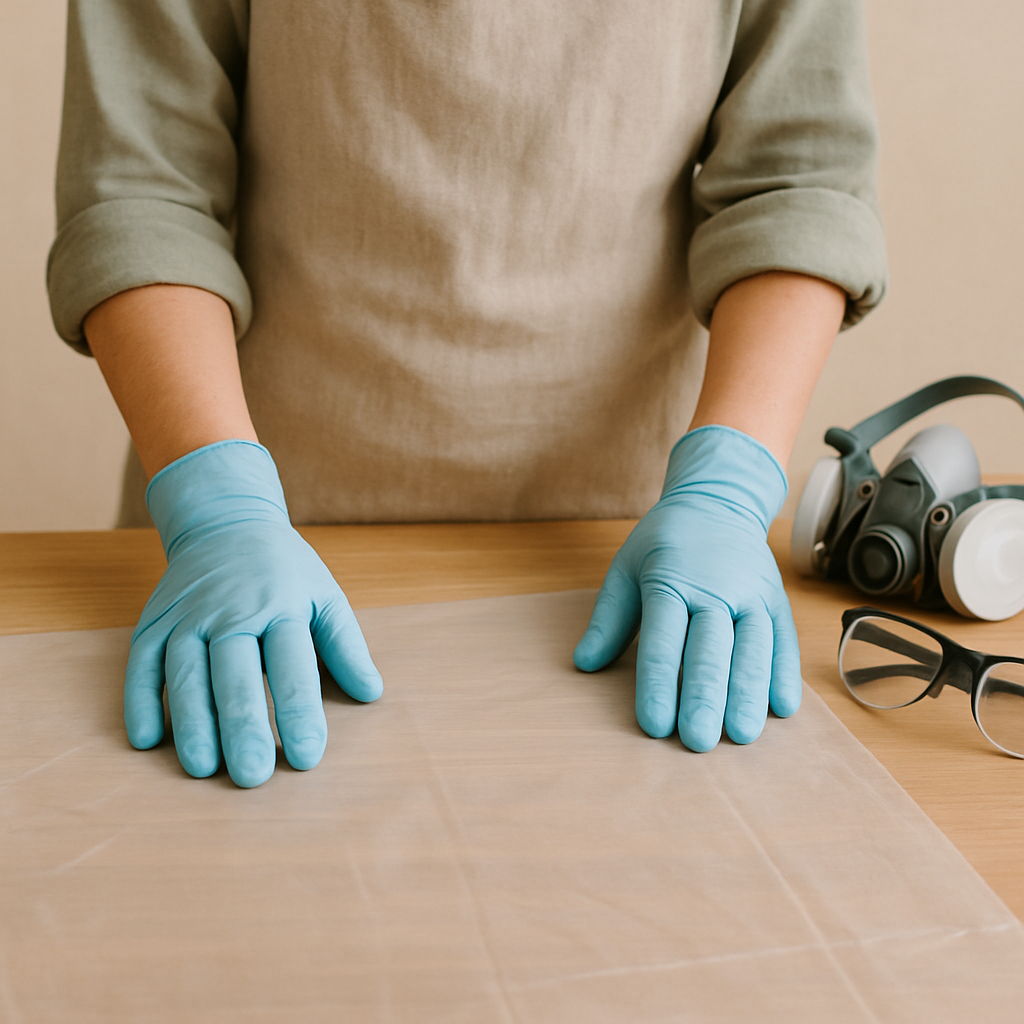
Step 1: Prepare your workspace and safety gear. Lay down plastic sheeting or a silicone mat on a perfectly level surface in a well-ventilated area. Don your safety glasses, respirator mask, and nitrile gloves; epoxy resin fumes can be harmful, and direct skin contact should be avoided. Have all your materials within easy reach.
- 2
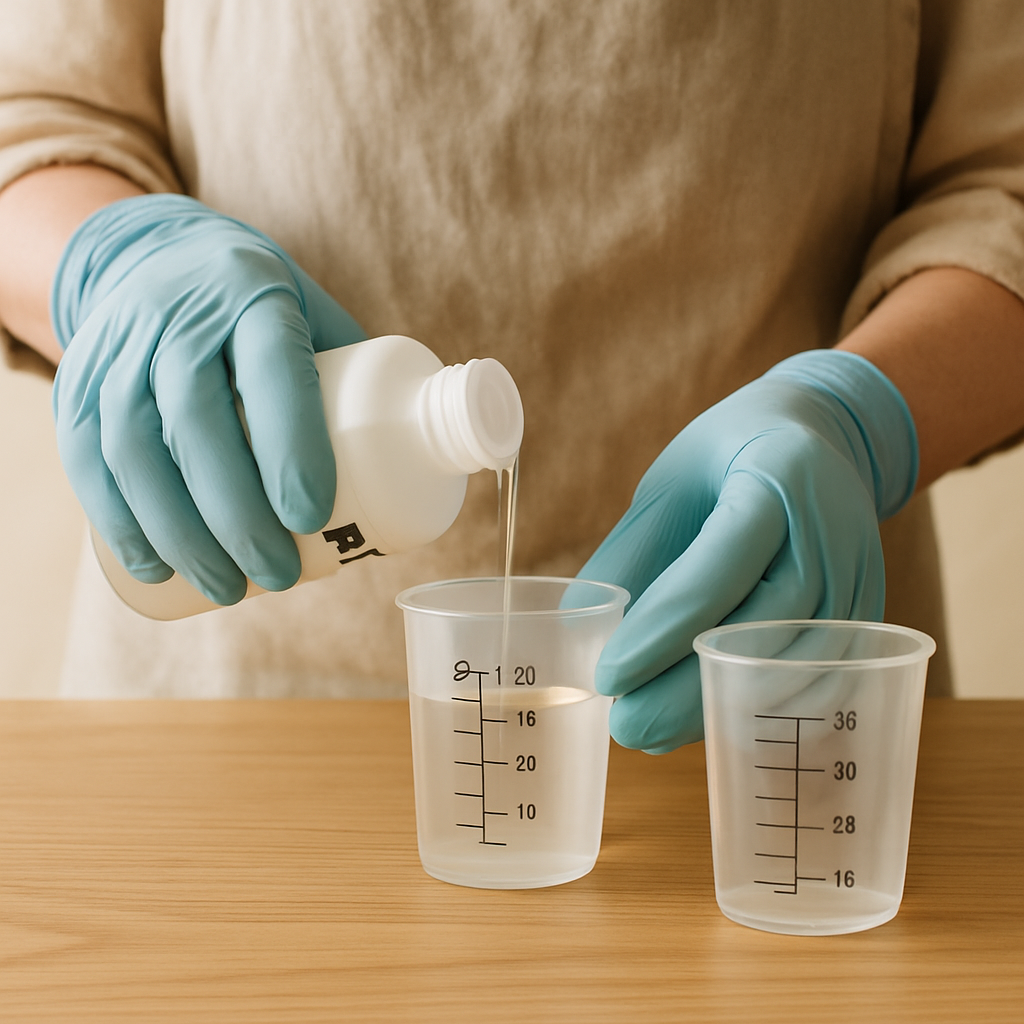
Step 2: Measure your resin accurately. For a typical geode slice mold, you'll need about 100ml of mixed resin. Carefully measure 50ml of Part A and 50ml of Part B into separate graduated measuring cups. Precise measurement is critical; if the ratio is off, the resin may not cure properly, leading to a sticky surface.
- 3
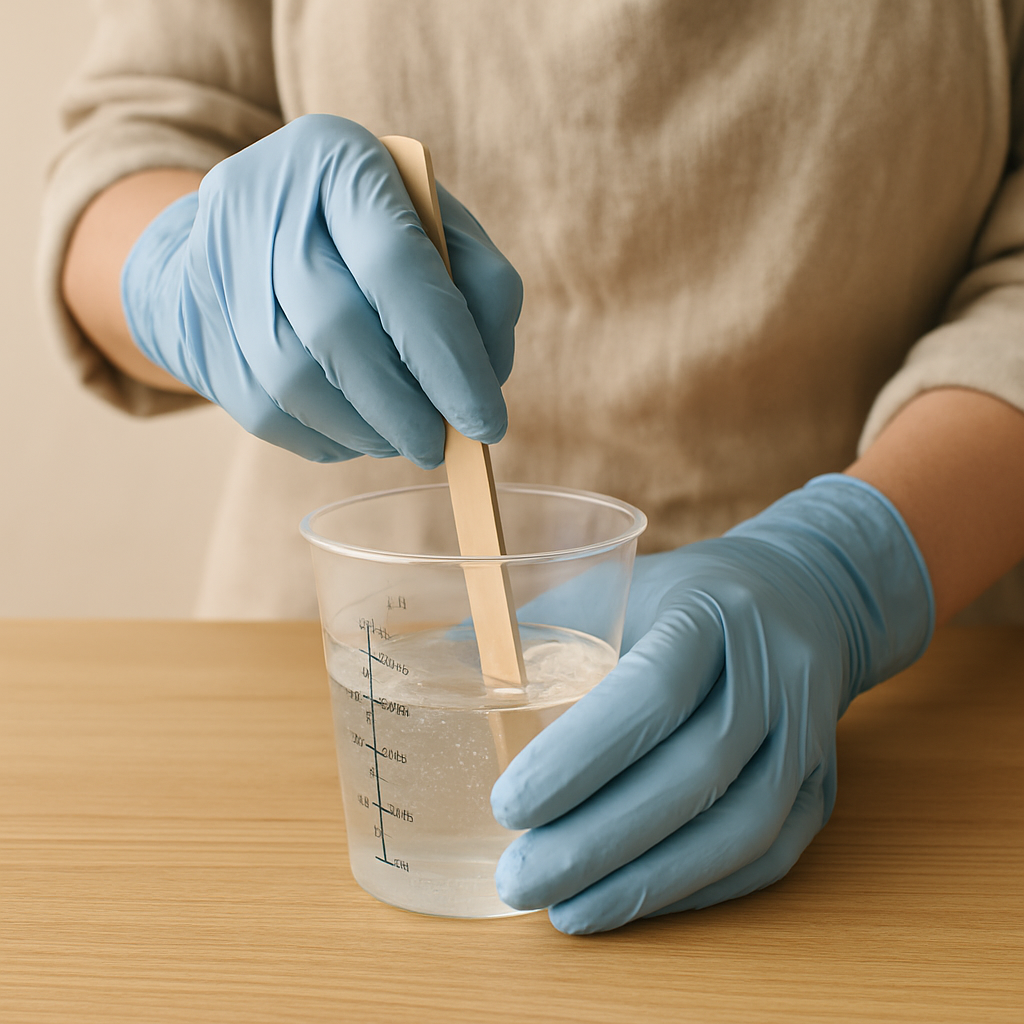
Step 3: Mix the resin thoroughly. Pour Part B into the cup containing Part A. Stir slowly and deliberately with a wooden stick for a full 3-5 minutes, ensuring you scrape the sides and bottom of the cup thoroughly. Incomplete mixing is the most common cause of uncured or sticky resin. The mixture should be crystal clear with no streaks.
- 4
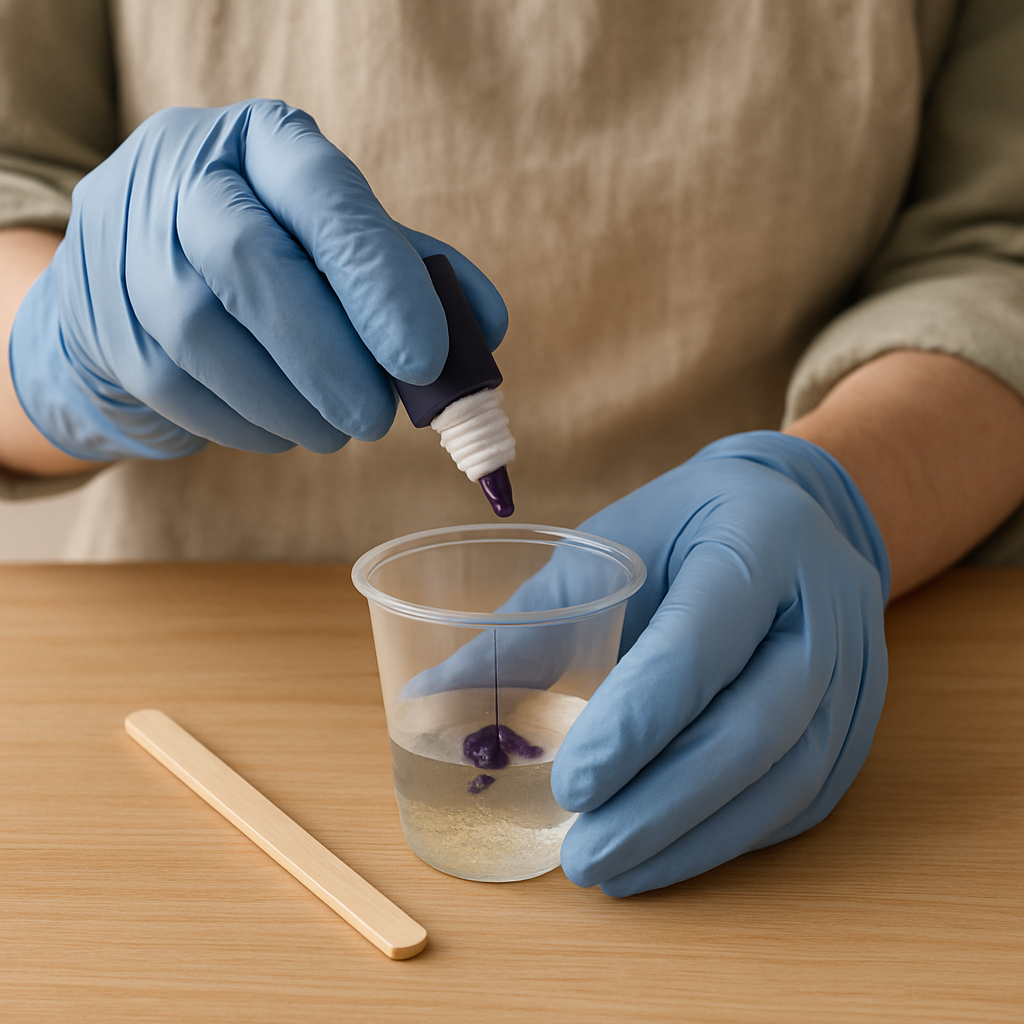
Step 4: Divide and color your resin. Pour approximately 1/4 of the mixed resin (about 25ml) into a small cup. Add 2-3 drops of your primary geode color (e.g., deep purple) and a tiny pinch (about 1/8 tsp) of iridescent mica powder. Stir gently until fully incorporated. Repeat this process in separate cups for 1-2 additional colors (e.g., teal, magenta), using fresh stir sticks for each.
- 5
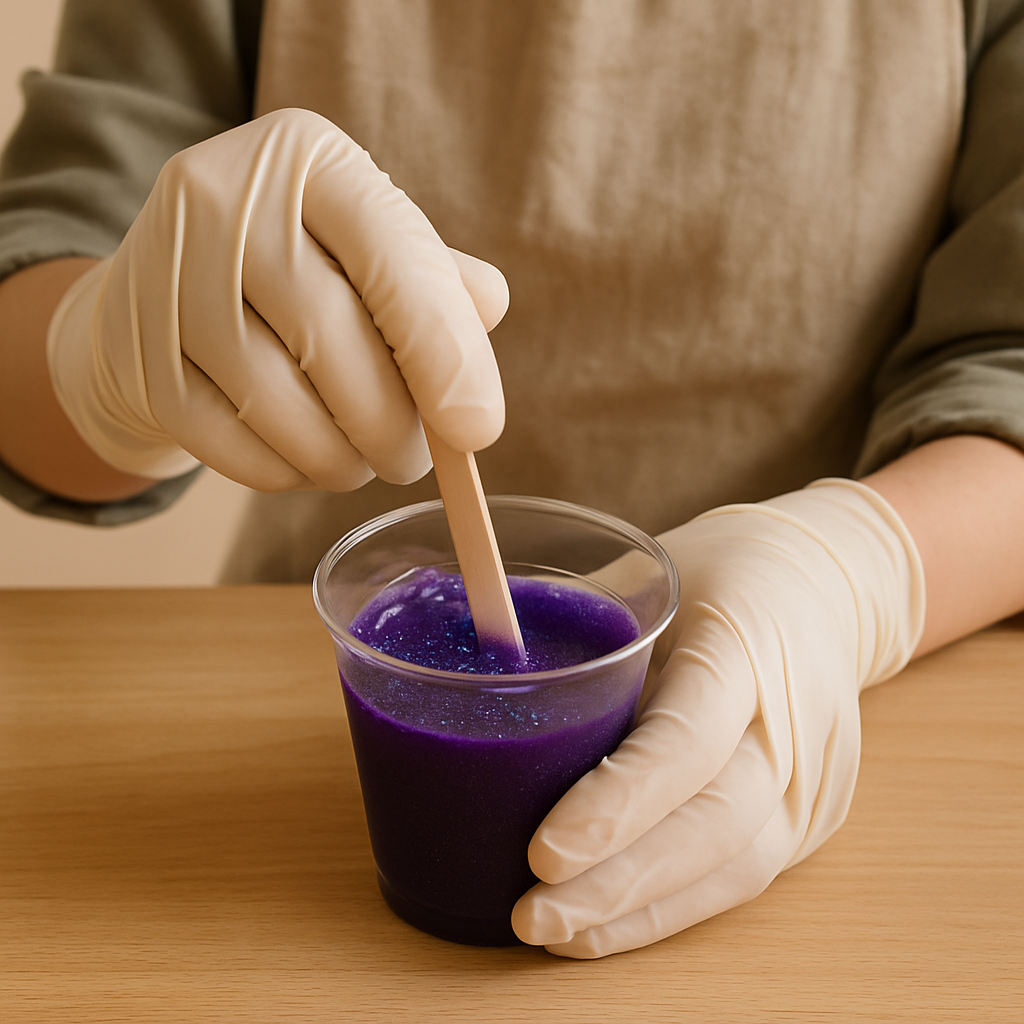
Step 5: Infuse one color with glitter. Take one of your colored resin mixtures (e.g., the purple) and add a generous pinch (about 1 tbsp) of fine glitter. Stir gently until the glitter is evenly distributed throughout the mixture. This will form your 'crystal' center.
- 6
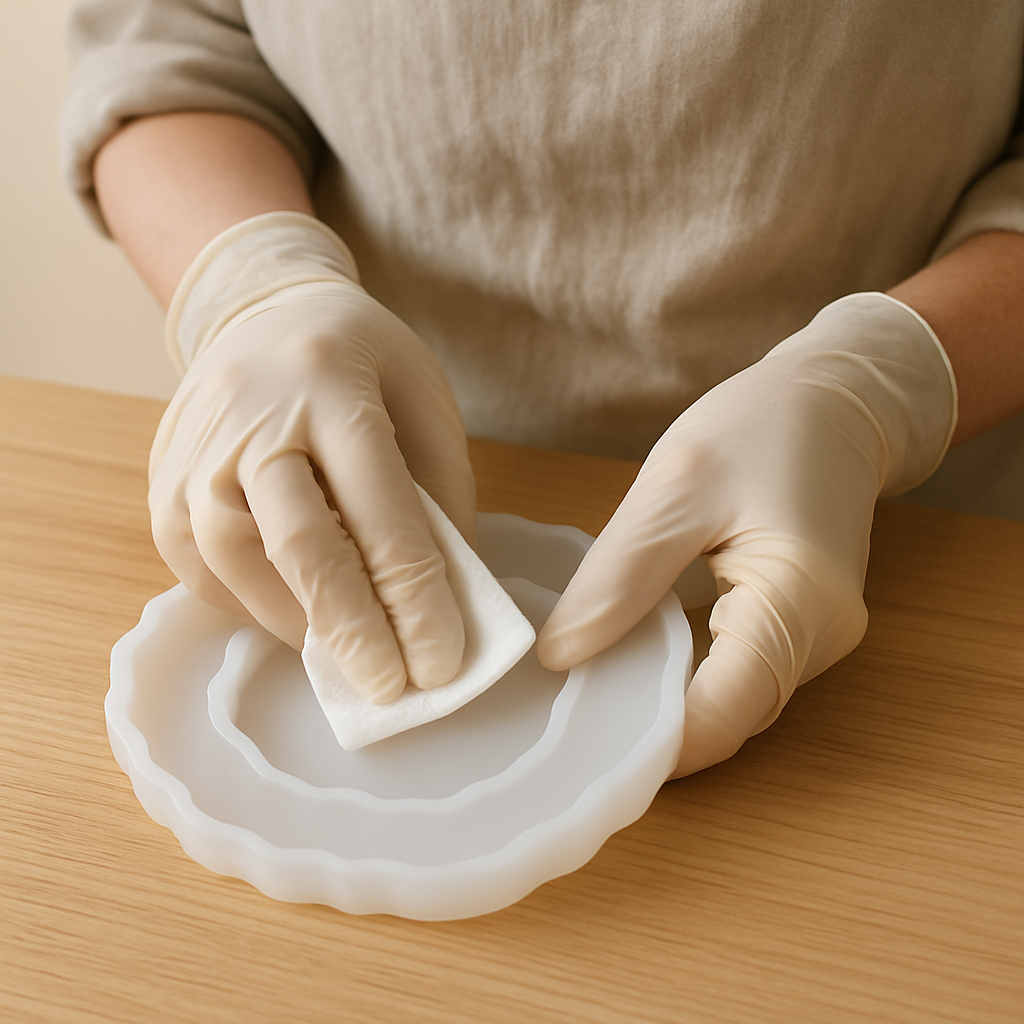
Step 6: Prepare the silicone mold. Ensure your geode slice mold is completely clean and dry. Any dust or lint can mar the finish. If needed, gently wipe the inside with a paper towel lightly dampened with isopropyl alcohol, then allow it to air dry fully. A clean mold is essential for a flawless final piece.
- 7
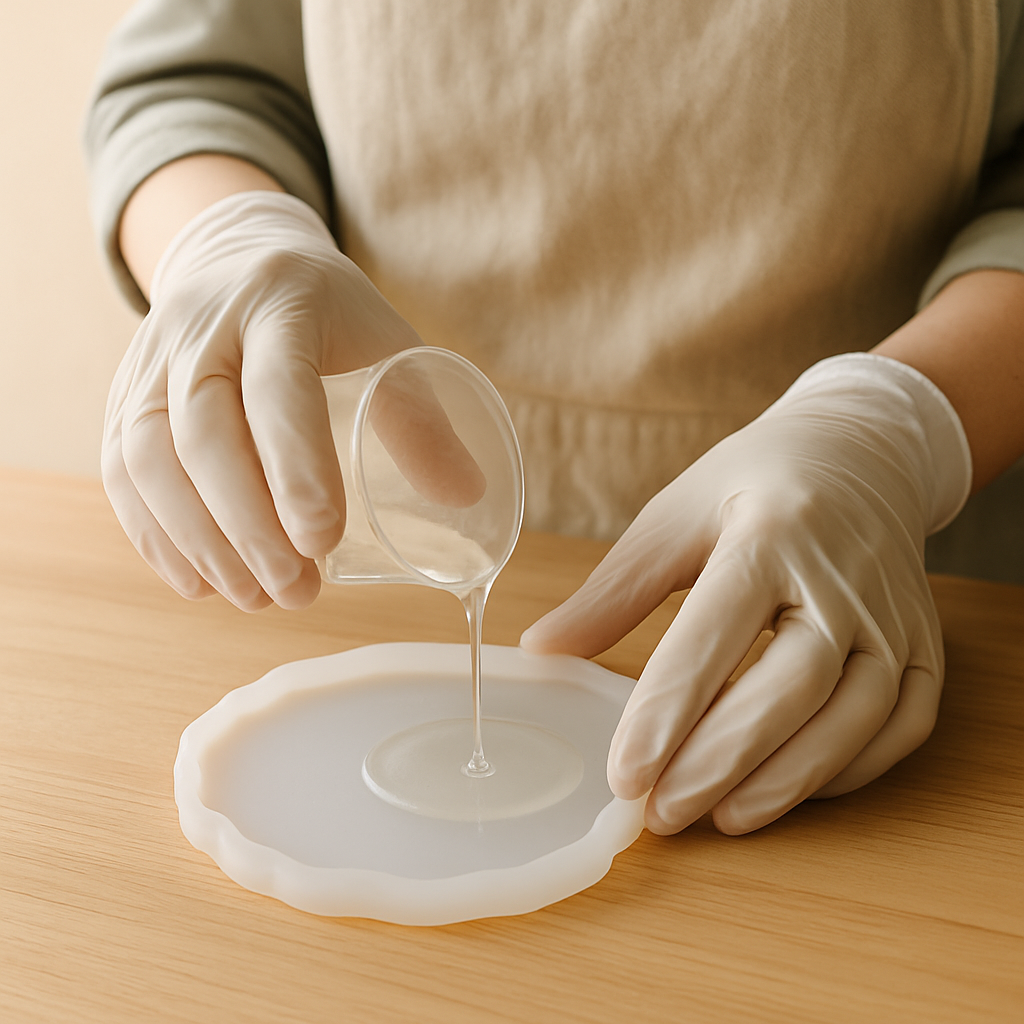
Step 7: Pour the base layer. Pour a very thin layer (about 2-3mm) of the uncolored, mixed resin into the bottom of the geode mold. This layer helps to seal the mold surface and provides a base for the subsequent layers, preventing glitter from sticking to the mold directly.
- 8
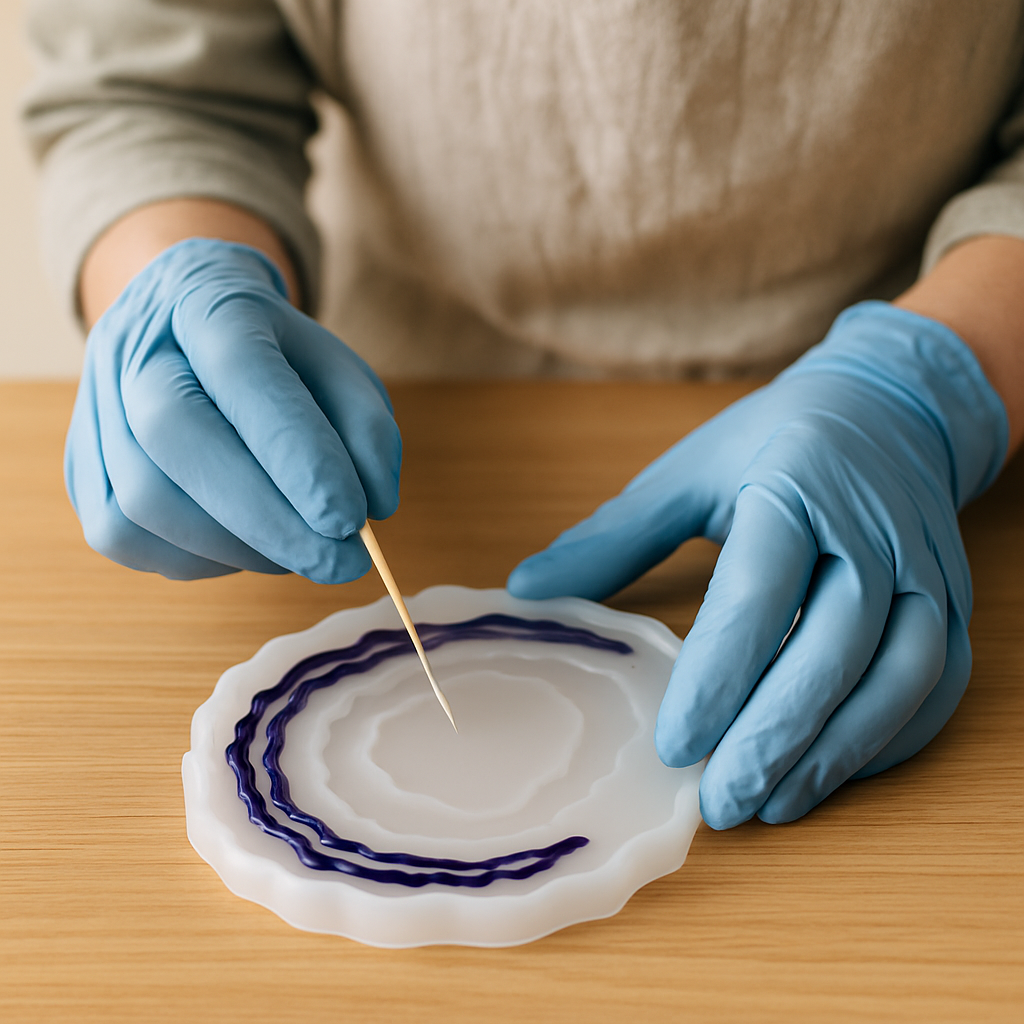
Step 8: Create the geode edge. Using a toothpick or a fine-tipped applicator, carefully drip or paint thin lines of your colored resins along the outer edge of the mold. Aim for irregular, slightly jagged lines, mimicking natural crystal formations rather than perfect circles. Work relatively quickly before the resin begins to thicken significantly.
- 9
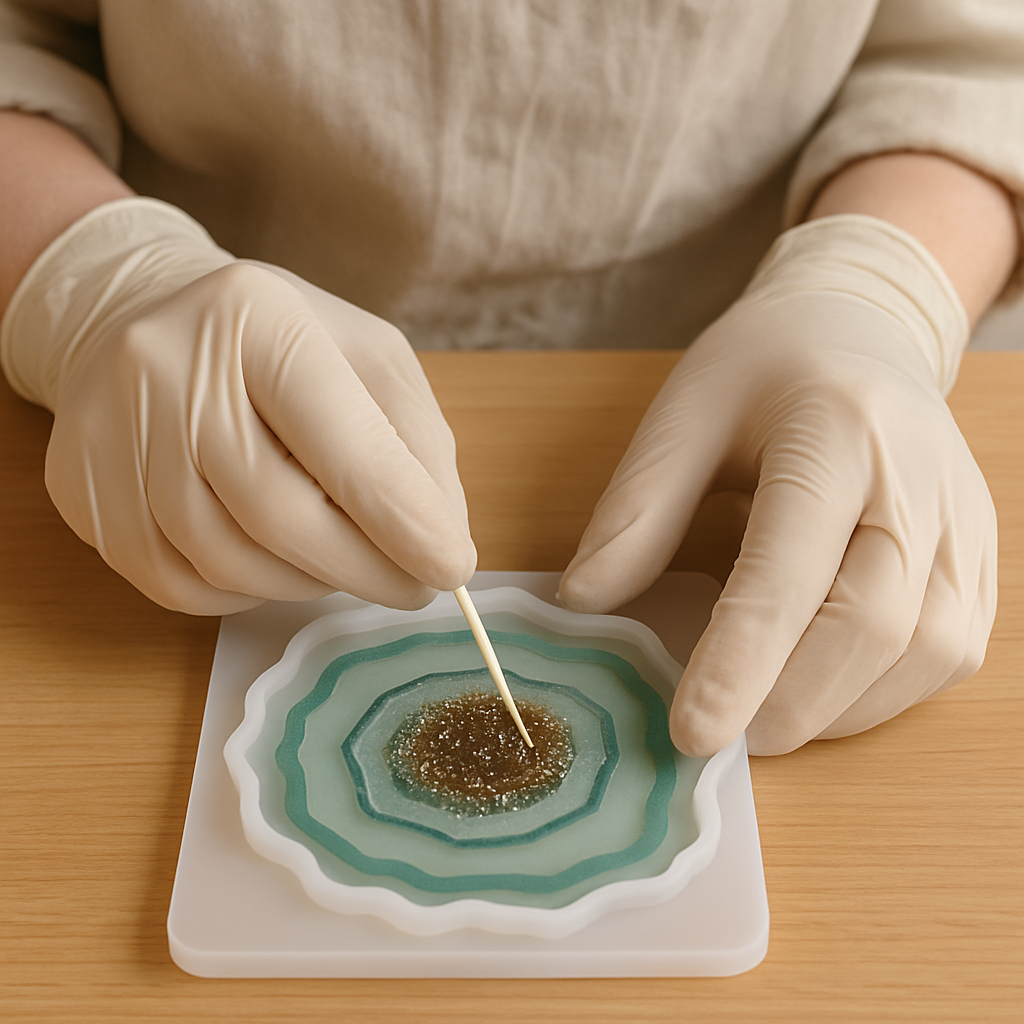
Step 9: Add the 'crystal' layer. Now, use a clean toothpick or applicator to carefully place the glitter-infused resin mixture into the center of the geode design. Allow it to flow slightly towards the colored edges, creating a natural cluster effect. Avoid filling the entire mold at this stage.
- 10
Step 10: Swirl for depth and dimension. Use a clean toothpick to gently swirl the colors together where they meet the glitter layer. Make subtle, organic movements, pulling colors slightly into the glitter and vice-versa. Avoid over-mixing, which can muddy the colors; the goal is to create depth and natural-looking transitions.

- 11
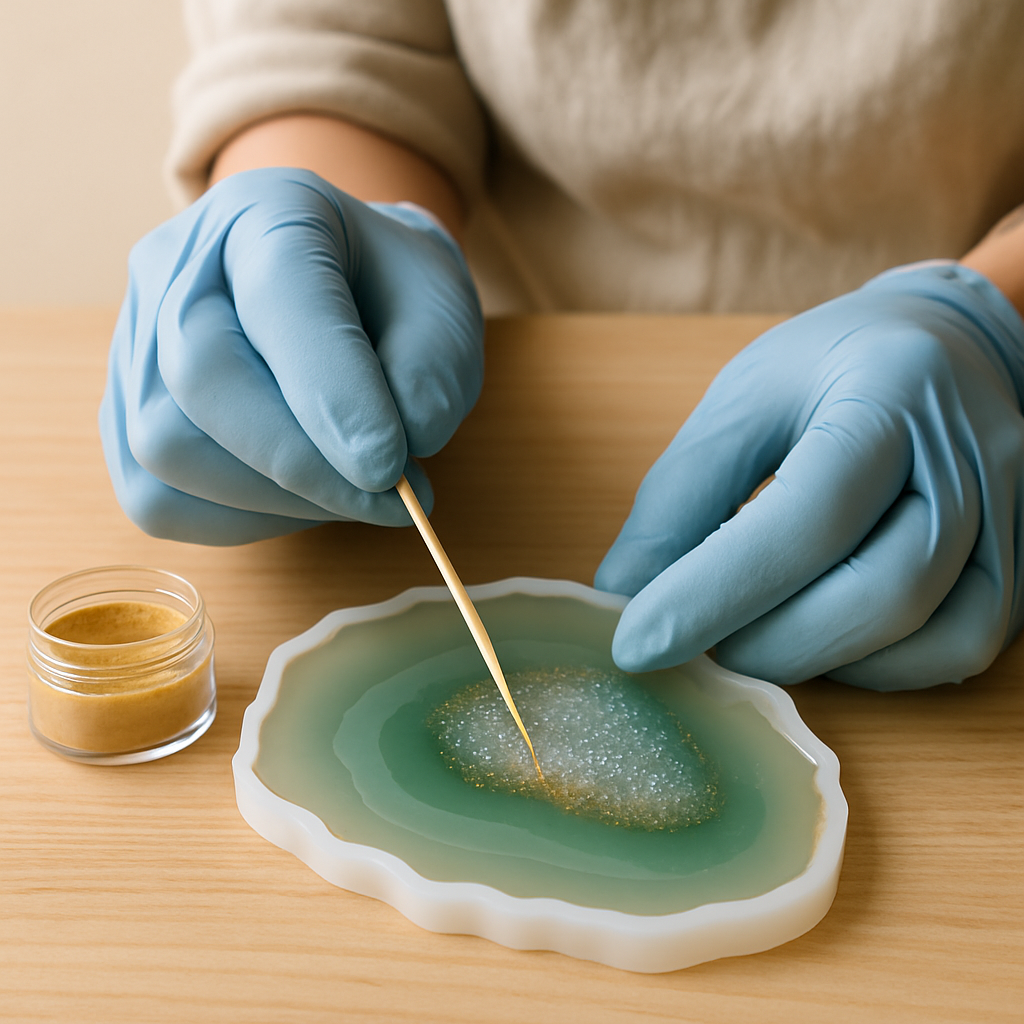
Step 11: Apply metallic accents. Dip the very tip of a clean toothpick into your gold or silver mica powder. Gently touch this to the edges of the colored resin or where the colors meet the glitter layer. This creates subtle, realistic metallic vein effects. If the resin is too thick, you can mix a tiny amount of mica powder with a drop of rubbing alcohol to create a paste for more defined lines.
- 12
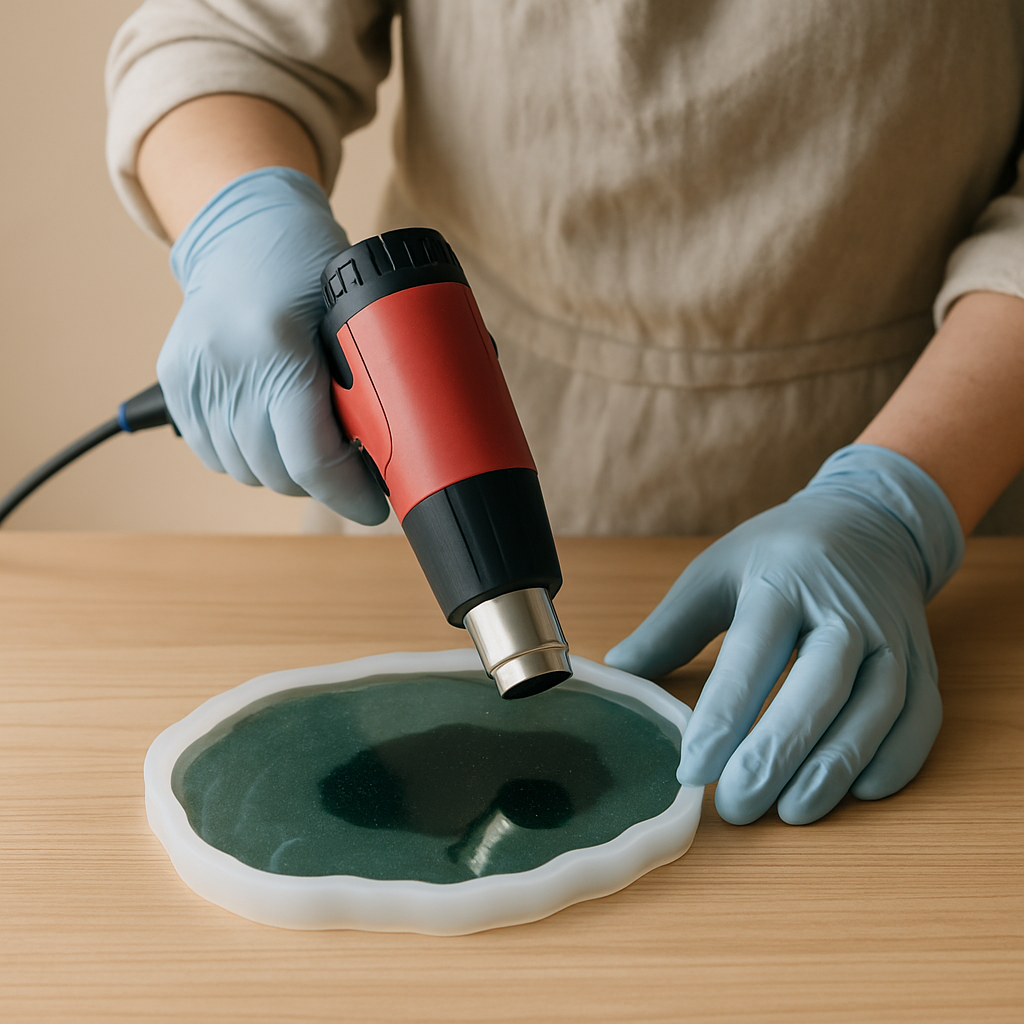
Step 12: Pop surface bubbles. Use your heat gun on a low setting or a butane torch held at a slight angle (about 4-6 inches away) and quickly sweep it across the surface of the resin. This will pop any tiny surface bubbles. Be careful not to overheat any single spot, as this can cause yellowing or damage the mold. If you see bubbles trapped deeper within the resin, a quick pass with the heat source should bring them to the surface.
- 13
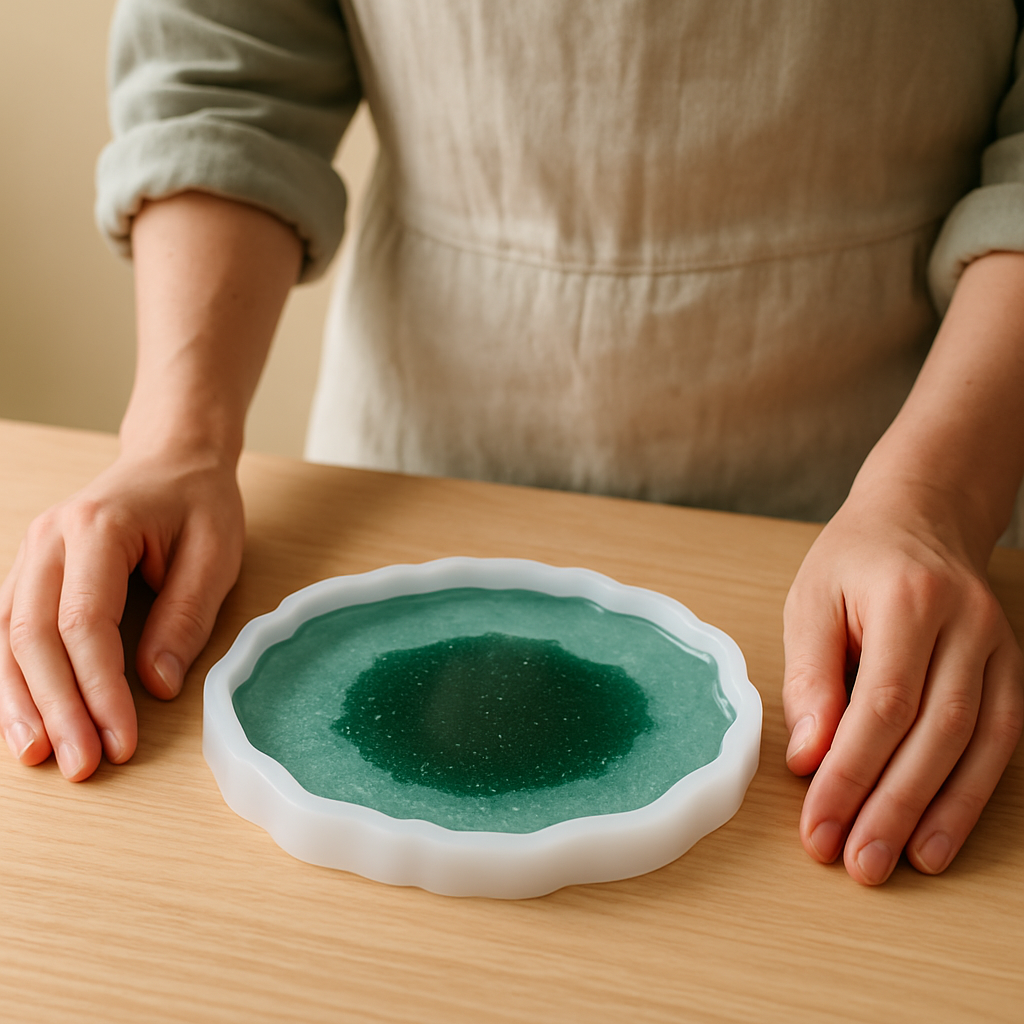
Step 13: Curing - Phase 1. Allow the mold to sit undisturbed on your level surface for at least 12-24 hours. Avoid touching or moving it during this time, as any disturbance can disrupt the curing process and lead to unevenness. Ensure the environment remains between 70-75°F (21-24°C) for optimal curing.
- 14
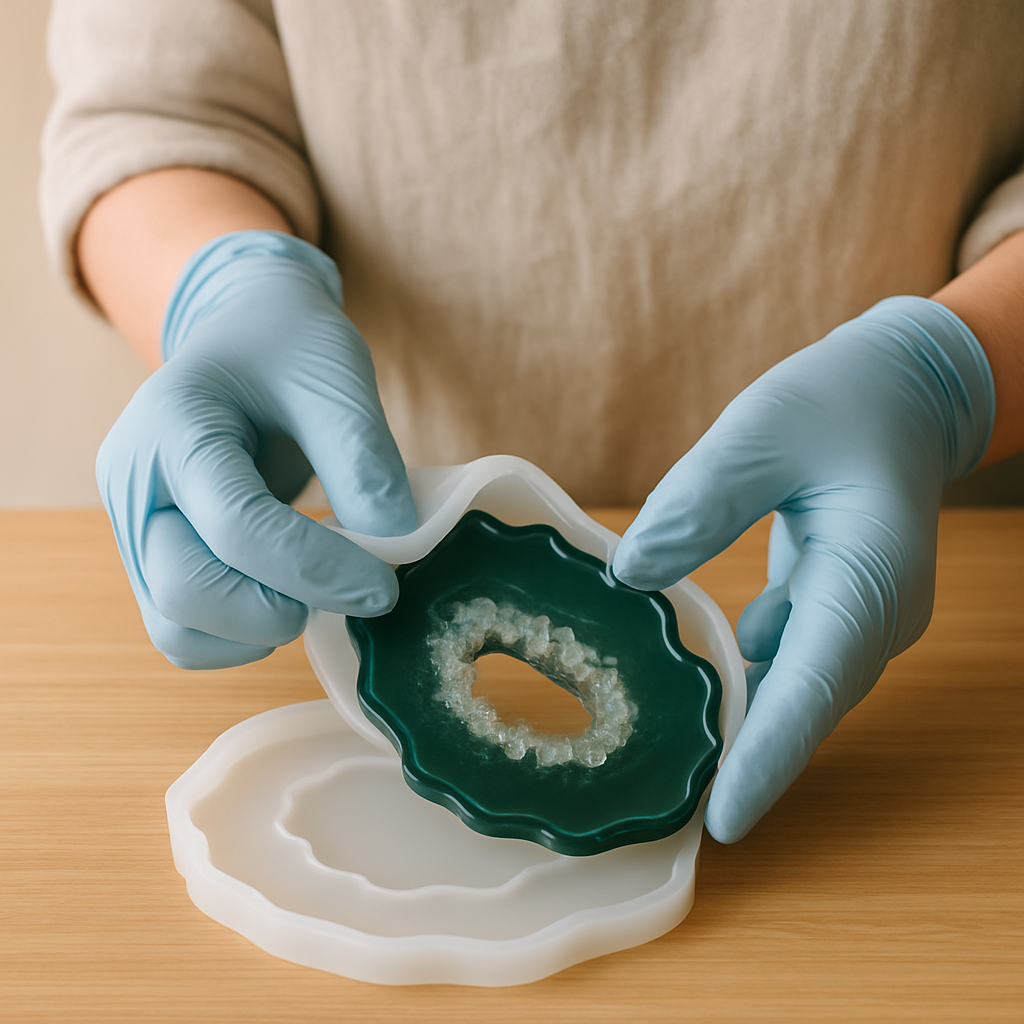
Step 14: De-molding. Once the resin is hard to the touch and no longer tacky, carefully flex the silicone mold to release your geode slice. If it feels even slightly sticky, do not force it; let it cure for another 12-24 hours. Trying to de-mold too early can result in a warped or damaged piece.
- 15
Step 15: Finishing touches. If there are any sharp edges or small imperfections, you can gently sand them with fine-grit sandpaper (600 grit or higher) or use a Dremel tool on a very low setting. Wipe clean with a damp cloth after sanding. For a truly professional finish, consider applying a thin layer of clear resin top coat or a high-quality UV resin to the surface, following the manufacturer's instructions for curing.
Tips & Troubleshooting
- 1Troubleshooting Sticky Resin: If your resin remains sticky after the recommended curing time, it's most likely due to inaccurate measuring, insufficient mixing, or working in too cold an environment. You can try applying a thin layer of fresh, properly mixed resin over the sticky areas once the piece is fully cured. Alternatively, carefully sand down the sticky spots until smooth, then seal with a top coat of resin or a clear sealant spray. Always ensure your workspace is between 70-75°F (21-24°C).
- 2Bubble Busting Techniques: For stubborn bubbles trapped within the resin, try warming your resin bottles slightly in a warm water bath before measuring and mixing (do not submerge). After pouring, use a straw to gently blow across the surface, or use a long-tipped lighter to carefully 'kiss' the surface with flame, moving constantly. A toothpick can also be used to coax bubbles to the surface before they are trapped.
- 3Coloring Your Geodes: Don't be afraid to experiment! Try blending two colors together in the cup before pouring for unique marbled effects. Alcohol inks provide vibrant, translucent colors that mimic natural stones beautifully. For a more realistic geode look, consider using earthy tones like browns and grays alongside your brighter geode colors.
- 4Age Adaptation (14+): For younger crafters aged 14 and up, adult supervision is highly recommended, especially during the resin measuring, mixing, and heat gun stages. They can focus on the artistic pouring, color blending, and swirling techniques, while an adult assists with the more technical or potentially hazardous aspects.
- 5Advanced Layering for Depth: To create a more pronounced 3D effect, let your first poured layer of resin cure for about 4-6 hours. It should be firm to the touch but still slightly yielding, like a firm gummy candy – you should be able to press a fingernail into it without it being sticky, but it shouldn't be rock hard. Then, pour your next layer, allowing the colors to sink slightly into this semi-cured layer for a more dramatic depth. Ensure the final layer is fully cured before de-molding.
- 6Resin Brand Comparison for Geode Slices: - **ArtResin:** Known for its excellent clarity, low VOCs, and self-leveling properties. It cures hard and is very user-friendly, making it a great choice for beginners and professionals alike. It's a bit pricier but offers consistent results. - **Counter Culture DIY (CCDIY) Casting Epoxy:** Specifically formulated for deep pours and artistic applications. It has a longer working time, which is beneficial for intricate designs, and cures to a glass-like finish. Great for achieving vibrant colors and detail. - **Alumilite Casting Resin:** Another excellent option for casting and artistic projects. It cures very hard and clear, with minimal yellowing. It has a moderate working time and is a popular choice for detailed pieces like geode slices. **Pros & Cons Summary:** - **ArtResin:** Pro: User-friendly, low VOCs, great clarity. Con: Higher cost. - **CCDIY Casting Epoxy:** Pro: Long working time, excellent for detail, deep pours. Con: Can be slightly more prone to bubbles if not mixed perfectly. - **Alumilite Casting Resin:** Pro: Cures very hard, good clarity, minimal yellowing. Con: Working time can be moderate, requiring quicker work than CCDIY. For geode slices, all three are excellent choices. If you're a beginner, ArtResin is very forgiving. If you want more time to work with intricate designs, CCDIY is ideal. Alumilite offers a great balance of hardness and clarity.
Related Activities You Might Enjoy
Frequently Asked Questions
What's the best type of epoxy resin for geode slices?
For geode slices, you'll want a high-quality casting epoxy resin, not a coating resin. Casting resins are formulated to be thicker, cure slower, and handle deeper pours without excessive heat buildup. Look for a 1:1 ratio by volume resin like ArtResin, Counter Culture DIY, or Alumilite Casting Resin. These are generally user-friendly for beginners and provide excellent clarity and hardness once cured. Avoid fast-curing resins, as they can be difficult to work with and may yellow.
Why is my resin still sticky or soft after curing?
Sticky or soft resin is almost always a result of improper mixing or incorrect temperature. Ensure you are measuring Part A and Part B precisely according to the 1:1 ratio. Mix slowly but thoroughly for the full recommended time (usually 3-5 minutes), scraping the sides and bottom of the cup. Working in a temperature range of 70-75°F (21-24°C) is also crucial; too cold and it won't cure properly, too hot and it can cure too quickly and incompletely.
How do I get those realistic metallic veins in my geode slices?
The metallic veins are achieved using mica powders. After you've poured your colored resins and glitter layer, use a clean toothpick or a fine brush. Dip the tip into a metallic mica powder (like gold, silver, or bronze) and gently touch it to the edges where the colors meet, or along the 'cracks' in your design. You can also mix a tiny bit of mica powder with a drop of rubbing alcohol to create a paste for more defined lines. The key is to use it sparingly for a subtle, natural effect.
Can I embed objects like crystals or glitter into my geode slices?
Absolutely! Embedding objects is a fantastic way to enhance your geode slices. For glitter, you'll add it directly to one of your colored resin batches, as described in the instructions. For larger items like small crystals or even dried flowers, you can place them into the mold *after* pouring a thin base layer of clear resin. Then, pour your colored layers around them, or pour another thin layer of clear resin on top to encapsulate them. Ensure the object is fully submerged and doesn't 'float' or stick out. If embedding, consider a slower-curing resin to allow more time for placement.
What are common epoxy resin mistakes and how can I fix them?
Common mistakes include sticky resin (improper mixing/ratio/temperature), excessive bubbles (over-stirring, temperature shock), yellowing (overheating, UV exposure, wrong resin type), and uneven surfaces (unlevel workspace). Sticky resin can sometimes be fixed with a top coat or sanding and sealing. Bubbles can often be popped with a heat gun or torch. Yellowing is harder to fix but can be masked with darker colors or glitter. Uneven surfaces usually require sanding and a top coat. Always work in a clean, level, and temperature-controlled environment.
What safety precautions should I take when working with epoxy resin?
Safety is paramount. Always work in a well-ventilated area, ideally with an open window or fan. Wear nitrile gloves to protect your skin, safety glasses to shield your eyes, and a respirator mask with organic vapor cartridges to avoid inhaling fumes. Avoid working with resin if you have respiratory issues or sensitivities. Clean up spills immediately with paper towels and isopropyl alcohol. Store resin in a cool, dry place away from direct sunlight.
What Next?
I truly hope this guide empowers you to create your own stunning geode slices. I've poured a lot of my own learning and experience into these steps, so please don't hesitate to experiment and make them your own! If you run into any issues, refer back to the troubleshooting tips. I'd absolutely love to see what you come up with – please tag me in your creations!
Free: 10 Paper Crafts Anyone Can Make in 5 Minutes
Get our beginner guide + new craft ideas weekly.
No spam. Unsubscribe anytime.
Did you complete this activity?
Related
You might also like
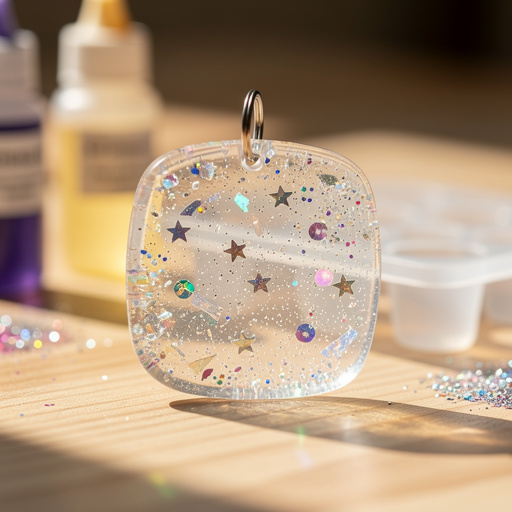
Floating Glitter Resin Charms
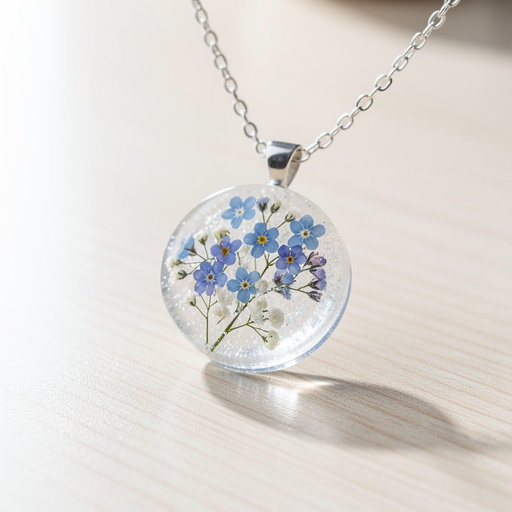
Botanical Layered Resin Pendants
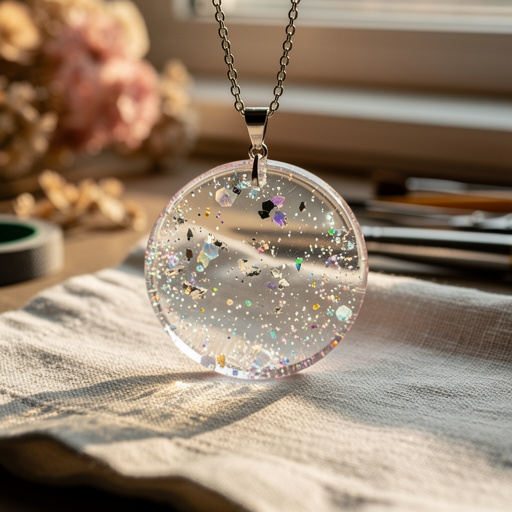
Floating Glitter Resin Pendants
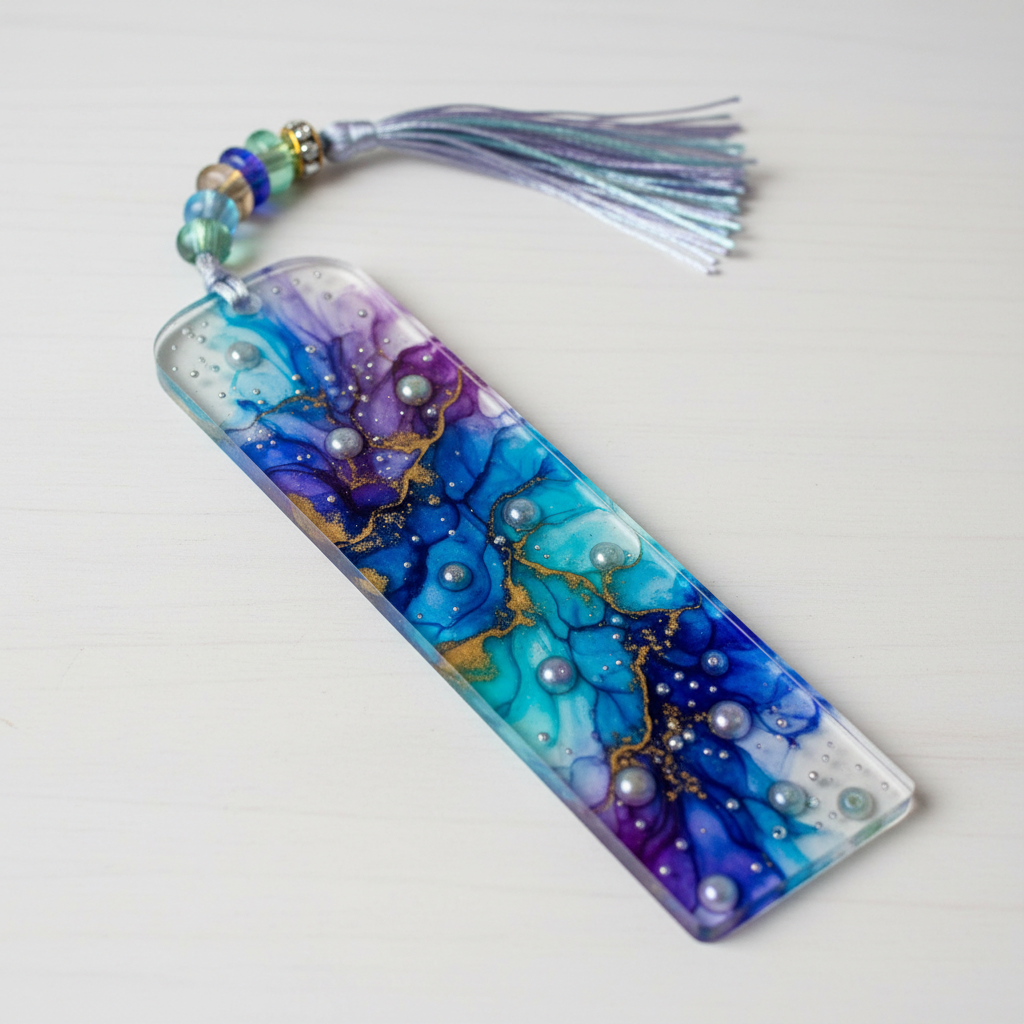
Resin Bookmark with Alcohol Ink Swirls
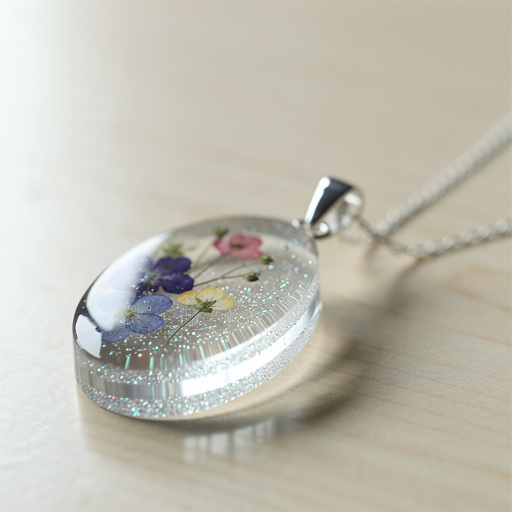
Layered Botanical Resin Pendant